Newsletter Subscribe
Enter your email address below and subscribe to our newsletter

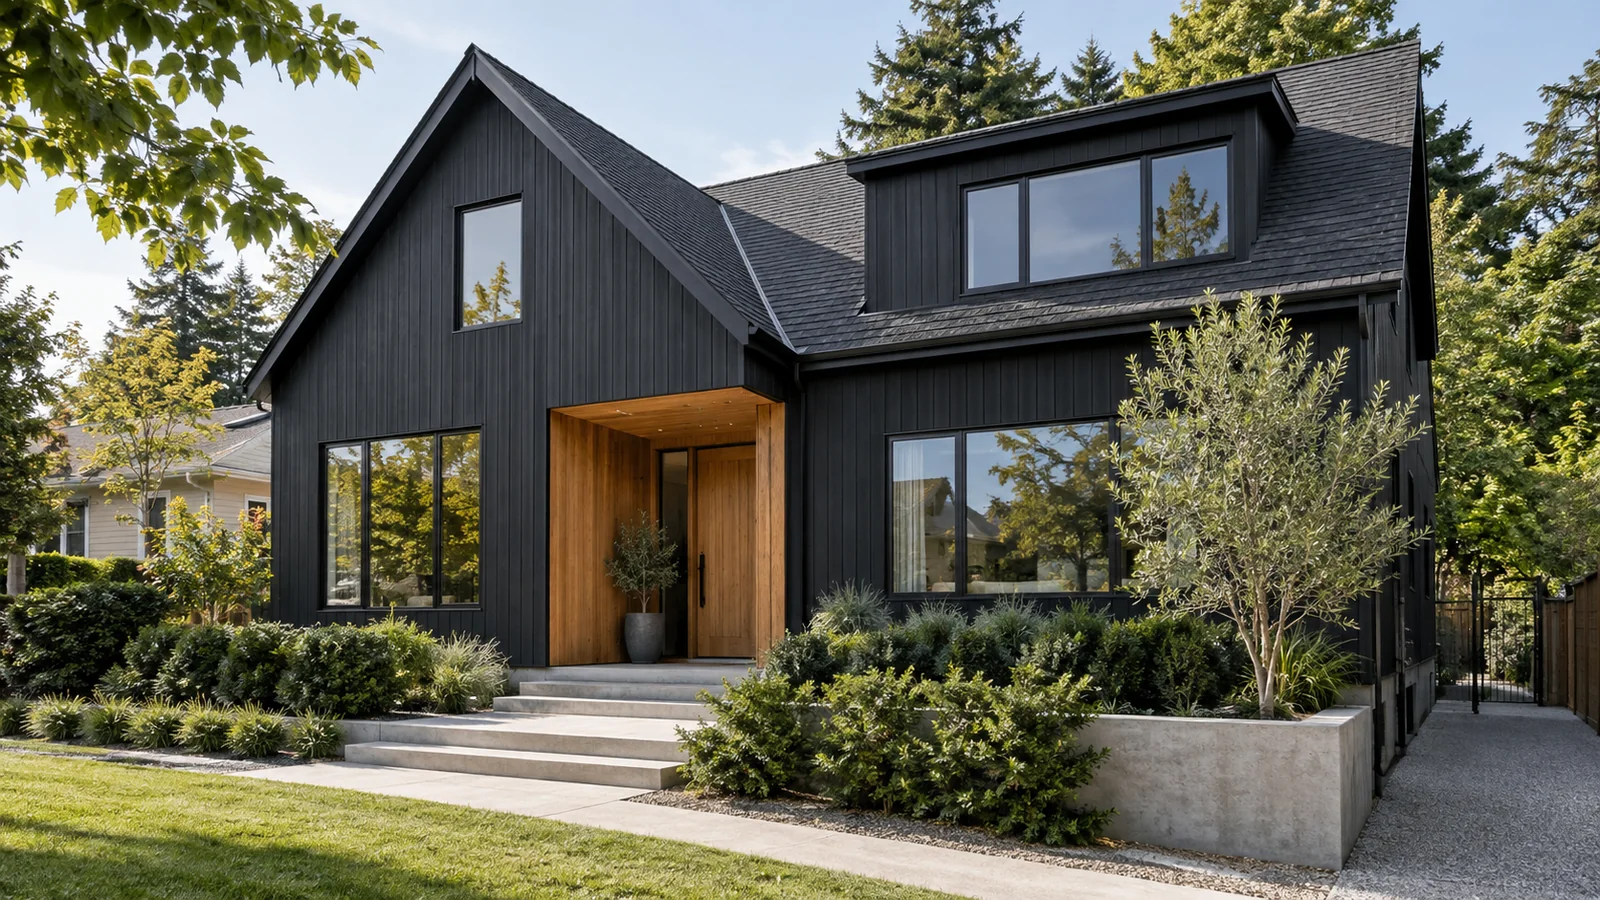
The photographs that make a black house with timber look effortless rarely show the decision facing someone who has just bought their first home. The roof, windows, paving and perhaps old brickwork are already there, and you may still be learning which parts need repair. A dramatic new facade should not commit your renovation budget before those conditions are understood. This guide is for a first time homeowner planning a first exterior project on an older house. It shows how to mark what stays, choose one useful place for cedar, test black finishes on the actual building and ask for comparable contractor quotes. You can give the entrance warmth without recladding every wall. The useful result is a phased elevation and a clear brief: what to repair, what to finish now and what can wait.
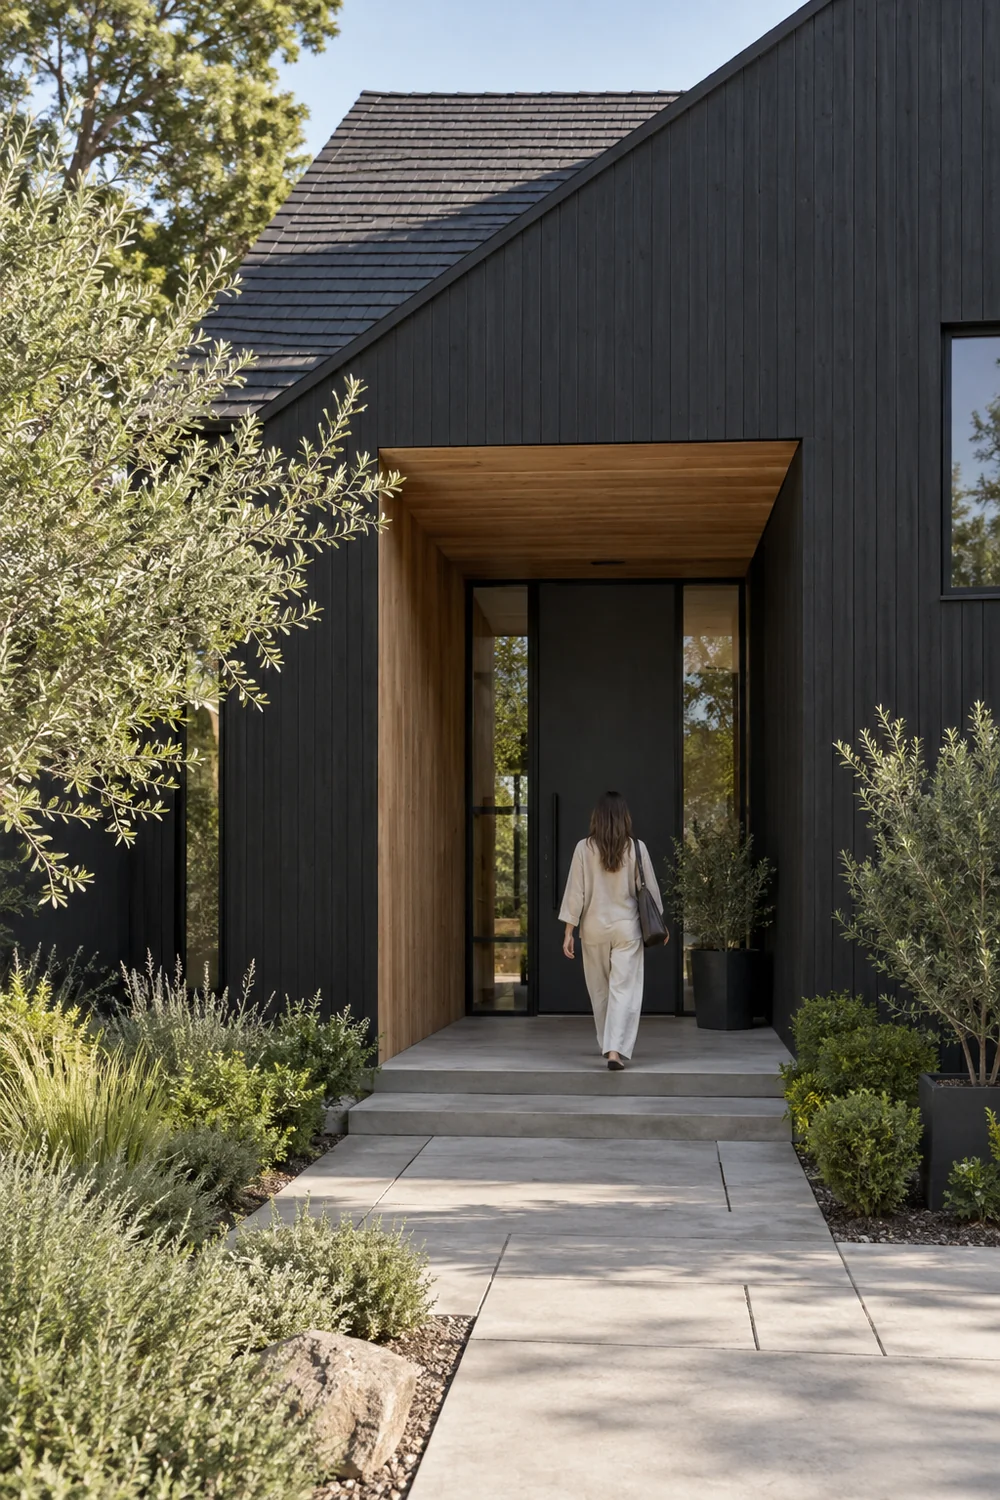
The first photograph to take after getting the keys is not a close view of paint. Photograph the whole front elevation from the street and the route you actually use to reach the door. Mark the roof, windows, wall materials, garage, path, vents and drainage. You have not yet lived through every season in this house, so separate what you can see from what still needs inspection. A black finish may be the right design move, but it cannot tell you whether old render is sound or why a sill is stained.
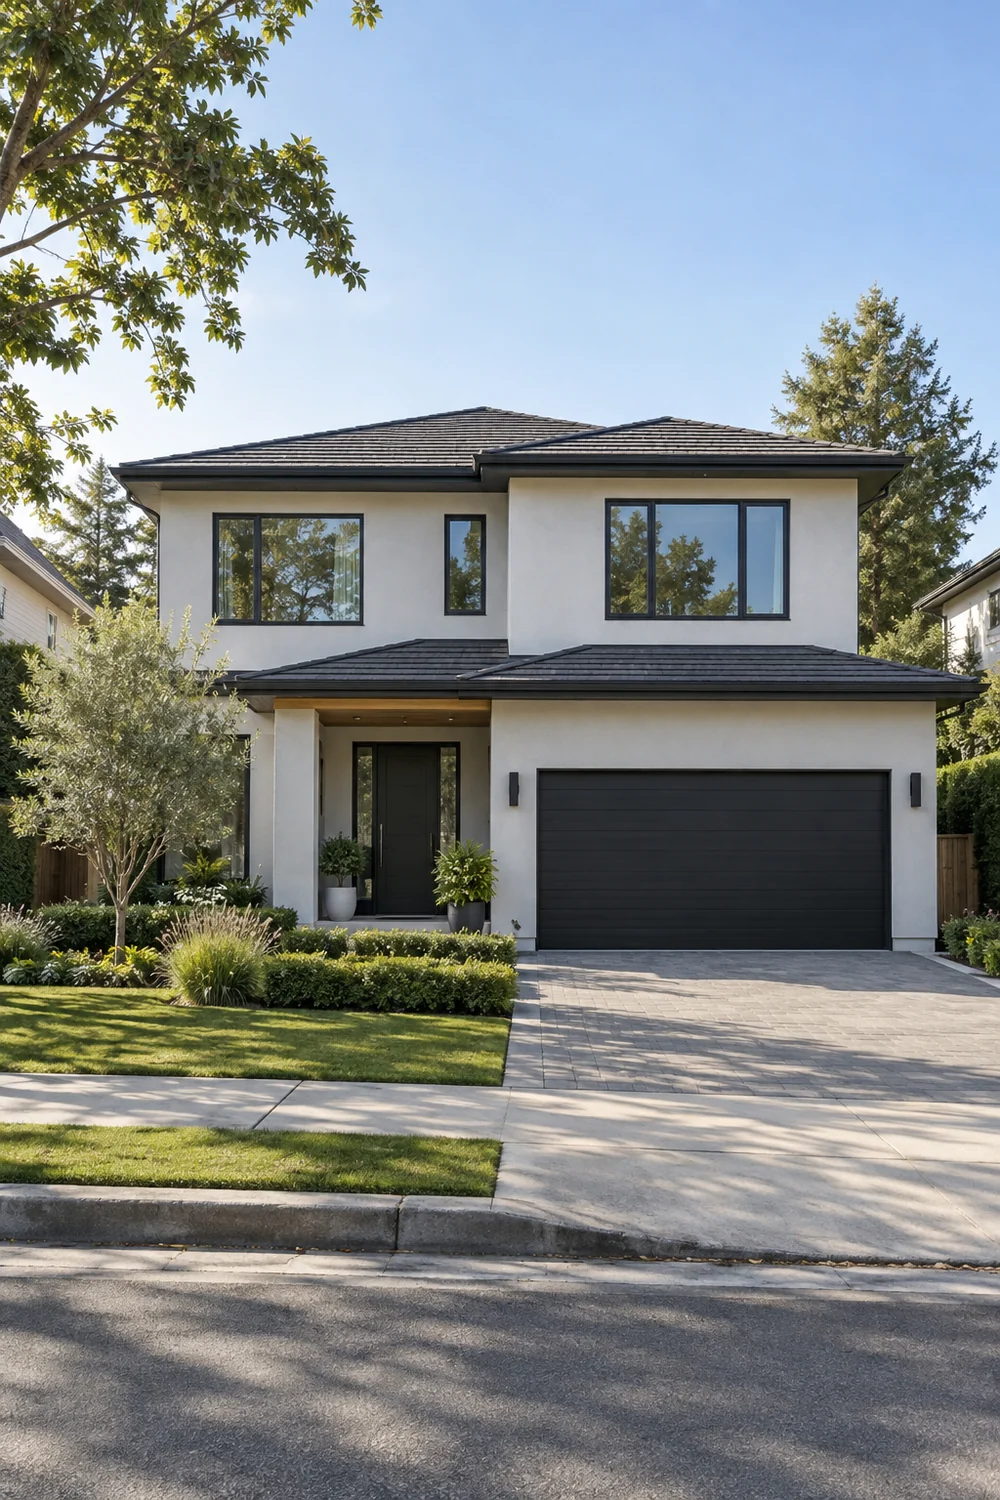
Make a keep, change and inspect schedule on that drawing. A sound roof and functioning windows belong in keep. The proposed black wall and cedar entrance belong in change. Cracked pointing, loose render, blocked vents or damp marks belong in inspect. Ask a qualified person about those issues before asking a contractor to cover them. For a first owner, this order prevents a cosmetic quote from hiding a repair scope and gives every contractor the same starting information.
Separate what you can change into three groups: surface finish, applied material and landscape. Painting an existing suitable surface may be a different project from installing new cladding. A new timber screen may hide a poor junction in a photograph while adding a difficult junction in real life. Put drainage, ventilation openings and access for maintenance on the same elevation as the visual plan. Do not draw timber over a vent or let a new finish hide a damp problem. Ask a suitably qualified professional to assess substrates, moisture and any permissions before specifying exterior materials.
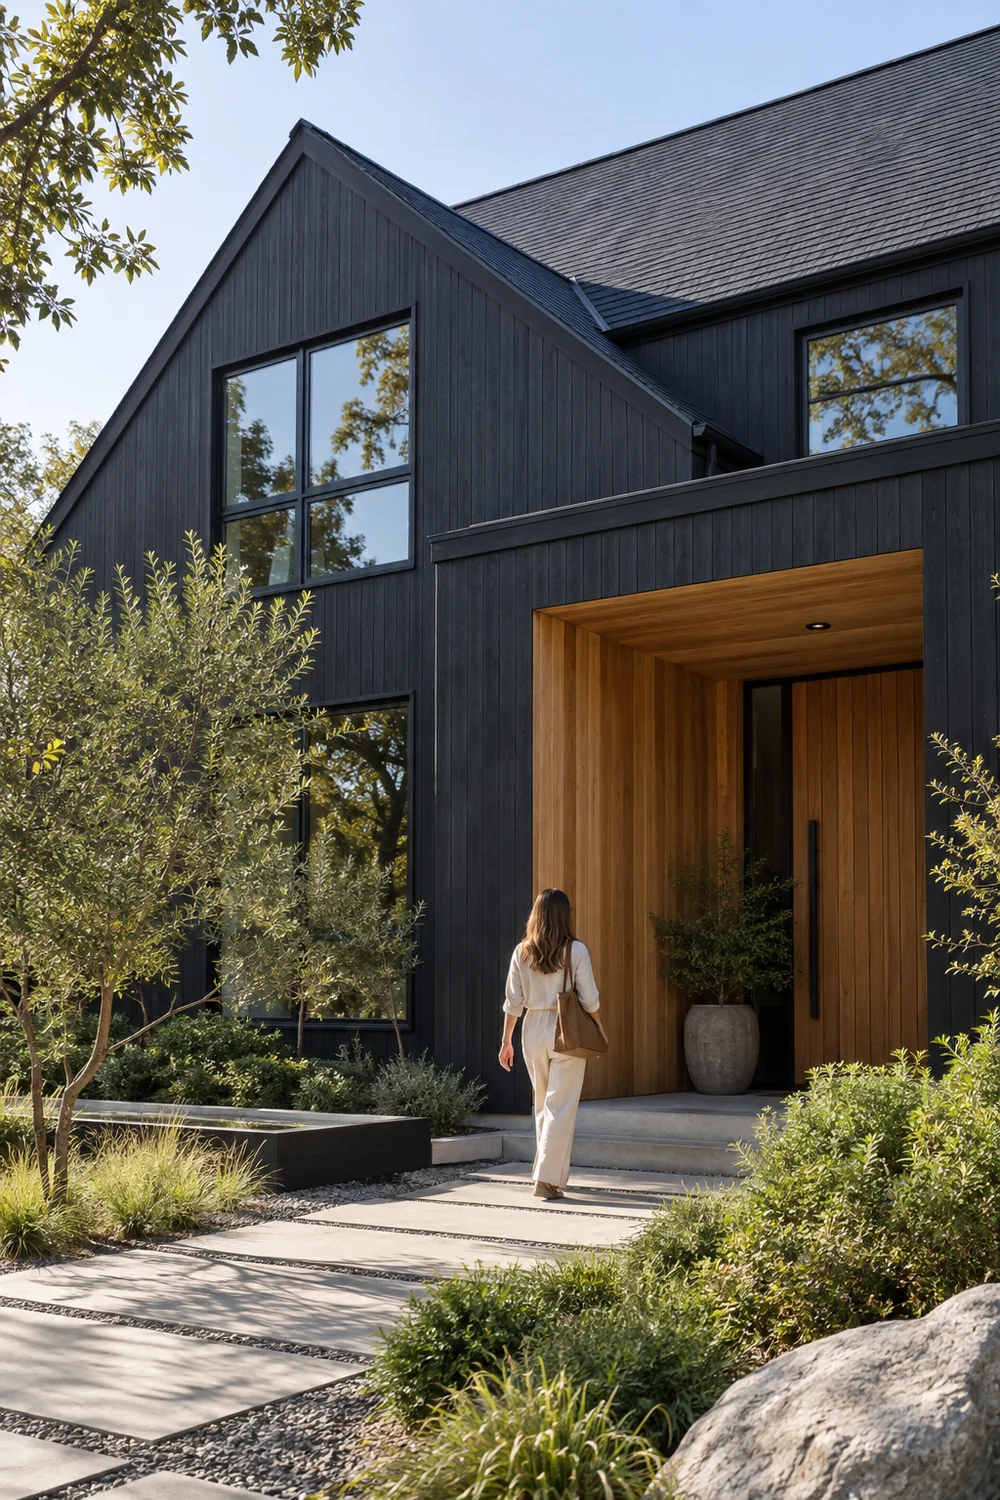
As a new owner, you may feel pressure to make the front look like yours immediately. Give that impulse a useful boundary: choose the part of the facade that would most improve arrival. A recess, canopy or return wall may already point to the door; if a garage dominates the view, the entrance may need clearer emphasis. Save modern black house exteriors as references only when they share a roof line, window rhythm or material junction with your house. The right comparison is one that helps you decide what to keep, not just one that photographs well.
Walk the schedule around the house before finalising it. The black finish could be phase one only if the surface below it is suitable; the cedar detail could wait if the entrance is already legible. List any unknowns beside a photograph and ask what investigation would resolve them. Your aim at this stage is not a finished specification. It is a small set of decisions that distinguishes necessary work from the design change you want to buy.
For a first home, it can be tempting to price a complete dark makeover from one inspiration image. Instead, sketch a first phase that changes only one coherent wall or volume while leaving sound surfaces intact. Compare that with the cost of the whole facade. If the smaller scope still makes architectural sense, you have a route forward if the condition survey or quotes reveal repairs you did not expect. Avoid a half finished pattern of unrelated painted patches: the boundary of a phase should follow a real corner or material change.
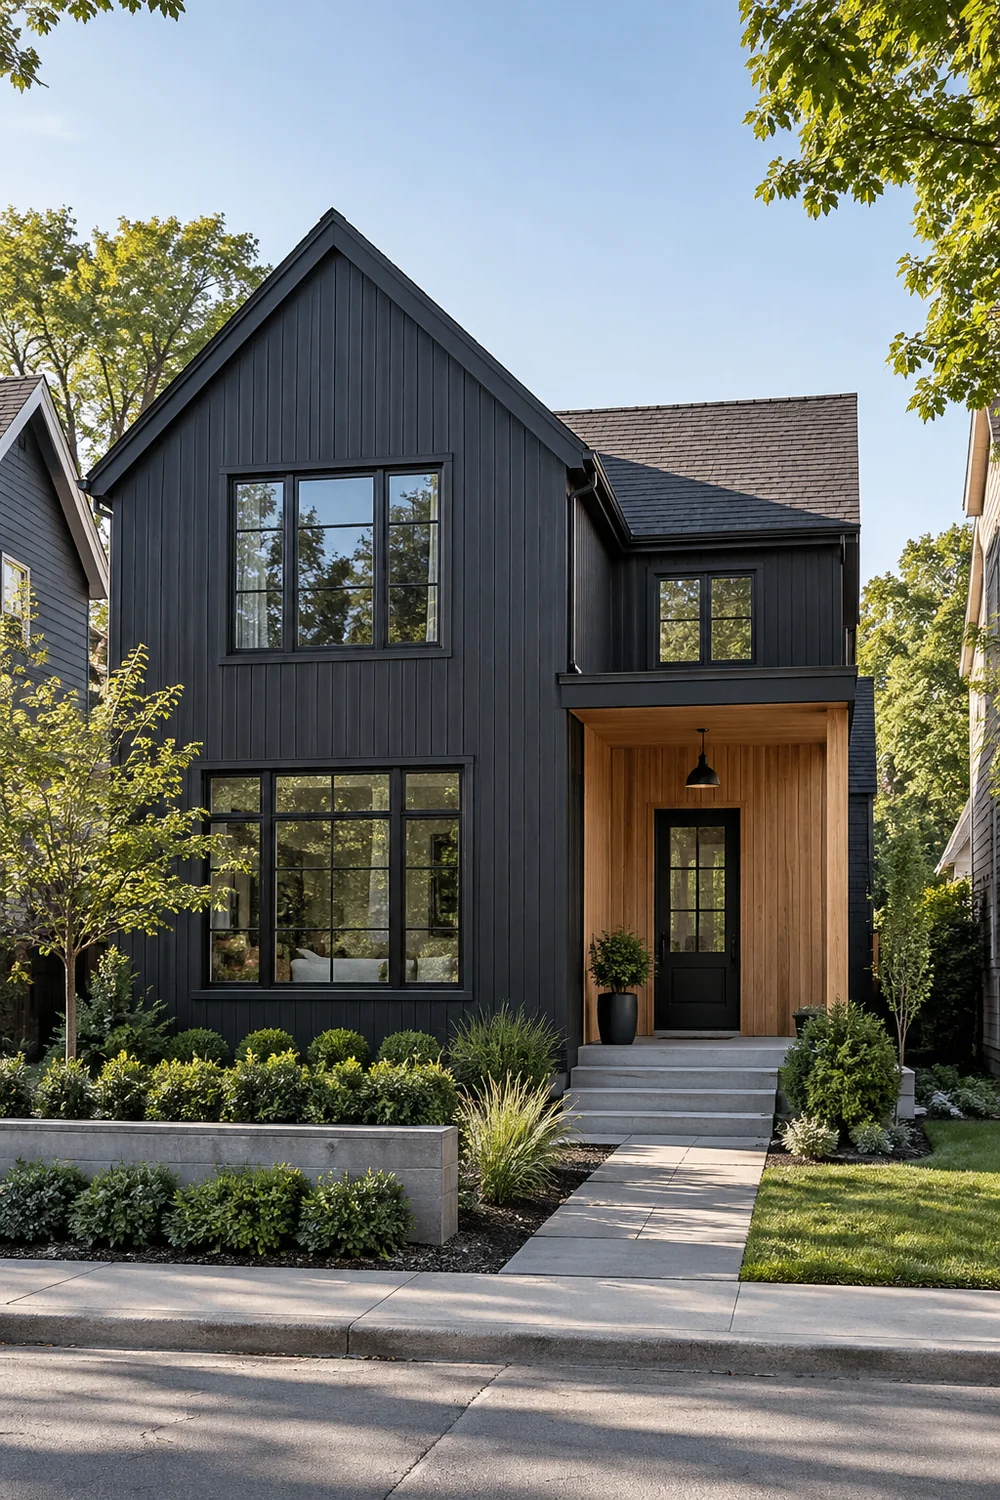
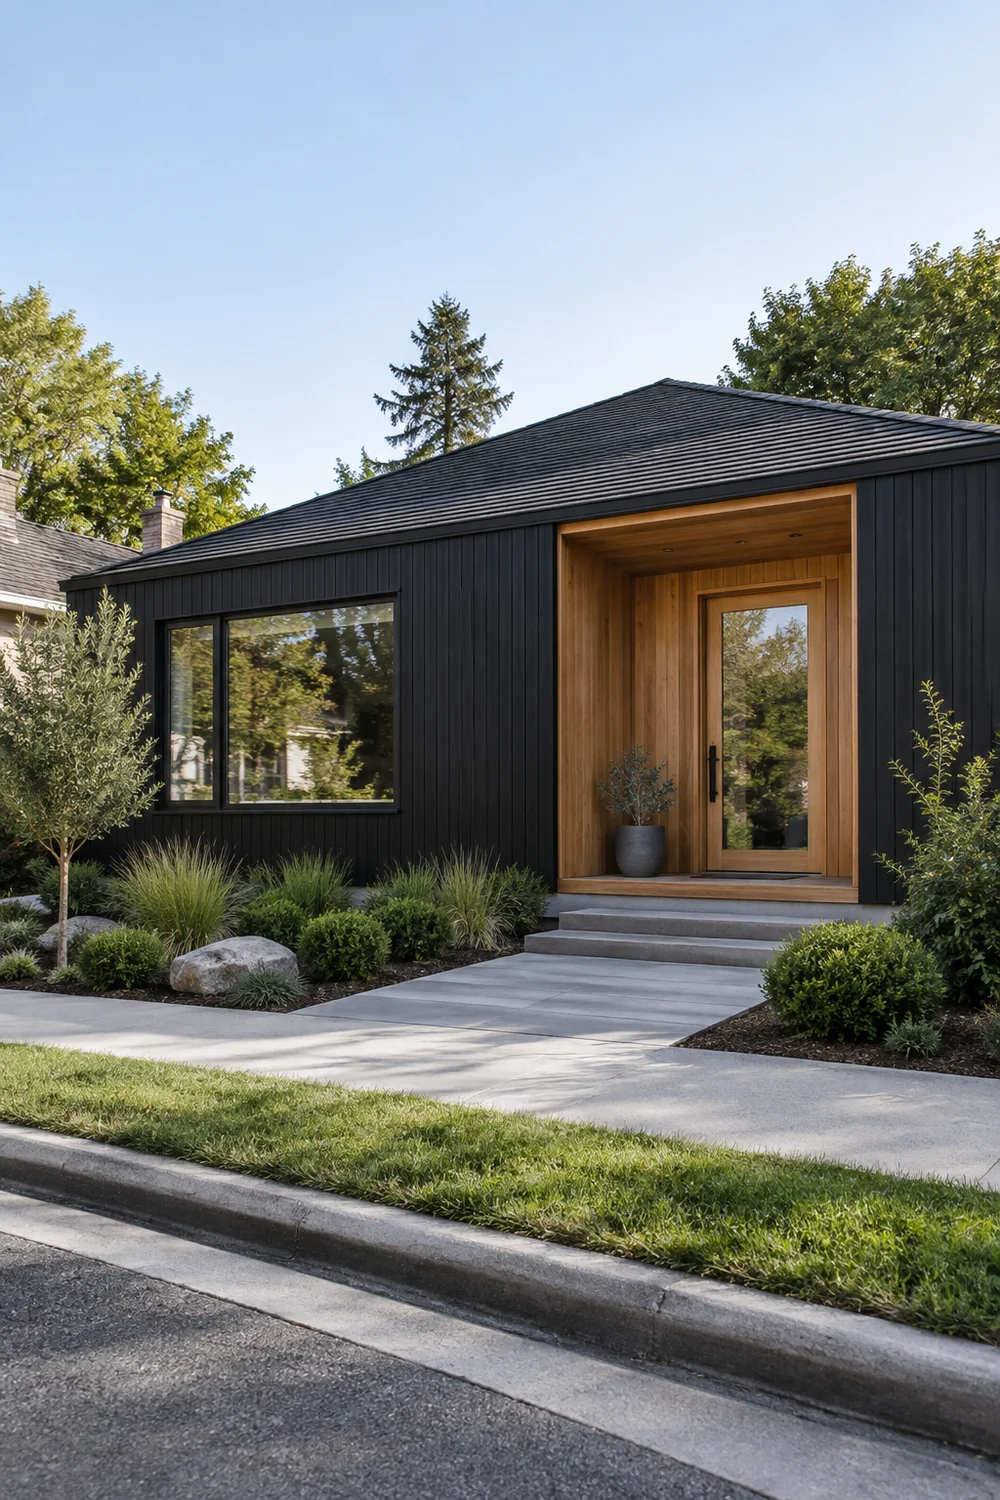
Use one dominant dark field rather than colouring every small element independently. On a house with a simple main volume and a set back porch, the main wall might become soft black while the porch receives timber. On a house where the main brickwork has character worth keeping, a black extension, upper volume or garage could be the dark field instead. The boundary should follow a real change in plane, material or architectural volume. A random line across the middle of a wall usually looks like a graphic pasted over the building.
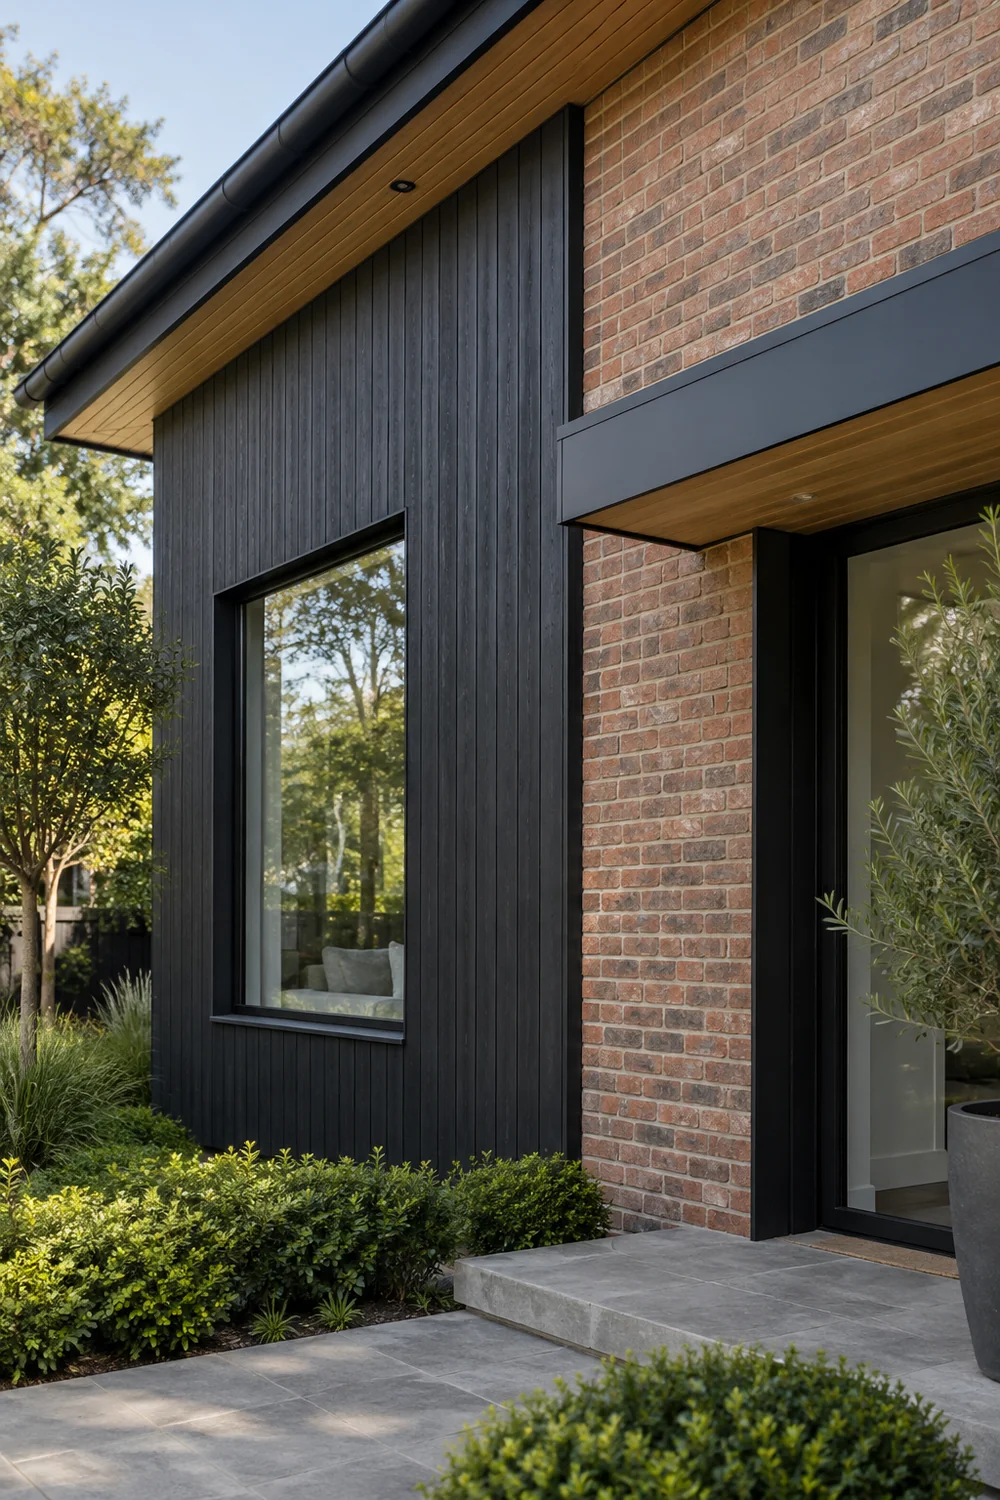
Your first exterior quote is easier to control when each black surface has a name on the elevation. Ask whether paint is appropriate for the existing substrate or whether cladding requires preparation, ventilation and new junction details. Compare soft mineral black and charcoal against the roof and window frames you intend to keep. A colour that works in a saved image may make an older roof look faded in place. Record the actual finish system, not just a colour name, so the price reflects the same treatment you tested.
Give the black finish enough uninterrupted area to read as an architectural decision. If every panel, trim, downpipe and door is a slightly different dark tone, the eye notices those inconsistencies before it sees the house. Keep the palette small and draw each finish on the elevation. Mark where black meets masonry, glazing, roof and ground. At each meeting point ask where rain will go and how the material can be maintained. For a wider explanation of massing and surface hierarchy, the modern exterior design guide is a useful next question. Here, the immediate decision is which part of your existing house becomes the background for timber.
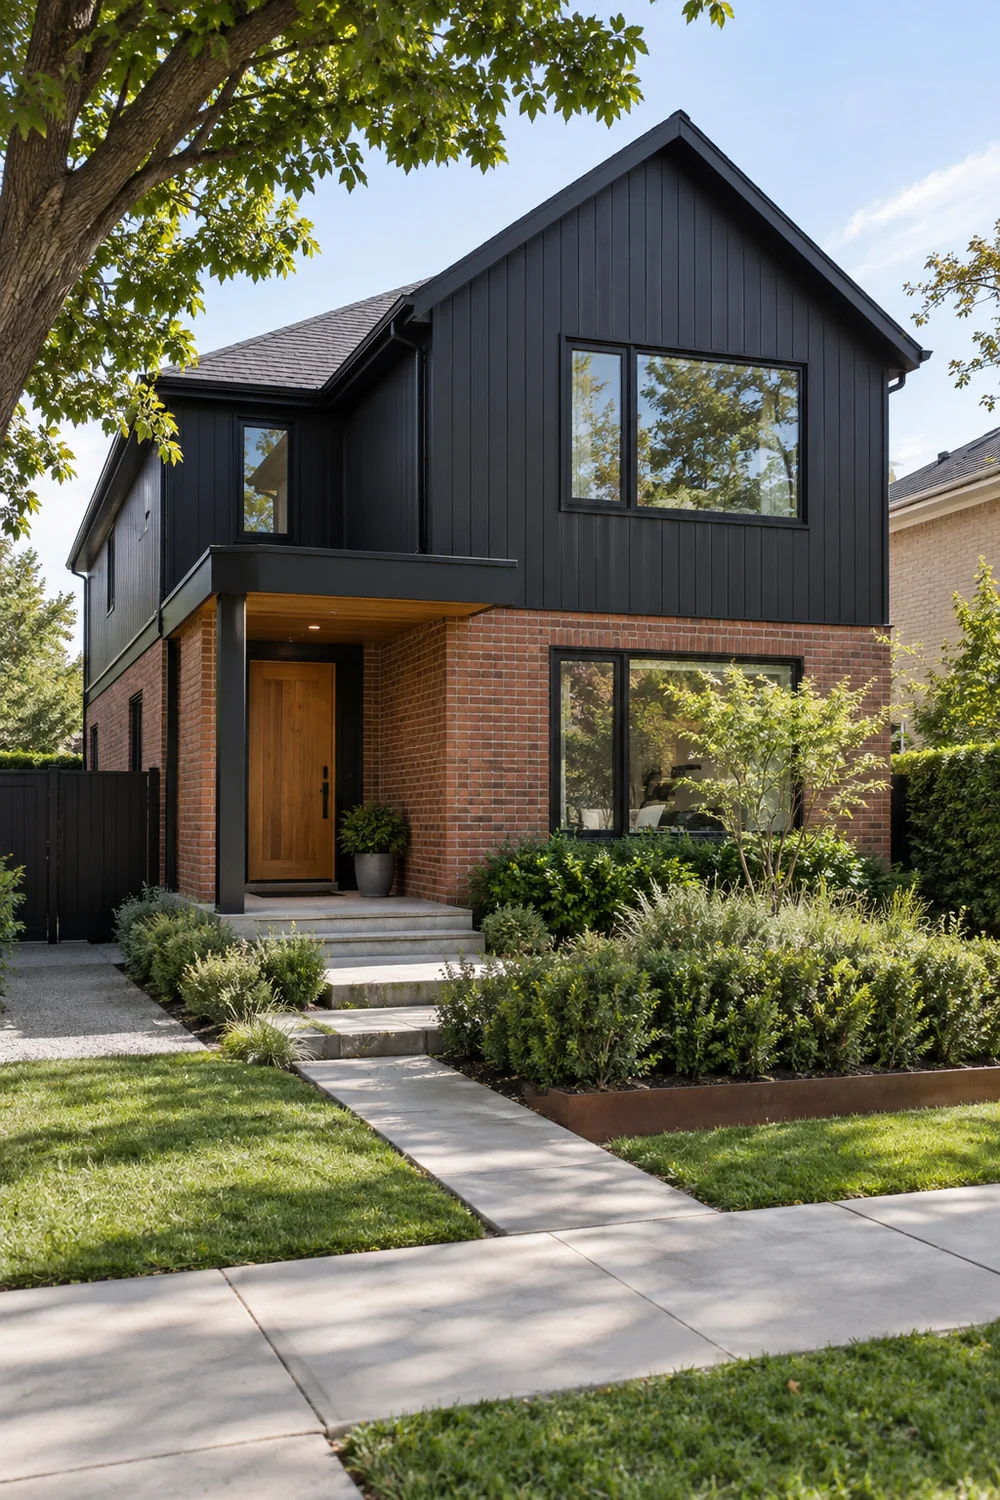
Stand in the street and ask whether the proposed first phase would look complete if you stopped there for a year. One dark volume ending at a building corner can look intentional; scattered black panels waiting for later work can look accidental. Look at the garden and neighbouring buildings from that same position, then note any path, step or drainage work that the exterior finish might disturb. That gives a new owner a useful choice between a smaller coherent project now and a larger project after the house has revealed more of its needs.
A first exterior budget benefits from giving cedar one job rather than treating it as decoration across the house. Ask for the porch recess, door surround or soffit to be priced as a distinct item with its own fixing, ventilation and finishing detail. This lets you compare a timber entrance with a simpler painted entrance without changing the whole black field. If you defer the wood, make sure the underlying dark facade still looks complete; do not leave a conspicuous blank panel waiting for a later phase.
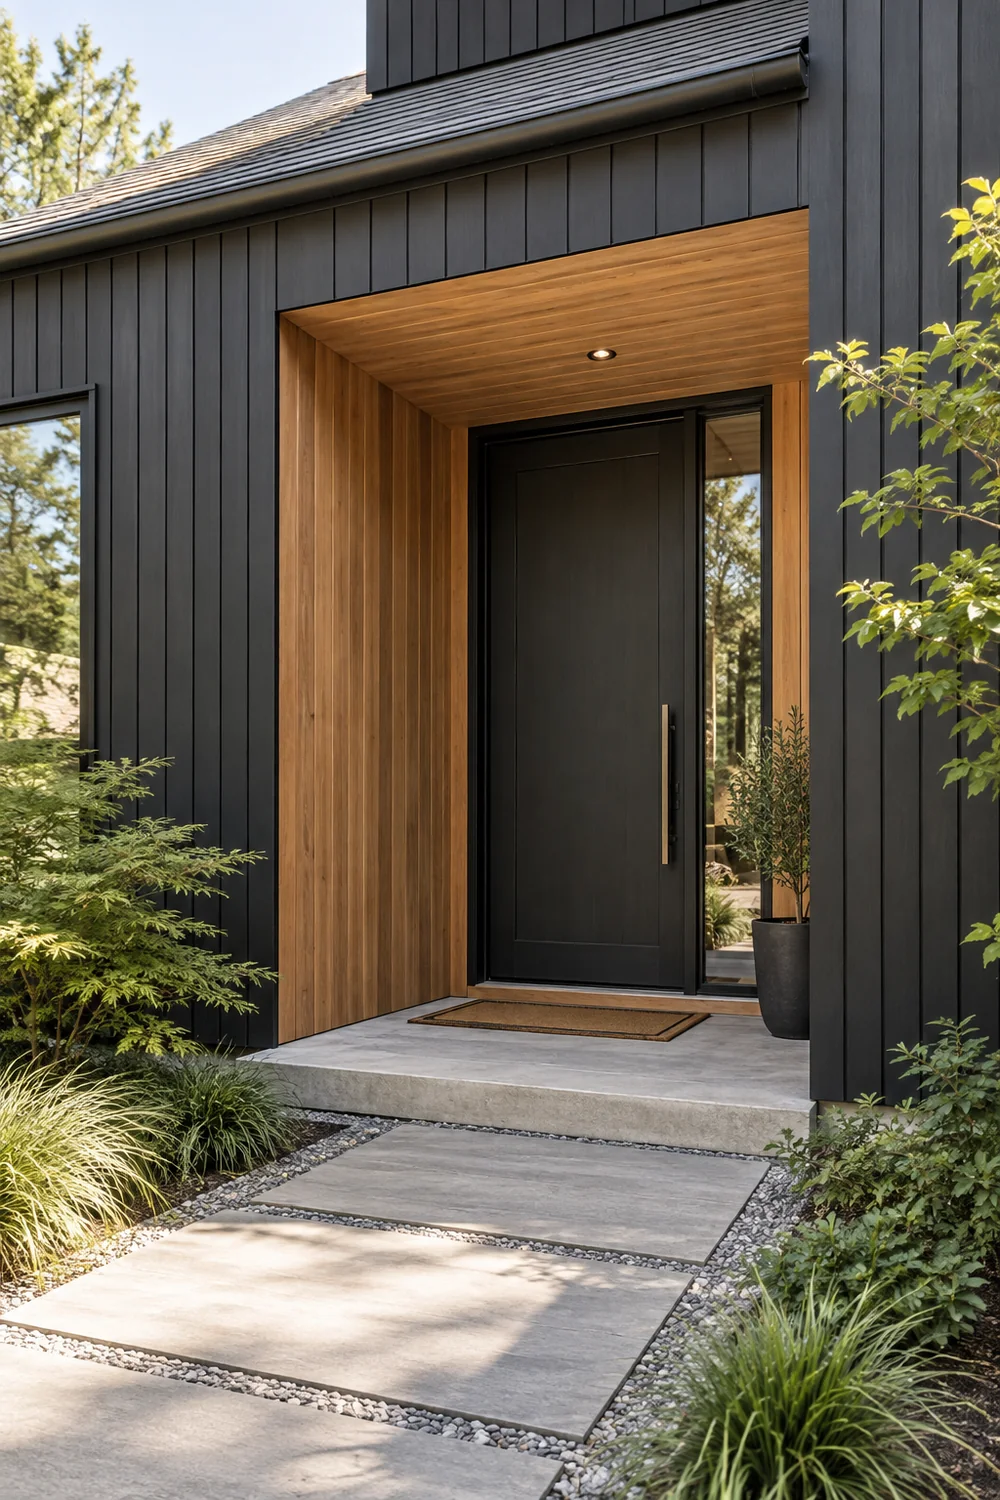
Timber is especially easy to overspecify when you are trying to give a first home an identity quickly. Start with the moment you approach and touch: a recessed door, porch ceiling or short return wall. Mark one location on the elevation and ask whether it helps a visitor find the entrance. If you remove every other cedar patch from the drawing and the composition becomes clearer, keep the simpler version. This is also easier to describe and price as a separate item in your first contractor brief.
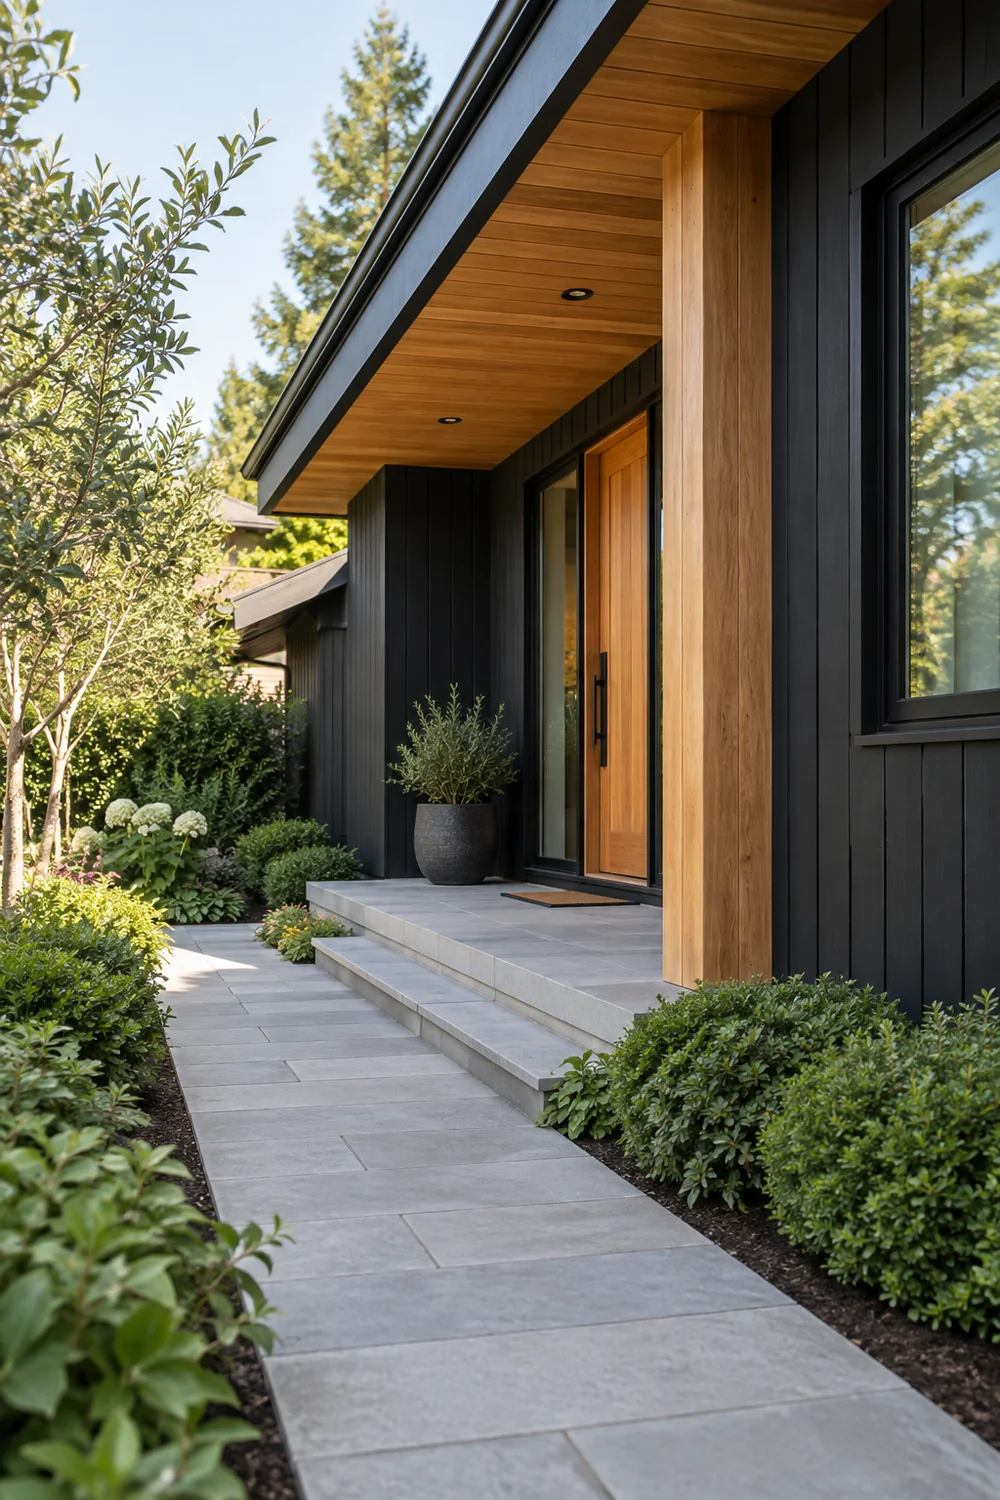
Draw the wood as one clear shape on your elevation. A vertical band should align with a door, window edge or wall return. A horizontal soffit should belong to a canopy or overhang. If the door is already timber, decide whether that is enough. Adding matching cladding around it may strengthen the entrance, but a second wood tone nearby may dilute the effect. For owners comparing a more traditional version of the idea, black farmhouse exteriors show how trim, porches and roof forms change the way a dark wall is read. Keep the references that match your architecture and leave the rest behind.
Cedar on a new mood board is warm, but you are the person who will live with its weathering and upkeep. Ask for the product and finish system proposed for your exposure, how the boards are ventilated and fixed, and what the supplier expects them to look like after several seasons. Request a sample or credible weathered reference. Add the expected cleaning or refinishing task to your first home maintenance list before deciding that a larger timber area is affordable to own.
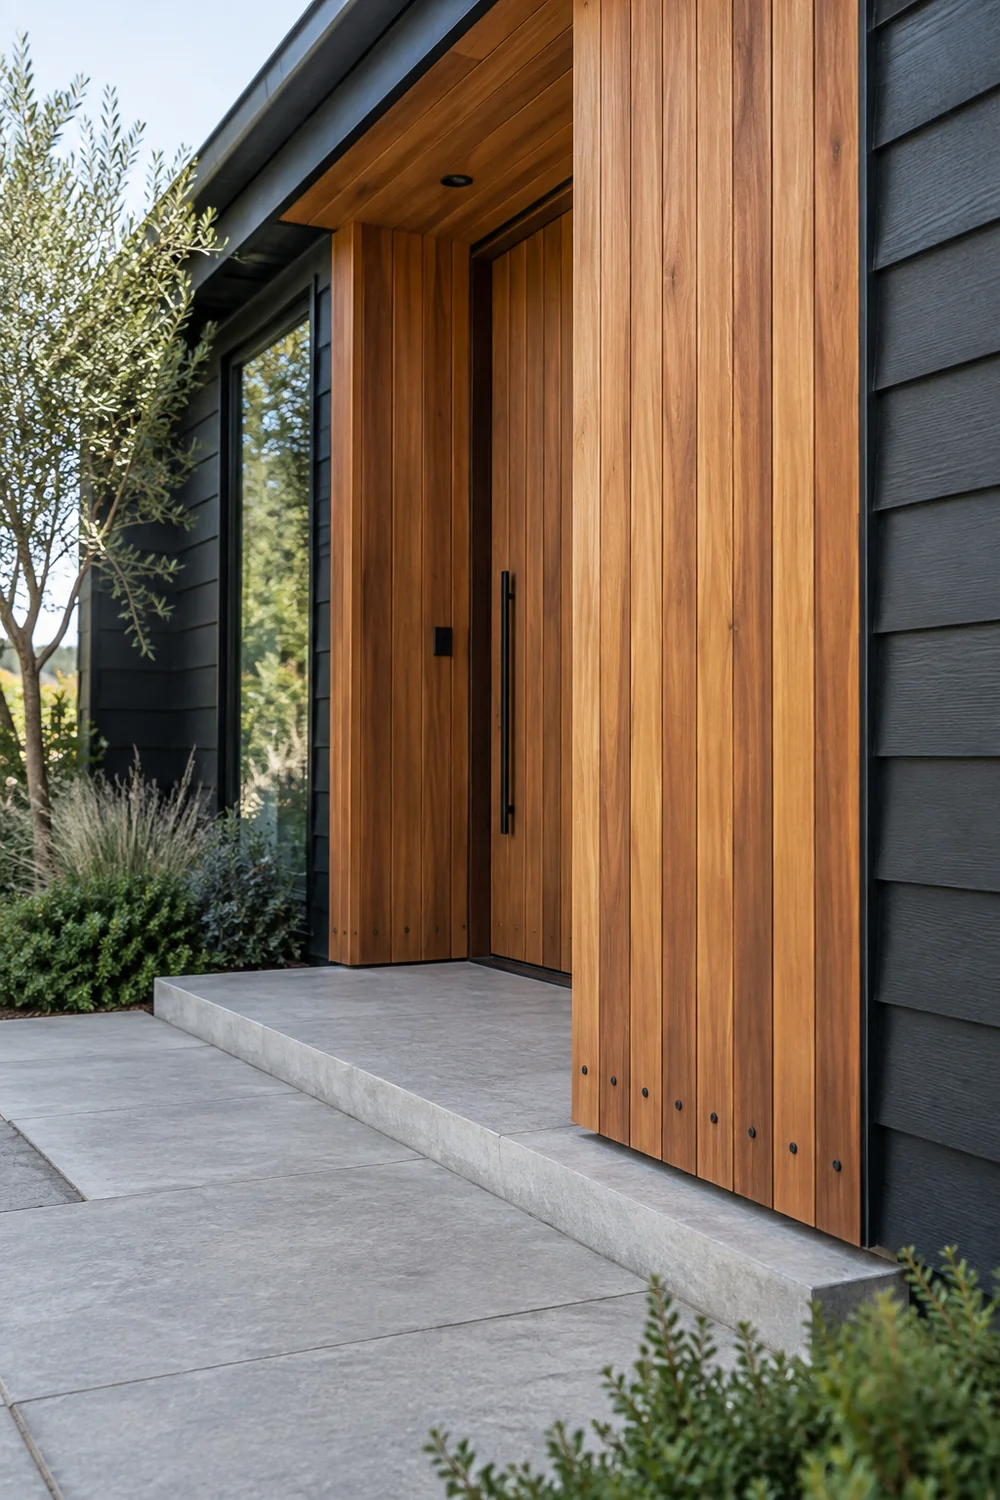
Test the marked cedar area from the pavement, the gate and the normal walk to the door. A recess that appears rich in a close photograph may vanish from the street; a large panel may compete with the garage. If your first phase omits cedar for cost reasons, make sure the black wall and existing door still form a complete entrance. If cedar is essential to the composition, protect that one correctly detailed area and defer less useful decorative strips.
A new owner may not yet know how the entrance behaves through a full winter. Before moving steps, covering a plinth or changing the path, watch where rainwater collects and which parts of the route become slippery or dark. Keep the sound roof and windows in your drawing and use them as fixed colours. This is a practical advantage: the first project can improve the view from the street without turning into an unplanned roof or glazing replacement.
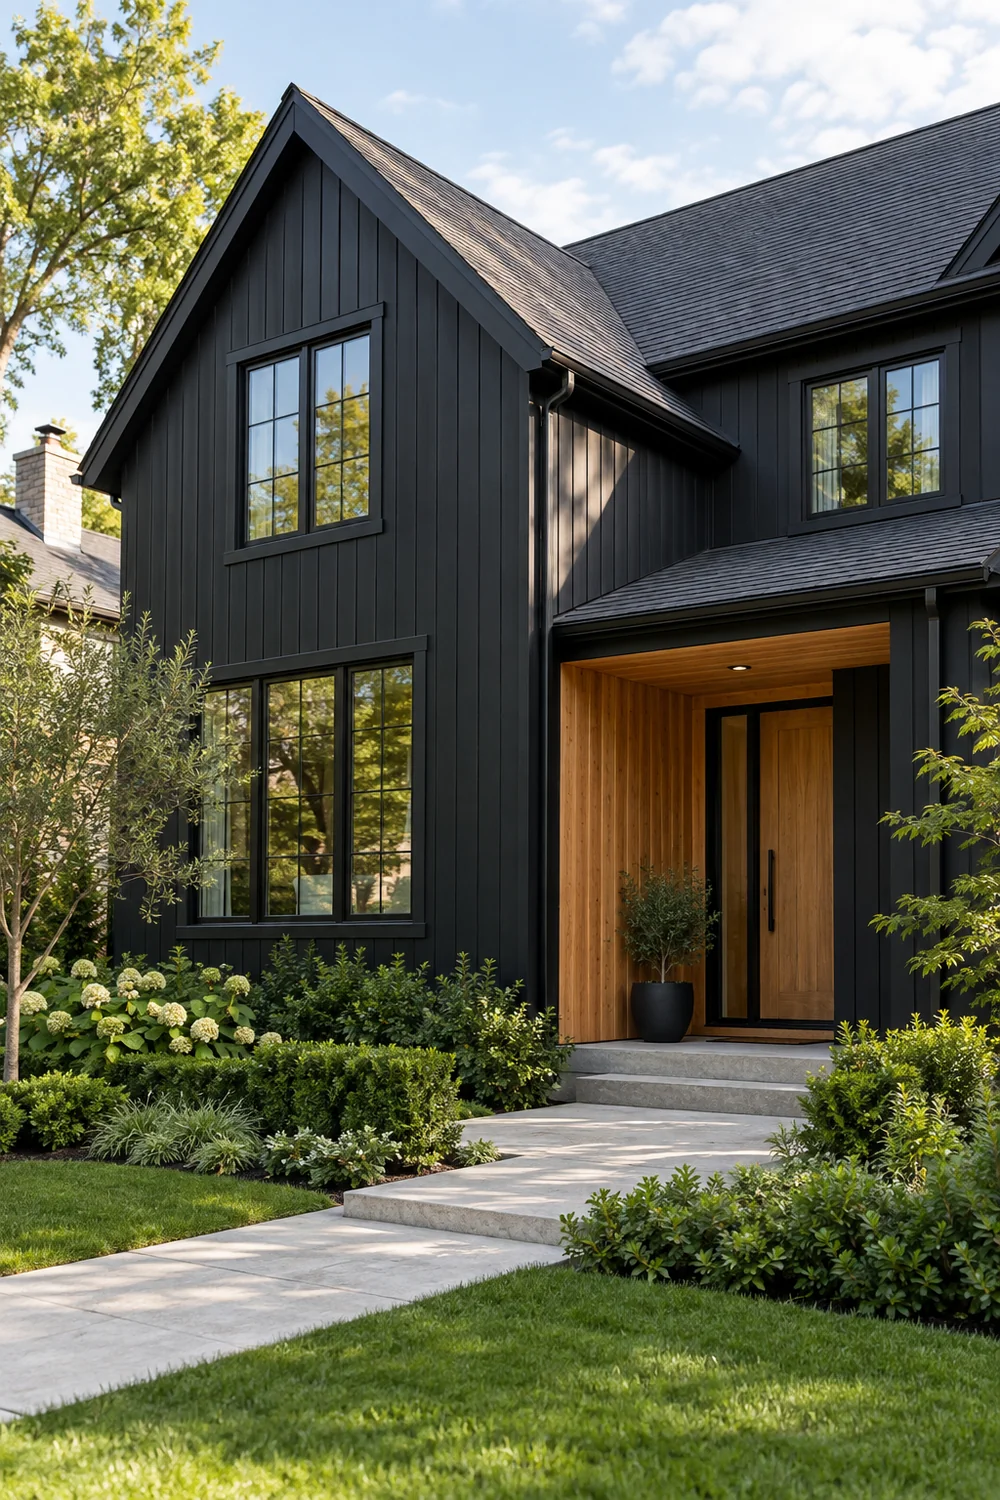
The roof and windows came with the house; replacing sound ones to match a Pinterest photograph may turn a facade project into a much larger renovation. Put their actual colours beside your black and cedar samples. If white frames remain, repeat their reveal detail consistently; if a warm roof remains, check whether cedar connects with it or fights it. Treat these retained parts as design inputs, not compromises you must disguise. A first owner can often make a stronger exterior by deciding what already works before ordering anything new.
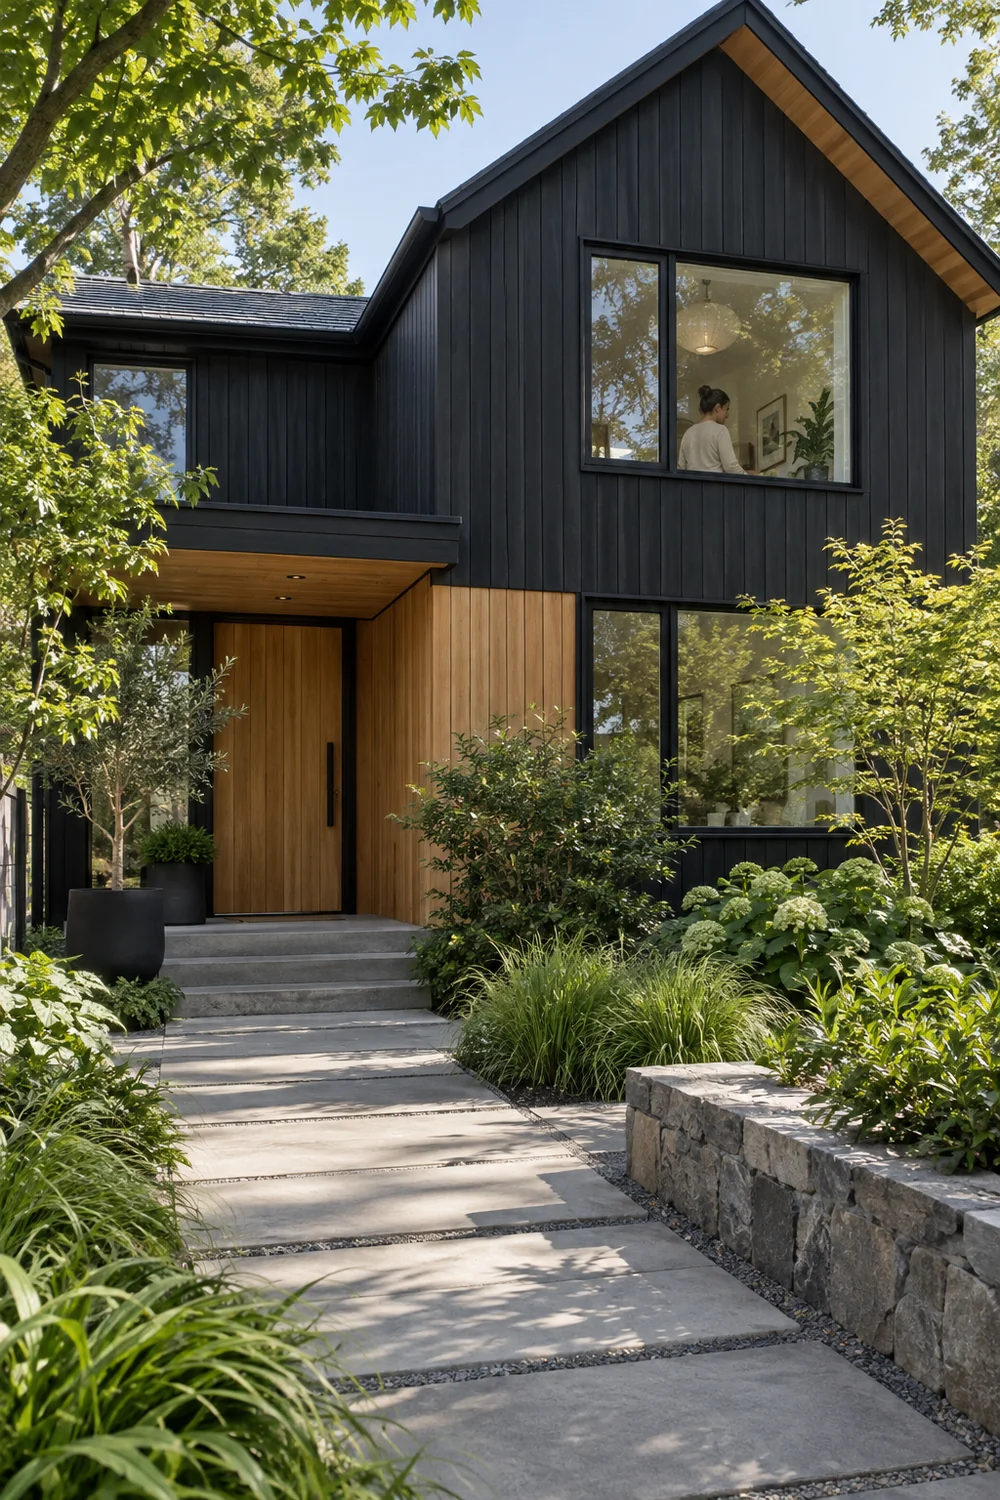
Think about the entrance after sunset as a practical route. The front door, steps and path should be readable without turning the entire black facade into a lit backdrop. Put lighting where it helps a person arrive safely and find the lock. Shield fittings from direct glare and check that the timber recess does not become a dark hole. The modern farmhouse exterior lighting plan addresses the separate task of lighting an approach; use it for placement questions while keeping this project focused on surface and timber decisions.
Planting can soften the edge of a dark wall, but it should not be asked to hide an unresolved facade. Mark mature plant spread and access for cleaning or retreating timber. Deep green foliage will sit differently against black from silver leaves or pale grasses. Take a garden photograph in the season when the facade is most exposed. If the black surface feels too severe only when the planting is gone, the material balance may need adjusting before planting is used as a remedy.
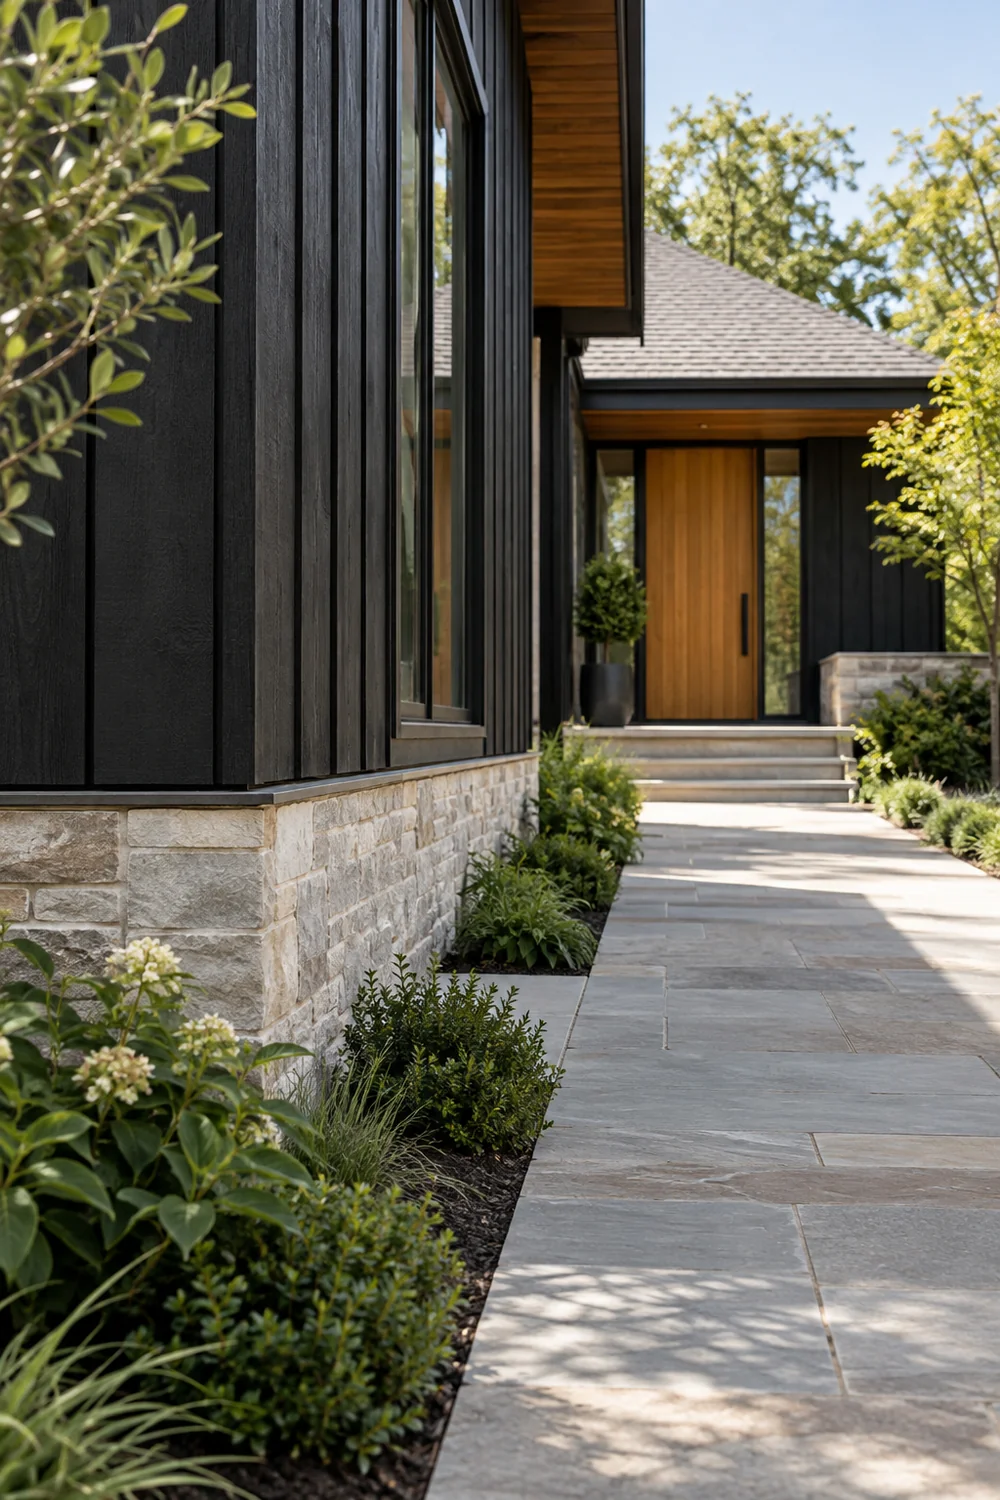
Use the first wet days in the house to learn what the path and ground plane do. Water staining, slippery steps or a dark plinth may matter more to arrival than another decorative finish. Photograph the entrance after rain as well as in good light. Existing pale paving or gravel may lift the black wall enough without new hard landscaping. If the route is unsafe or drains poorly, put that correction ahead of cedar trim in the first phase and keep the proposed wall finish clear of the necessary work.
When you are buying exterior materials for the first time, keep a sample log rather than relying on memory. Photograph each labelled sample against the wall in three light conditions and record its product name, finish, supplier and quoted price. Ask for the proposed preparation and maintenance system alongside the colour. A cheap finish with a short maintenance cycle can be a poor first choice; the comparison should include what you will have to do after the initial work is complete.
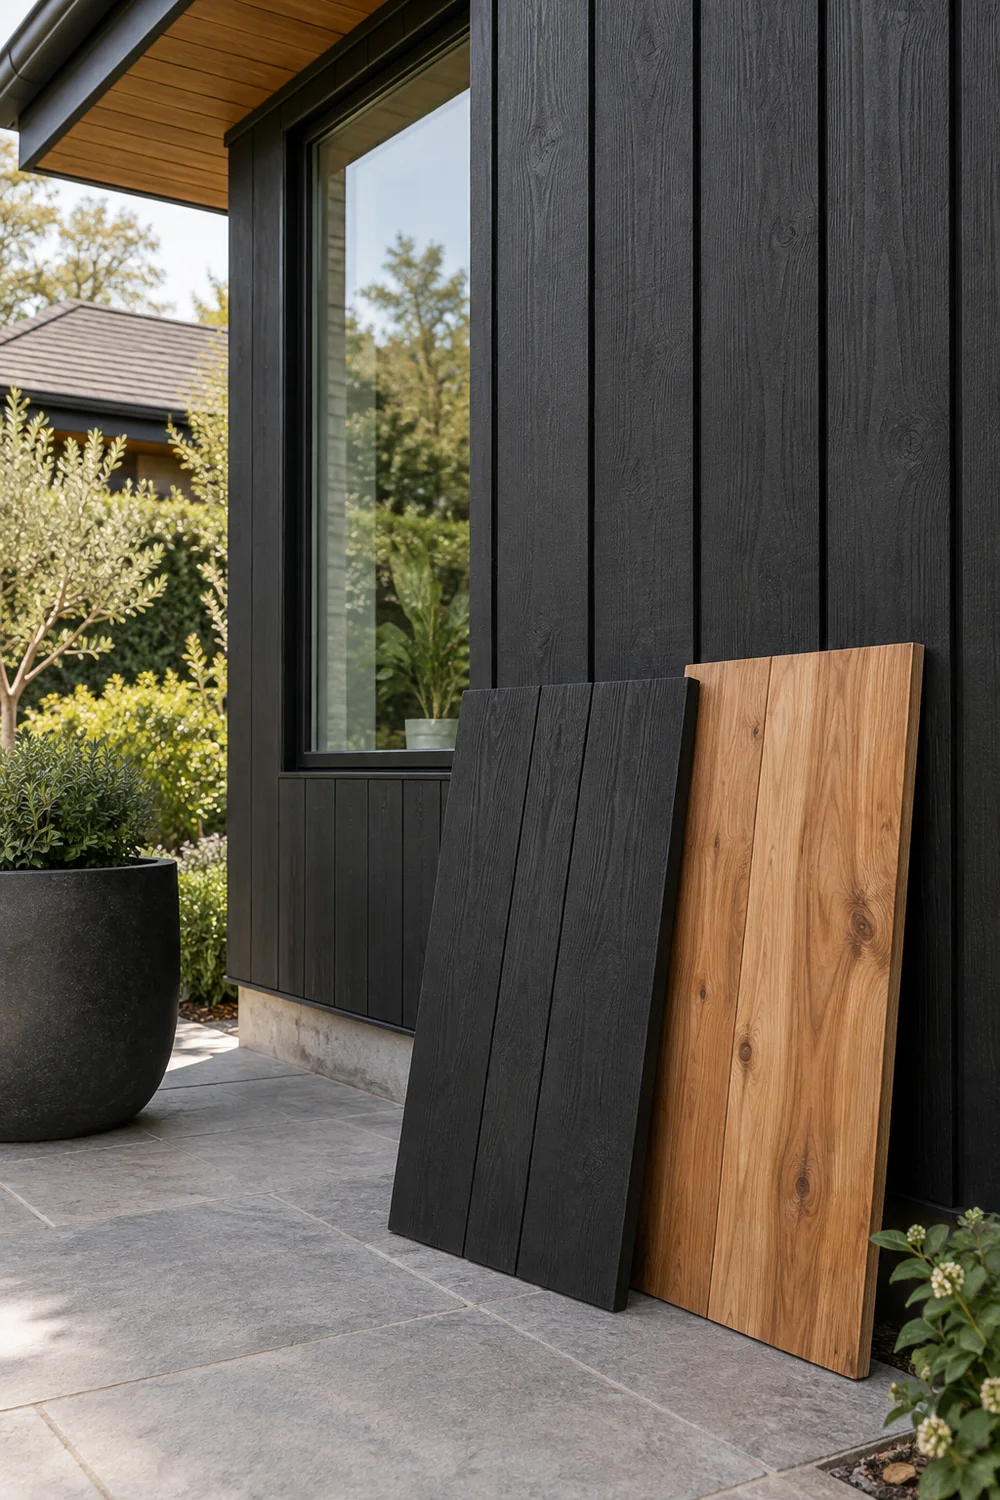
Before a first purchase, ask suppliers for the largest practical black and cedar samples and take them to your own wall. Place them beside the roof, windows, paving and any brick that will remain. View them from the pavement in morning, midday and late afternoon light. Photograph the test, but make the decision while looking at the materials: a phone can brighten deep black and warm up cedar. This step answers a more useful question than whether the colours looked attractive in an inspiration image: do they work on the house you now own?
Test the black against the retained roof and window frames, not against a blank white board. If the result feels too severe, try a softer charcoal before changing every other element. The dark charcoal house exterior examples can help you see how a slightly lifted dark tone behaves with timber and stone. The point of the test is to learn which finish works on your own building, not to collect more images that all look good on a screen.
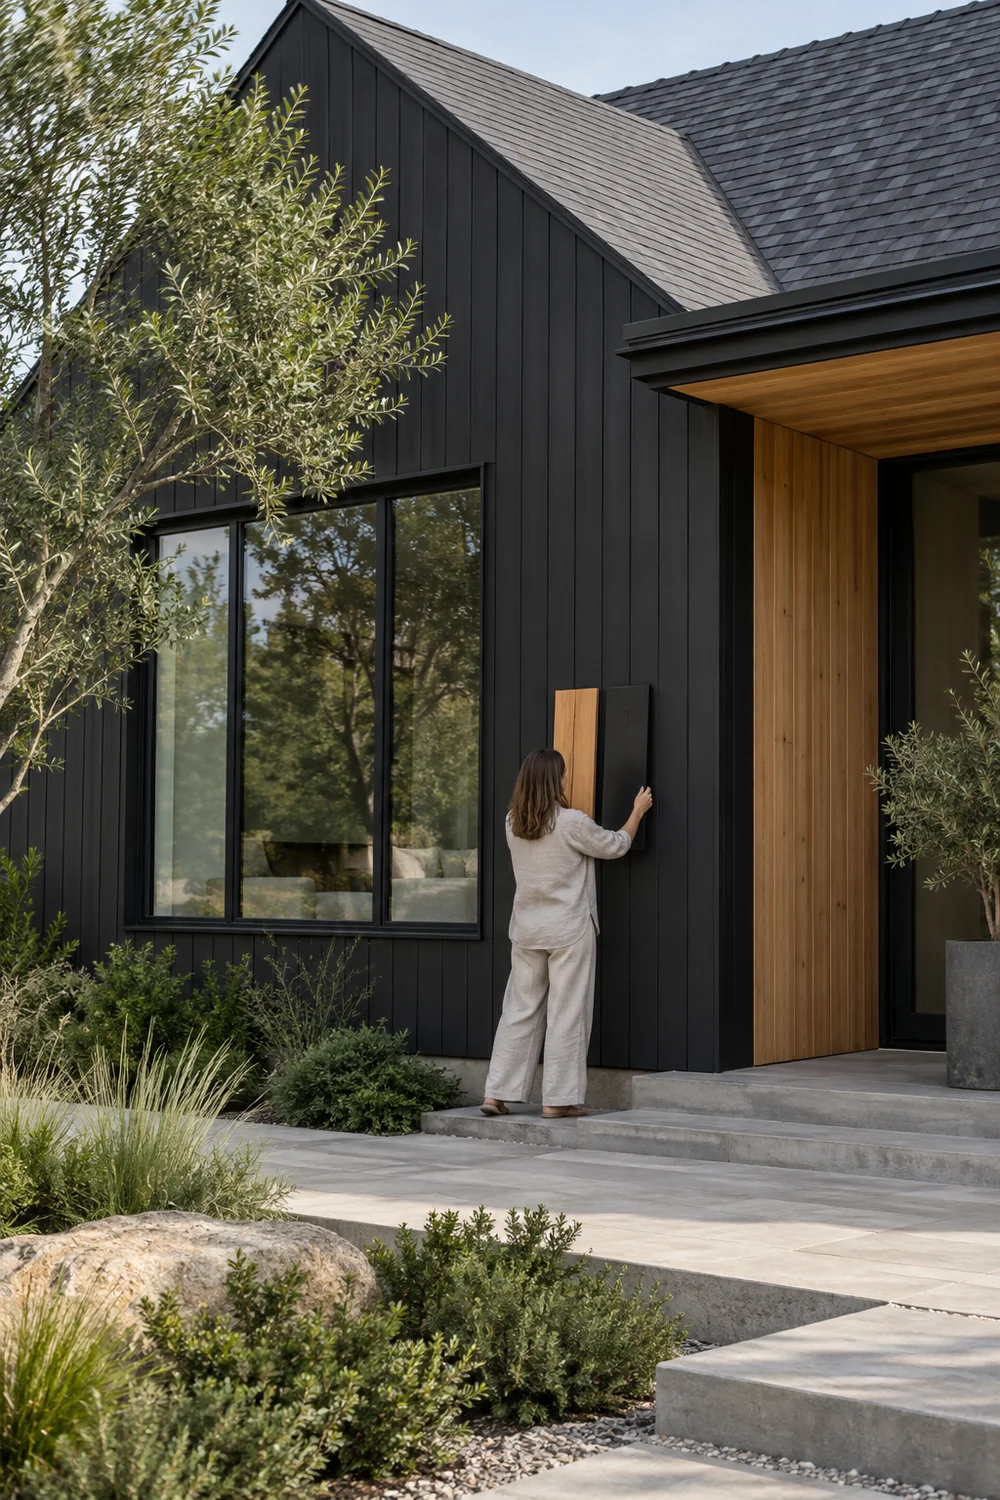
Ask what the cedar sample will look like after exposure, not only on delivery day. Record its species, finish, grain direction, supplier and care instructions beside your photographs. Add the black finish system, surface preparation and expected cleaning to the same sheet. For a new owner comparing several bids, this shared sample record stops one contractor pricing a simple paint treatment while another prices a prepared cladding system under the same vague phrase, black exterior.
Tape a scaled outline at the proposed cedar entrance or use temporary boards to test the width from the street. Try a smaller version before assuming the whole porch needs timber. Keep the sample and finish decisions together with a rough first phase plan, then ask for separate prices for the black field, cedar detail and any repair work. The test should help you decide what is worth doing now, rather than becoming one more beautiful sample that never resolves the scope.
For your first exterior quote, send the same marked elevation, sample list and keep, change and inspect schedule to every contractor. Ask each to separate substrate repairs, black finish, cedar work, access equipment and any drainage or ventilation detail. Put provisional sums and exclusions in writing. This will not remove every unknown in an older house, but it makes the bids comparable and shows which attractive choices can be delayed if necessary.
Turn your first home notes into one marked elevation that someone else can quote. Show the existing roof, windows, paths and wall materials; label what stays, what changes and what needs investigation. Shade the exact black surface and draw the cedar location as one clear shape. Add the labelled sample photographs and state whether you want a complete first phase or a price for a later second phase. A contractor cannot give a comparable answer to a folder of unrelated black house images.
Ask the contractor to confirm the condition and suitability of each existing surface, the proposed preparation, moisture management, ventilation behind any cladding, fixings, fire requirements and access for future care. Requirements vary by building and location, so local professional advice should govern technical specification. Request a drawing or clear written detail for each junction where black finish meets timber, window, roof or ground. These are the places where a simple mood board stops being enough.
When the quotes come back, separate the work you must do to protect the building from the visual choices you can defer. Substrate repair, moisture management and safe access should not disappear because a decorative option looks more exciting. If the budget tightens, keep one sound dark field and a readable entrance; defer small timber accents that do not help arrival. Ask how each choice affects ongoing care so the first project remains manageable after the contractor has left.
Compare bids line by line rather than comparing only their totals. One may include surface preparation, scaffolding and waste removal while another assumes those are extra. Ask each contractor to identify provisional sums, exclusions, product assumptions, expected timber ageing and the detail where black meets brick, roof, window and ground. Agree who will approve a test area before the full finish is applied. This written scope helps you spot whether a cheaper number is simply a smaller job.
Before signing off, walk the route from the street to the front door with the elevation in hand. Check whether the new timber points toward the entrance, whether the dark field keeps the building’s main shape clear and whether the retained details still look deliberate. If one of those tests fails, adjust the drawing while the changes are still inexpensive. This final walk is often more revealing than another set of inspiration images.
A black house with wood accents succeeds when the new materials help you understand the existing building. Black provides the calm field, timber marks the useful human moment, and the retained roof, windows and garden complete the picture. Make those decisions on an elevation, test them on site and let the contractor verify the details before work begins.
