Newsletter Subscribe
Enter your email address below and subscribe to our newsletter

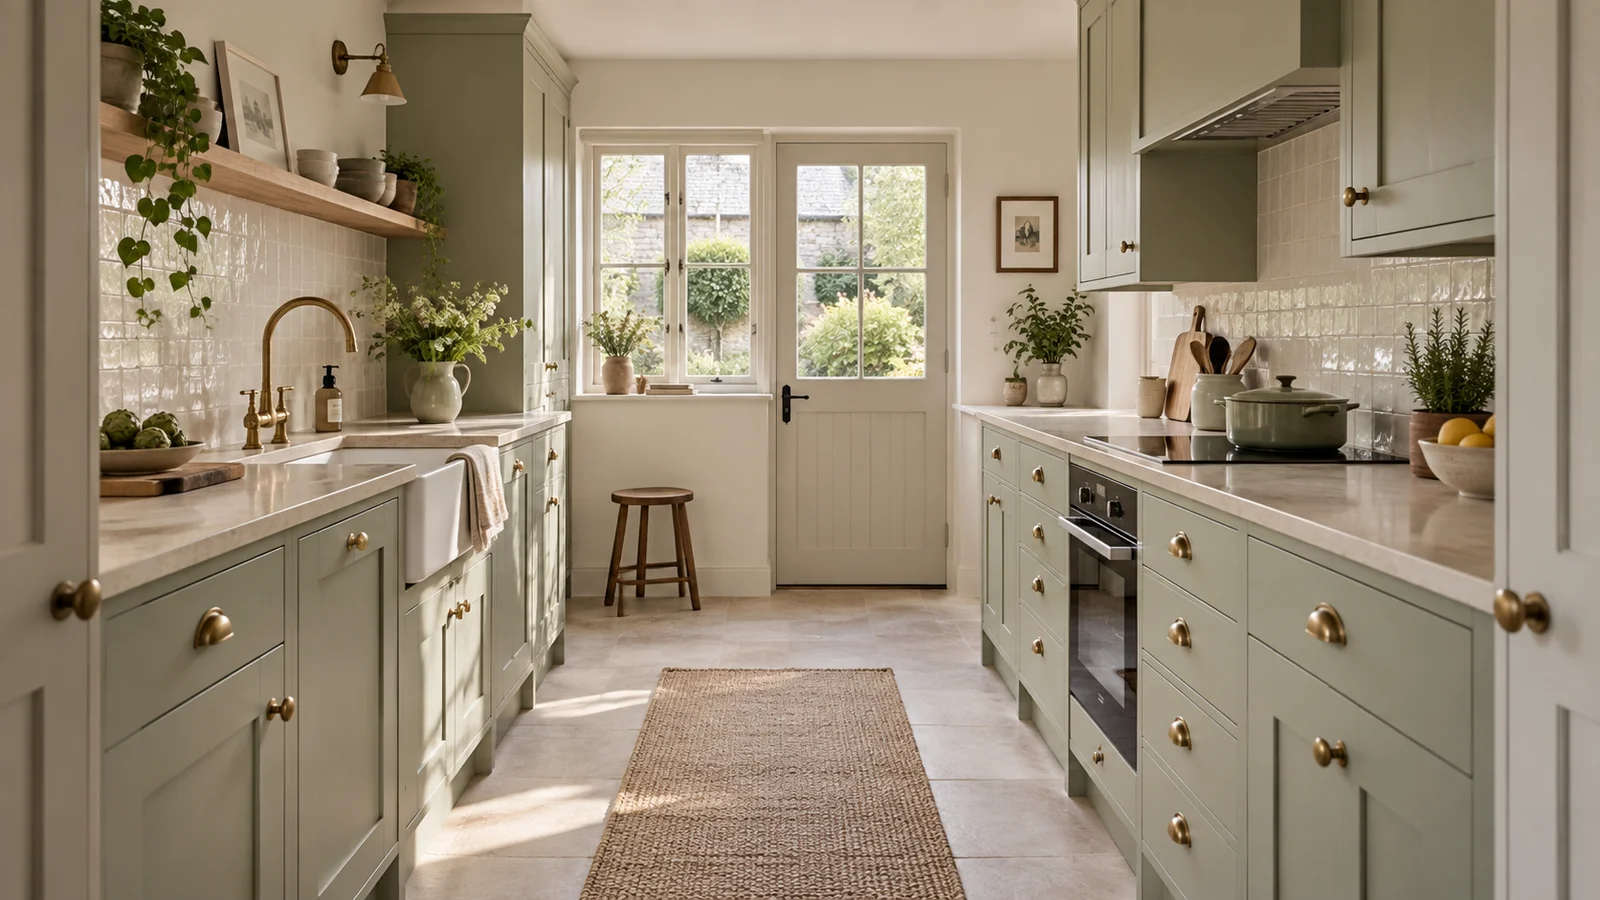
A small sage green kitchen can feel calm, bright and genuinely useful when colour follows the plan instead of trying to rescue it. Begin with the fixed footprint, the daily route and the storage you truly need. Then decide where sage will help the room feel settled, where warm white should create breathing space and how timber, stone and light can carry warmth through a compact scheme. This guide takes you from the first measured sketch to a simple material schedule, with practical checks for cabinet depth, worktop space, circulation and lighting. The result is not a miniature version of a large show kitchen. It is a room designed around the way you cook, arrive home, make tea and clear away, with every surface doing a clear job.
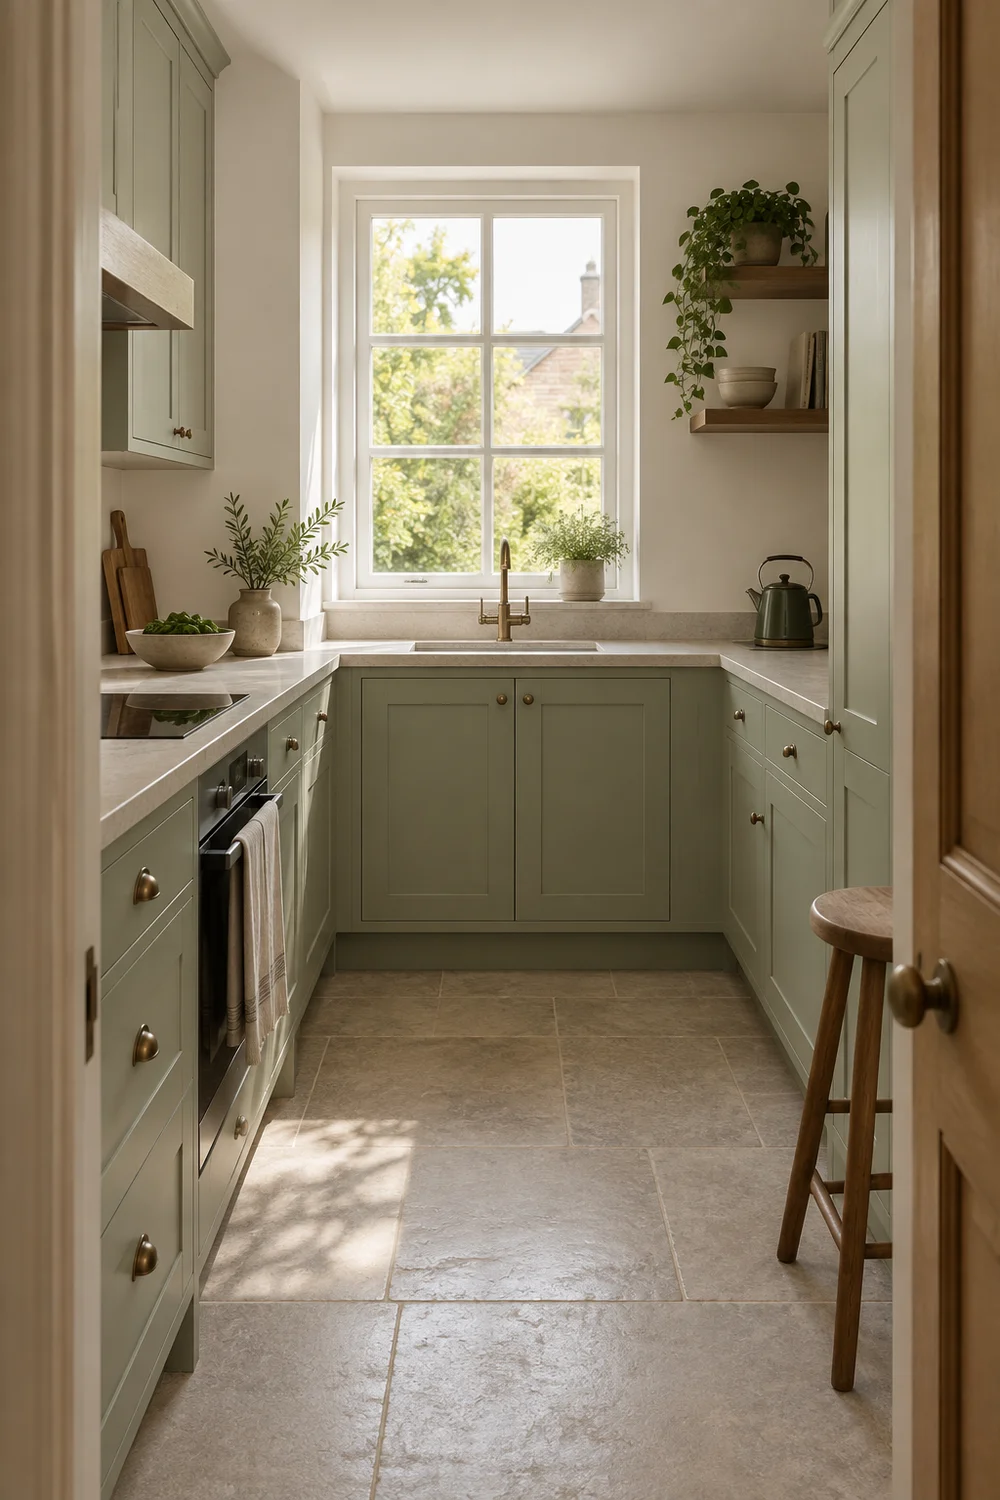
Measure the kitchen before choosing a paint colour. Record every wall, window, doorway, radiator, boiler cupboard, socket and plumbing point. Add the depth of the current units and the width of each passage. A compact room often has enough floor area, but loses ease where two doors compete or a cabinet projects into the main route.
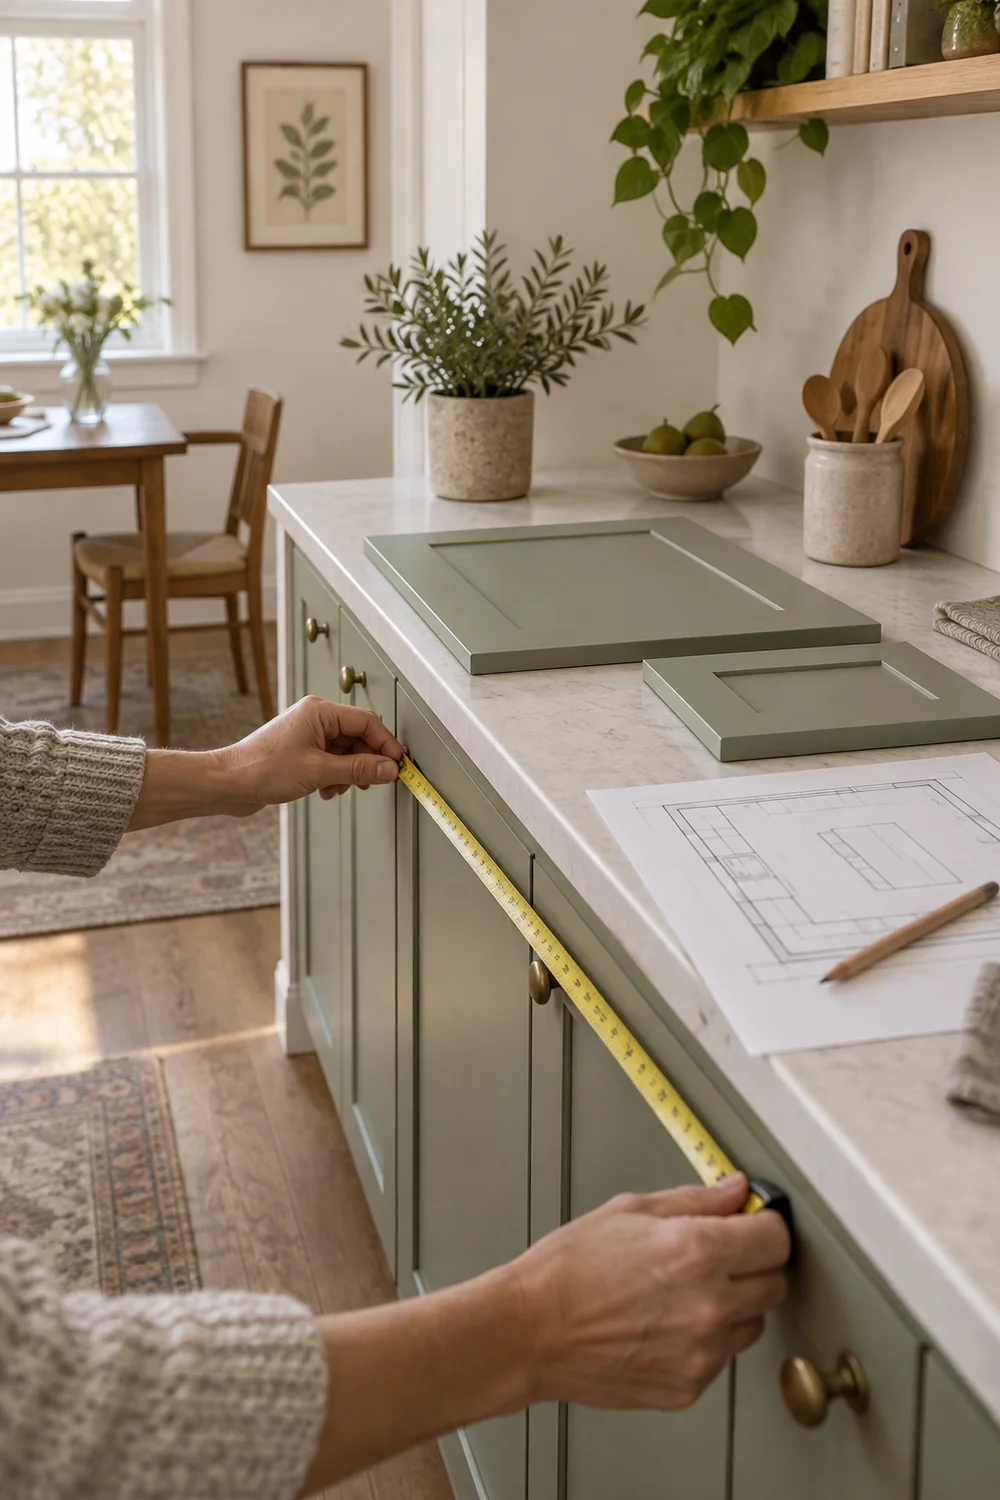
Draw the outline on paper and mark the places where you stand during an ordinary meal. Include the fridge, sink, hob, bin and the stretch of worktop you use most. This is your working route. It matters more than whether the room fits a fashionable layout name.
Photograph the room from the entrance and from each corner. These views reveal which surfaces dominate. In a narrow galley, the tall cabinet at the far end may carry more visual weight than both long walls. In an L shaped room, the upper cabinets may be the first thing you notice. Colour should respond to these facts.
If you are planning a full small kitchen remodel, keep the photographs and measurements together. They make it easier to compare options without slowly expanding the project into work the room does not need.
List what must stay, what can move and what is genuinely failing. A sound floor or a well placed sink is useful information, not an obstacle. Keeping a service point can protect the budget for better drawers, lighting or worktop material.
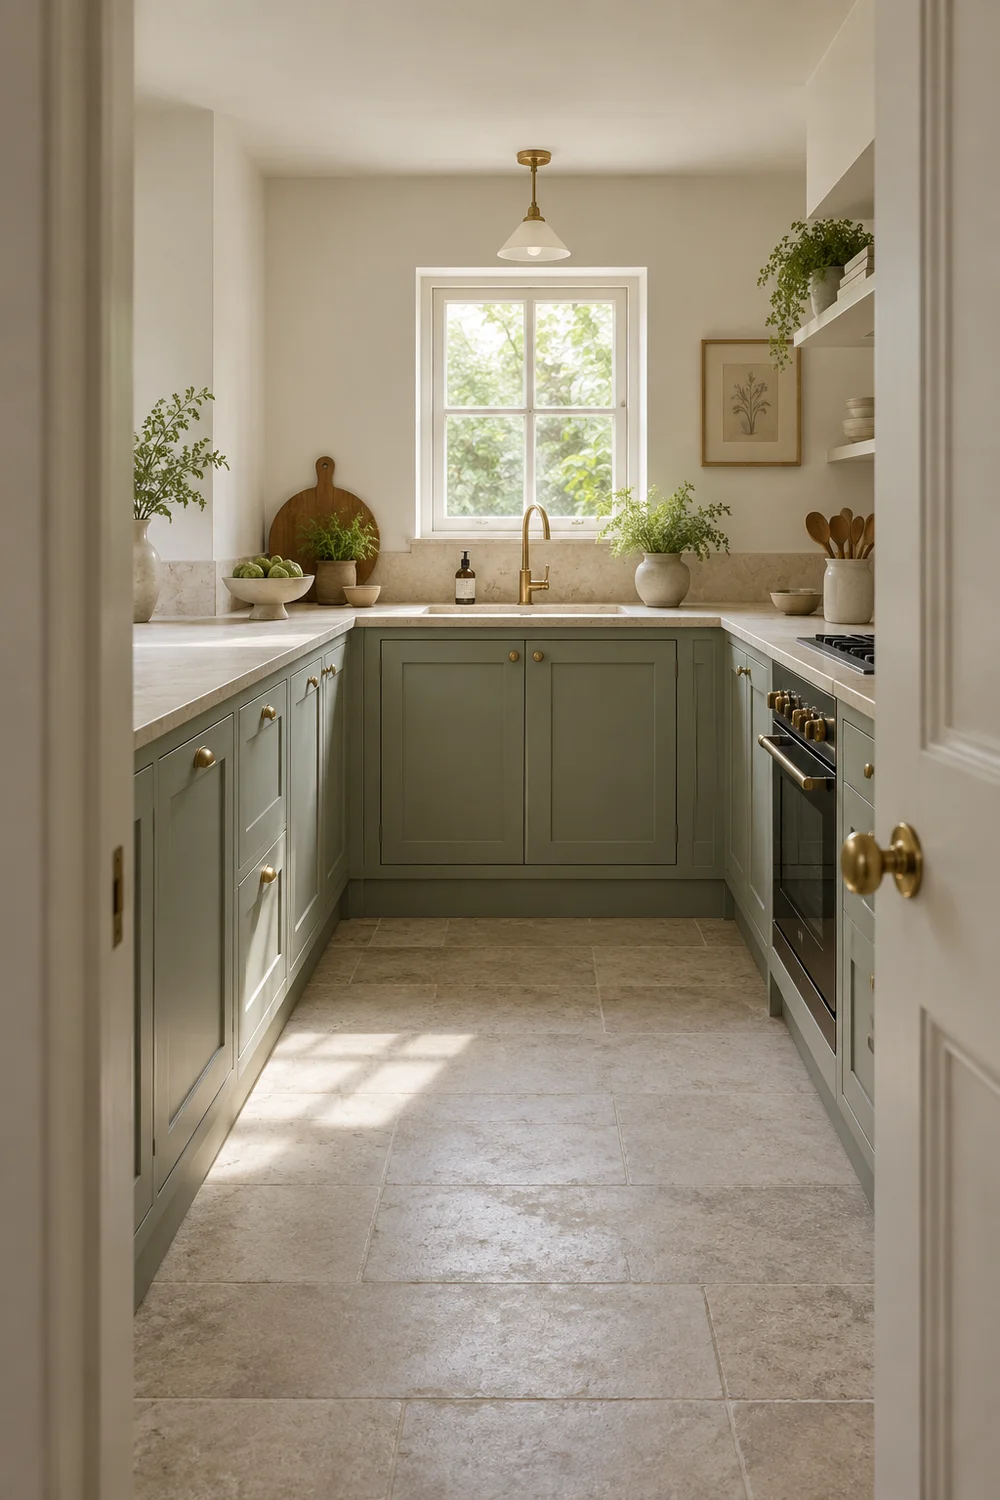
Finish this first stage with three numbers: the clear walking width, the longest uninterrupted worktop and the amount of closed storage. These become your tests for every later choice. If a new cabinet plan makes one of them worse, the visual improvement must be important enough to justify that cost.
Sage green can sit on every cabinet, on the base units only, on one tall bank or on a single wall. The right location depends on the room, not on the sample card. Start with the surface that already feels heaviest and ask whether green should soften it or whether warm white should make it recede.
In a narrow kitchen with limited daylight, sage on the lower cabinets and warm white above can keep the eye level open. In a bright room with few wall units, a full sage scheme can feel calm rather than enclosed. A tall pantry wall often works well in one quiet colour because fewer changes of tone make its outline simpler.
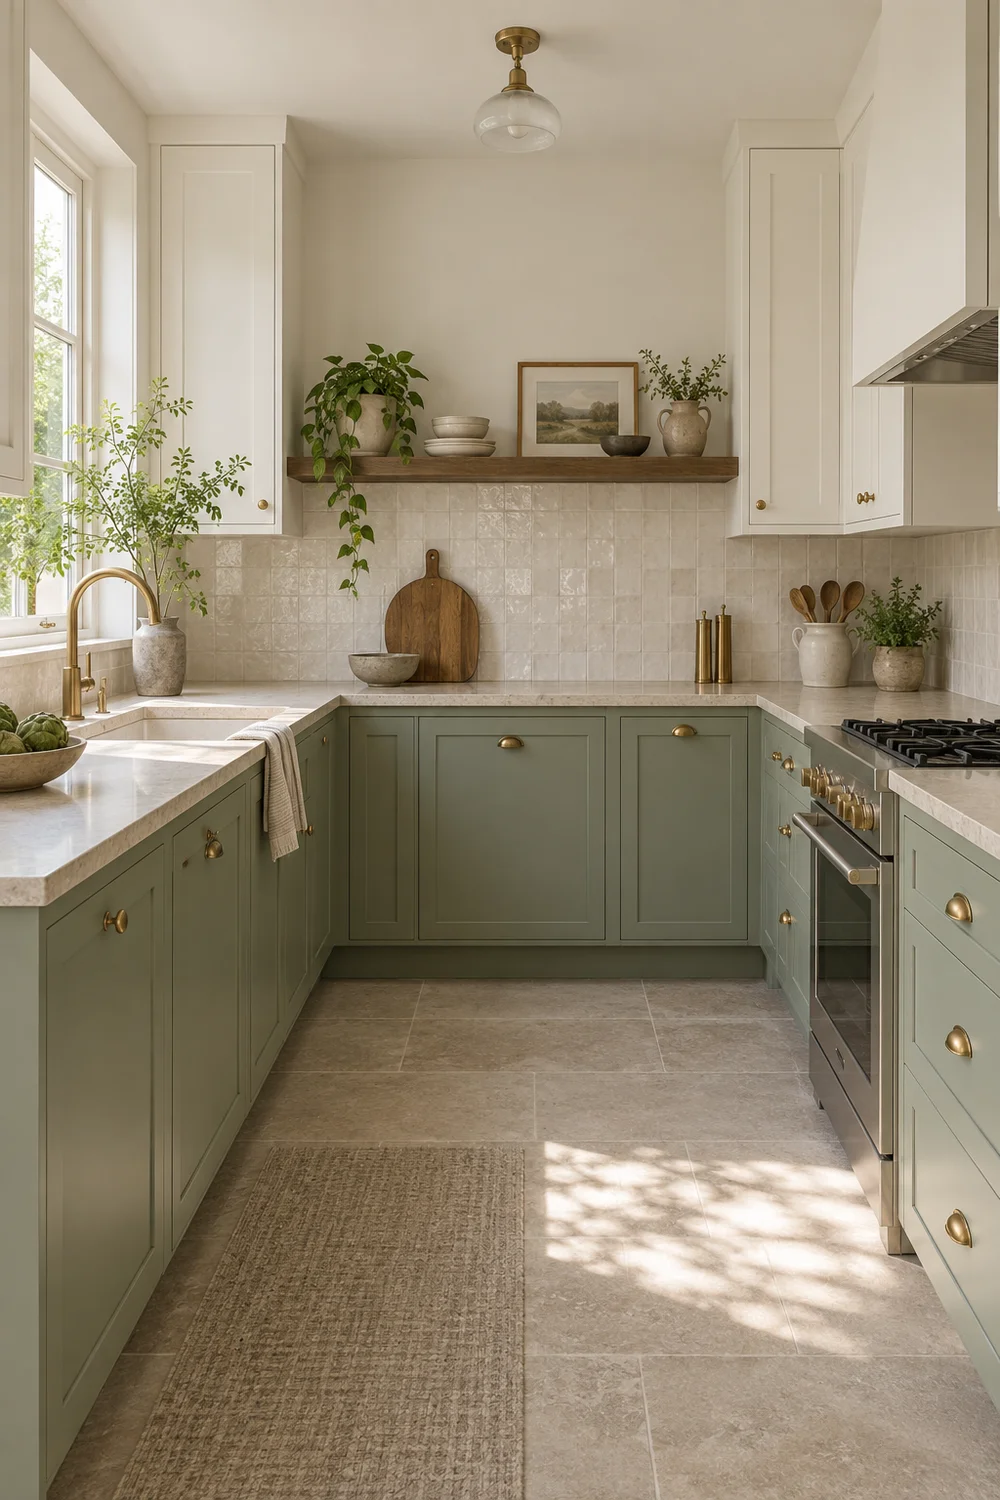
Review a broad gallery of sage green kitchens to identify placements you like, then return to your own doorway photograph. Do not copy the amount of green from a room with twice the width or a wall of glass.
Paint large card samples and place them against the floor, worktop and window trim. Move them from the brightest wall to the darkest corner. Sage has grey, yellow or blue undertones that change throughout the day. A shade that looks fresh at noon can look dull beside a cool evening bulb.
Decide the colour boundary before ordering doors. If base cabinets are sage and wall cabinets are white, choose where the tall units belong. They can follow the lower colour to feel grounded, or the upper colour to disappear. There is no universal answer, but the choice should be deliberate.
Keep the deepest green for a small moment, such as a pantry interior, a painted shelf or a piece of art. The main sage should remain soft enough to support natural materials. This gives the room depth without asking the compact footprint to carry several competing greens.
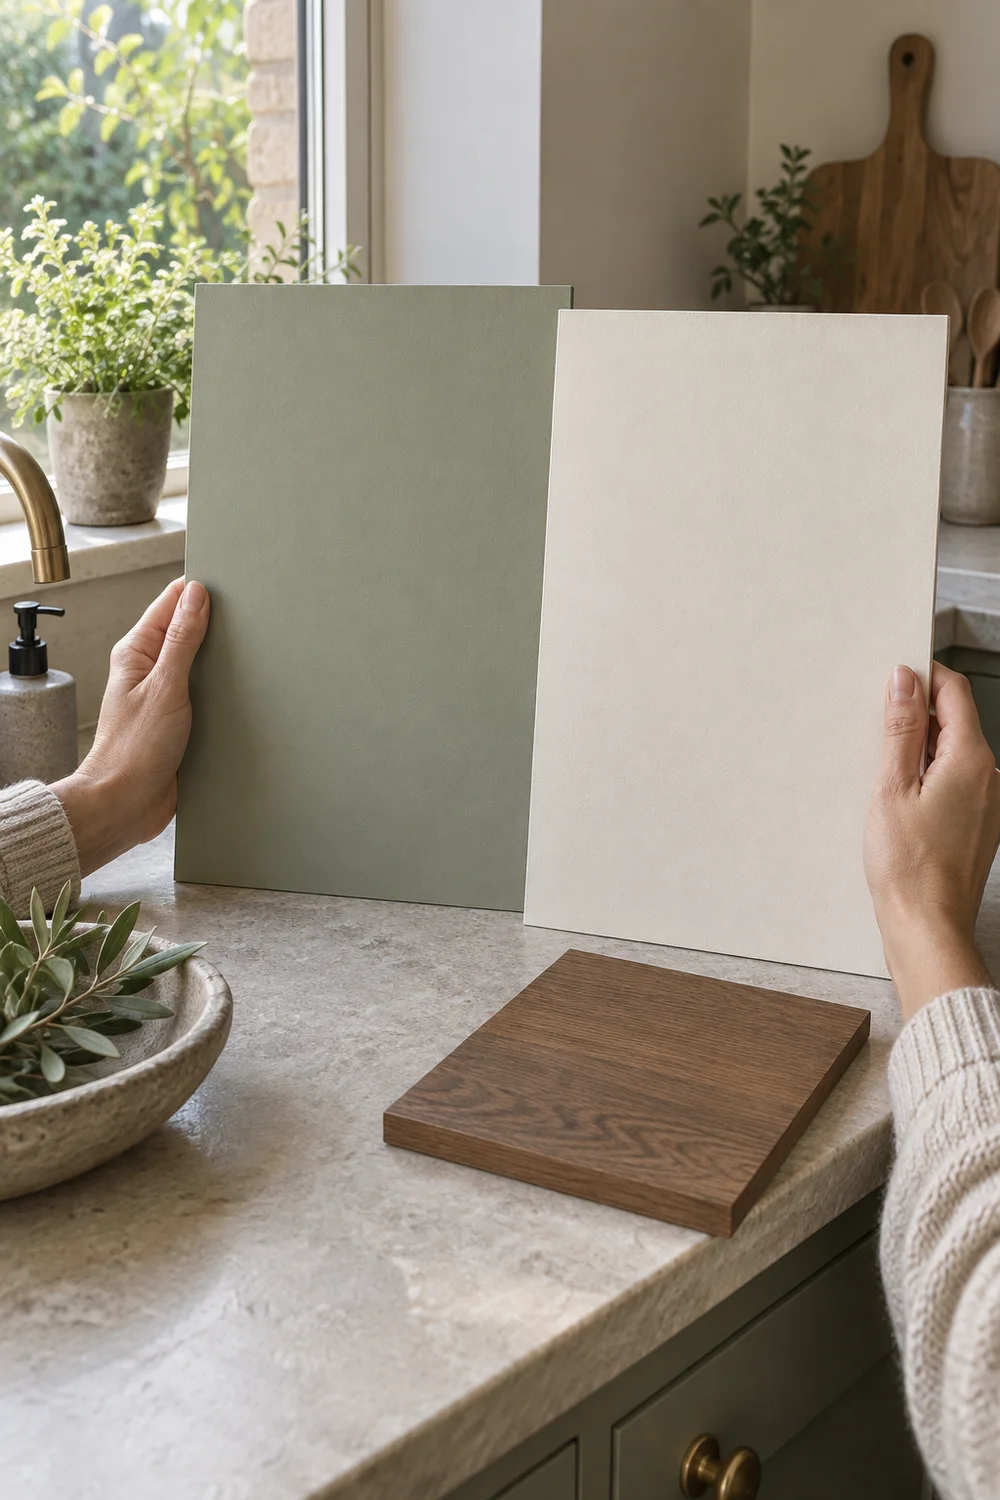
Warm white is useful in a small kitchen because it can connect the ceiling, trim and upper walls into one quiet field. It should not be icy. Choose a white with a gentle cream or stone undertone that sits comfortably beside sage, timber and the existing daylight.
The relationship between the two colours matters more than either colour alone. Put samples side by side, then leave a gap so you can judge each against the room. If the white makes sage appear muddy, it may be too bright or too cool. If the whole pair looks yellow, move toward a quieter neutral rather than a sharper white.
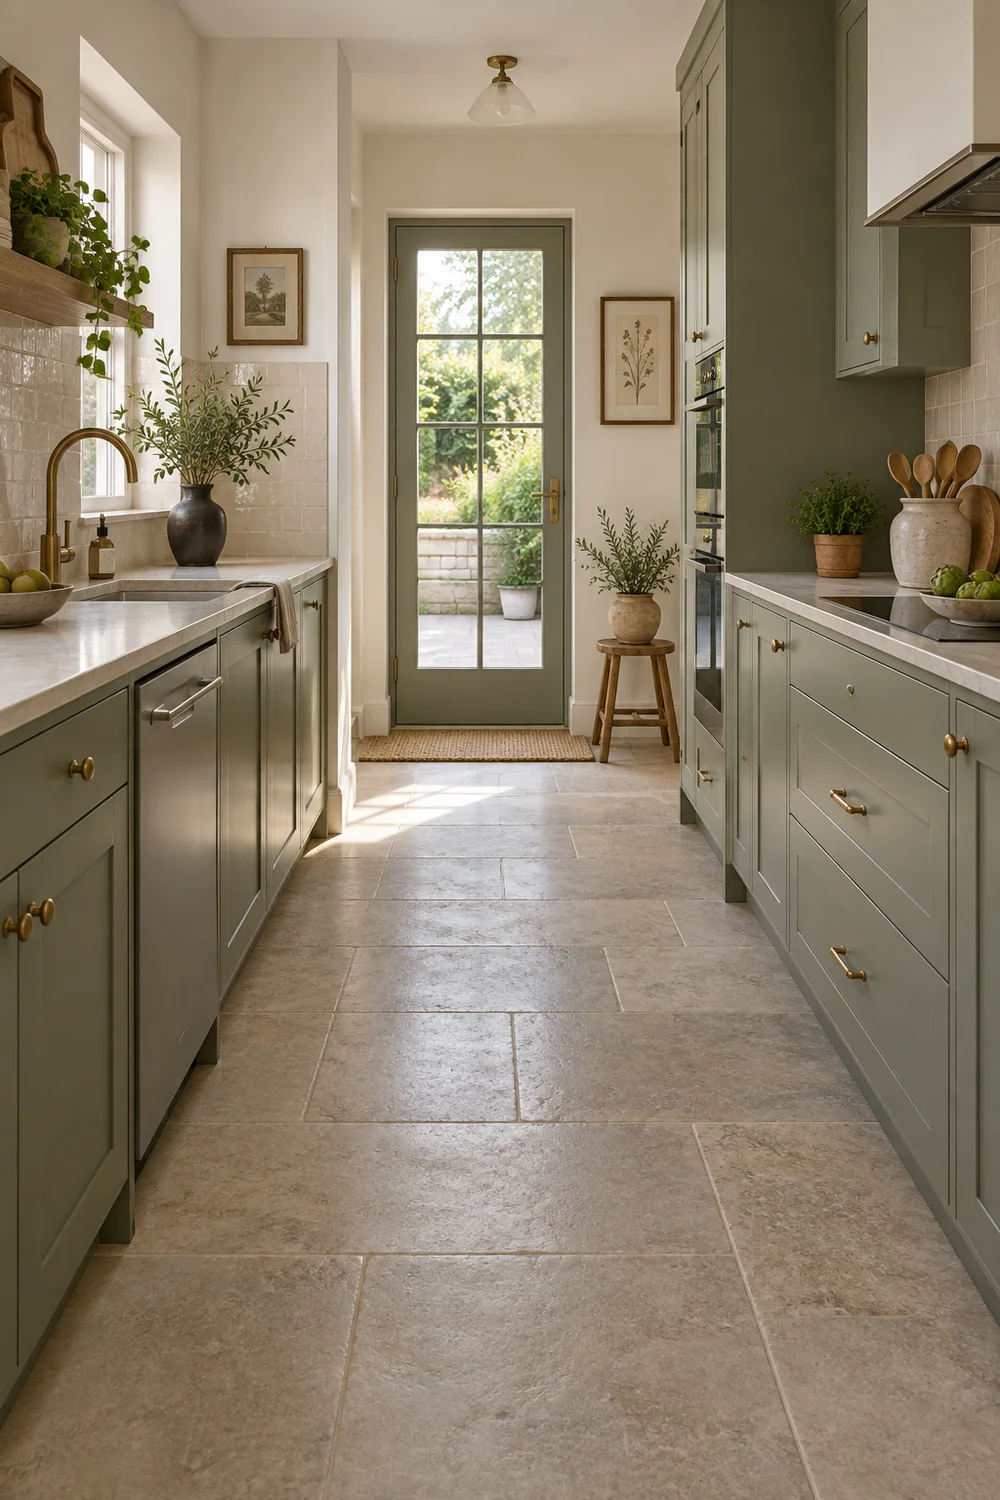
The examples in this guide to sage green and white interiors show why the pairing feels balanced. In a compact kitchen, use that balance to clarify edges. White can lift the ceiling and window wall while sage gives the cabinet run a clear base.
Keep switches, sockets and grout within the palette. Brilliant white plastic on a muted wall can create more visual interruption than expected. A warm white faceplate or a carefully matched finish lets the wall remain calm.
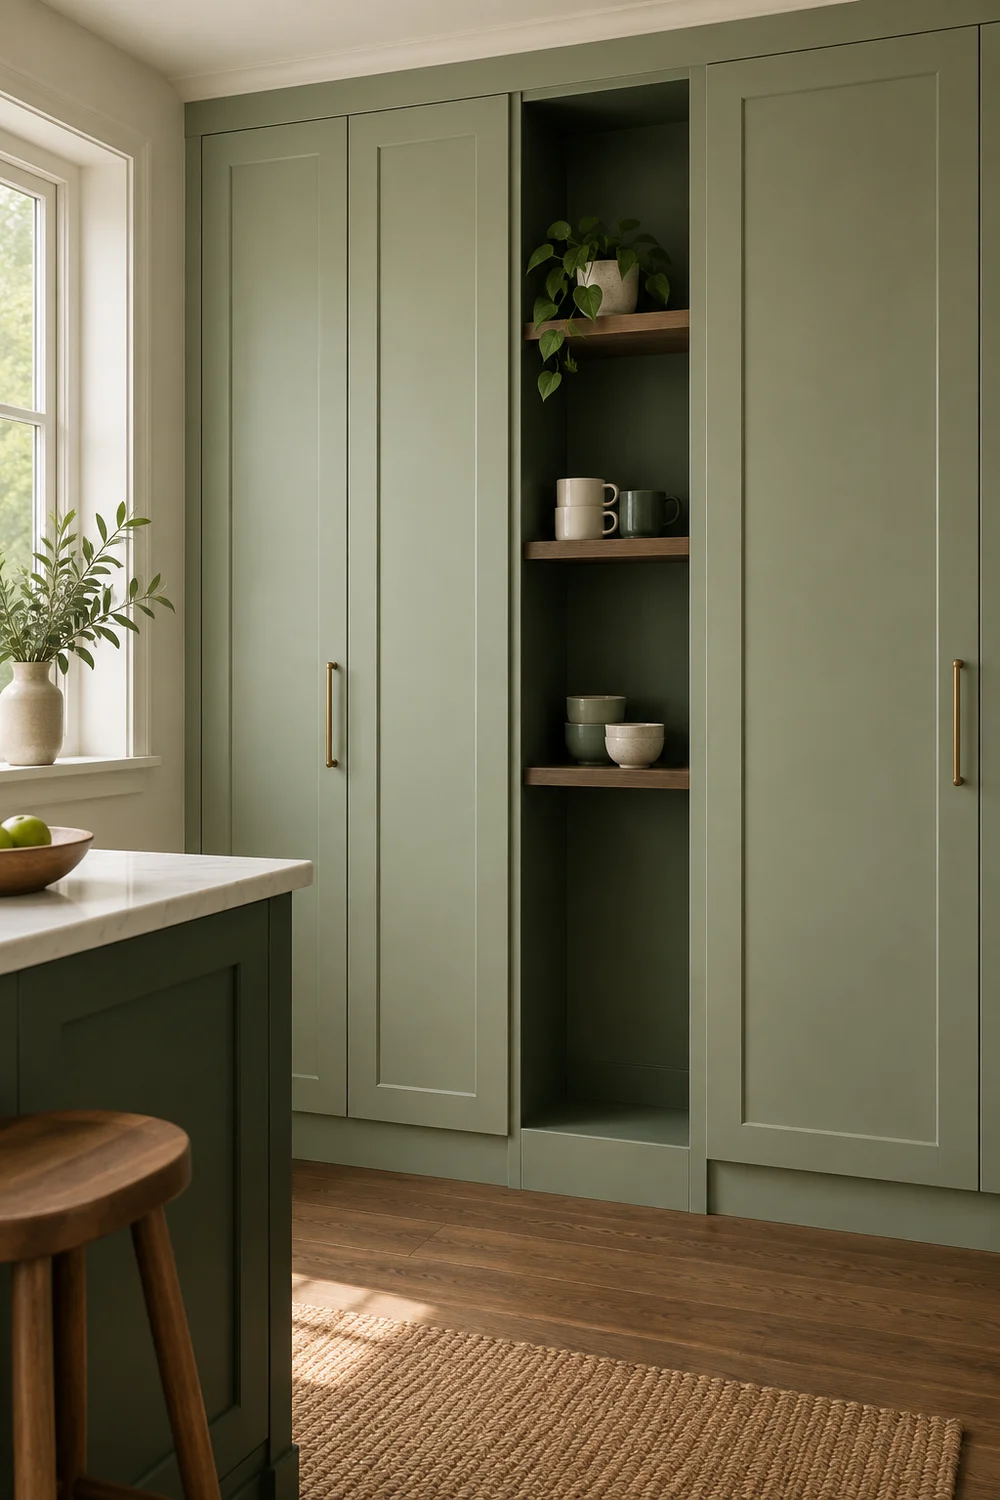
Use contrast where it helps navigation. A slightly deeper handle against a pale door is easier to find, while the inside of an open shelf can be a shade darker to give displayed objects a defined background. The aim is not to remove all contrast. It is to spend contrast on details that improve the room.
Test the scheme after dark. Turn on the actual bulbs you plan to keep and hold the samples vertically. A cabinet colour is usually seen upright, so laying it flat on a table can give a misleading impression. Record the lamp colour and brightness with the chosen paint so it is not changed casually during installation.
Sage feels most convincing when the surrounding materials have visible warmth. Medium smoked oak can add depth without turning orange, while honed limestone or a warm composite worktop gives the green a quiet mineral neighbour. Cream handmade tile adds gentle variation without becoming a pattern that crowds the room.
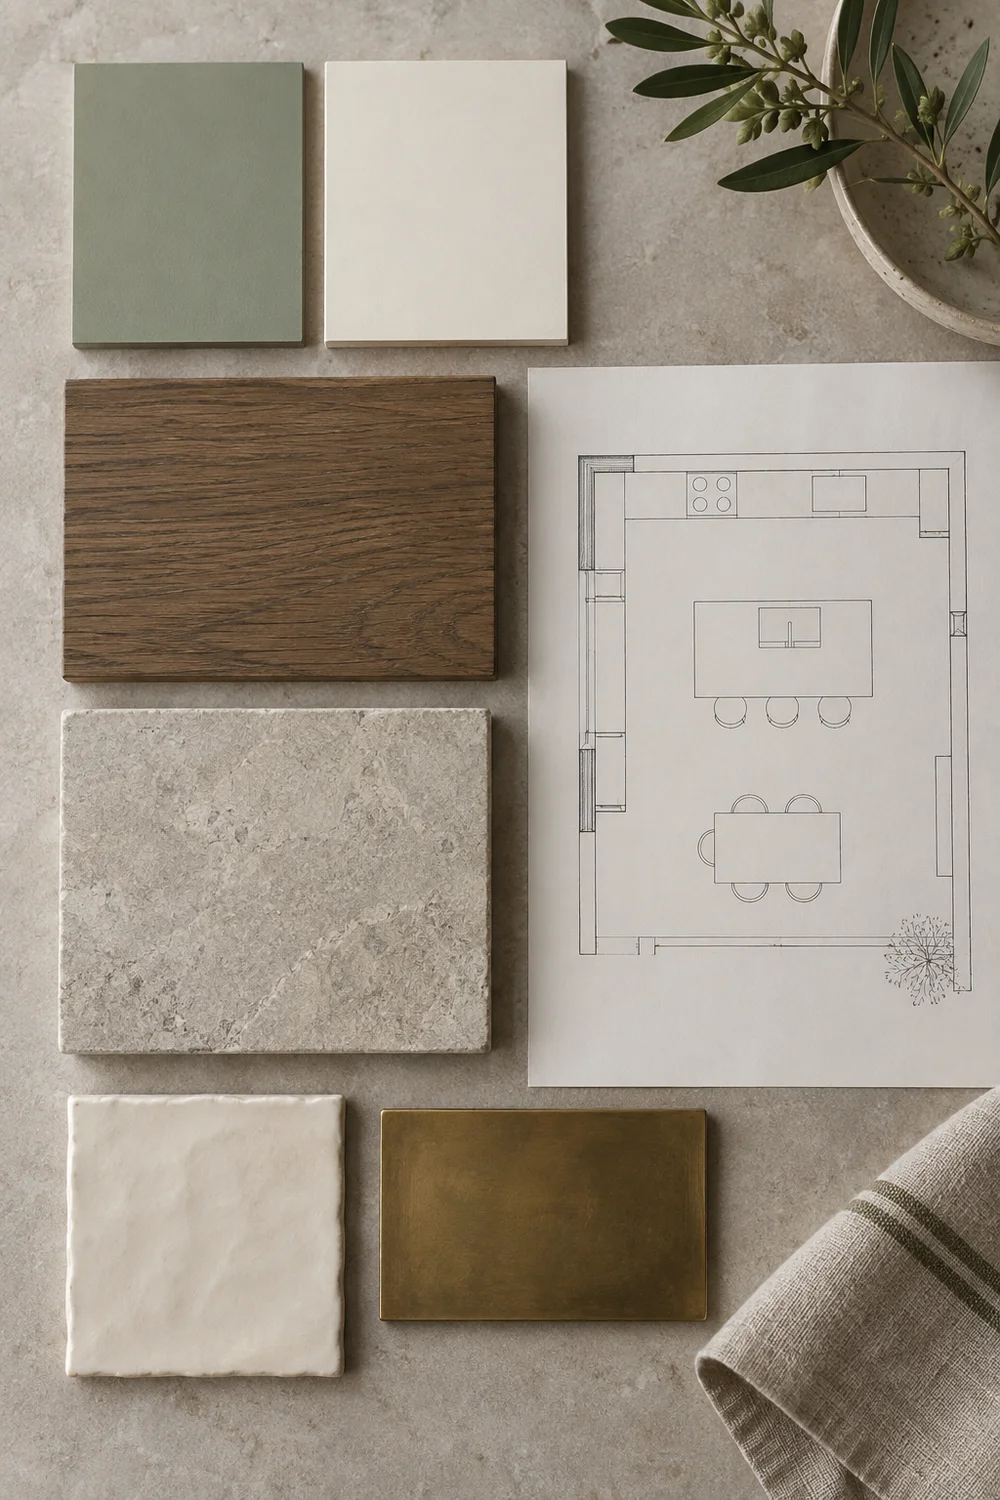
Build a small material board with the cabinet sample, worktop, floor, tile, timber and metal. View the pieces in the kitchen and photograph them in morning and evening light. Remove any sample that only works when it is separated from the others.
An earthy kitchen offers useful lessons about combining timber, stone and green. For a small room, edit the idea carefully. One timber tone and one stone family are usually enough. Repeating them is calmer than introducing a different wood on the floor, shelves, stools and handles.
If the floor is already warm oak, choose shelves that relate to it without attempting an imperfect match. A slightly smoked finish can look intentional, while two nearly identical honey tones often look accidental. If the floor is stone or tile, timber can be concentrated at hand level where its warmth is most visible.
Choose a backsplash only after the cabinet and worktop are fixed. This guide to selecting a kitchen backsplash explains the value of letting retained surfaces lead. The same method works here: compare tile against the exact sage door and worktop, not a photograph.
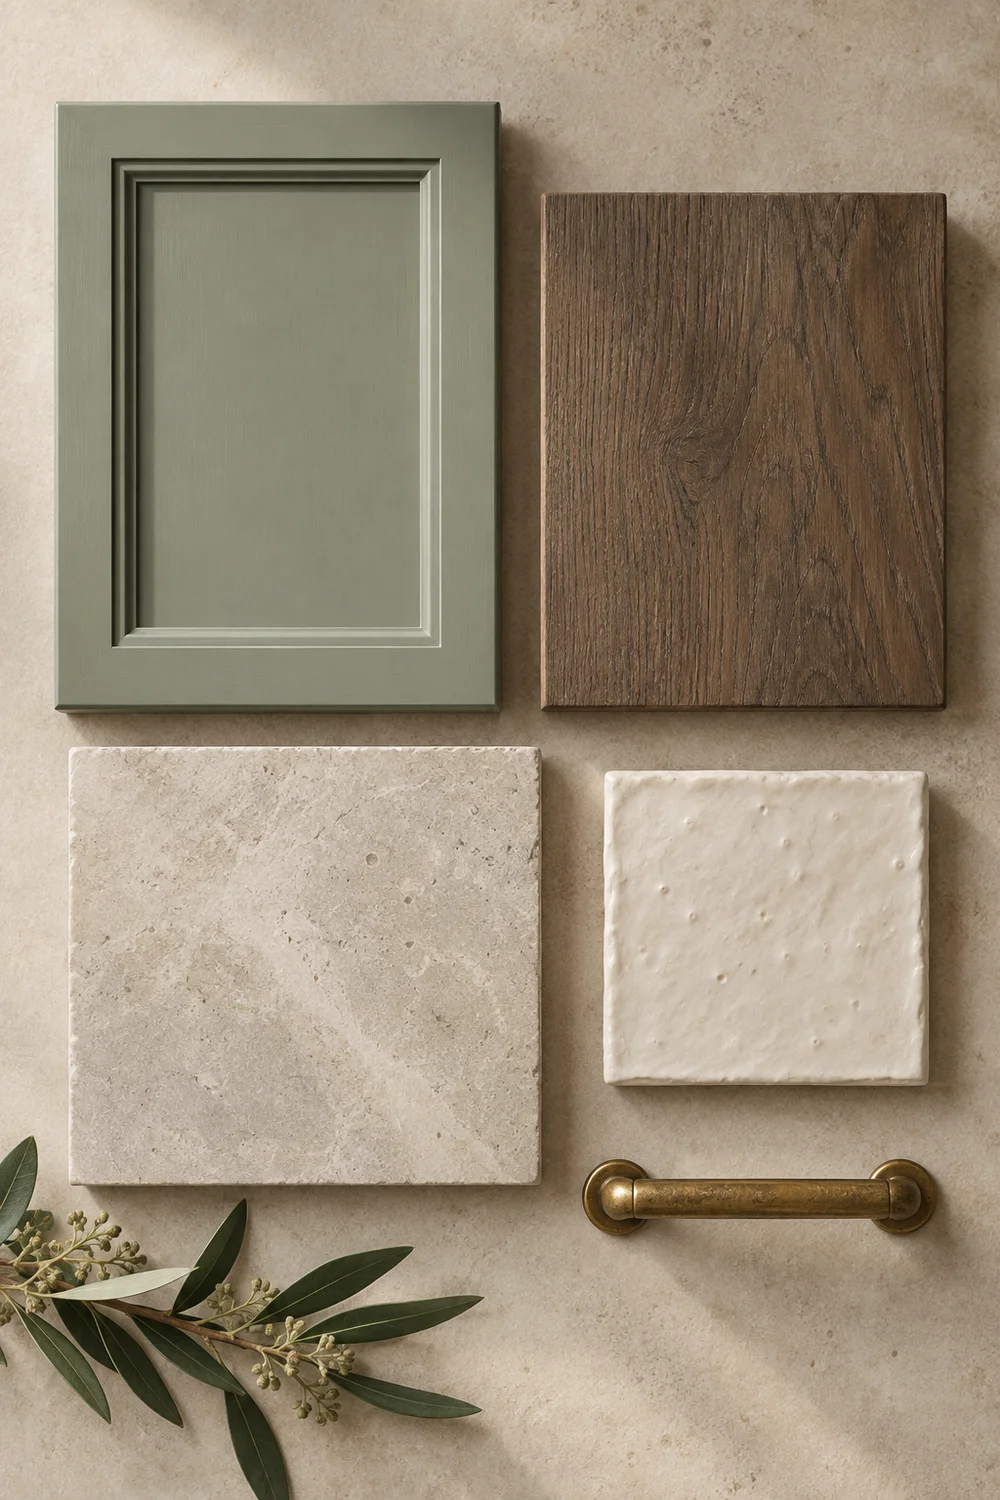
Aged brass can add warmth through handles, a tap and a simple light fitting. Keep the finish consistent enough to feel connected, but do not worry about a perfect factory match. Real metal changes with use, which suits the quiet natural character of sage.
A compact kitchen succeeds when two people can move without constantly stepping aside. Trace the route between fridge, sink and hob, then include the bin, dishwasher and main storage drawer. These smaller destinations often create more congestion than the traditional three points.
Tape proposed cabinet depths onto the floor. Open the oven, dishwasher and widest drawer in your drawing. Check whether a person can pass and whether opposite doors collide. A narrow drawer stack may be more useful than a deep corner solution if it keeps the route clear. Use a clear kitchen cabinet design plan to compare function and finish without losing sight of these movement checks.
Put everyday items near the place they are used. Pans belong close to the hob, mugs close to the kettle, and plates close to the dishwasher or draining area. This reduces movement and lets a smaller worktop remain clear.
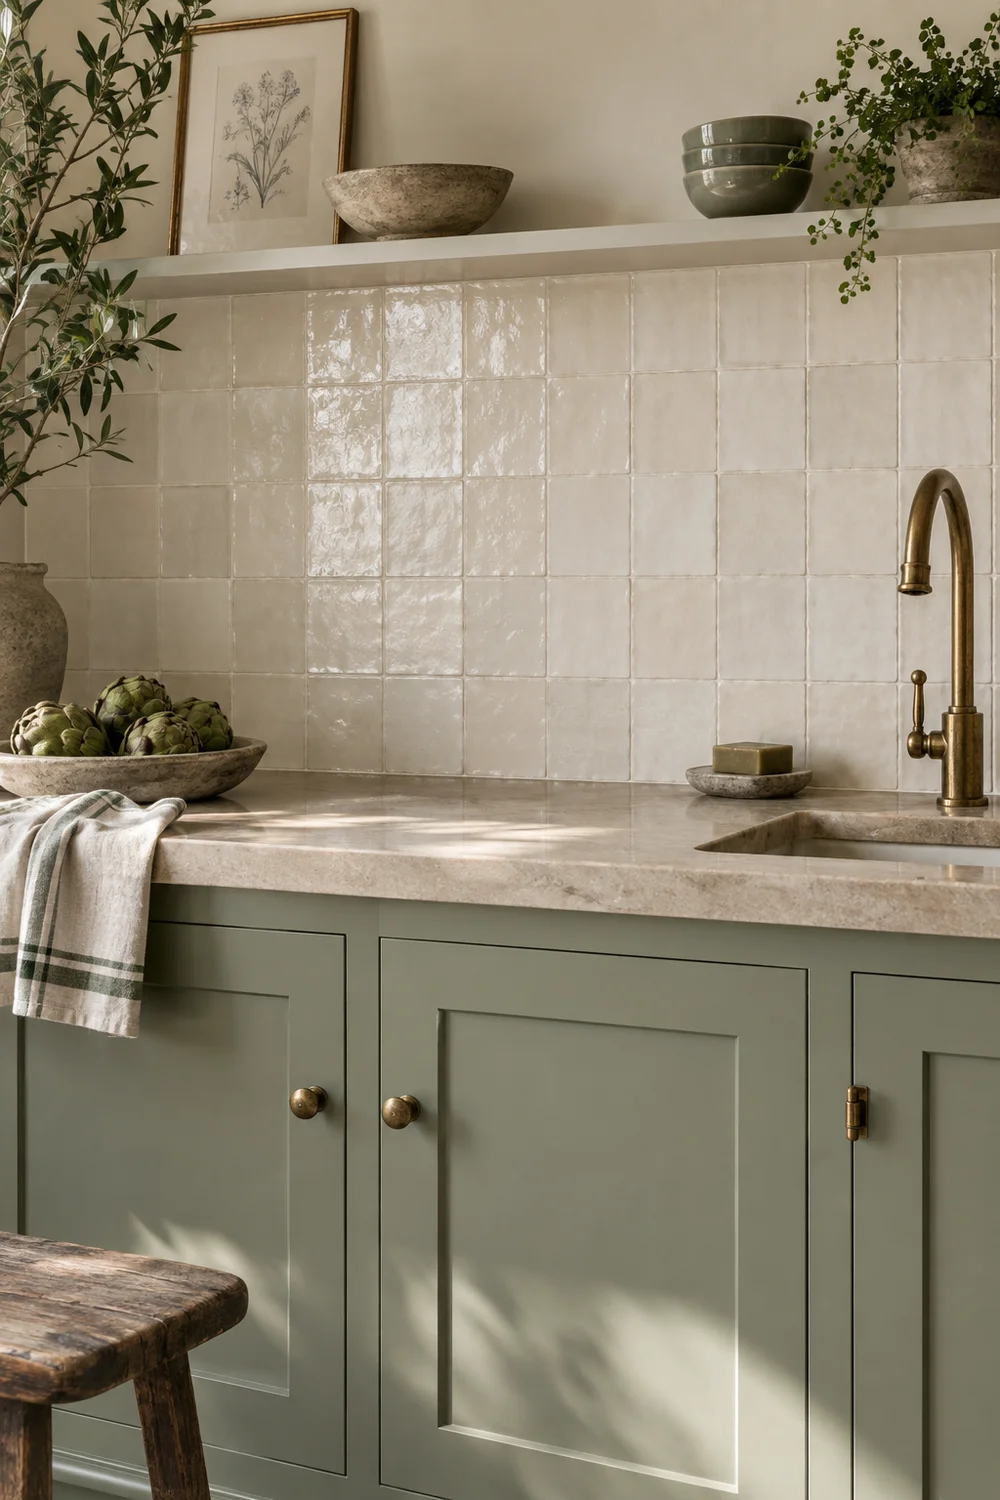
Protect one uninterrupted preparation zone. Even a modest run feels generous when it is not broken by a kettle, knife block and draining rack. Give those objects homes before deciding that you need more worktop.
If an island narrows the route, replace it with a shallow table, a mobile trolley or nothing at all. A clear centre can be the feature that makes the room feel light. The promise of extra storage is not useful if every drawer is awkward to reach.
Rehearse a busy evening. Imagine one person opening the fridge while another drains pasta and a third enters the room. Adjust the plan until these movements can happen without a collision. This ordinary test is more valuable than a perfectly centred elevation.
Start storage planning with a list, not a cabinet catalogue. Count tall bottles, pans, trays, small appliances, food containers and recycling. Decide which objects are used daily and which can live higher. The list tells you where drawers, shelves and vertical dividers will earn their space.
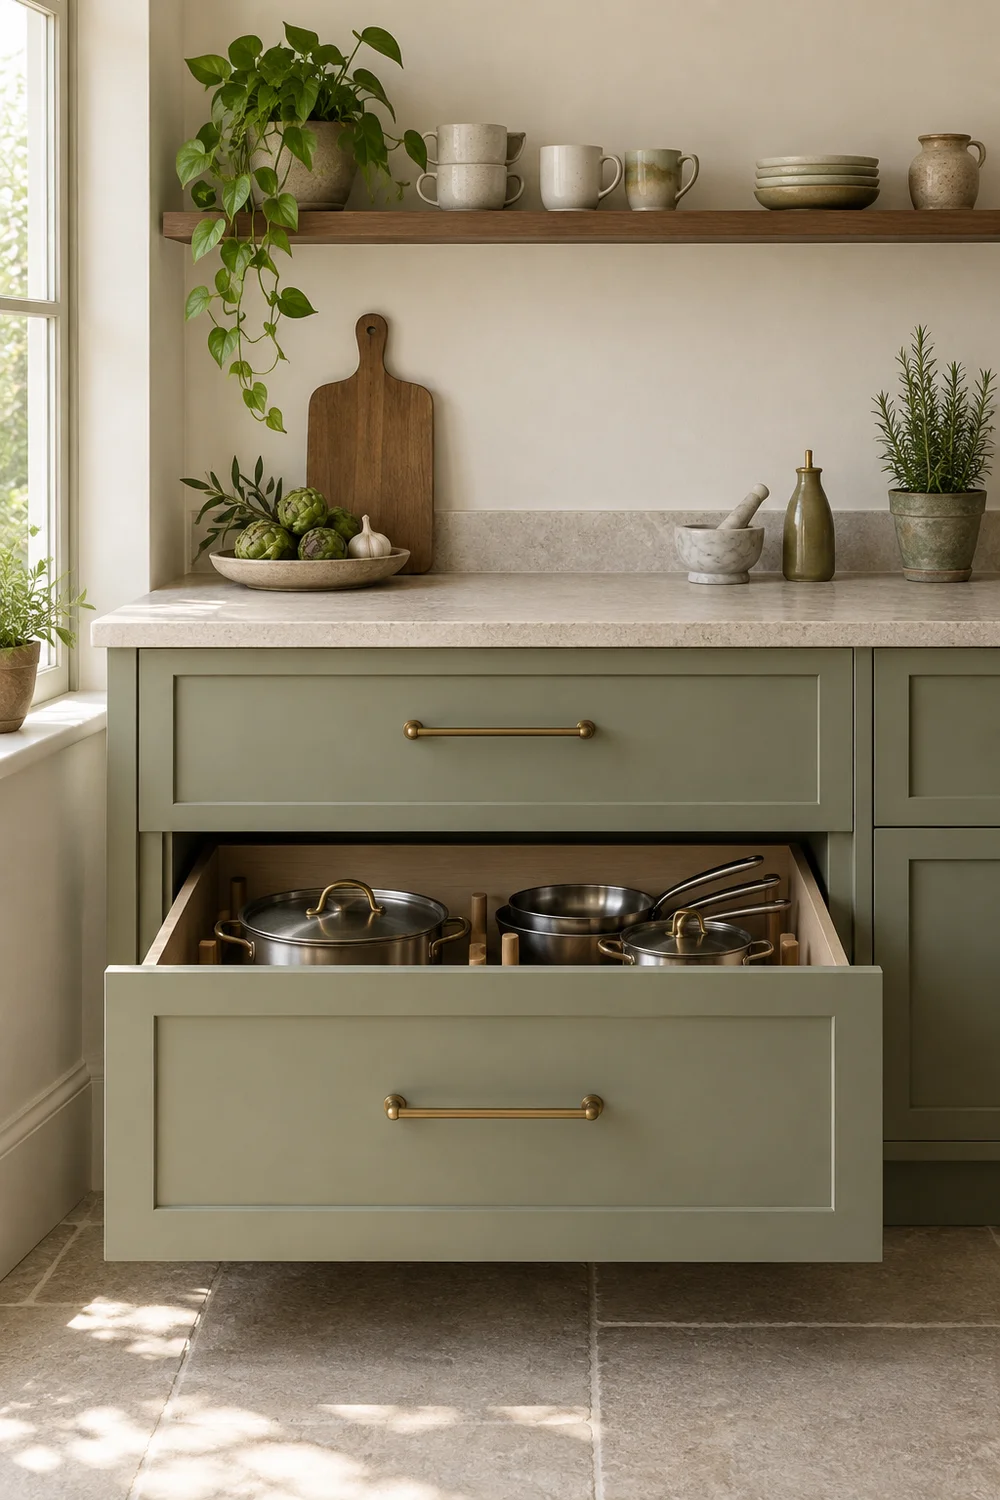
Deep drawers below the worktop make the full cabinet visible and reduce the need to kneel. A narrow pull out can handle oils or cleaning products, while tray dividers use awkward height above an oven. These details make a small room work harder without adding cabinets.
Take wall units to a considered top line. Leaving a short dusty gap above them usually makes the room look more fragmented. A neat infill to the ceiling can simplify the outline, though the highest shelf should hold only light items used occasionally.
Open shelves are most useful when they replace a bulky cabinet at a visually sensitive point. One oak shelf near a window can keep the sightline open and hold the cups used each day. Several shelves filled with mixed objects can create the visual weight you were trying to avoid.
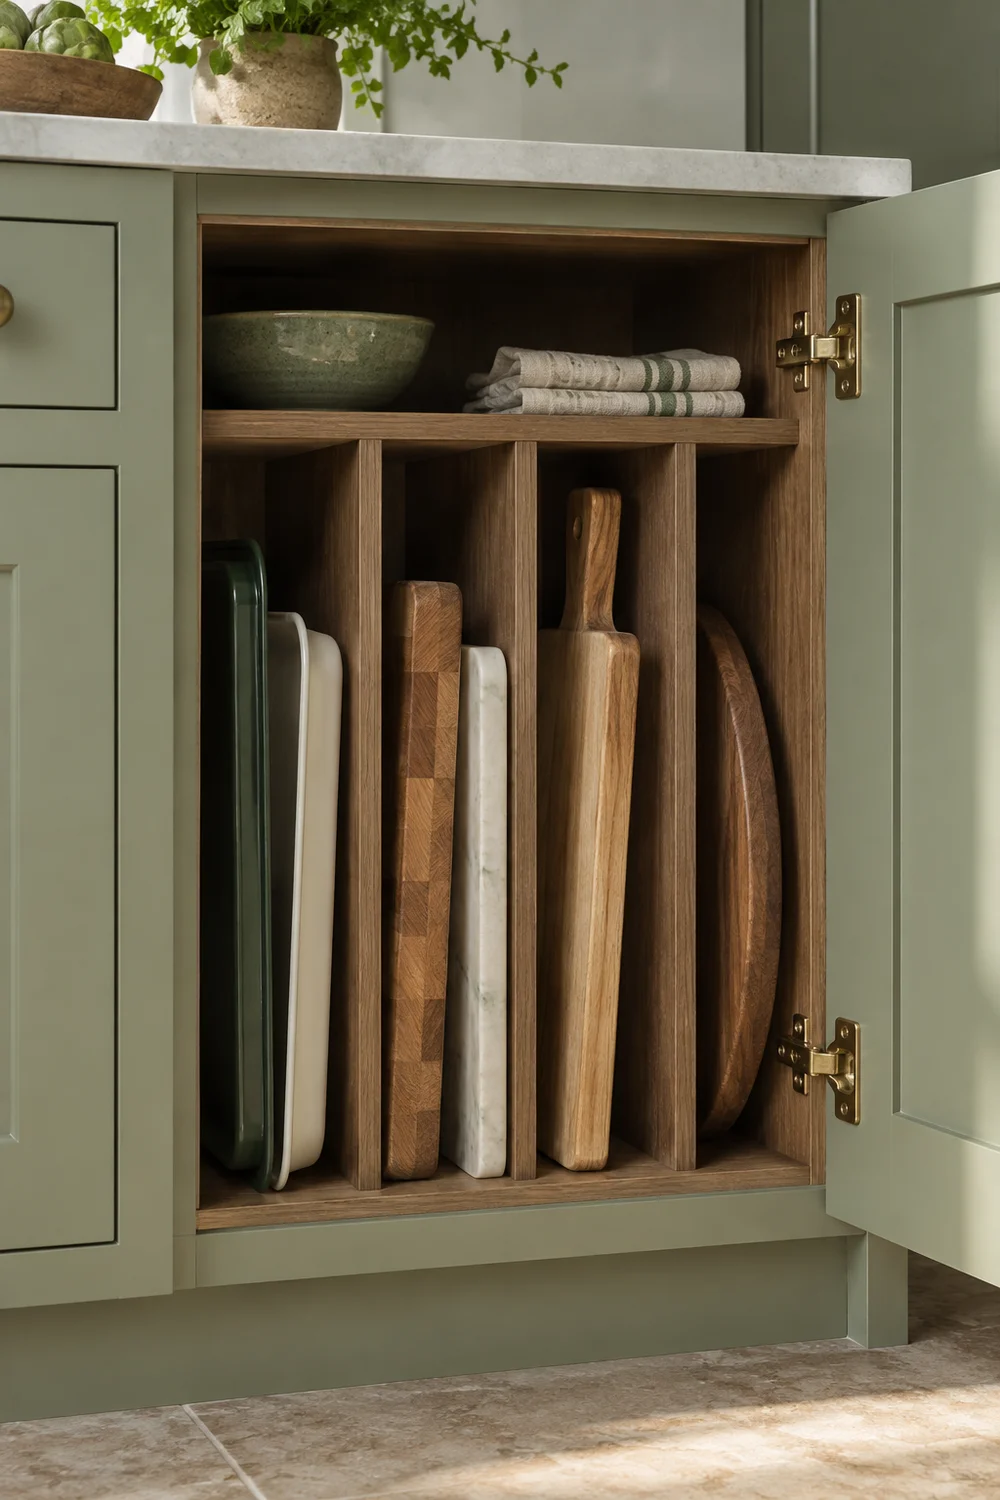
For a softer detail language, look at the storage principles in a modern cottage kitchen. Borrow the useful parts, such as a plate rack or shallow rail, but limit them to one zone so the small kitchen remains orderly.
Use the inside of doors thoughtfully. Hooks, shallow racks and a place for cloths can free a drawer, but they must not strike shelves when the door closes. Measure the available depth with the cabinet loaded, not empty.
Finish by assigning every daily object a home. If the toaster, chopping boards and post still have nowhere to go, revise the storage plan before adding decorative shelves. A calm small sage green kitchen depends as much on easy clearing as it does on colour.
General ceiling light is rarely enough for a compact kitchen. Your body can block it when you stand at the worktop, leaving the chopping area in shadow. Add continuous light beneath wall cabinets and targeted light at the sink, hob and any preparation area without units above.
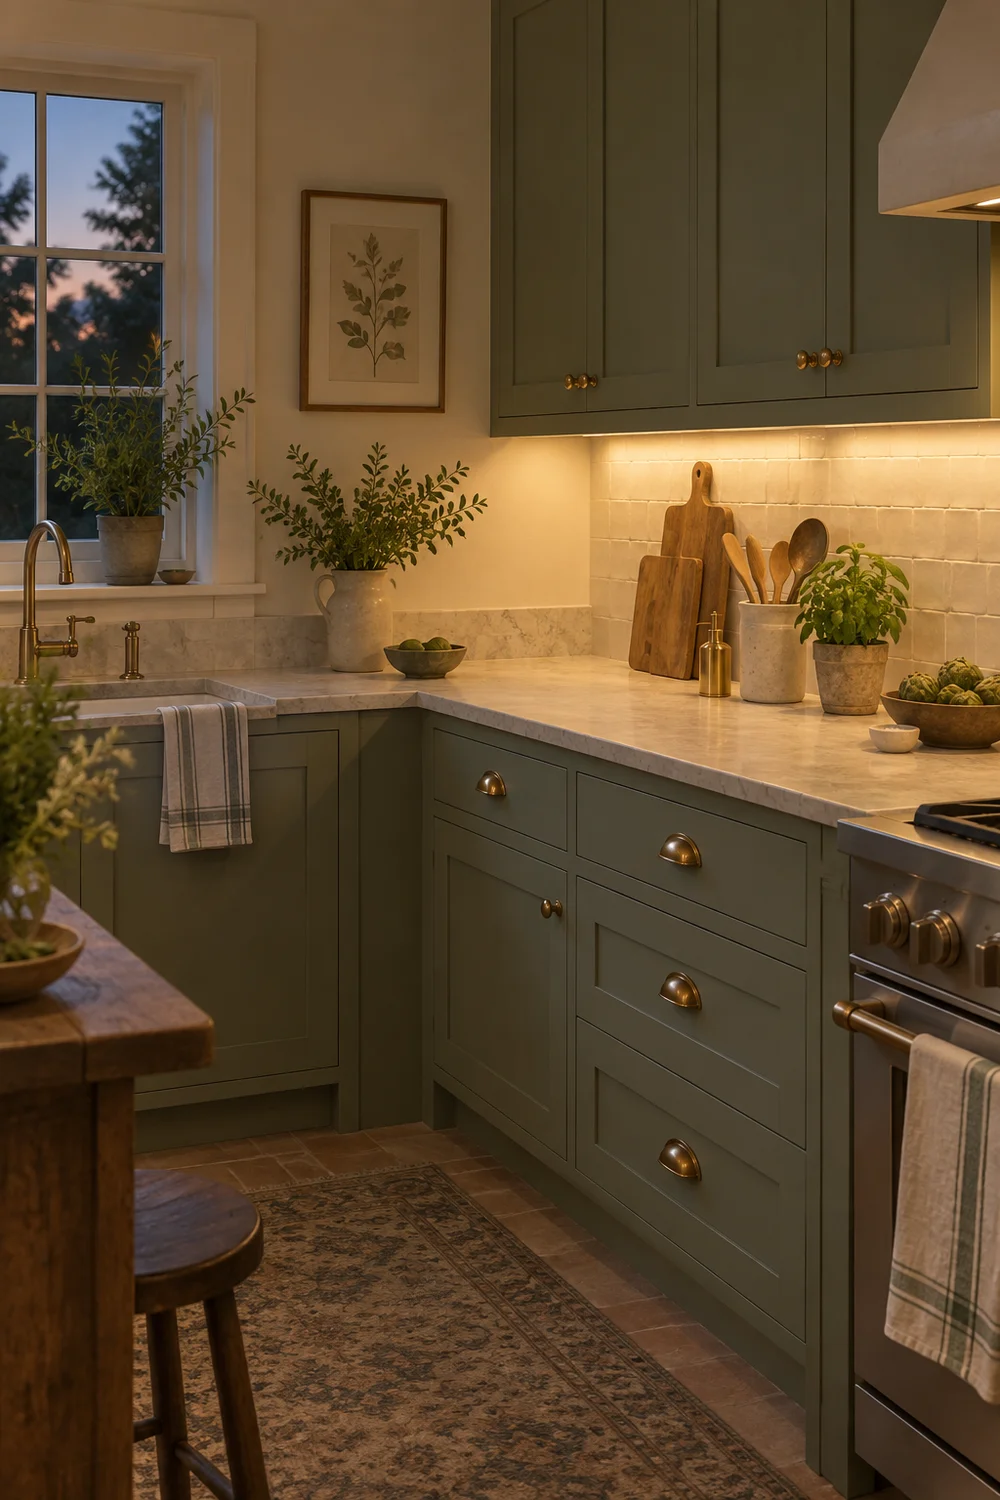
Choose a warm neutral lamp colour that keeps sage clear and food natural. Very cool light can make the cabinets look grey, while very amber light can make the green appear yellow. Test one lamp beside the final paint and material board before buying the full set.
Place decorative light where it supports the plan. A small pendant can mark a table or sink, but it should not interrupt a cabinet door or the main view through the room. In a low ceiling kitchen, a neat surface fitting may feel more generous.
Daylight also needs a plan. Keep the window reveal pale, avoid a tall unit that blocks its spread and use a washable blind that can pull fully clear. A reflective tile with gentle variation can carry light across the wall without creating glare.
Put work lights and general lights on separate controls. Evening cooking may need both, while an early cup of tea may only need a soft wall or shelf light. Simple control gives the small room different moods without adding decorative clutter.
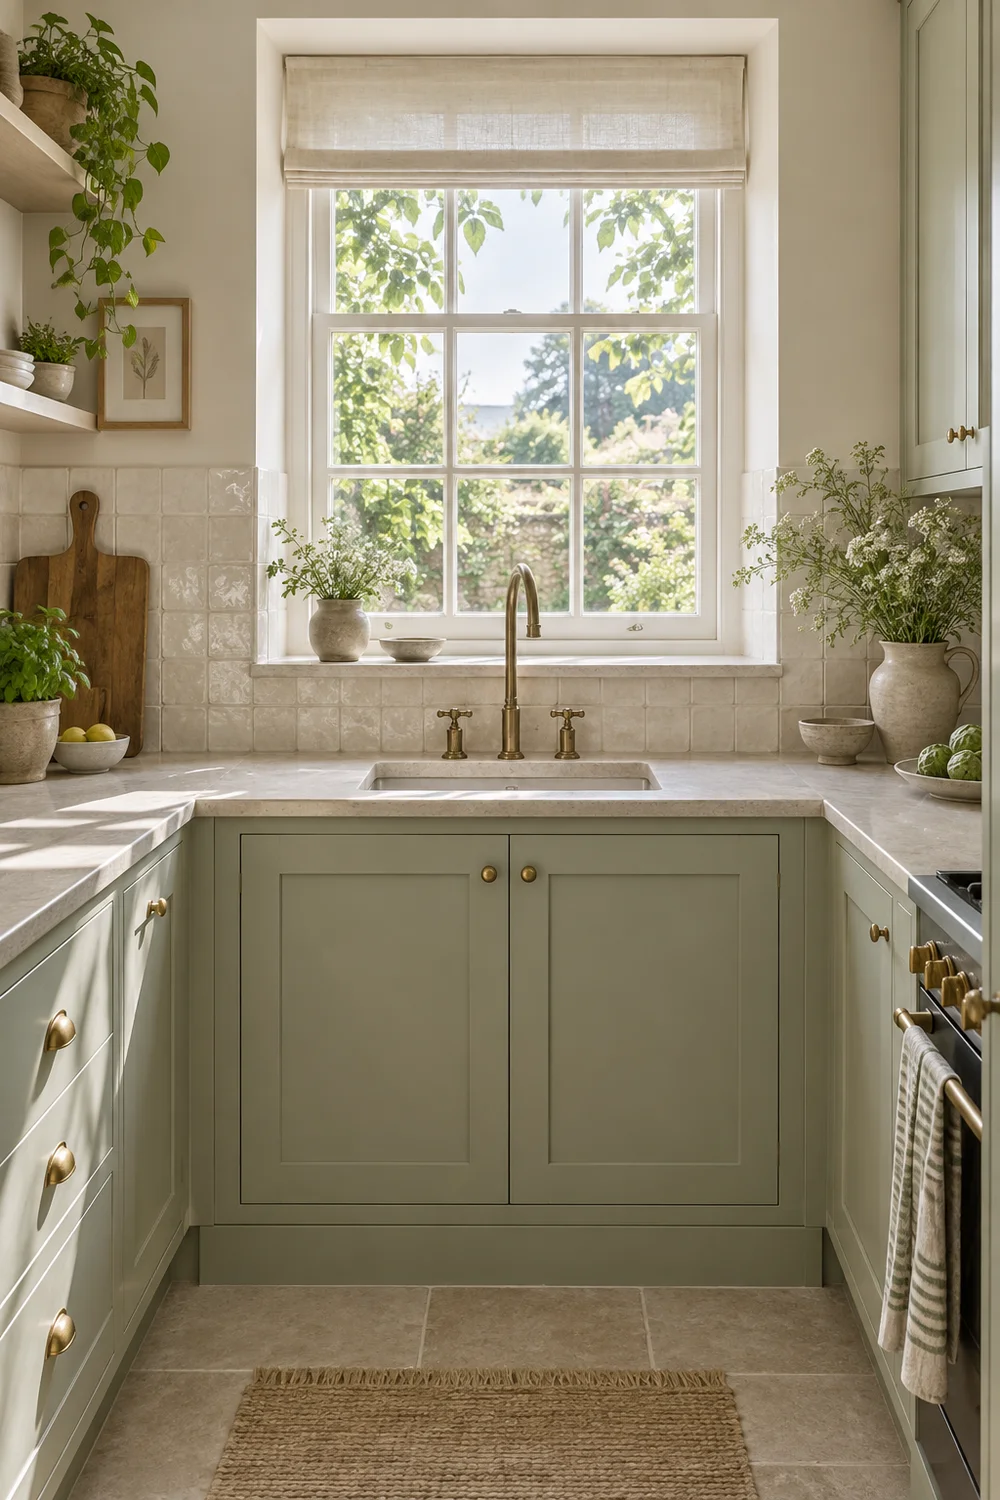
Check shadows with your hands on the worktop. Stand where you prepare food and see whether the light falls in front of you. This practical test catches poor placement before the electrician closes the wall.
Write the final choices on one page. Include the cabinet colour and finish, wall colour, worktop, backsplash, floor, timber, metal, lamp colour, handles and grout. Add product codes, sample dates and a photograph of the approved material board.
Record where each colour starts and stops. Note whether tall units follow the sage base cabinets or the warm white upper units. State which walls receive tile and where shelves align. These sentences prevent small assumptions from becoming visible inconsistencies.
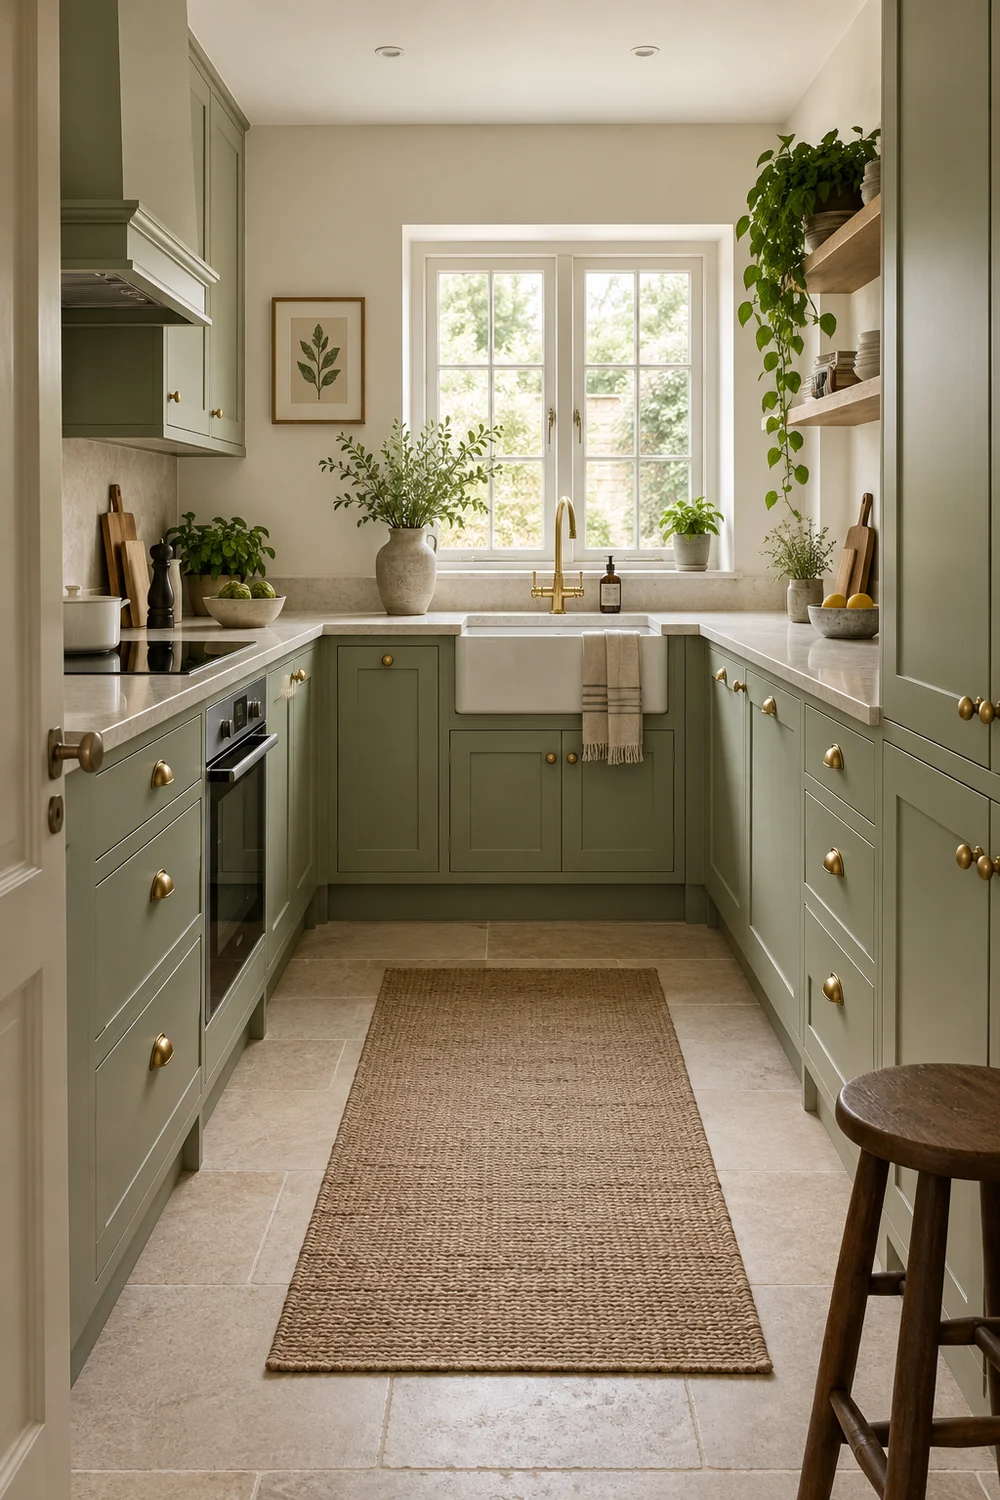
Add the three numbers from your first survey: clear walking width, uninterrupted worktop and closed storage. Confirm that the final plan protects them. A beautiful scheme should still pass the practical tests that began the project.
Review the schedule from the doorway photograph. The eye should meet a calm cabinet outline, a clear route and a small number of warm materials. If one finish demands all the attention, decide whether it helps the room or simply looked exciting as a sample.
Keep one approved sample of every visible finish until the work is complete. Check delivered doors, tile and worktop against them in the room. Batch and screen differences are real, so the physical sample is your clearest reference.
The strongest small sage green kitchen is not the one with the most storage tricks or the boldest green. It is the one where colour supports an efficient route, useful worktop and easy clearing. When warm white opens the edges, sage settles the cabinetry and timber and stone add depth, the fixed footprint can feel composed rather than compromised.