Newsletter Subscribe
Enter your email address below and subscribe to our newsletter

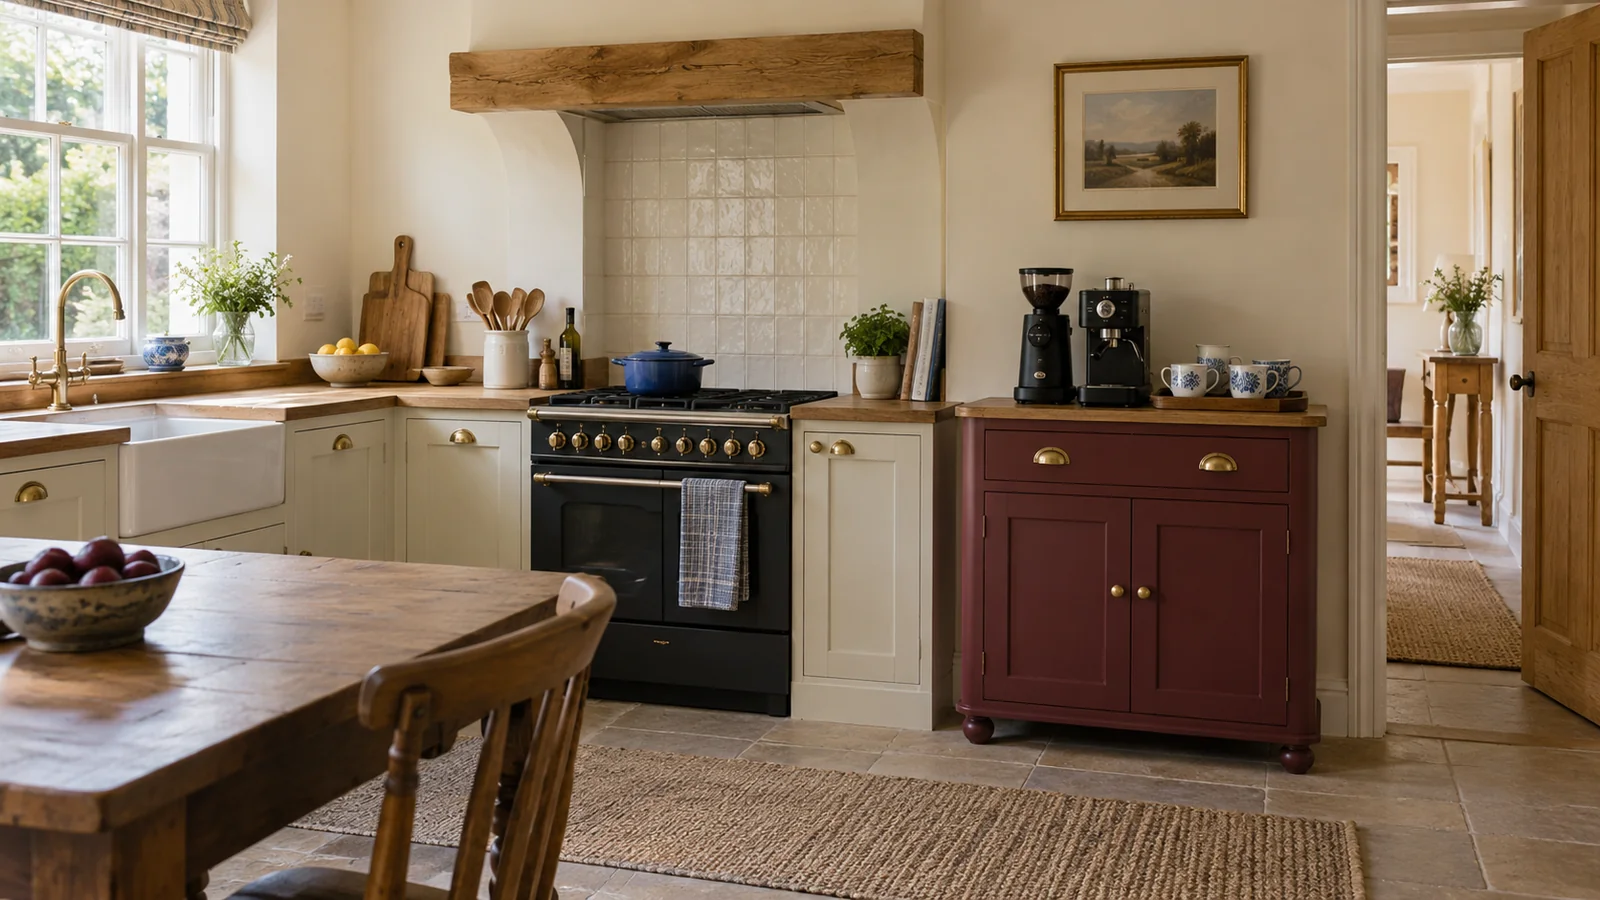
A coffee station cabinet is only a good choice if it supports the drink you make and the way you clear away afterward. For a daily home coffee routine in a small kitchen, I would start with the completed location plan and check actual furniture against it. The vintage direction can remain warm cream, honey toned oak, a muted burgundy cabinet and a few blue and white cups. What changes here is the level of detail: usable surface depth, opening access, stability, a practical tray and storage that holds the cups and tools you really use. This guide turns those requirements into comparisons you can make before buying or repurposing a piece. It also covers the daily reset and later review that keep the corner useful. You do not have to purchase a special coffee cabinet, but you should be able to explain why the chosen surface and storage pass your own equipment checks.
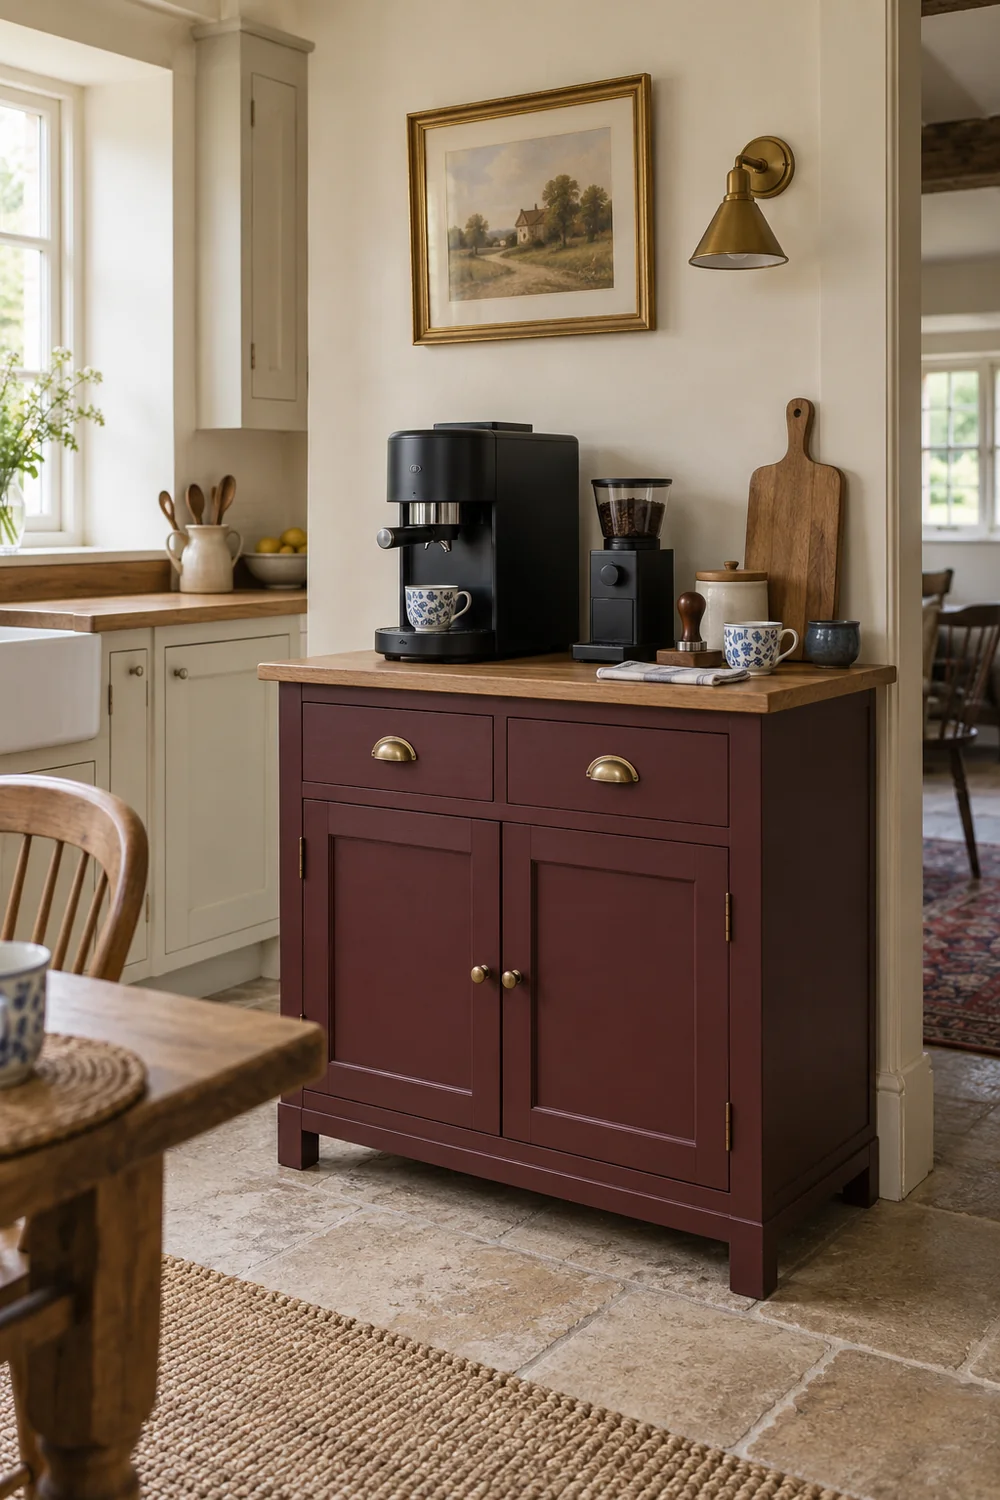
I would bring the equipment list and location sketch to every furniture comparison. Record the cabinet's overall width, depth and height, then ask for the usable top dimensions. A raised back, projecting trim or rounded edge can make those numbers different. The top is the surface that has to accommodate the equipment and preparation area. A cabinet that fits the wall does not necessarily provide enough uninterrupted surface to make your morning drink.
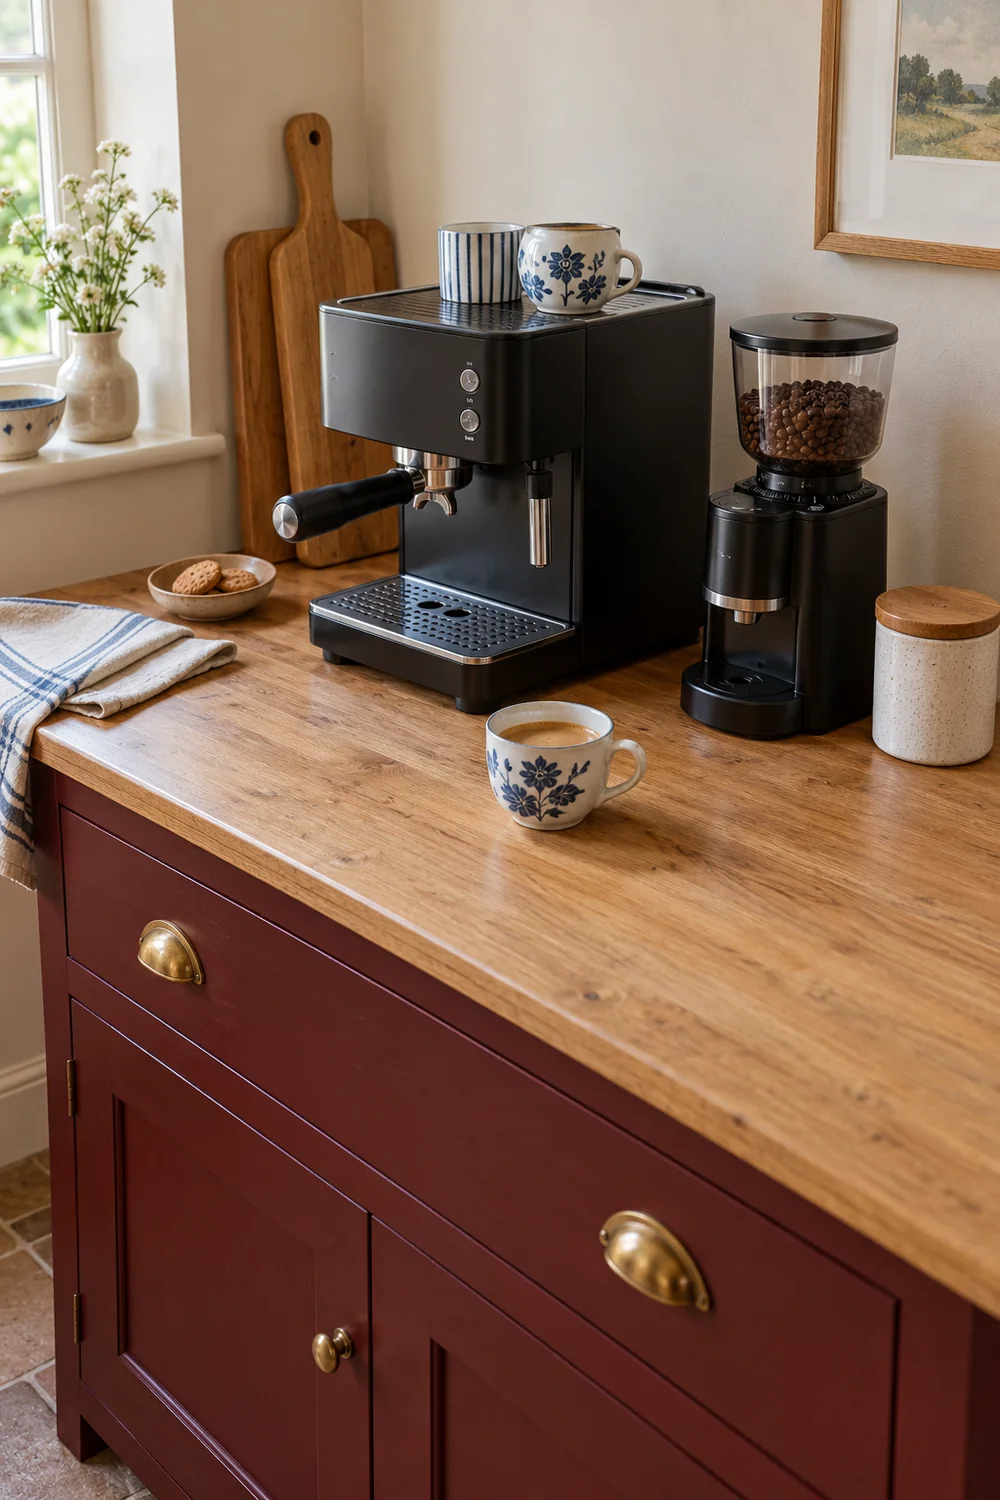
Use separate outlines for fixed equipment and temporary preparation. A machine and grinder might remain in place, while a cup, scale or brewing tool needs space only during the routine. I would still reserve that temporary area deliberately. Otherwise the attractive cupboard fills up with permanent objects and the actual preparation returns to the cooking counter. That defeats the reason for giving coffee a separate corner in the first place.
Consider this worked comparison with invented measurements, intended to show the checking method rather than recommend a furniture size. The machine outline is 180 by 330 millimetres, the grinder outline is 130 by 200 millimetres and the desired preparation area is 250 by 250 millimetres. Their side by side widths total 560 millimetres before hand access and any manufacturer requirements. A cabinet with a 520 millimetre usable width fails that arrangement immediately. It is too narrow even if its overall advertised width sounds generous.
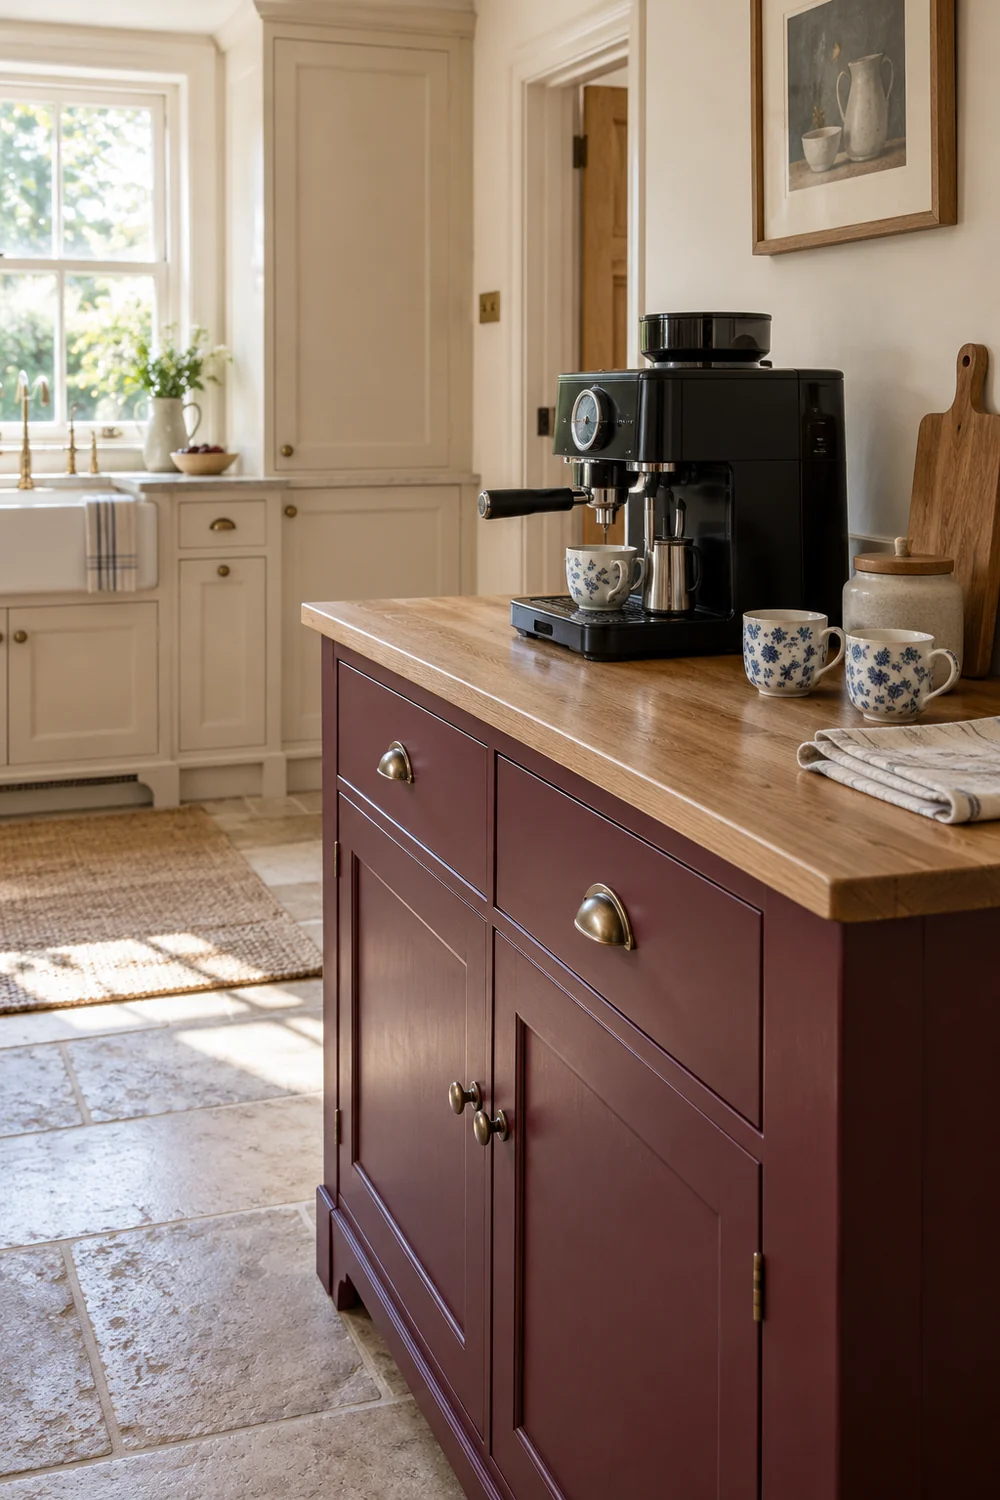
A second candidate with a 720 by 500 millimetre usable top might support the layout, but it is not accepted on arithmetic alone. Add the actual cable and plug projection, any moving part and the model specific installation clearances. Test the cup and temporary tools in place. Confirm that opening the reservoir does not conflict with a shelf. This is why I would keep the proposed equipment outlines and the real operating requirements as two separate checks.
The wider english country kitchen reference can guide the cabinet's collected appearance, but it cannot establish equipment fit. My shortlist would contain only pieces with clear top dimensions and a realistic working height for the person using them. If a seller cannot provide the information, measure the piece directly or choose a better documented option. Compact is a description, not a dimension you can plan around.
Open the furniture before deciding it fits. I would check a hinged door through its full movement, extend each drawer and inspect where the handles project. Repeat the test with a person standing in the brewing position. An open drawer may occupy the same space as the route to the sink, even when the closed cabinet looked neat against the wall. The accepted piece needs to work during the coffee routine, not only after every moving part has been shut.
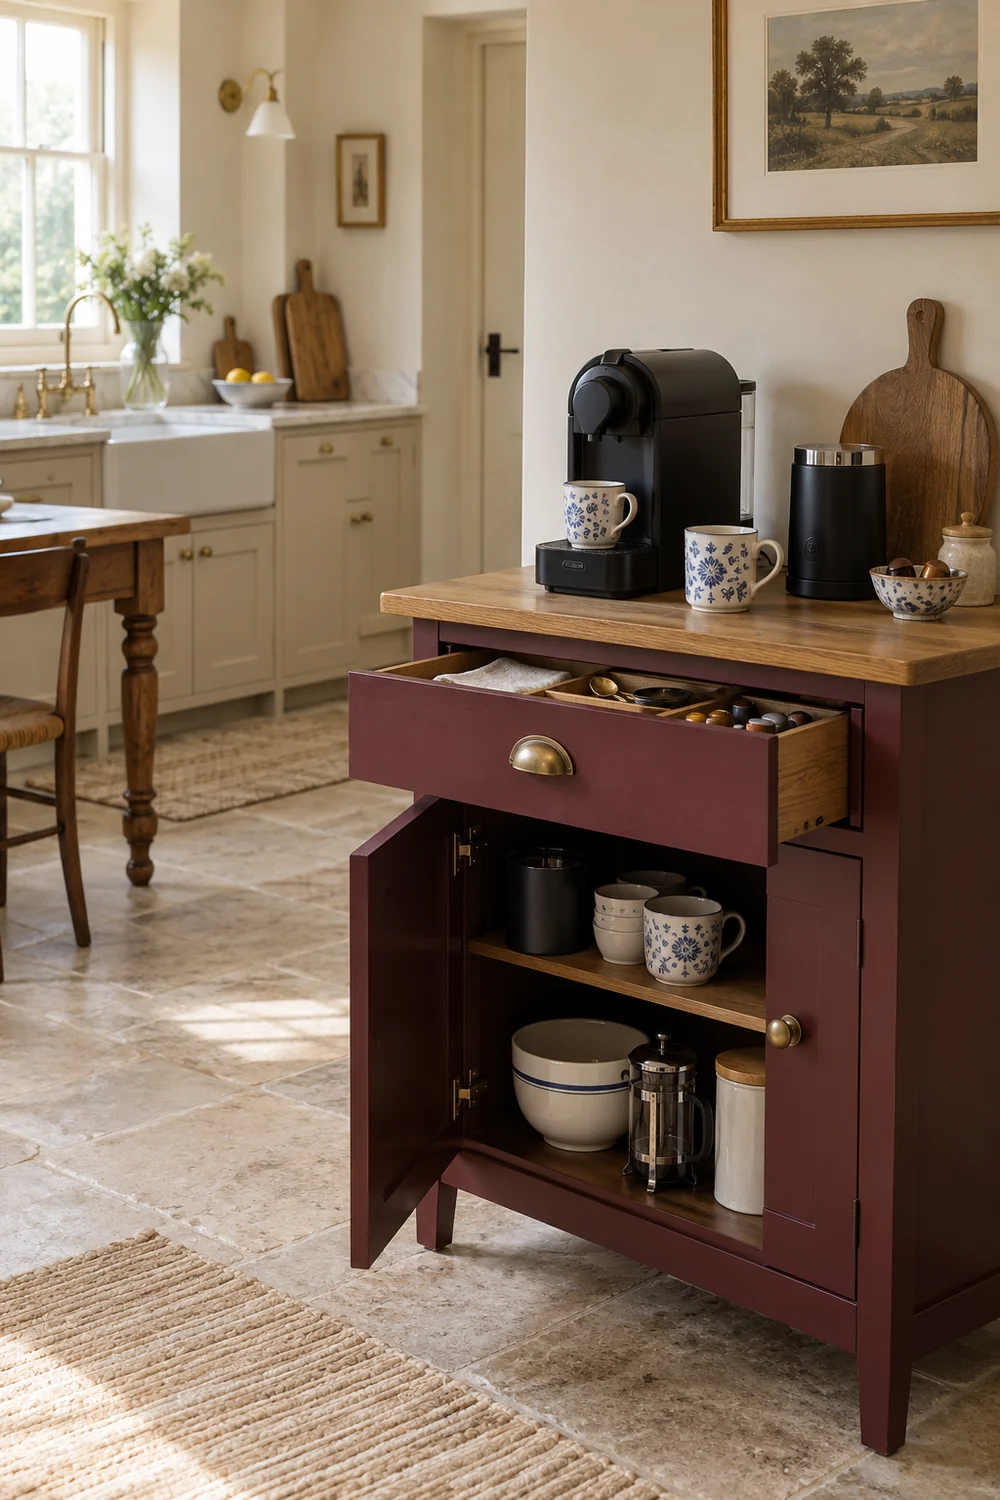
The appliance needs the same operating check. A reservoir that lifts upward requires different access from one that pulls forward. A steam wand or removable tray may need room beyond the closed machine outline. I would use the exact equipment manual and a real trial rather than position a shelf by appearance. Keep the manufacturer's installation and ventilation requirements as written. A furniture decision should accommodate those instructions, not reinterpret them to make an appealing cabinet pass.
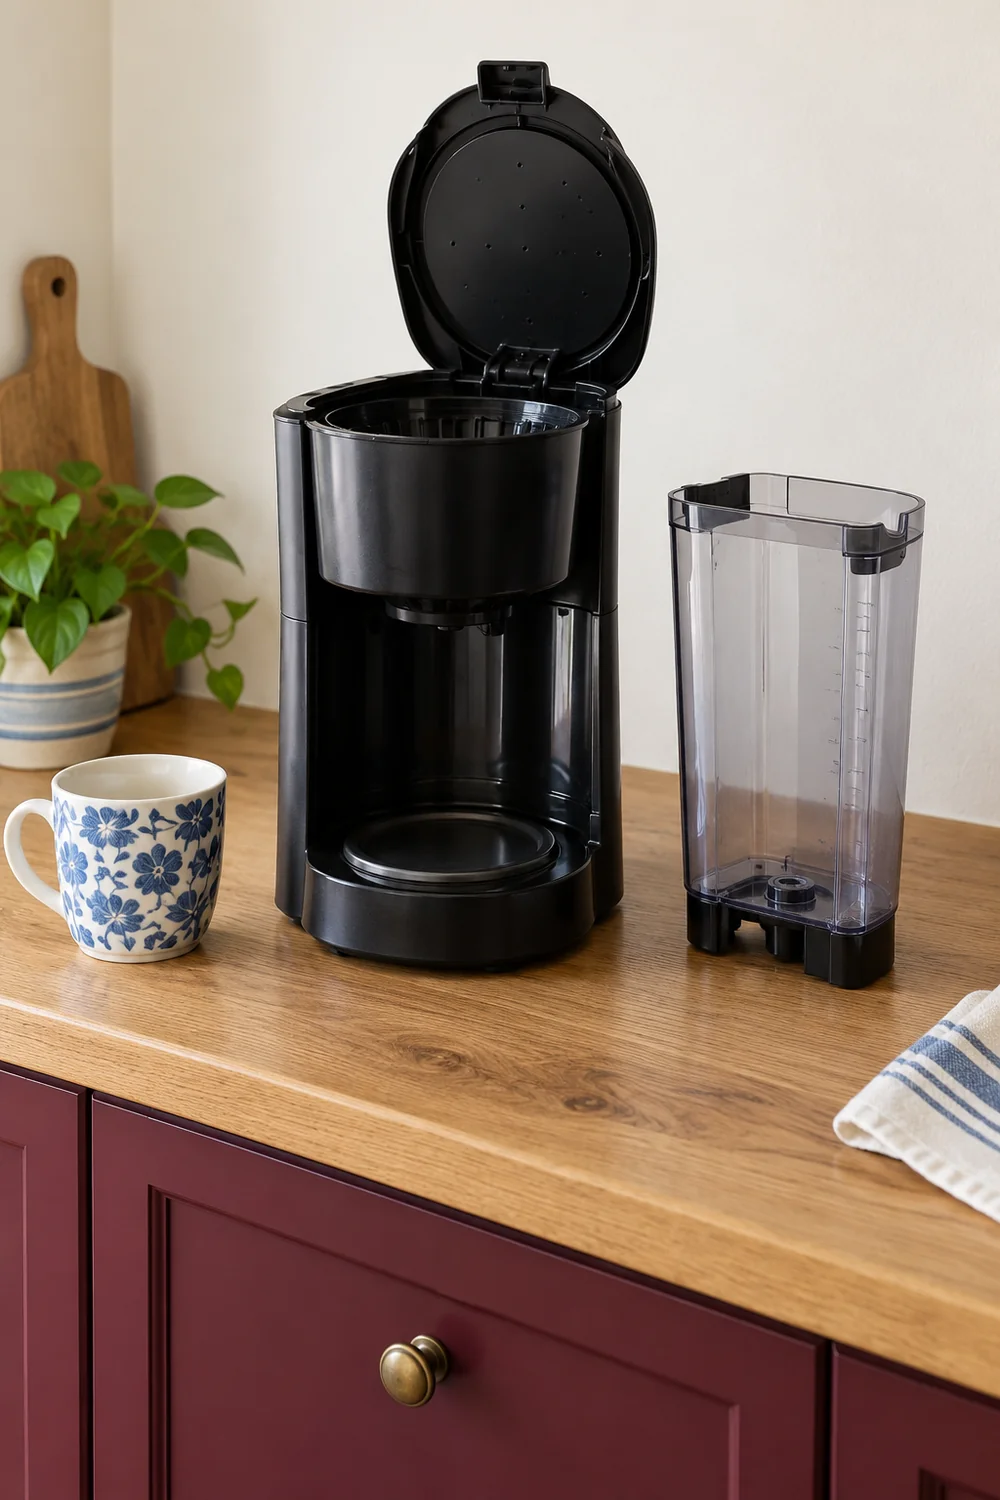
For an older piece, inspect the top, joints and feet. A cabinet that rocks when you operate the equipment is not a useful starting point. Confirm that the structure and surface can support the actual load and intended use, including filled containers and the equipment being moved for cleaning. If that cannot be established from reliable furniture information or a competent inspection, I would not use it as an appliance support. It may still provide excellent cup storage elsewhere.
The kitchen cabinets reference explains broader construction, finishes and hardware choices. For this corner, I would turn those into a short acceptance list: stable support, adequate usable top, doors and drawers that operate in the room and a finish suited to the routine. Vintage wear is welcome on a handle or paint edge. A loose joint or damaged working surface is a practical defect, not another layer of charm.
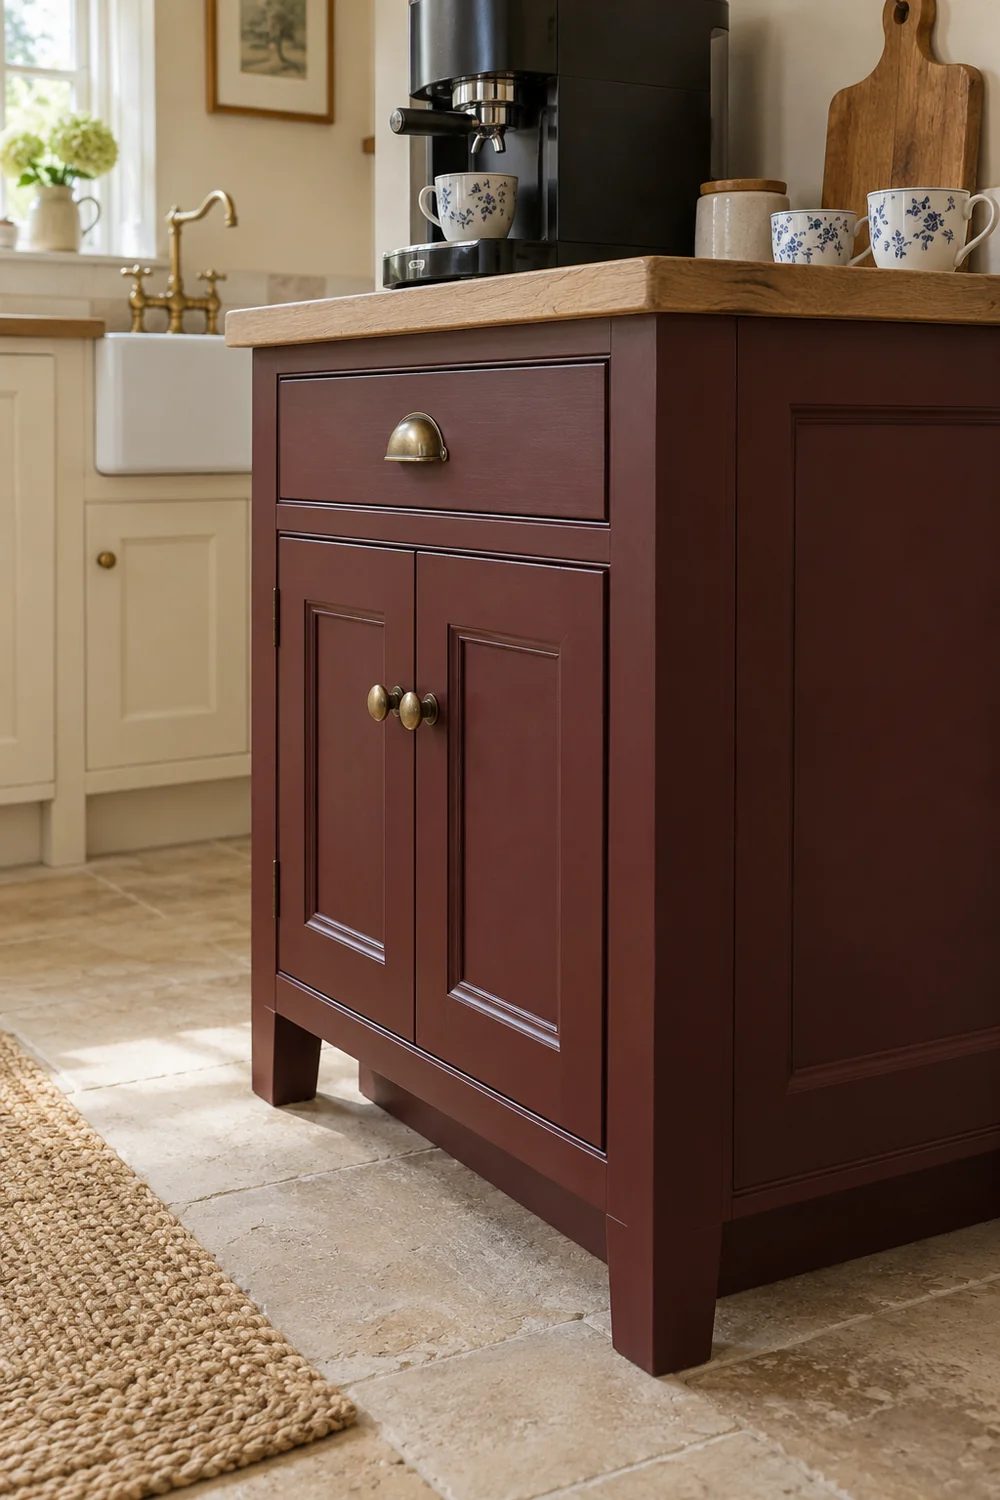
Finally, check delivery and placement. Measure the access route and confirm whether the piece can reach the proposed location without awkward assumptions about removing doors or turning it on its side. Follow the furniture maker's installation and restraint instructions where applicable. Confirm that any power arrangement suits the kitchen and the equipment, and have required electrical work assessed by a qualified professional. I would reject a cabinet location that only works with an unsuitable lead crossing the room, however attractive the piece might be.
The surface should tolerate the routine you actually have. I would ask what the finish is, how it should be cleaned and what protection is required around water, heat or spills. Those answers matter more than whether the timber has the perfect honey colour. If you already own a cabinet, identify its finish before treating it as a worktop. A decorative furniture surface and a kitchen working surface may have different care requirements even when they look similar.
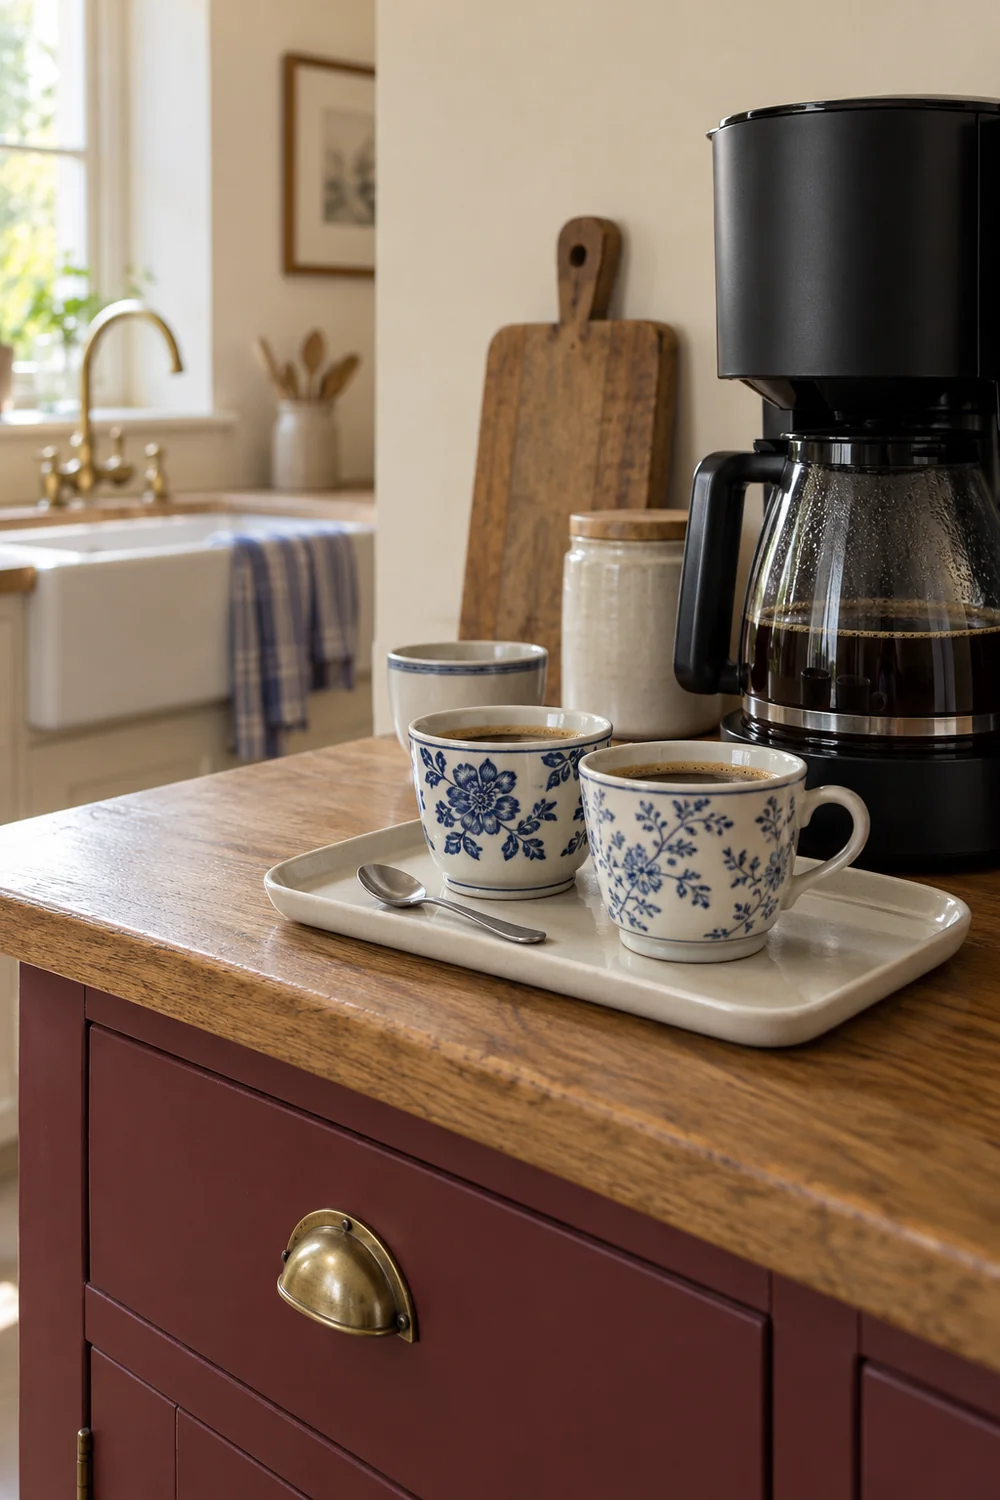
Here is the comparison I would use when narrowing the options. A properly specified kitchen worktop offers a documented starting point for regular preparation. A finished furniture top may work when its maker confirms the intended use and you protect it as required. An unknown or delicate vintage finish is better kept away from the appliance's working area until its suitability is established. In each case, the acceptance question is the same: can you follow the care guidance during an ordinary morning without making the corner inconvenient?
| Surface option | What I would confirm | When I would choose it |
|---|---|---|
| Existing kitchen worktop | Actual finish, care guidance and available preparation area | The coffee group fits without borrowing cooking space |
| Cabinet with a documented suitable top | Support, cleaning guidance and any required protection | The separate position improves the routine and passes opening checks |
| Cabinet with an unknown old finish | Reliable identification and suitability before use | For cup storage only until the working surface can be verified |
| Suitable removable protective tray | Usable area, base, edges and cleaning instructions | It groups small items or protects the area intended for its use |
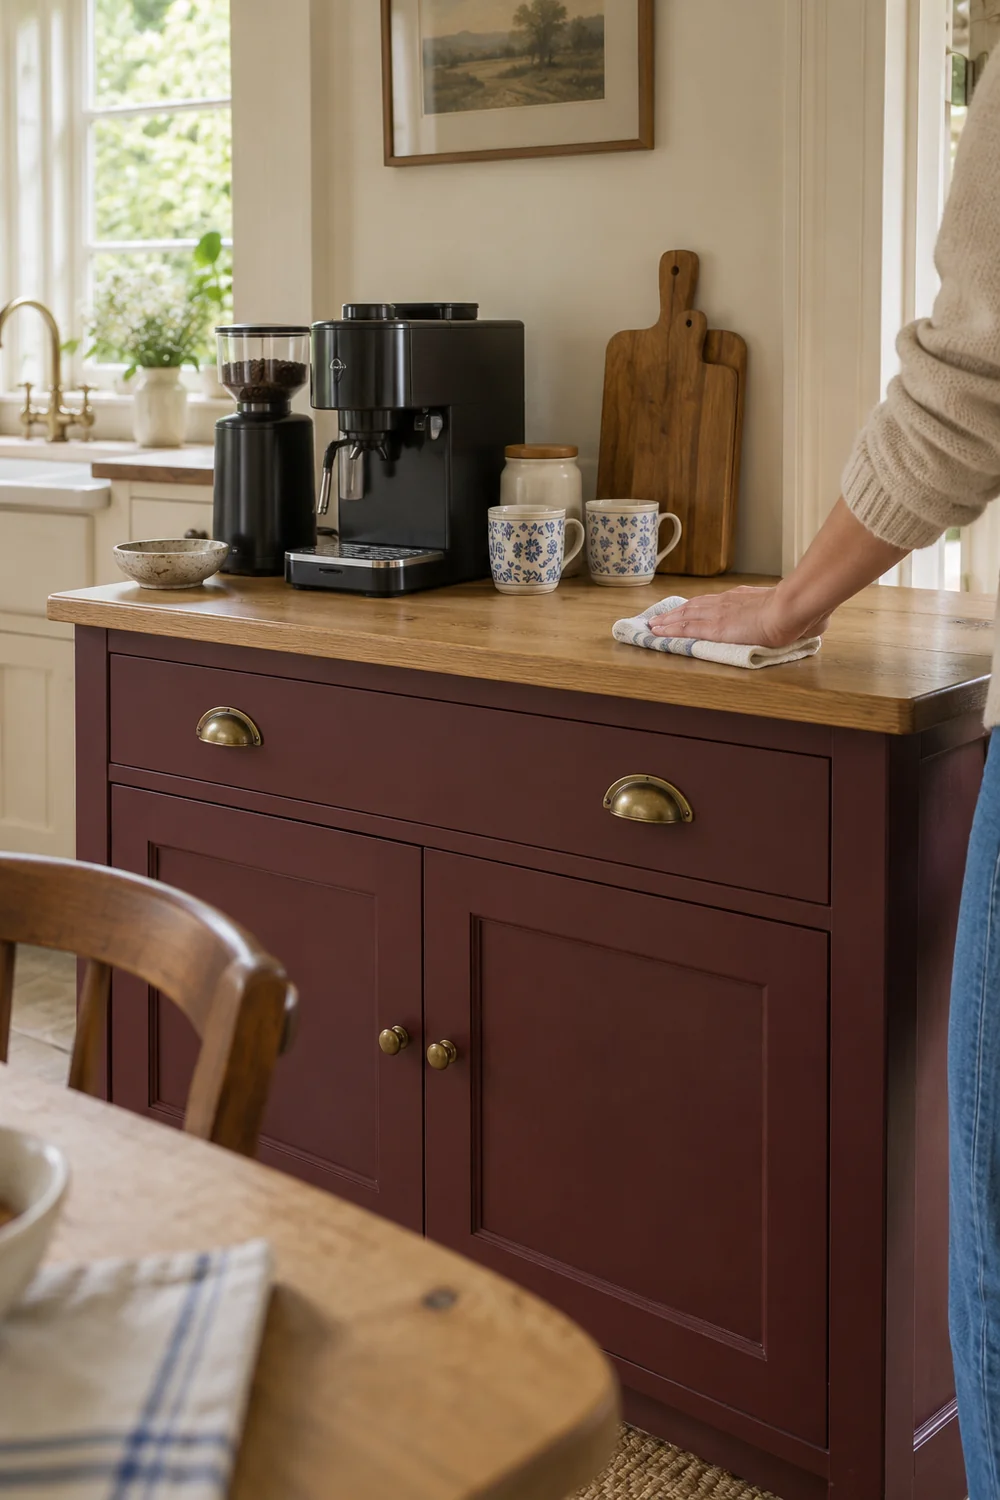
The table is a decision aid rather than a claim that any one material is universally better. The earthy kitchen reference can help the surrounding textures remain warm and coherent. For the actual wet preparation area, I would favour a simple surface whose care you can realistically follow. Keep the more delicate patina where it can be enjoyed without being exposed to repeated spills. The vintage identity does not need every surface to be old.
A tray should solve a specific problem. Measure its internal usable area, not just its outside dimensions, and decide exactly what it will hold. A small tray for cups, a spoon and a container can leave the appliance on its appropriate support surface. Do not automatically place a machine on a tray merely because the tray looks good. The appliance's stability, heat, ventilation and installation requirements still apply. I would choose a tray after the equipment arrangement is accepted, so it supports the routine instead of compressing it.
Count what the daily routine needs before choosing a mug rack. If you usually make coffee for one, a daily mug and one spare may be enough in the visible group. If two people use the corner, a useful pair and a small number of additional cups might make more sense. I would store occasional drinkware separately rather than let it dictate the size of the coffee cabinet. The storage should reflect use, not the maximum collection you could display.
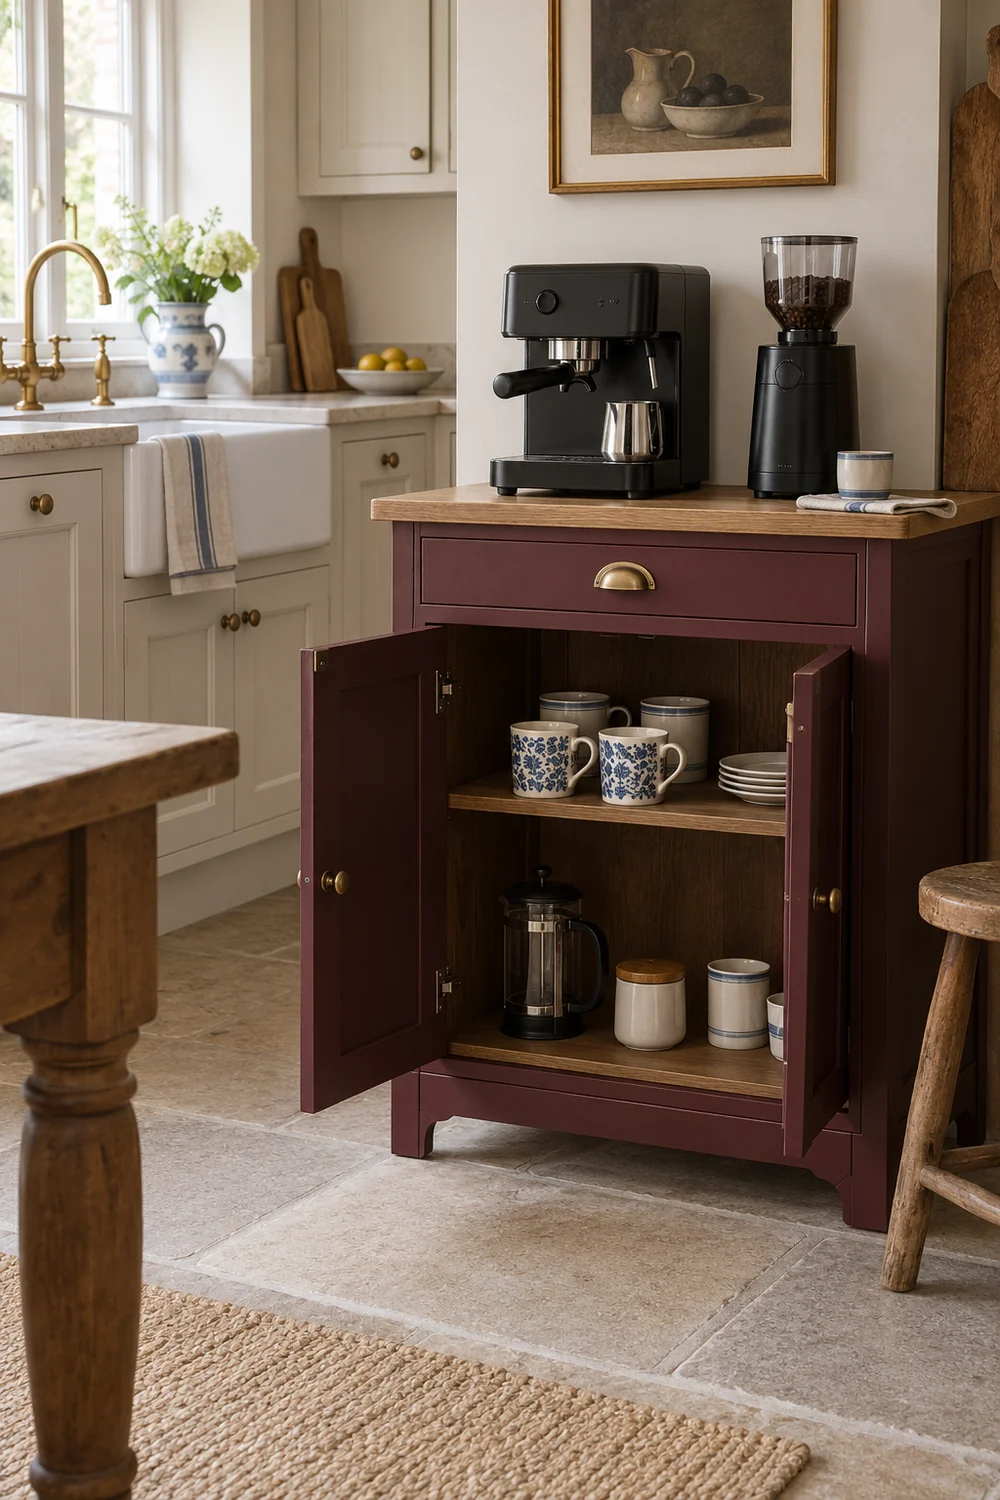
Test the cups inside the proposed storage. Measure their height and width with handles included, then open the door or drawer while they are in place. An adjustable shelf can be useful, but only if it provides the space you need without leaving an awkward unreachable level. A drawer divider should accommodate the actual tools rather than force them into a generic organiser. I would compare the internal cabinet measurements with your cup and supply group before buying inserts.
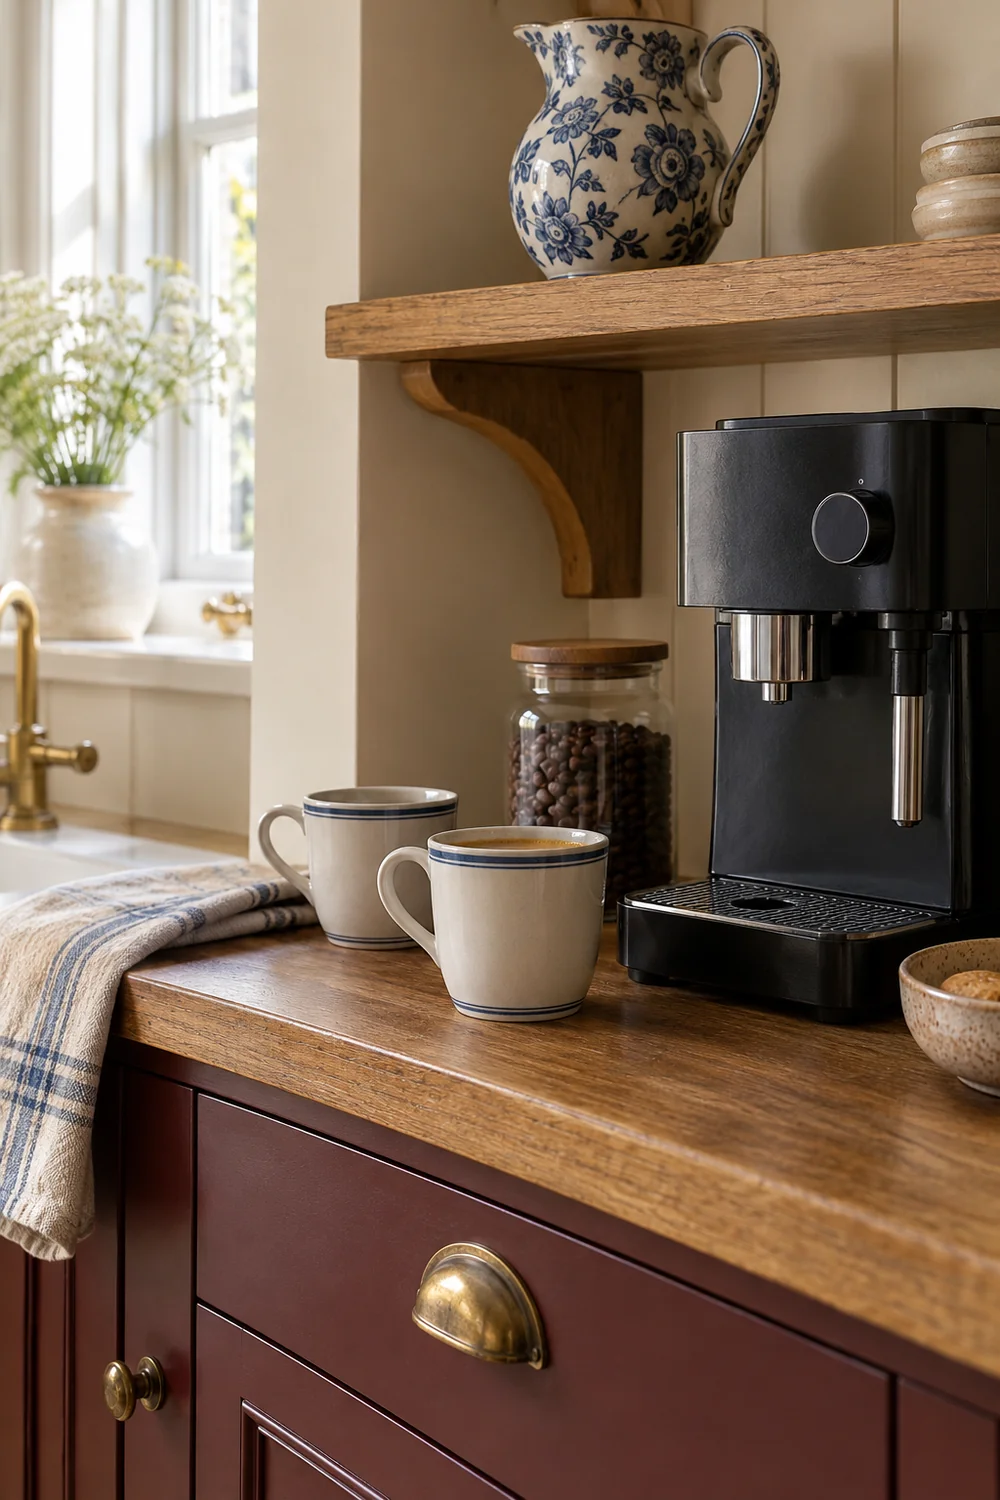
Use the vintage pattern selectively. Blue and white ceramics can give the corner character while a plain contemporary mug remains the everyday favourite. For drinks, use cups with reliable food contact suitability and follow their cleaning guidance. Do not assume an old decorative cup is safe for regular hot drinks from its appearance alone. Where suitability is uncertain, I would keep that piece in the decorative group and use confirmed drinkware for the actual routine.
The broader cottage kitchen reference offers ideas for integrating open display with closed storage. Here, I would show only the cups you enjoy seeing and can reach comfortably. Keep spare supplies and brightly packaged objects below or elsewhere. Avoid a display that requires reaching across operating equipment for the cup you need. A visible collection should make the corner feel personal while the daily routine remains straightforward.
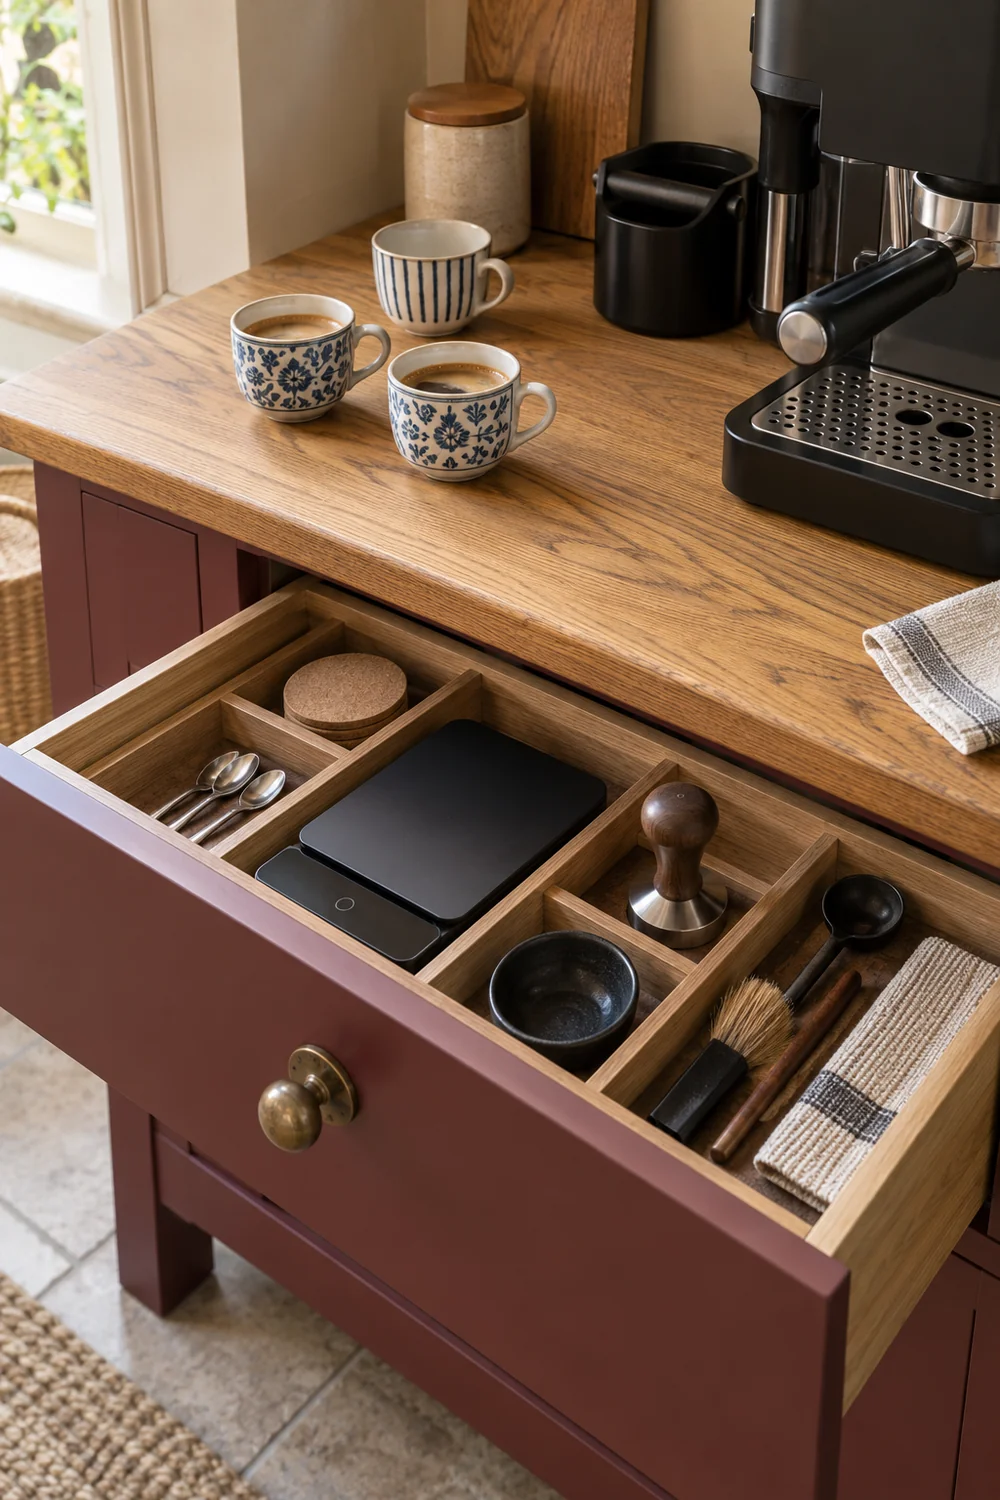
I would give every temporary tool a definite home. A spoon, small scale, filter holder or cleaning accessory should return somewhere without occupying the cooking surface. Keep storage of coffee and other supplies consistent with their own packaging or maker guidance. You do not need decorative jars to prove that the station is finished. A cabinet that contains ordinary packets discreetly can be more useful than a row of beautiful containers that are awkward to refill.
Start with the light that already reaches the corner. Can you see the controls, the preparation surface and any markings you actually need to read? I would test that at the time you normally make coffee, as well as in daylight. If the existing kitchen lighting is sufficient, an extra lamp is optional. If it is not, identify the area that needs task light before choosing a fitting or deciding where it belongs.
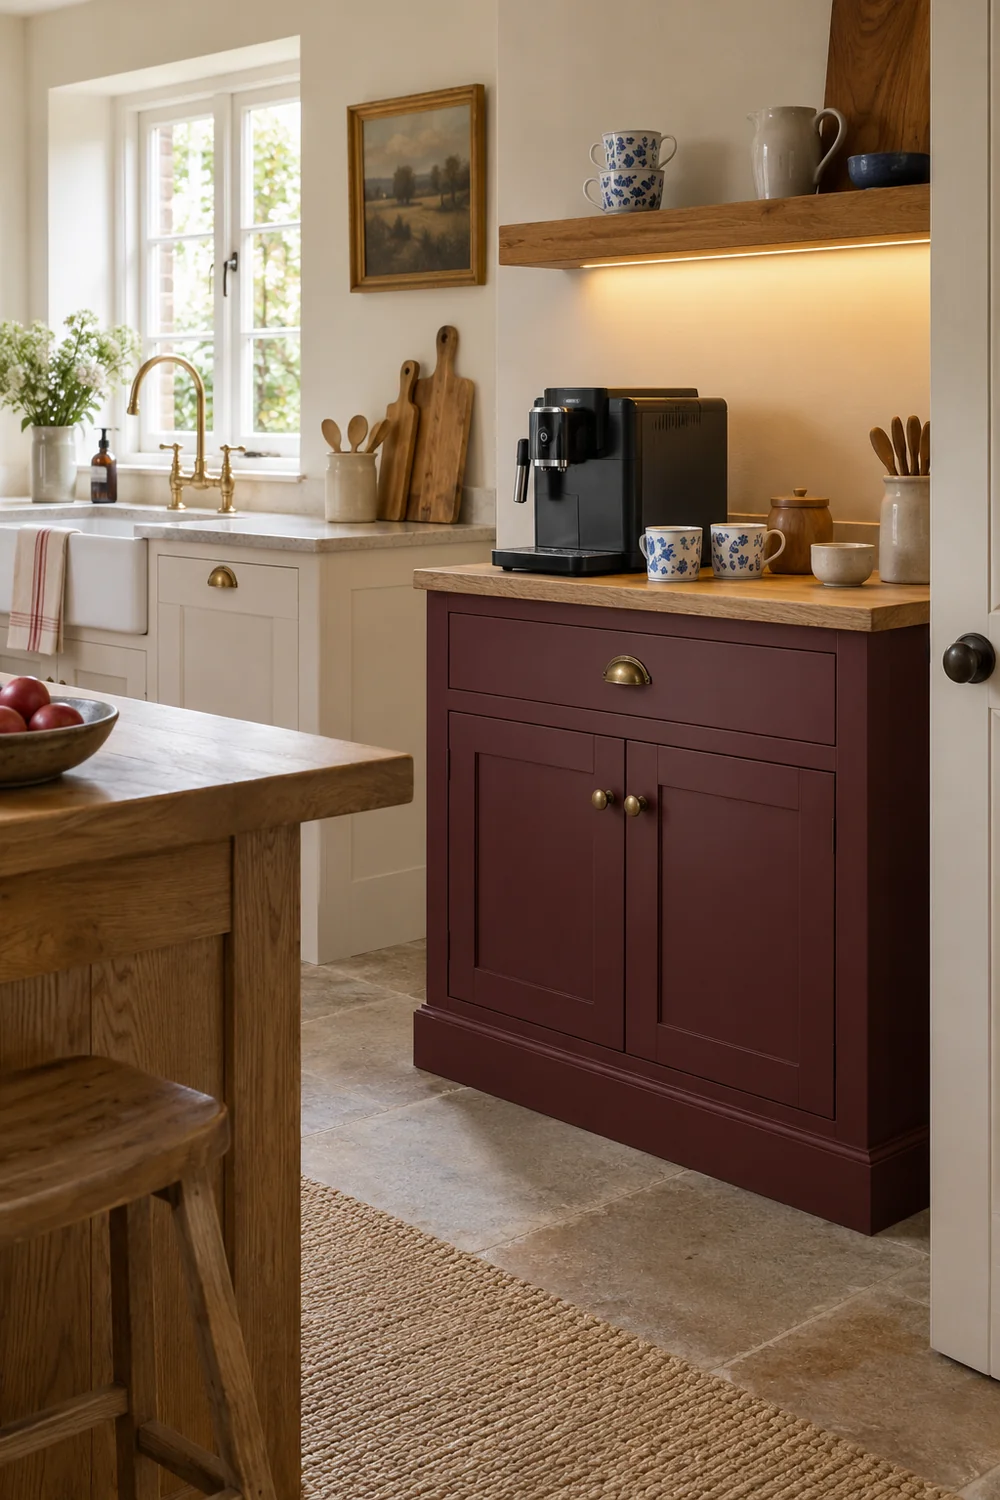
A decorative lamp can use more surface than expected. Its base, cable and shade must be included in the same layout check as the coffee equipment. I would not place an ordinary table lamp beside a splash prone area simply because its brass finish is attractive. Select fittings appropriate to the location and follow the product and installation guidance. A qualified installer should assess any fixed electrical changes. The room needs a suitable useful light, not a photogenic shortcut.
Choose accessories by the task they complete. A container might keep a few frequently used tools together. A cloth needs somewhere it can be changed and dried properly. A small print can provide a quiet visual detail outside the working surface. A vase that occupies the only clear place to put down the cup is less useful, however well it matches the cabinet. I would keep the list short enough that you can explain each item's role without using the word styling.
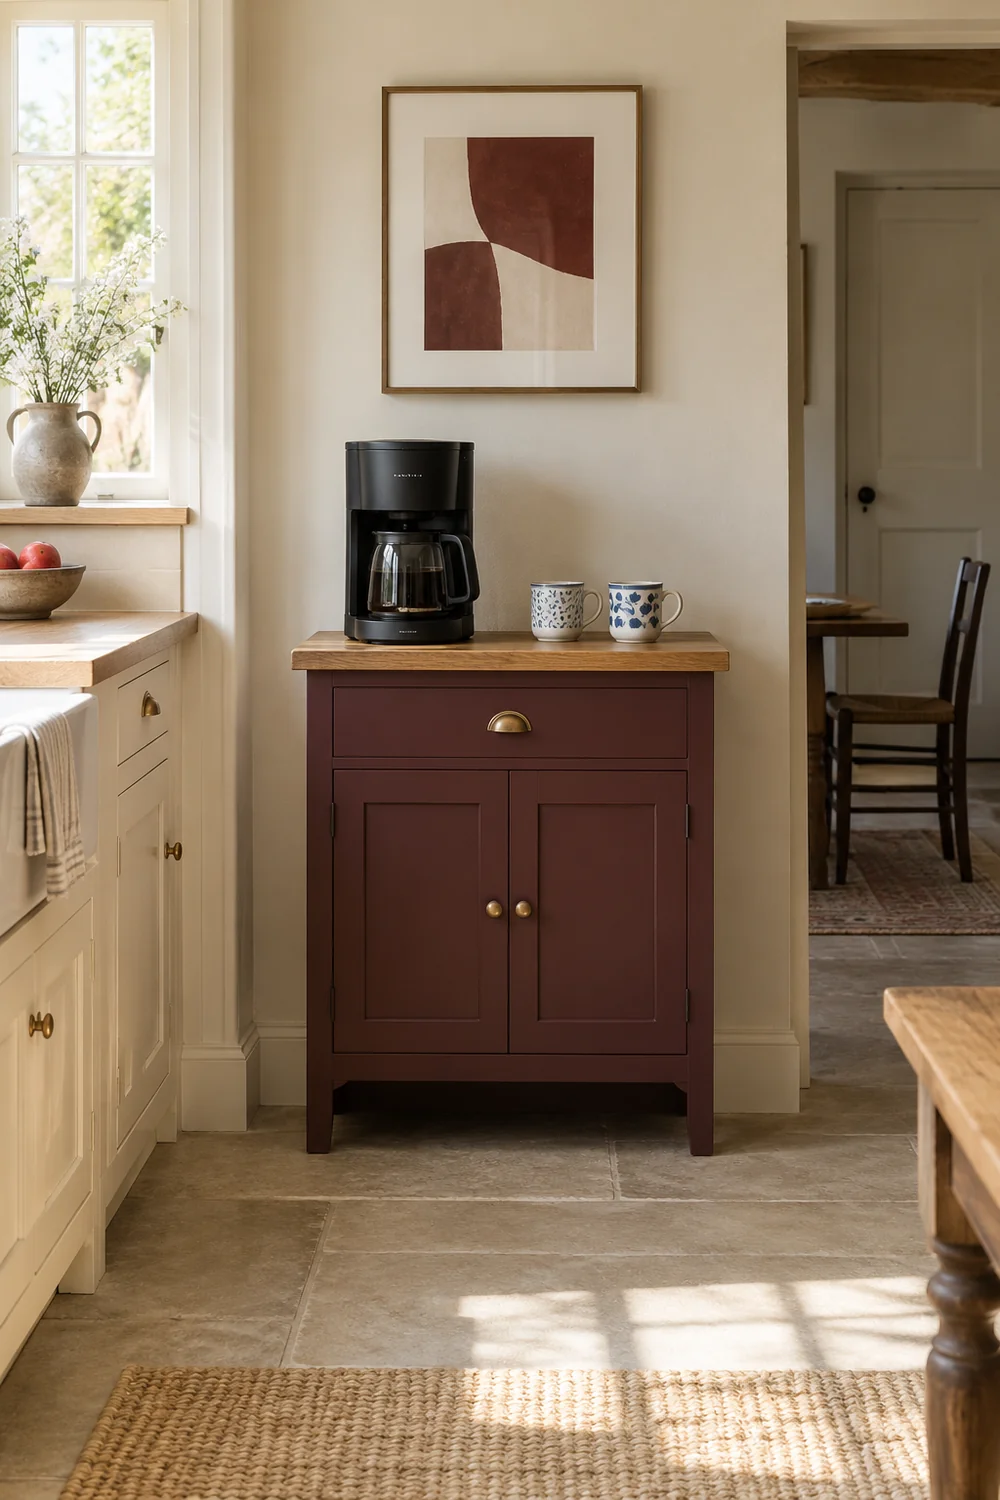
This is where the palette can remain disciplined. The burgundy cabinet provides the main colour, honey toned oak offers warmth and the china supplies a small patterned note. Warm cream can hold the background and a plain linen cloth can soften the edge. I would keep appliance finishes visible rather than add wraps or decorations that affect their operation. The corner feels collected because a few useful pieces relate to one another, not because every product has been made to look vintage.
Before accepting the final accessories, perform the whole routine with them in place. Make a drink, return the tools and clear away. Photograph the finished area from the ordinary kitchen view. Remove anything that obstructs a movement or introduces an unrelated colour. This final edit is specific to a daily coffee corner: the objects have to survive use and reset, not just look balanced for a moment. A useful arrangement usually has fewer permanent surface objects than the first shopping list suggested.
Set up in dependency order. I would establish the accepted cabinet or counter position first, confirm the equipment arrangement against its exact instructions and then add the storage and small accessories. Keep the operating and service requirements visible in your notes. Do not let a cup shelf or a picture frame move into a clearance that the equipment needs. After the working arrangement passes, the final vintage details can occupy the space that genuinely remains.
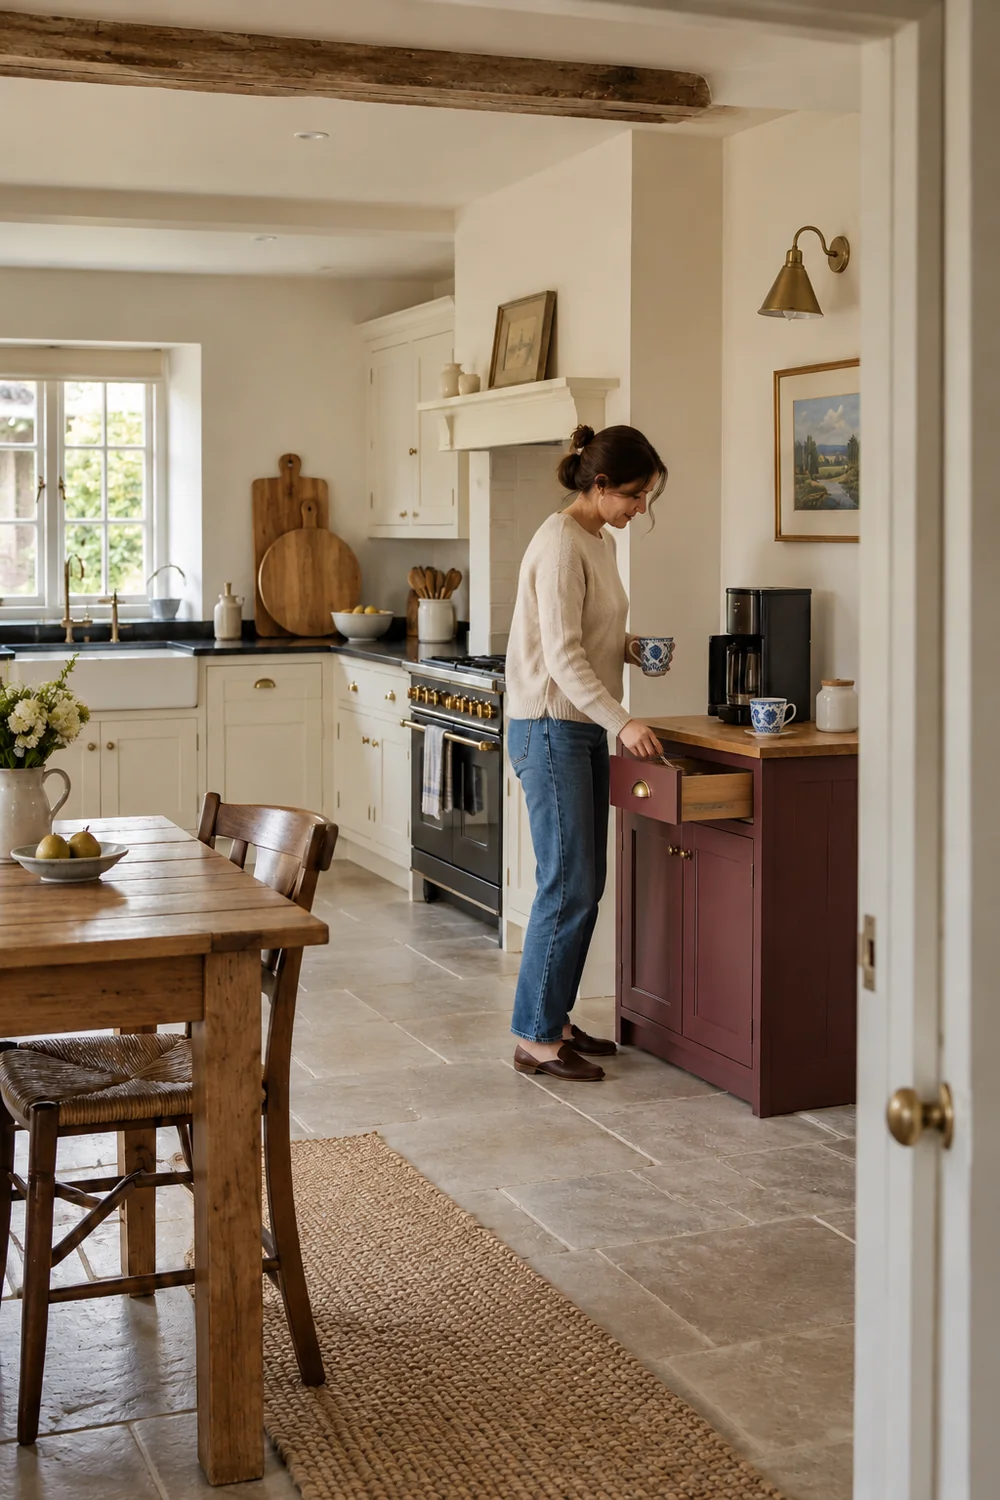
Follow the appliance and furniture makers' instructions for cleaning and maintenance. Use the specified method, product and sequence rather than a homemade routine intended to preserve the photograph. Electrical Safety First advises taking particular care with electrical equipment in kitchens and keeping appliances and surfaces clean. I would keep the appropriate cleaning tools accessible so that care is part of the routine, while leaving any maintenance procedure to the guidance for your actual model.
The daily reset can be very small: deal with used components as instructed, wipe the appropriate surface, return temporary tools and leave a clear place for the next cup. Put the spare items back into their assigned storage instead of collecting them on the counter. A decorative old cup can remain in the display if it is not being used for drinks. This is how the corner keeps its character without depending on a complicated arrangement that you have to recreate each morning.
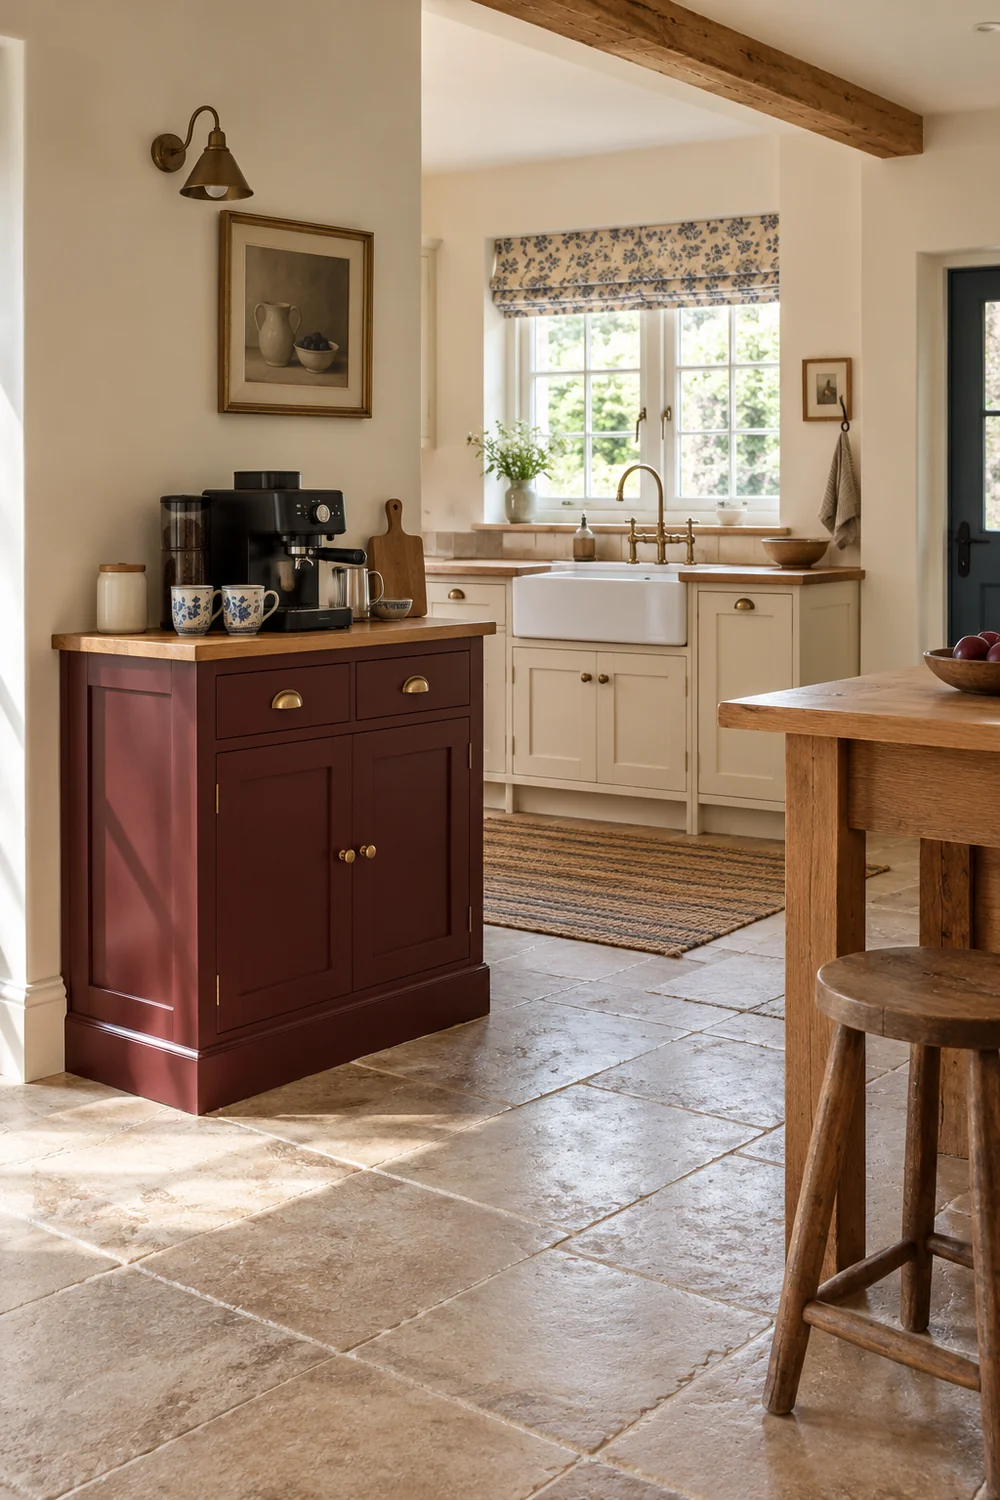
After a few ordinary mornings, review what still causes friction. Does a reservoir catch on the shelf? Do you keep using the cooking surface because the preparation area is too small? Has a cupboard become difficult to open while someone else is in the kitchen? If equipment or habits have changed, return to the kitchen coffee station plan and test the location again. That is a useful return visit, not a reason to replace every object when one measurement needs revising.
I would keep an acceptance sheet with the cabinet dimensions, equipment guidance, finish information and a photograph of the working arrangement. It gives future changes a practical starting point. You can add a cup or replace a tool slowly while preserving the jobs the corner already does well. The finished vintage coffee station should feel welcoming, but its real success is simpler: the drink is easy to prepare, the equipment can be cared for properly and your small kitchen stays usable after the cup has been made.