Newsletter Subscribe
Enter your email address below and subscribe to our newsletter

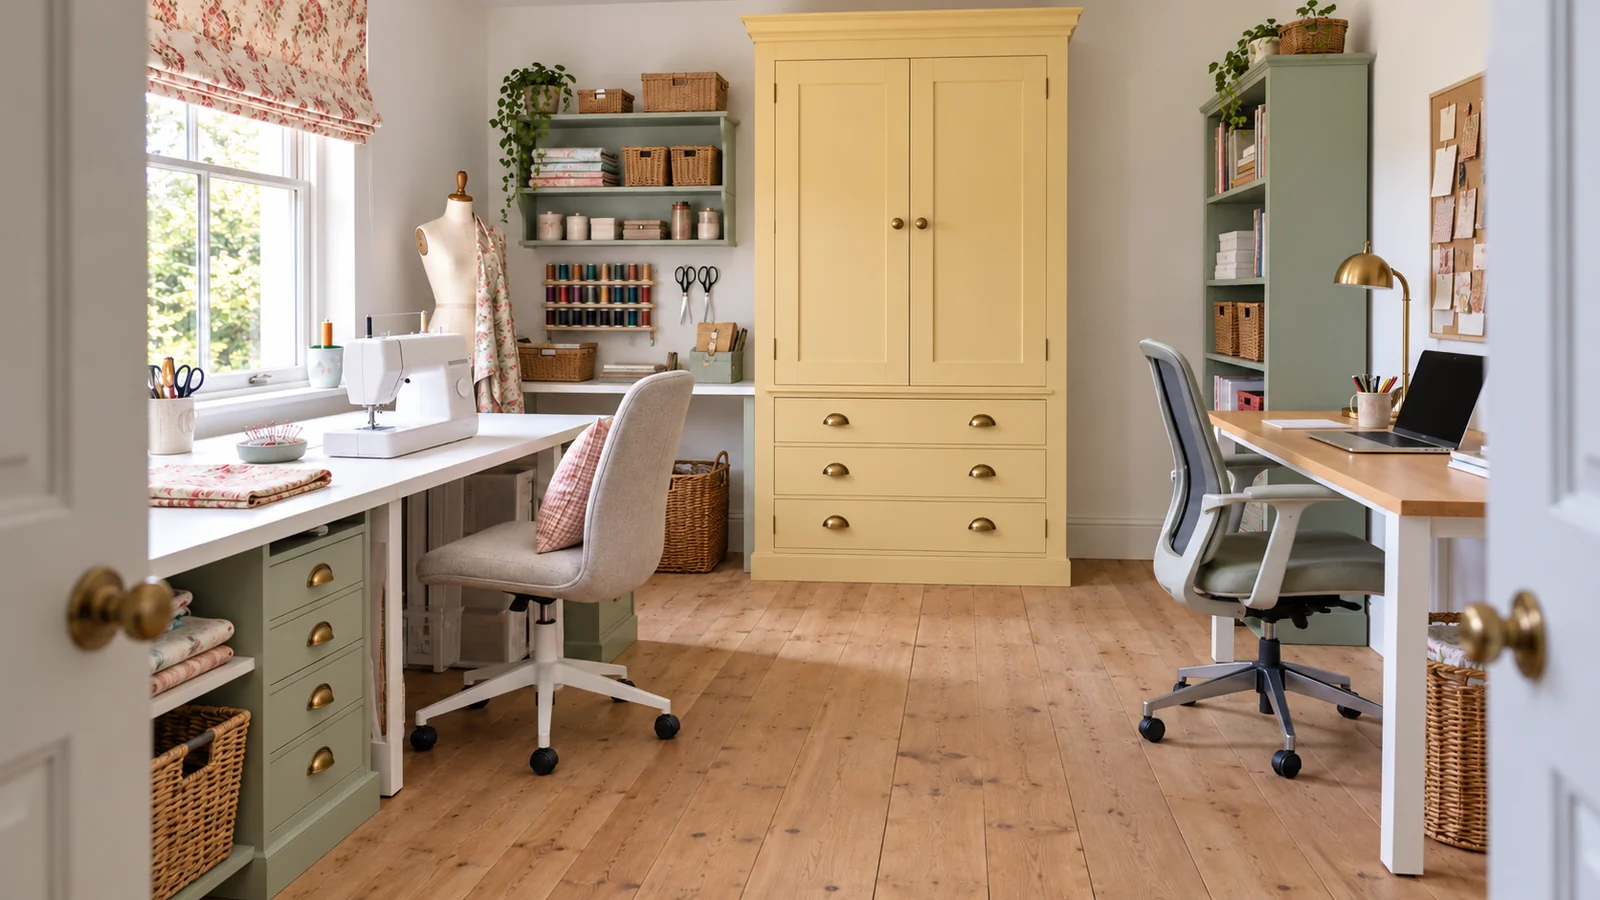
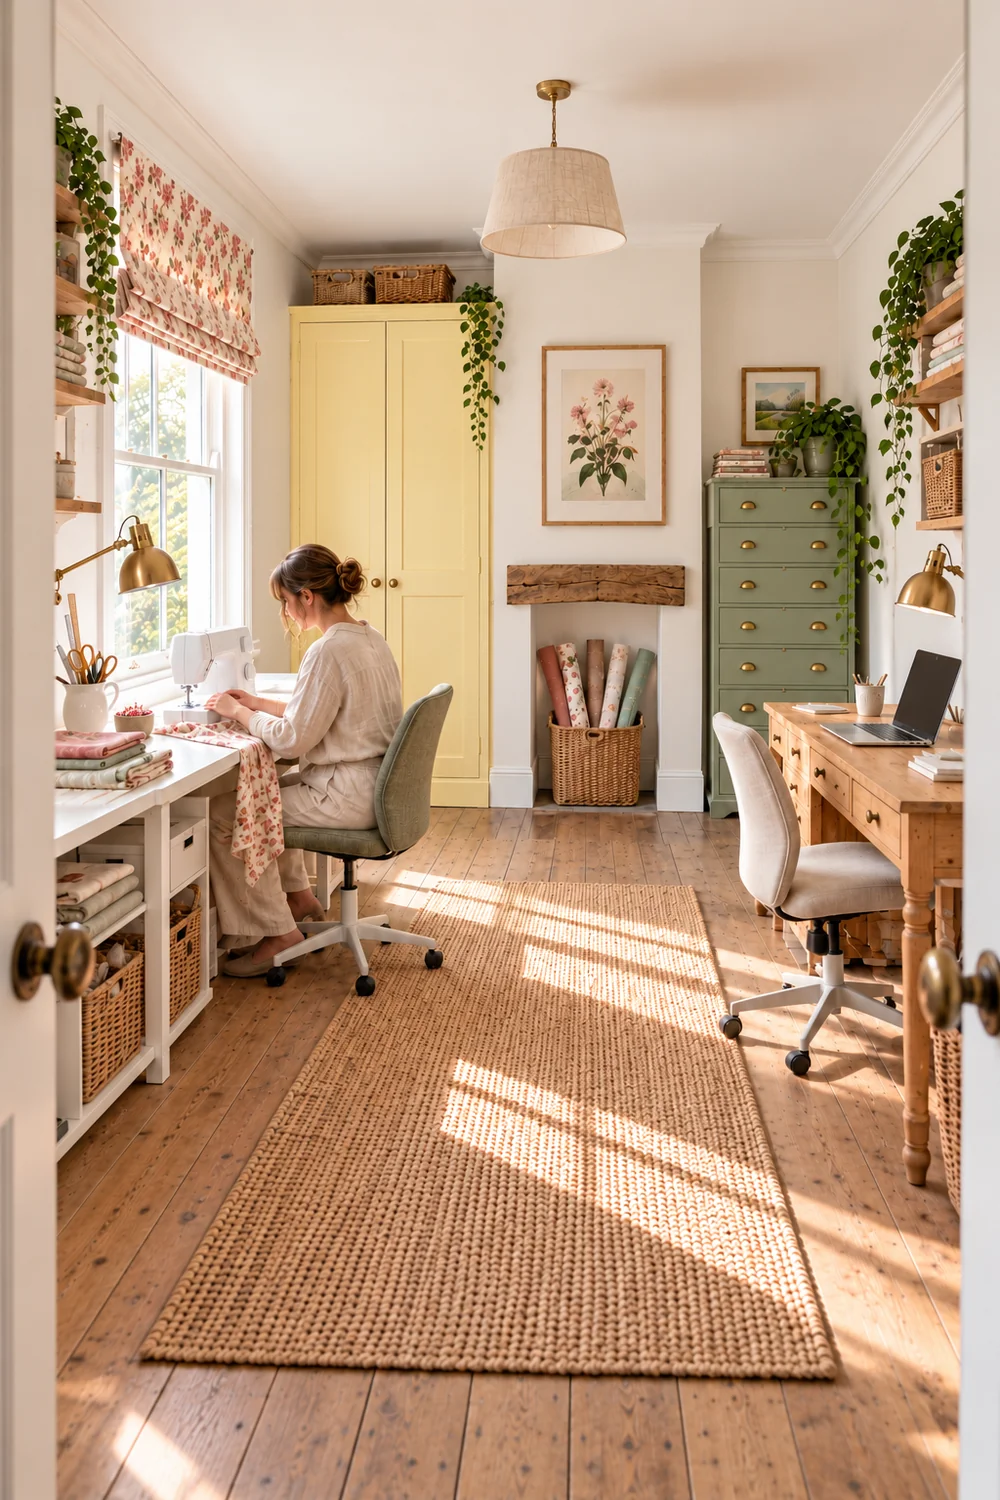
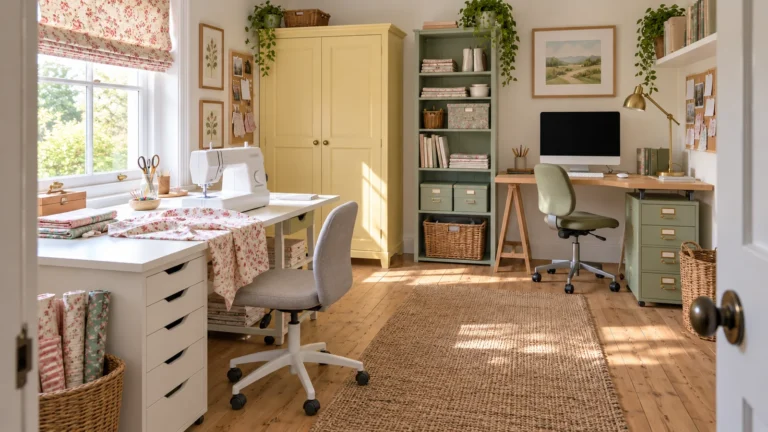
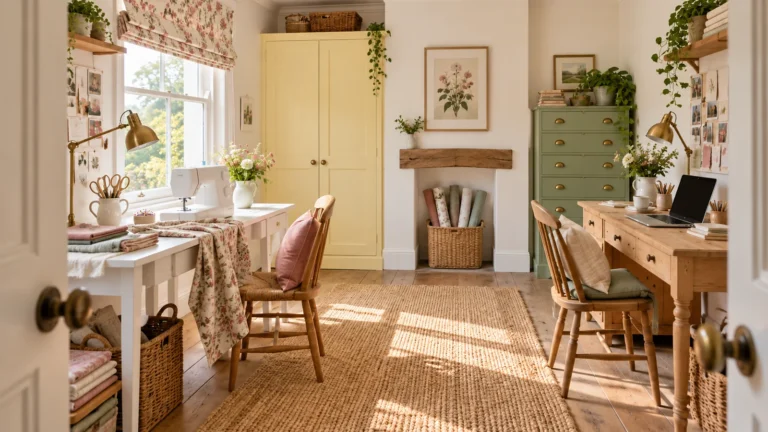
If your sewing machine has claimed the computer desk, buying another table can feel like the obvious answer. I would first check what actually happens between opening a project and returning to the screen. A cottage sewing room office combo needs more than two attractive pieces of furniture: it needs room for the machine, the fabric you handle, the computer equipment and the chair while you are using them. This plan takes you through an inventory, two arrangements and an occupied trial using the room you have. It keeps the cottage direction through painted storage, pale surfaces and a restrained floral detail, while leaving furniture specifications for the decisions that follow the trial. You will finish with a clear arrangement to test, a record of its failures and a useful list of what a new piece must do if the existing furniture cannot serve it.
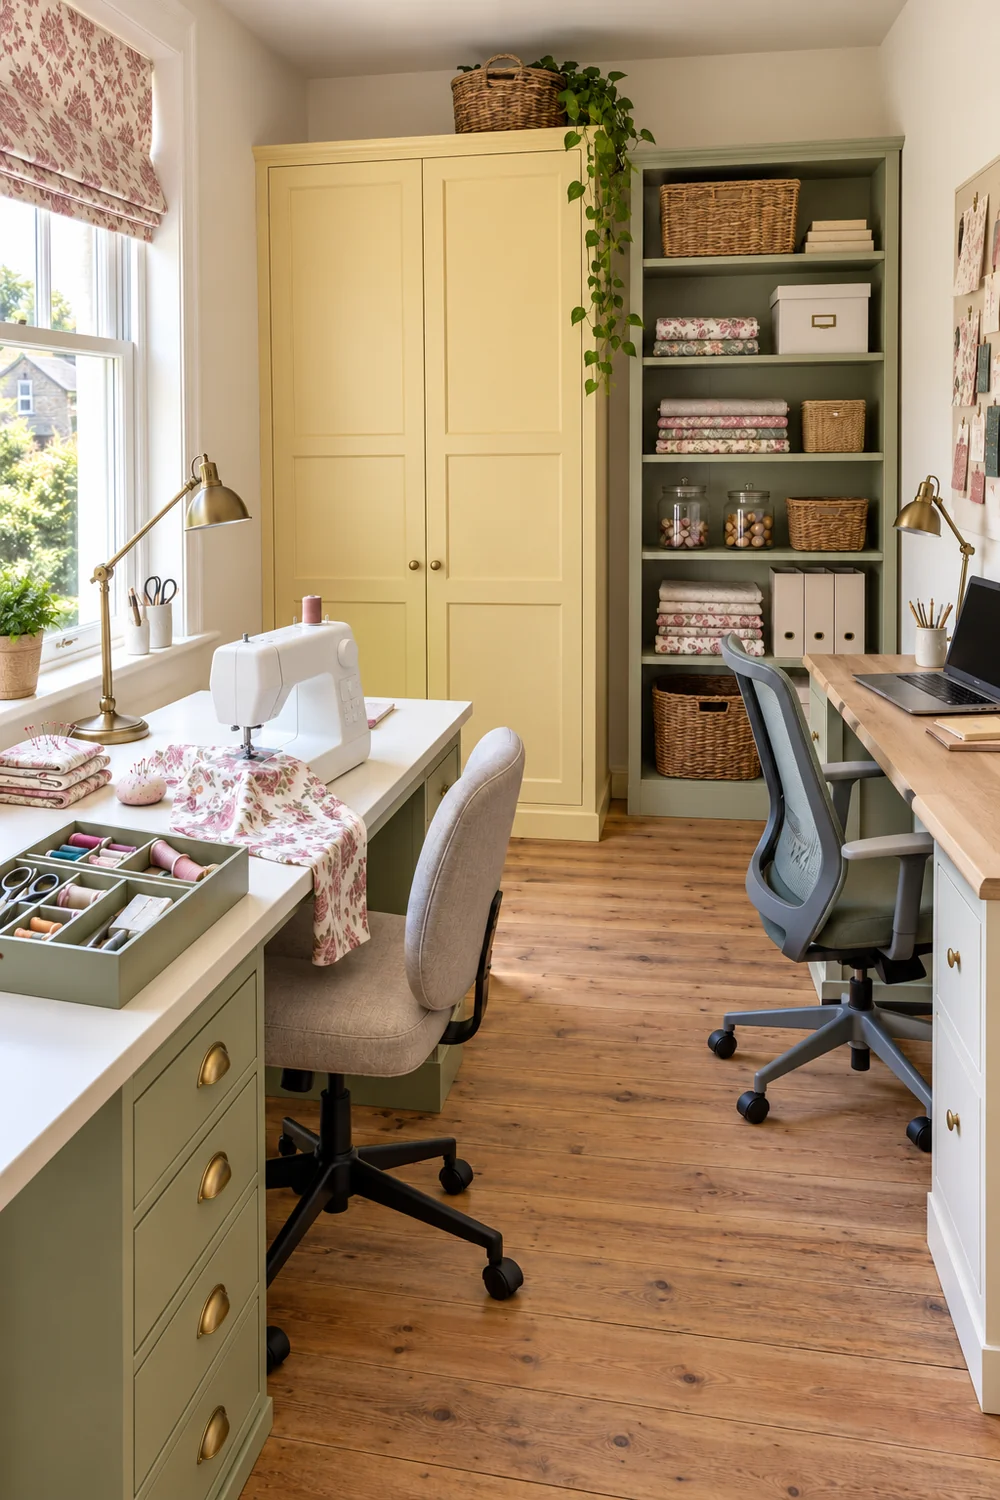
I would begin with two short accounts of an ordinary session. For sewing, write down the equipment you use, the fabric you handle, the tools you reach for and the point at which you leave the project unfinished. For computer tasks, include the equipment, papers and accessories that need to remain reachable. Record what you actually use rather than the studio you might eventually want. A second machine, a large cutting surface or an elaborate inspiration board only belongs in this first plan if it has a real role in your present routine.
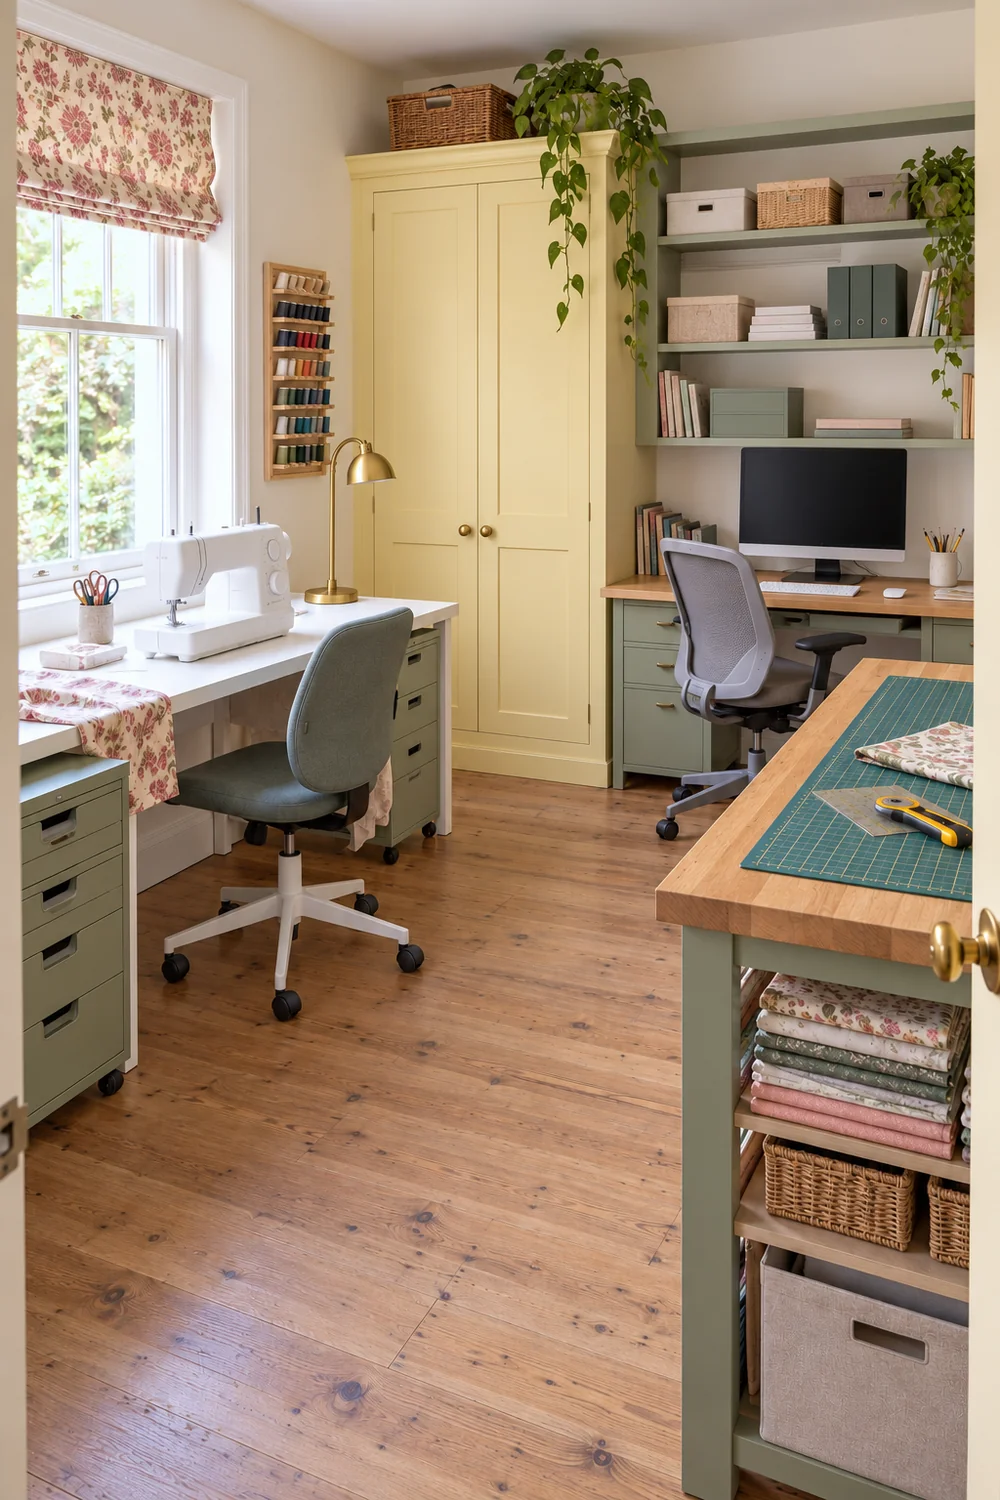
Separate the machine’s physical footprint from its working space. Measure the machine and any extension or accessory you use, then observe where fabric needs support beside and behind it. Include access for changing accessories or following the machine’s maintenance instructions. Do the same with the computer: measure the equipment and the space needed to use its controls, rather than only the width of the closed laptop. I would photograph each activity while its equipment is laid out on the current surface. These views reveal working relationships that an empty desk measurement misses.
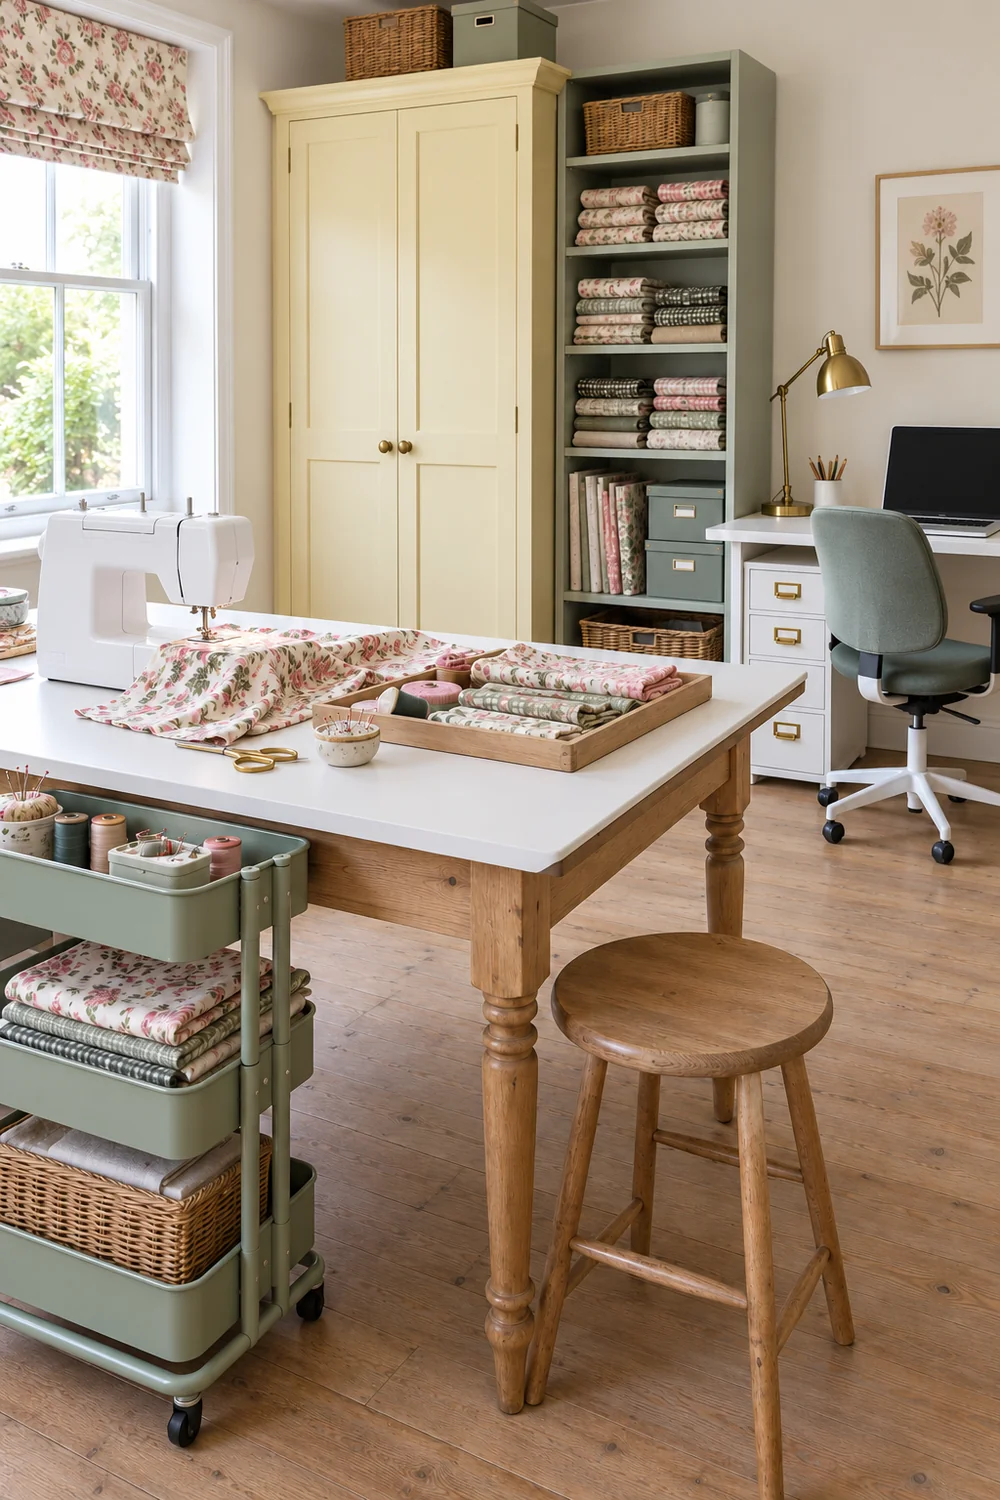
Next, distinguish stored stock from a live project. Fold and measure representative fabric bundles as you normally keep them, count the tools that need daily access and identify paperwork that belongs to computer tasks. A large stash does not all need to sit beside the machine. A half finished garment, however, needs a place where its pieces and instructions stay together. If you are still choosing the visual treatment, the sewing room office combo inspiration article compares room directions before these measurements become furniture decisions.
Finally, record your equipment’s movement limits. Can you comfortably and appropriately relocate the machine, or should it stay in one position? Does a monitor need to remain set up? Is the current cabinet difficult to open when the chair is out? I would not build a plan around a move you already avoid. Keep the inventory specific enough to stop you buying another attractive surface that merely receives the same pile of fabric. The question at this stage is which tasks need dependable places, which can share and which need a temporary working position.
Draw the room as it exists, including doors, windows, radiators, sockets and cupboard openings. Measure any narrow points and mark fixed furniture you intend to retain. I would include the door fully open and the drawer or cabinet fronts in use. A room can have enough floor area on paper yet fail when a drawer, chair and doorway need the same space. Take the measurements from your room rather than borrow a standard plan from an image. The result should be a simple, truthful drawing that you can revise after a trial.
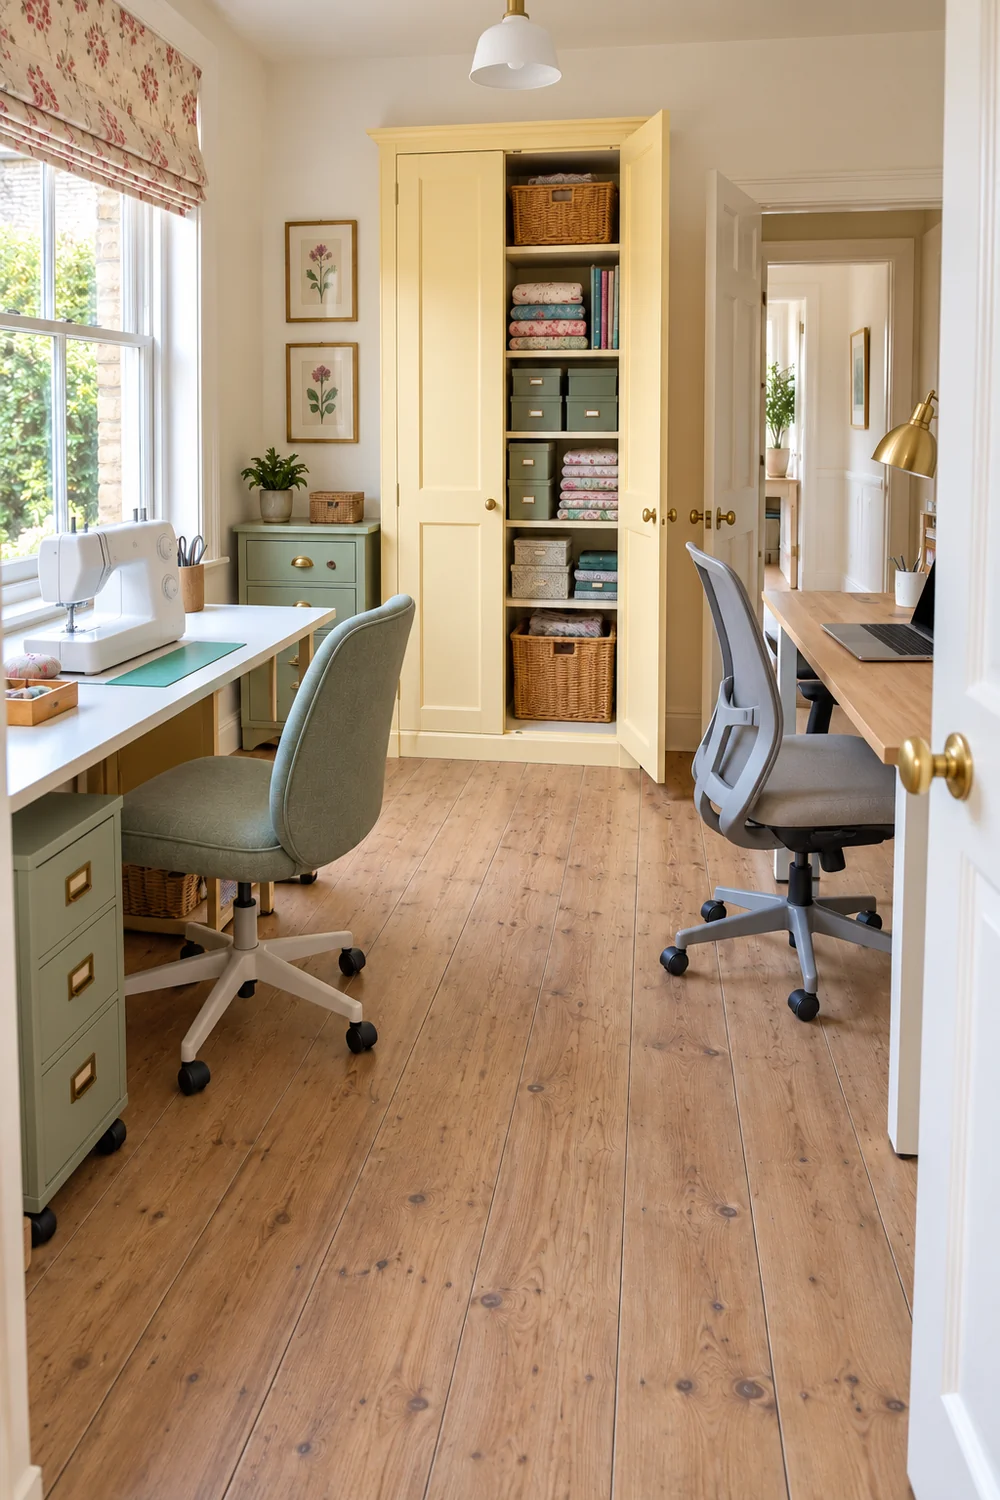
Add the occupied chair positions. Sit at the current sewing surface and computer desk, then mark where the chair stands while you work and where it moves when you get up. Trace the route to stock storage and the route out of the room. I would pay particular attention to a chair that rolls into a cabinet door or leaves a narrow passage behind it. The empty room is useful for measuring the shell; the occupied room tells you whether the proposed arrangement supports the way you move.
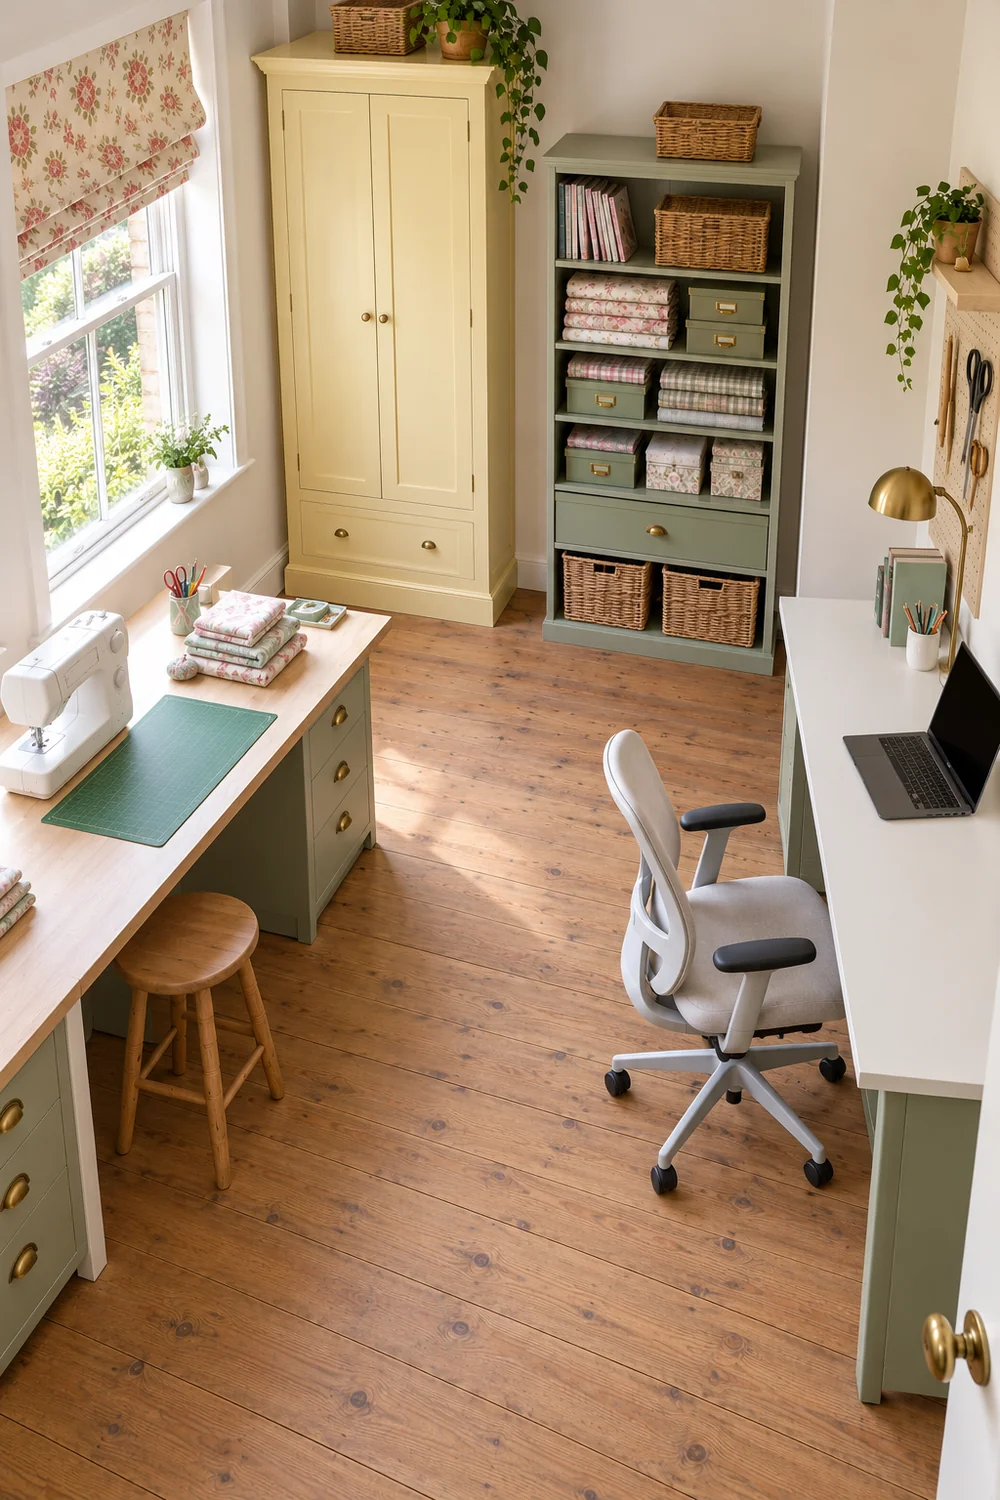
Identify which cottage details can remain as part of the shell. A floral blind, a painted cabinet or a pine shelf may already provide the room’s character. I would keep those useful elements before adding furniture. The cottage office guide provides optional references for natural textures and painted storage. Its general examples do not replace this occupied sketch. A vintage writing desk may fit the room’s appearance but still need a separate evaluation before it can serve a machine, fabric and computer tasks.
Now mark potential task locations in pencil. One surface beneath the window may suit sewing, while a neighbouring wall can hold the computer; another room may work better with both against one longer wall. Notice the actual light and socket positions rather than assuming that facing a window always works. Leave space to access equipment and avoid creating a route that passes through the working fabric. Your sketch should show a few credible possibilities, with the practical limitations visible, instead of trying to fill every wall with a desk or cabinet.
For the shared worktop option, mark a dependable position for each activity and the place where displaced equipment goes. If the same patch of surface changes use, your plan needs a realistic transition, not an instruction to clear everything somehow. I would record the objects that move, how they move and where they land. A machine placed on the floor, a monitor carried repeatedly without a suitable arrangement or loose project pieces piled on the chair are signs that the option is incomplete. Keep existing equipment handling instructions in view when evaluating these moves.
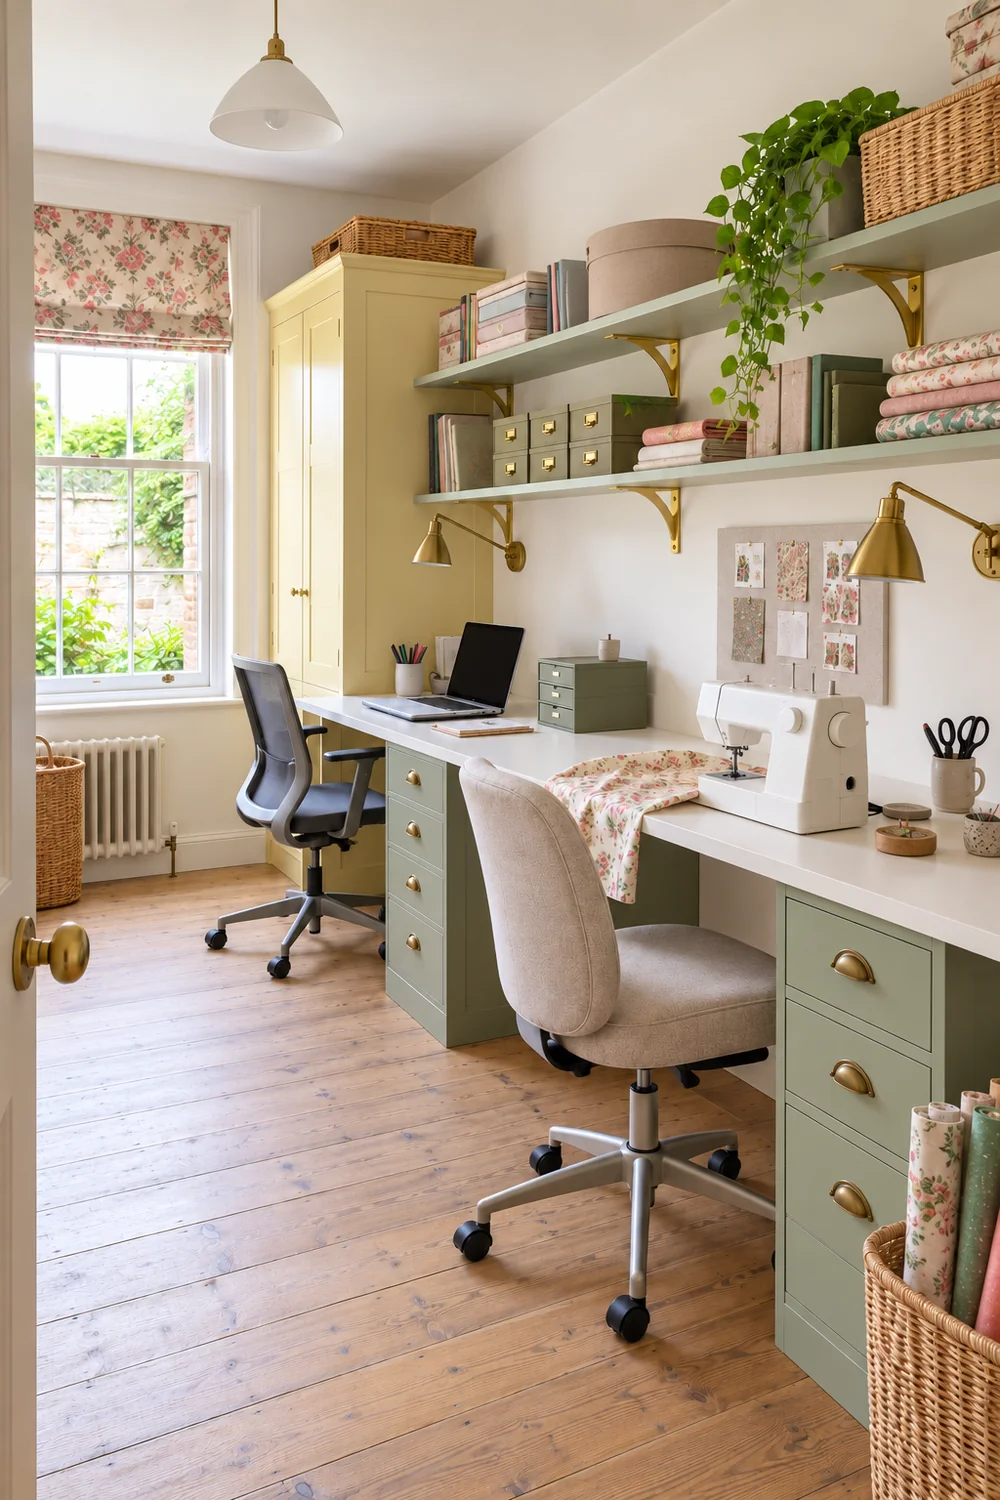
A shared surface is strongest when the task change is small and the equipment relationship remains comfortable. You might have a machine at one end and a computer position at the other, provided the actual surface and occupied positions support both uses. Alternatively, one computer setup may pack away appropriately while a sewing project occupies the surface. I would test both modes, including what happens to the chair and tools. Saving floor area is a benefit only when the recurring change does not make either task awkward enough that you stop doing it.
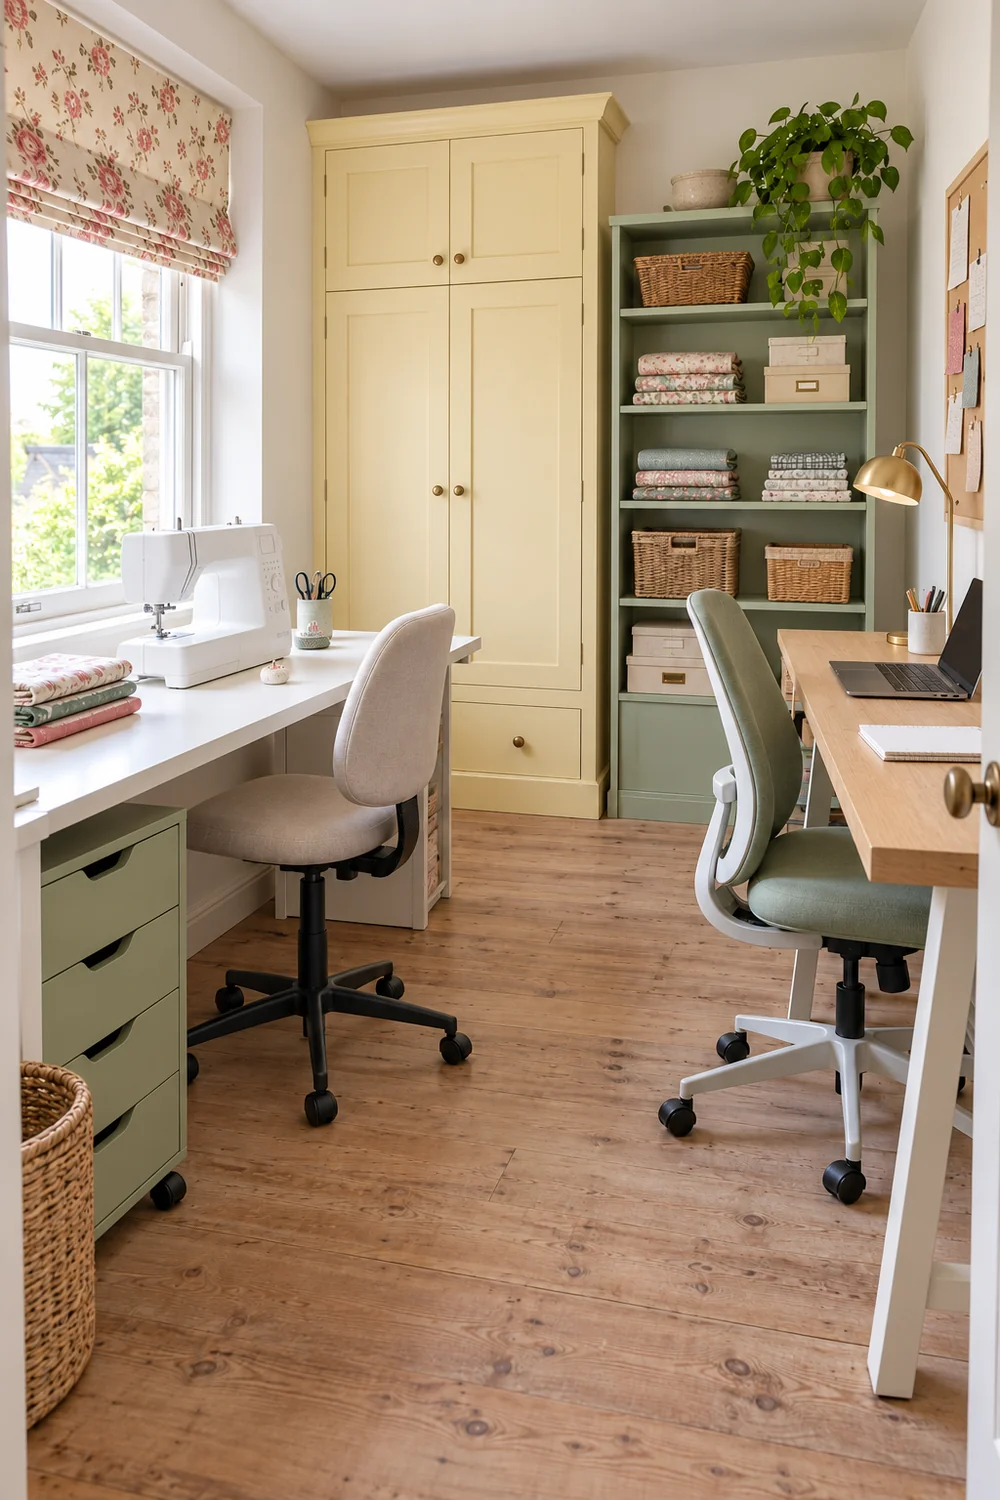
For paired stations, draw two complete working positions rather than two table rectangles. Include the machine’s fabric handling space and the computer controls, then test the route between them. Neighbouring stations can let you turn toward the second activity; stations on separate walls can provide more separation. Neither is automatically better. I would choose the arrangement that protects the more demanding activity without using the other desk as overflow storage. The broad English countryside home office advice can support your material and task lighting choices while this trial resolves the sewing relationship.
Compare the options using the same questions. Can an unfinished project stay contained? Is the computer ready when needed? Can you get up, reach supplies and leave without shifting equipment? Does the arrangement ask you to move something heavy or awkward every session? Write one benefit and one recurring cost for each plan. I would select the option with the more acceptable ordinary cost, rather than the most impressive empty room view. If both fail, reduce the amount of stock kept in the working area before assuming the room needs another surface.
Take one representative project through the sketch. Trace where you lay out the material, where you sew, where you press and where the unfinished pieces wait. I would use the type of project you actually make rather than choose an unusually small task that makes every arrangement look successful. Fabric that trails across the route or pulls away from the machine needs a different support relationship. You do not have to set up a professional production line, but each activity should have a credible position without borrowing the computer surface unexpectedly.
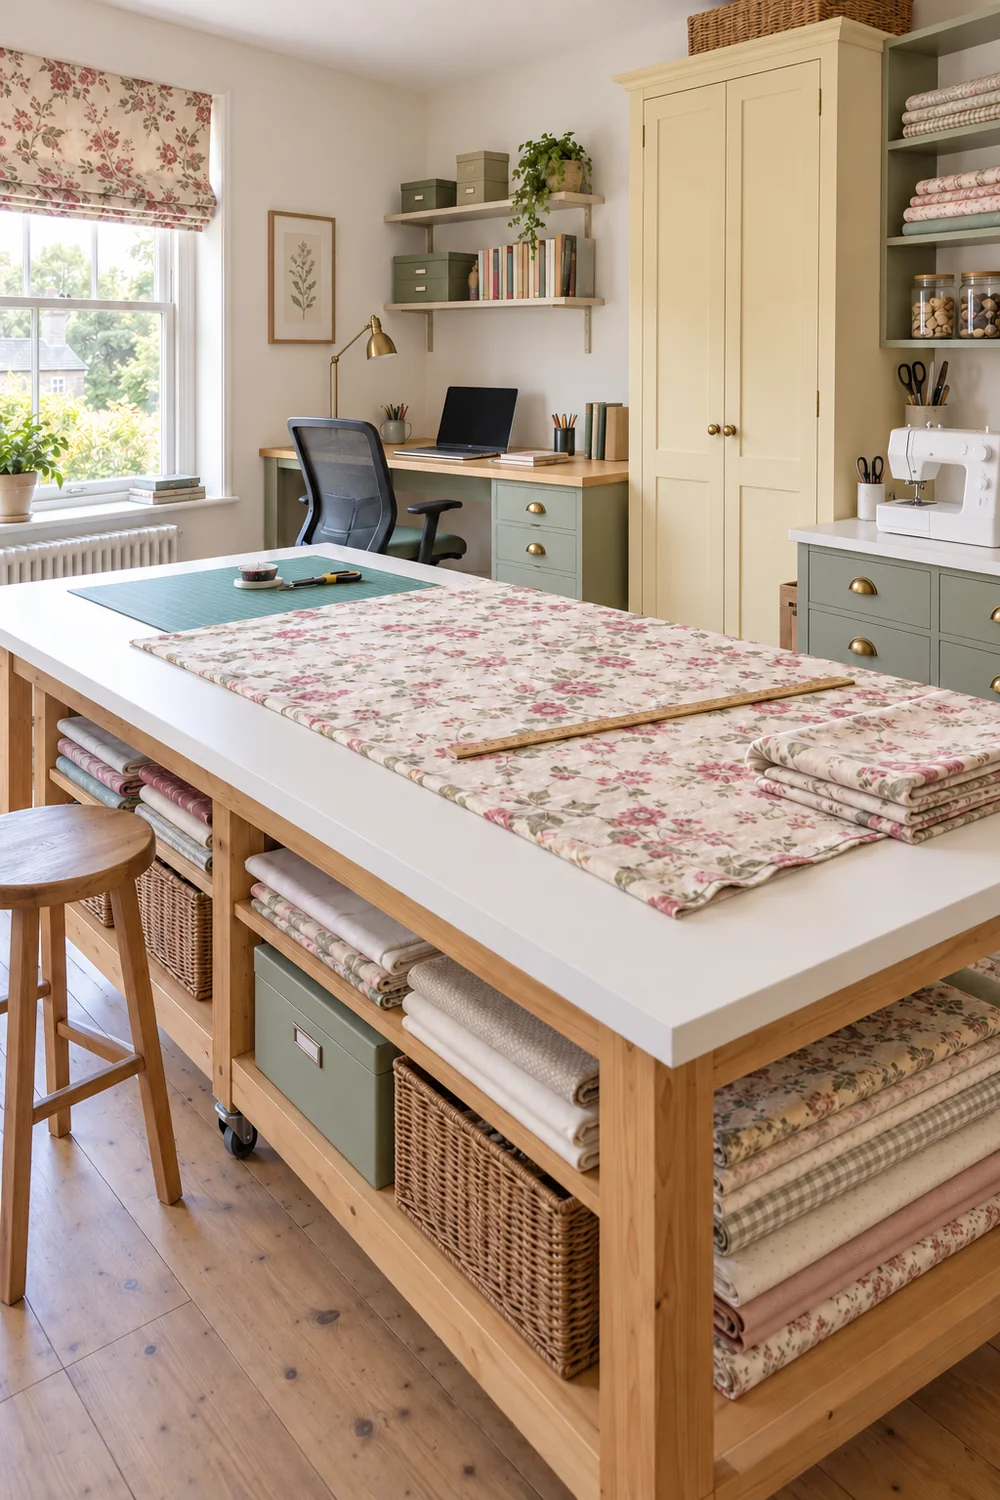
A temporary cutting or project surface needs a planned open position and a planned storage position. Place it where you can use it, then check how the room works around it. If it is designed to move or fold, follow its instructions and test the complete transition. I would avoid assuming that an open centre of the room is always spare space. It may be the chair route, the access to a cupboard or the path to the door. A temporary surface that only works with the chair removed is a compromise to record honestly.
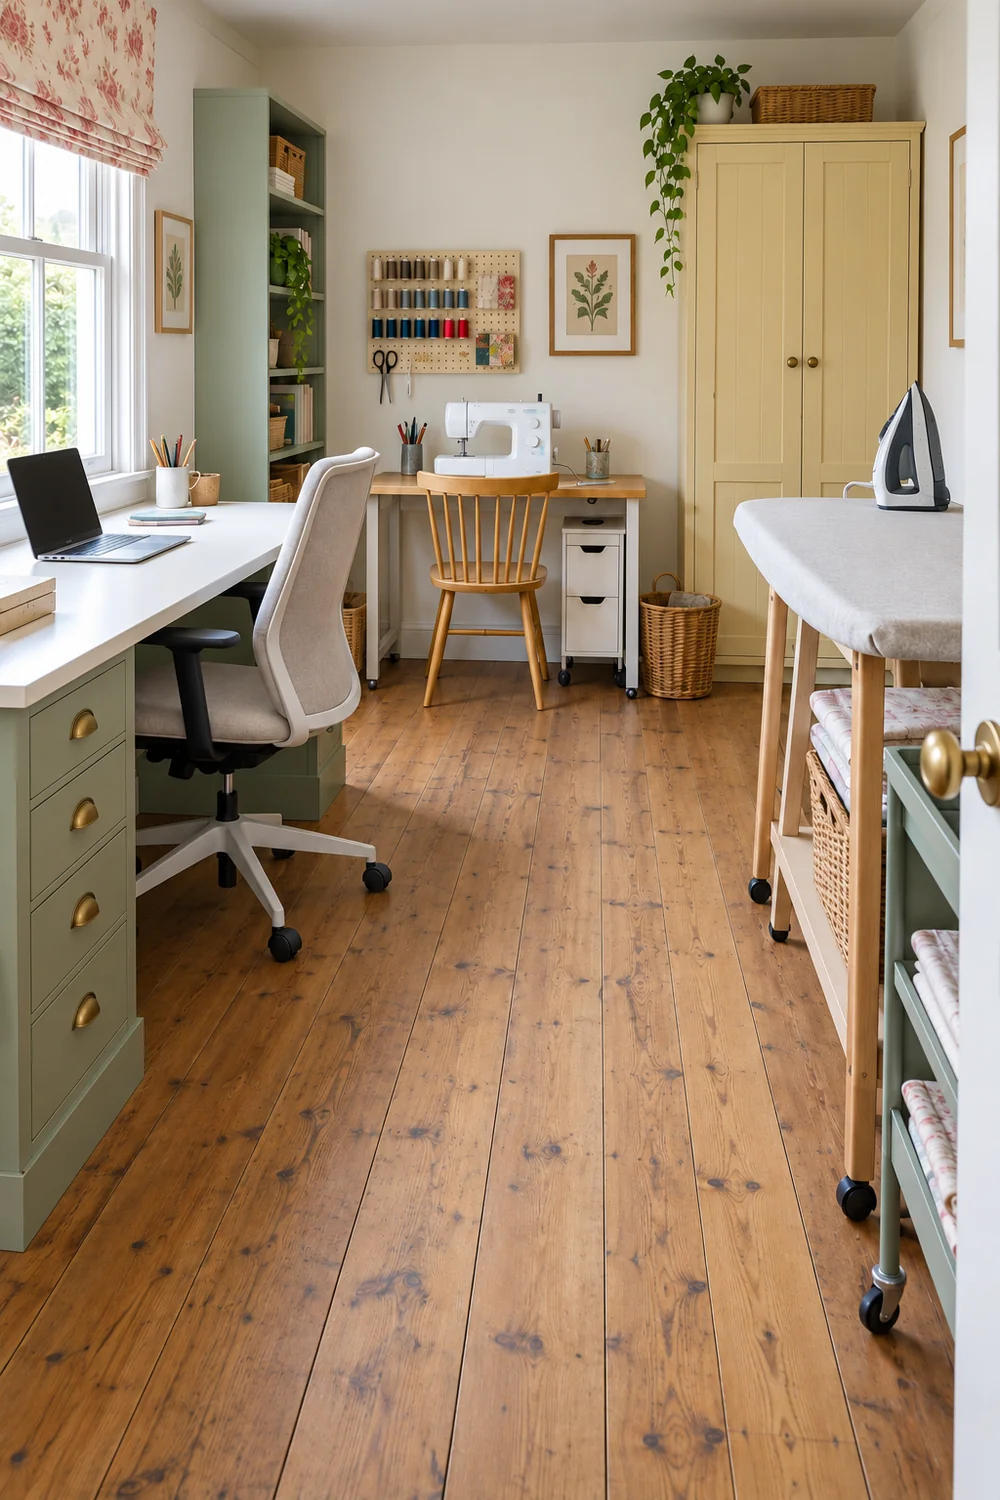
Pressing adds a different set of equipment requirements. I would place the appliance and its appropriate support according to their instructions, away from competing fabric handling and computer controls. Check the cable route, access and storage after use, allowing the equipment to be cool and ready before storing it. This is a room planning decision, not permission to improvise an unsuitable stand. The general cable and decluttering principles in a minimalist office can help the computer zone, while your appliance instructions govern its actual use.
At the end of this trace, mark each crossing. A crossing is where the chair, fabric, equipment or cabinet needs the same place at the same time. Some crossings are acceptable because the activities never overlap; others create repeated interruption. I would keep the latter visible on the drawing until the trial resolves them. Moving the project tray to a reachable shelf may solve one. Changing the orientation of the sewing station may solve another. Adding a decorative basket will not resolve a route occupied by a chair and an open drawer.
I would divide storage into three functions: frequently used tools, stored material and the current project. The exact containers can come later. First decide where each function belongs in the plan. Daily tools should have a reachable location that does not occupy the fabric support area. Stored material can sit farther away if you retrieve it less often. The current project needs a space large enough to contain its pieces and instructions together without swallowing the computer desk. Separating these functions helps you see which part of the room actually needs more capacity.
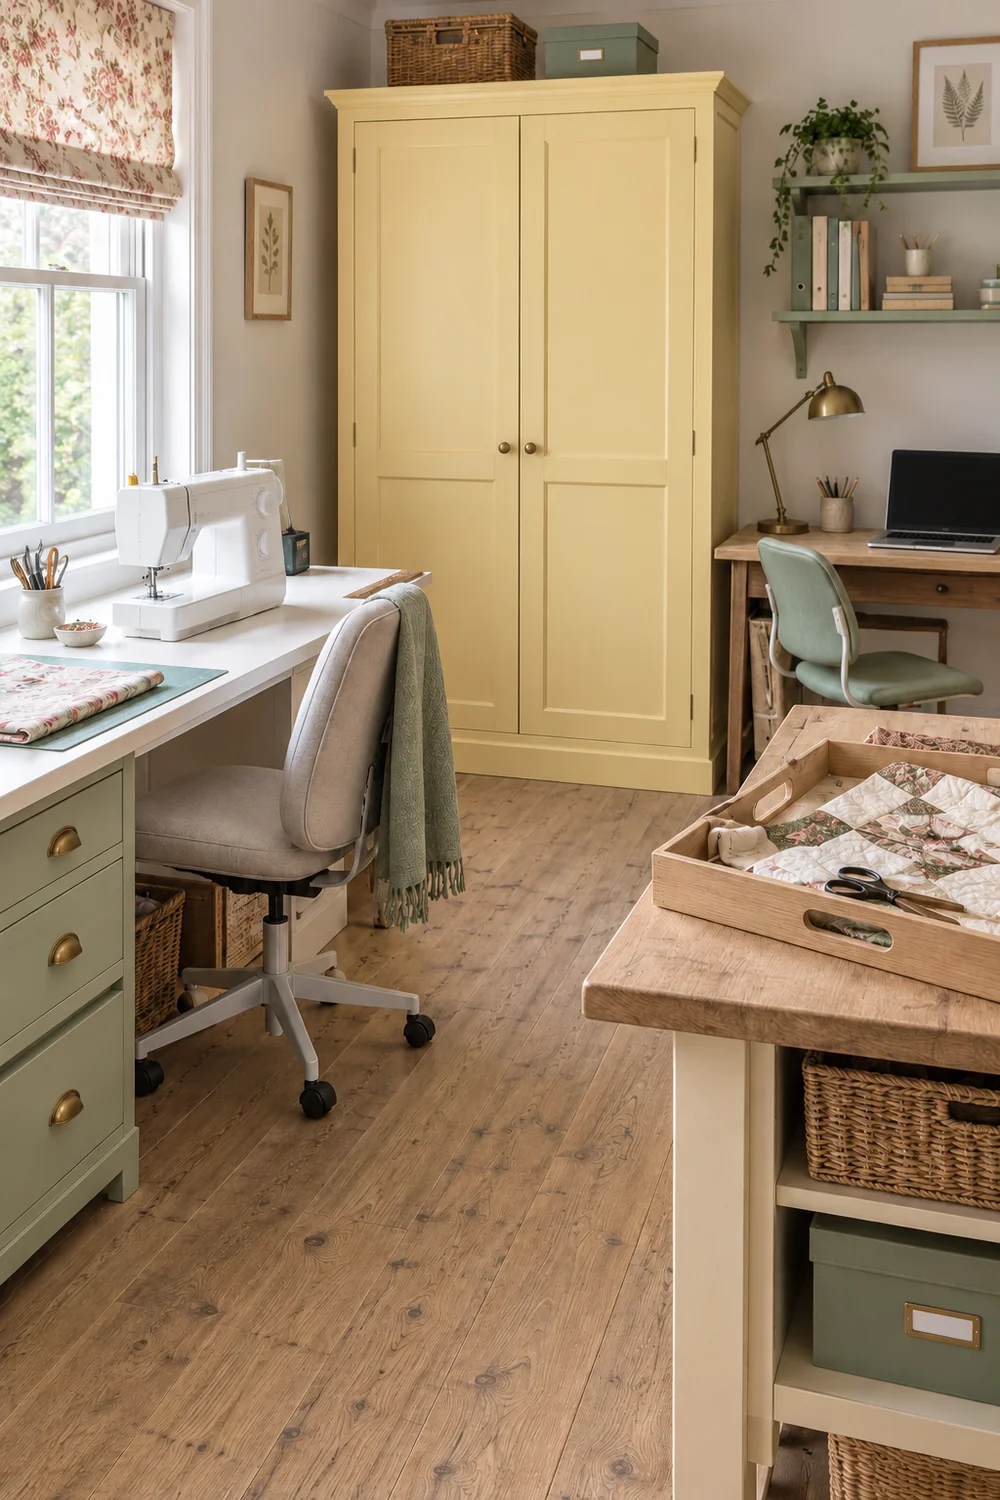
Test the storage relationship with existing containers. Put a representative bundle in the proposed stock location, a few regular tools beside the machine and the current project in a dedicated tray. Open drawers while seated, retrieve the bundle and put the project away before using the computer. I would notice where you bend awkwardly, where you have to move another object and which contents disappear behind a decorative front. An attractive cupboard can remain useful, but its internal dimensions and access must match your inventory rather than an imagined collection of identical boxes.
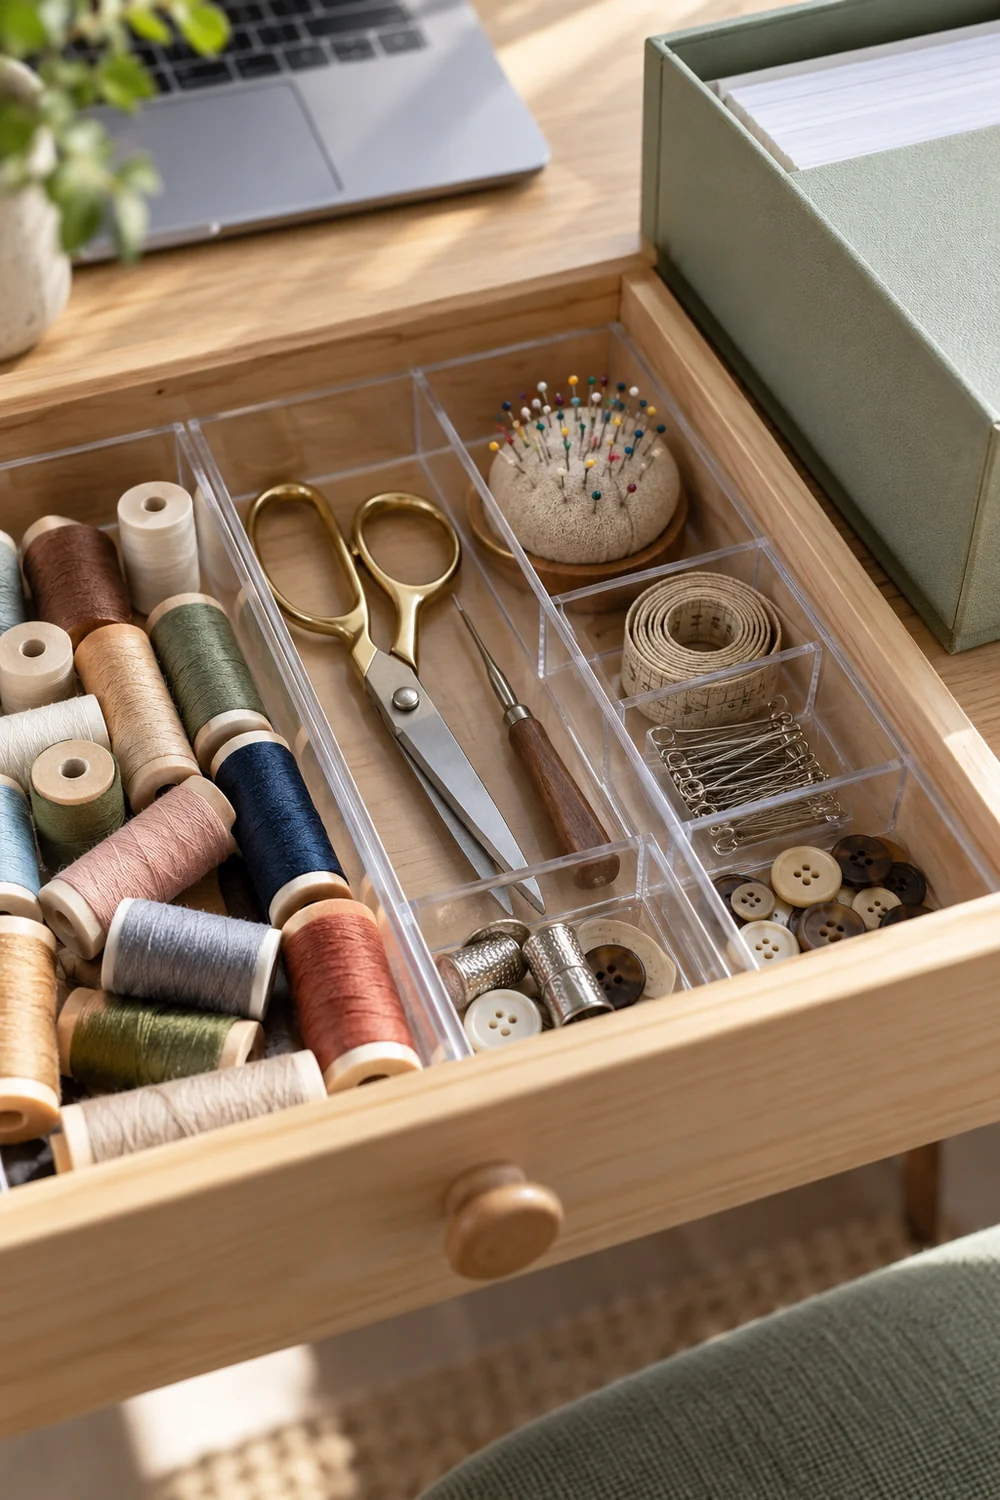
After this trial, the sewing room storage specification guide helps turn these functions into table and cabinet checks. I would go there when you know what needs to fit and where it should sit. That is a different decision from buying organisers first and trying to find a place for them afterward. The plan should give the specification a purpose: a drawer for these folded bundles, a reachable home for these notions and a stable surface for this machine and its working material.
Avoid treating every empty wall as potential stock storage. Filling the room may increase the amount you can retain while making both activities harder to begin. I would keep a clear limit on what remains in the active area and move rarely used material to a suitable separate location if the home permits it. If no extra location exists, the inventory itself needs a capacity decision. The room’s cottage character can come from a smaller number of useful painted pieces; it does not require an entire wall of decorative containers that conceal an unresolved quantity problem.
Check the plan at the times you normally use the room. Daylight can make a cottage workroom inviting, but the computer screen and sewing task respond differently to its direction. I would sit at both positions and look for reflections, a shadow across the work and changes when the curtain is adjusted. Do not judge only the view from the door. The Health and Safety Executive’s workstation guidance asks whether equipment is reachable, surfaces have room and glare can be controlled; apply those questions to the actual computer position rather than copy a decorative desk photograph.
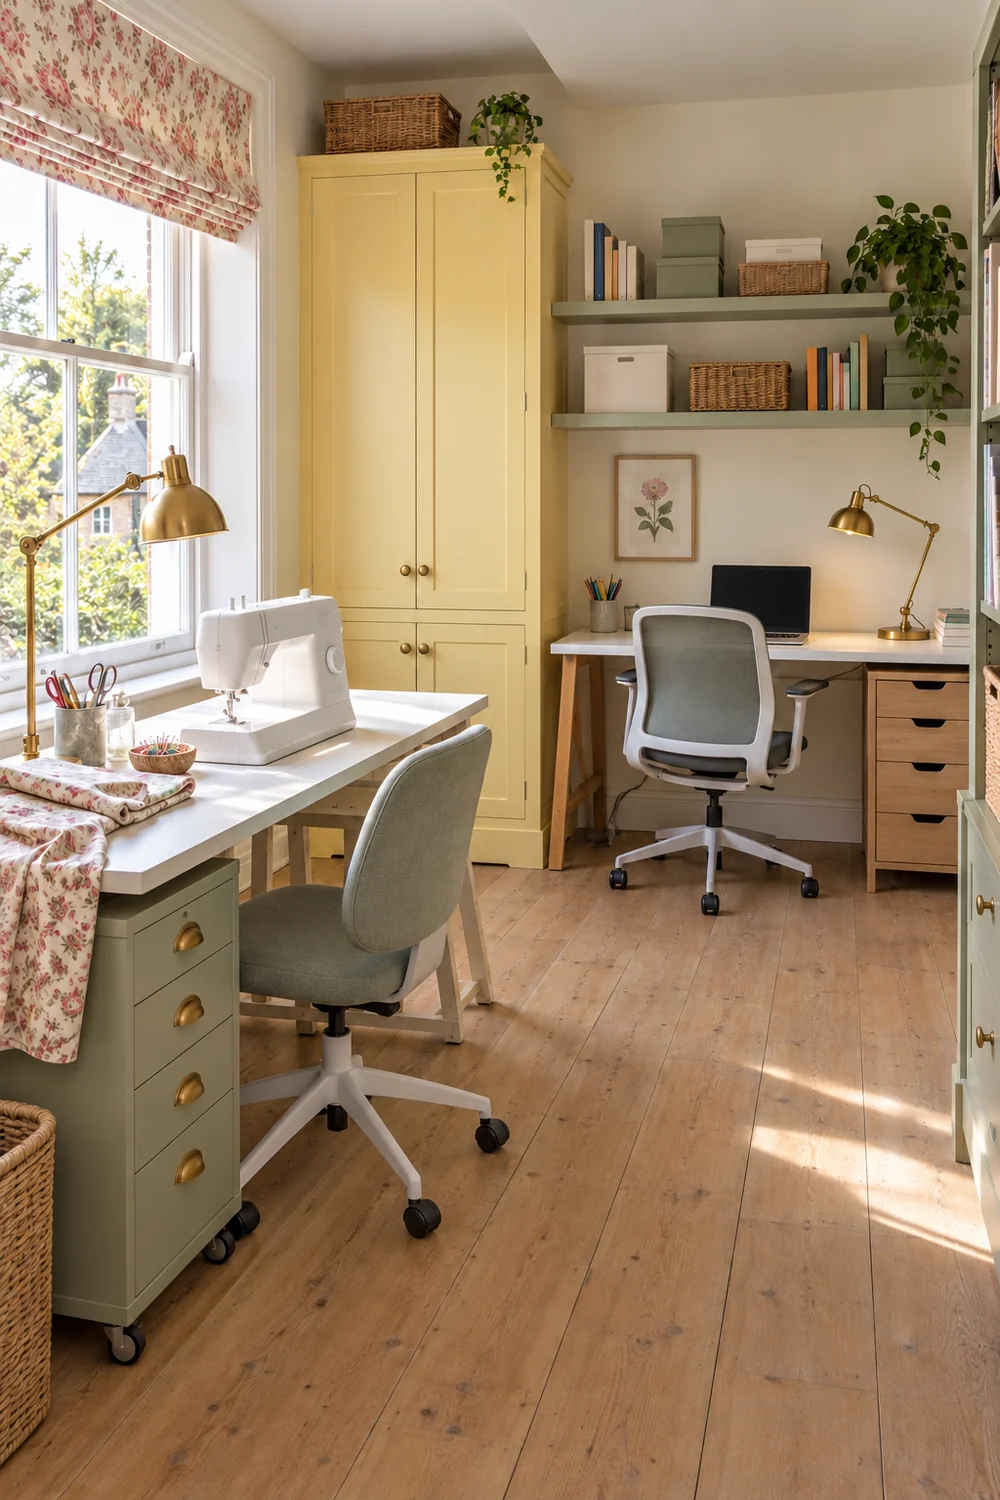
Move an existing suitable task light through the proposed positions. See whether it illuminates the work without occupying the needed surface, blocking the machine access or reflecting across the screen. I would compare a position beside the task with one that reaches over it, using the lamp as intended and keeping its cable clear of moving equipment. This is a placement trial, not a promise that one brightness or lamp shape suits every person and machine. Record where additional light is needed so the later specification can address a specific task.
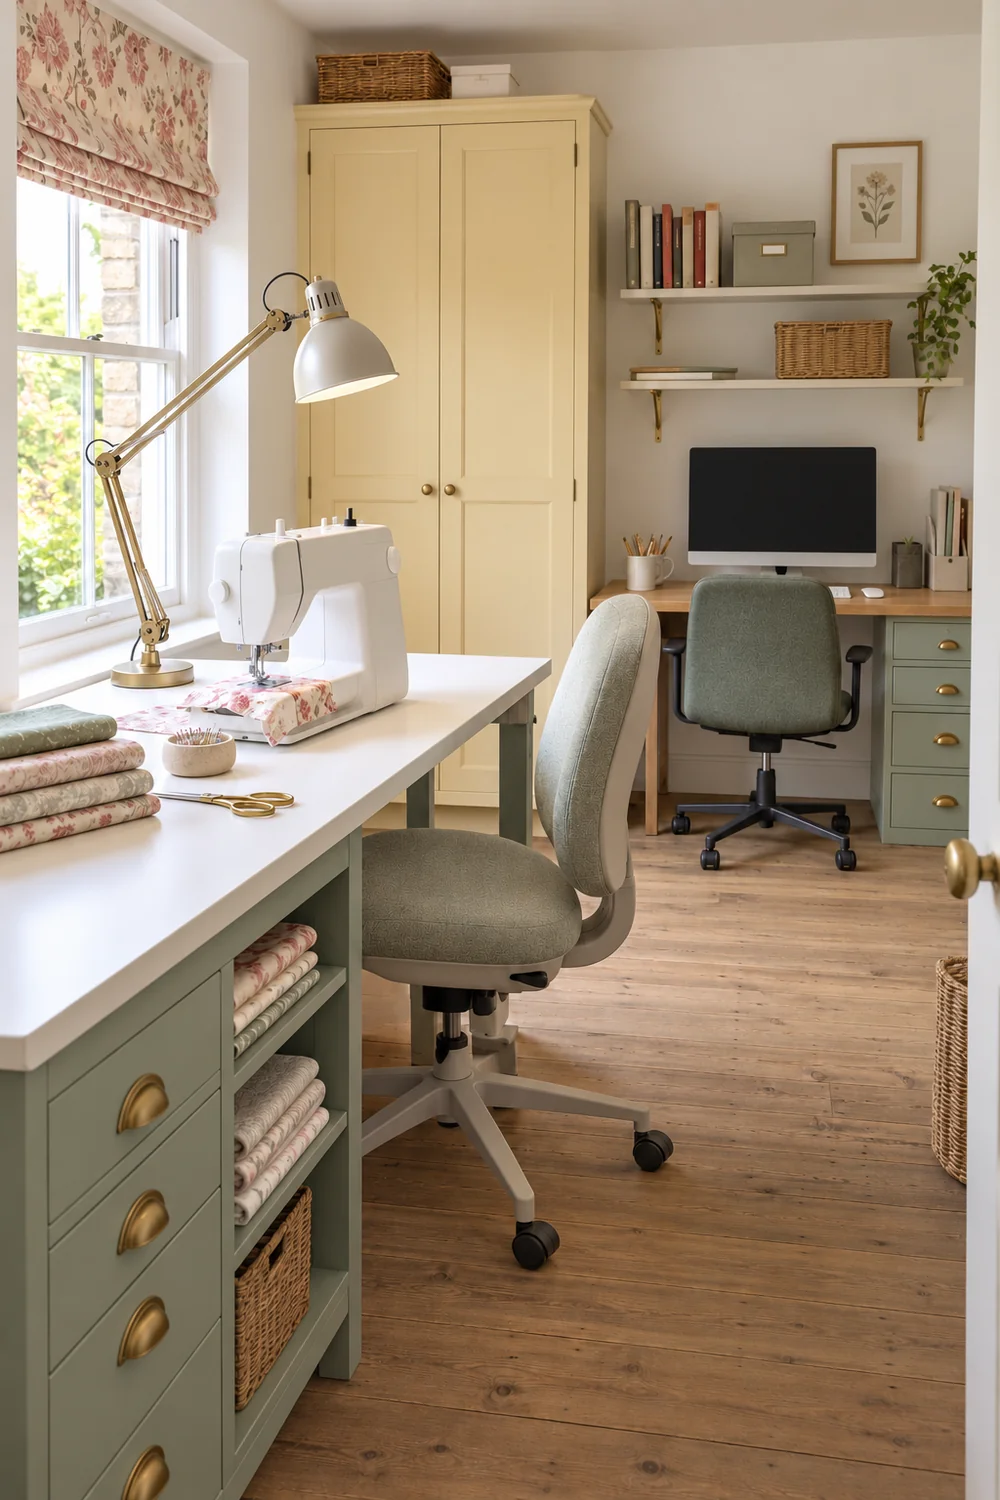
Keep the palette consistent while the plan changes. Warm white working surfaces, pale butter yellow storage, soft sage and a restrained faded rose textile can connect different furniture positions. I would use the cottage color palette guide when comparing the room’s broader colour family, then return to the actual background behind the screen and machine. A patterned board or brightly coloured stock may be welcome beside the sewing station but distracting behind computer paperwork. Choosing where colour is visible can be more useful than repainting every surface.
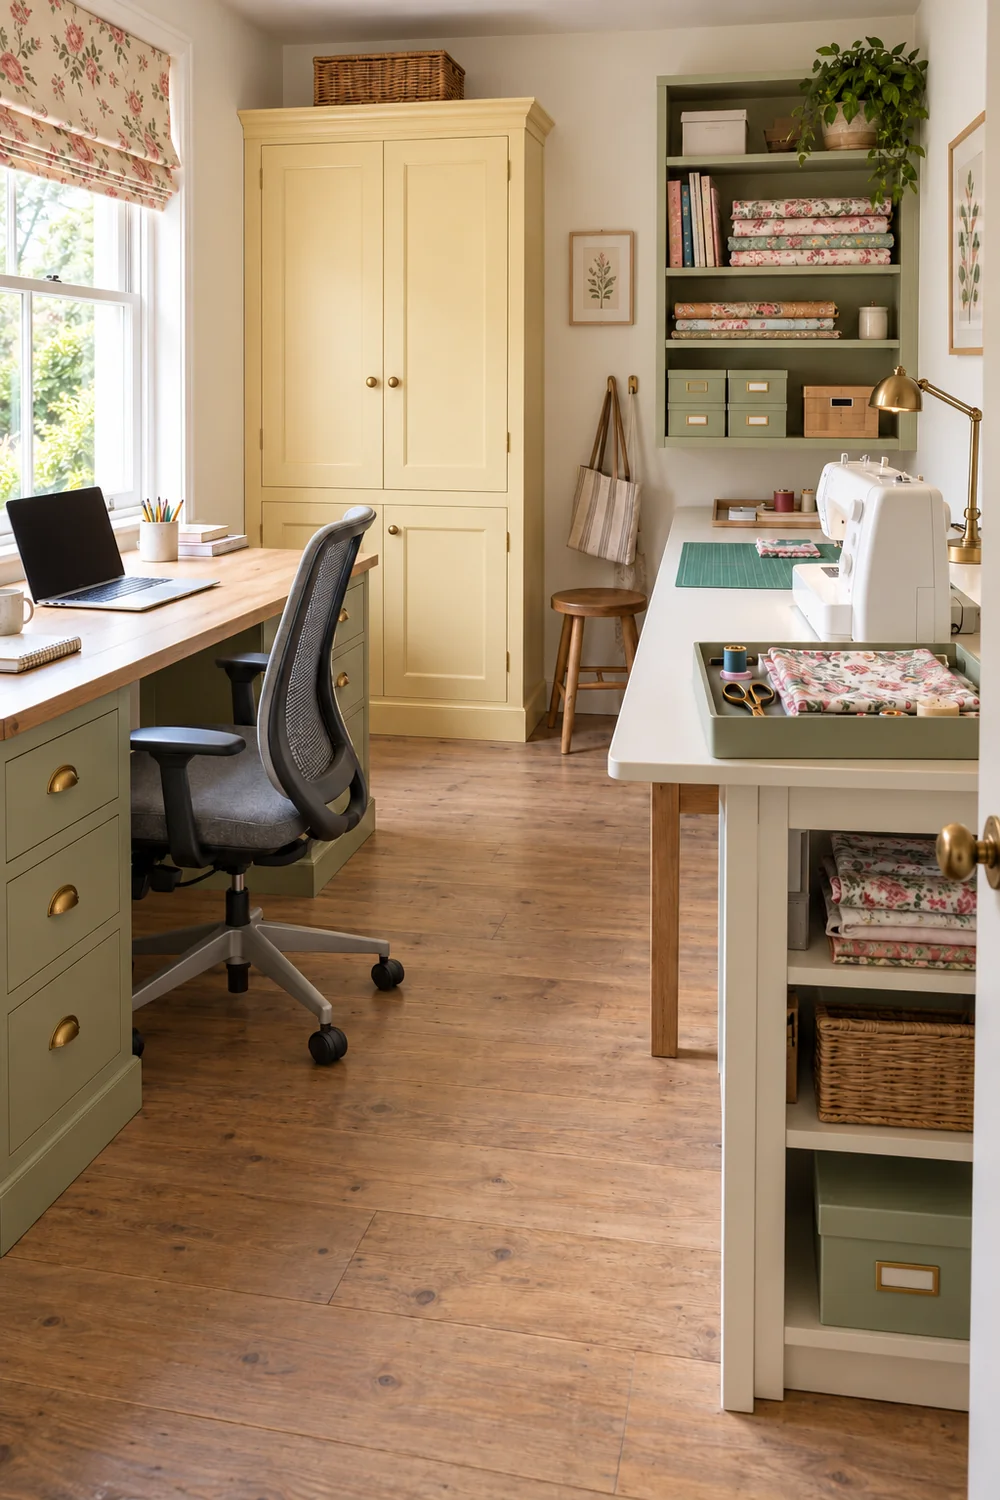
Photograph the proposed arrangement from the doorway and from each working position. The first shows whether the cottage direction remains recognisable; the other two show whether the task surfaces are usable. I would keep the photographs practical, with the real equipment and a representative project in place. Do not tidy away the very objects you are testing. If the room only looks coherent without the machine, revise the relationship of furniture and storage rather than regard ordinary use as something the design must hide.
Use the arrangement through sewing, a pause and a return to computer tasks. Record each item you move and each place that feels crowded. I would repeat the trial with another ordinary project before deciding that the room needs different furniture. Keep the failures specific: the fabric loses support, the drawer cannot open, the computer controls are squeezed or the unfinished pieces have no proper home. These observations give you a useful specification instead of a vague wish for a better desk. Take those requirements into the sewing room storage and table checks. Retain what works, change the piece that fails and preserve the cottage direction through the finishes around it. You now have a plan built around your actual activities, rather than two attractive stations waiting for a workable relationship.