Newsletter Subscribe
Enter your email address below and subscribe to our newsletter

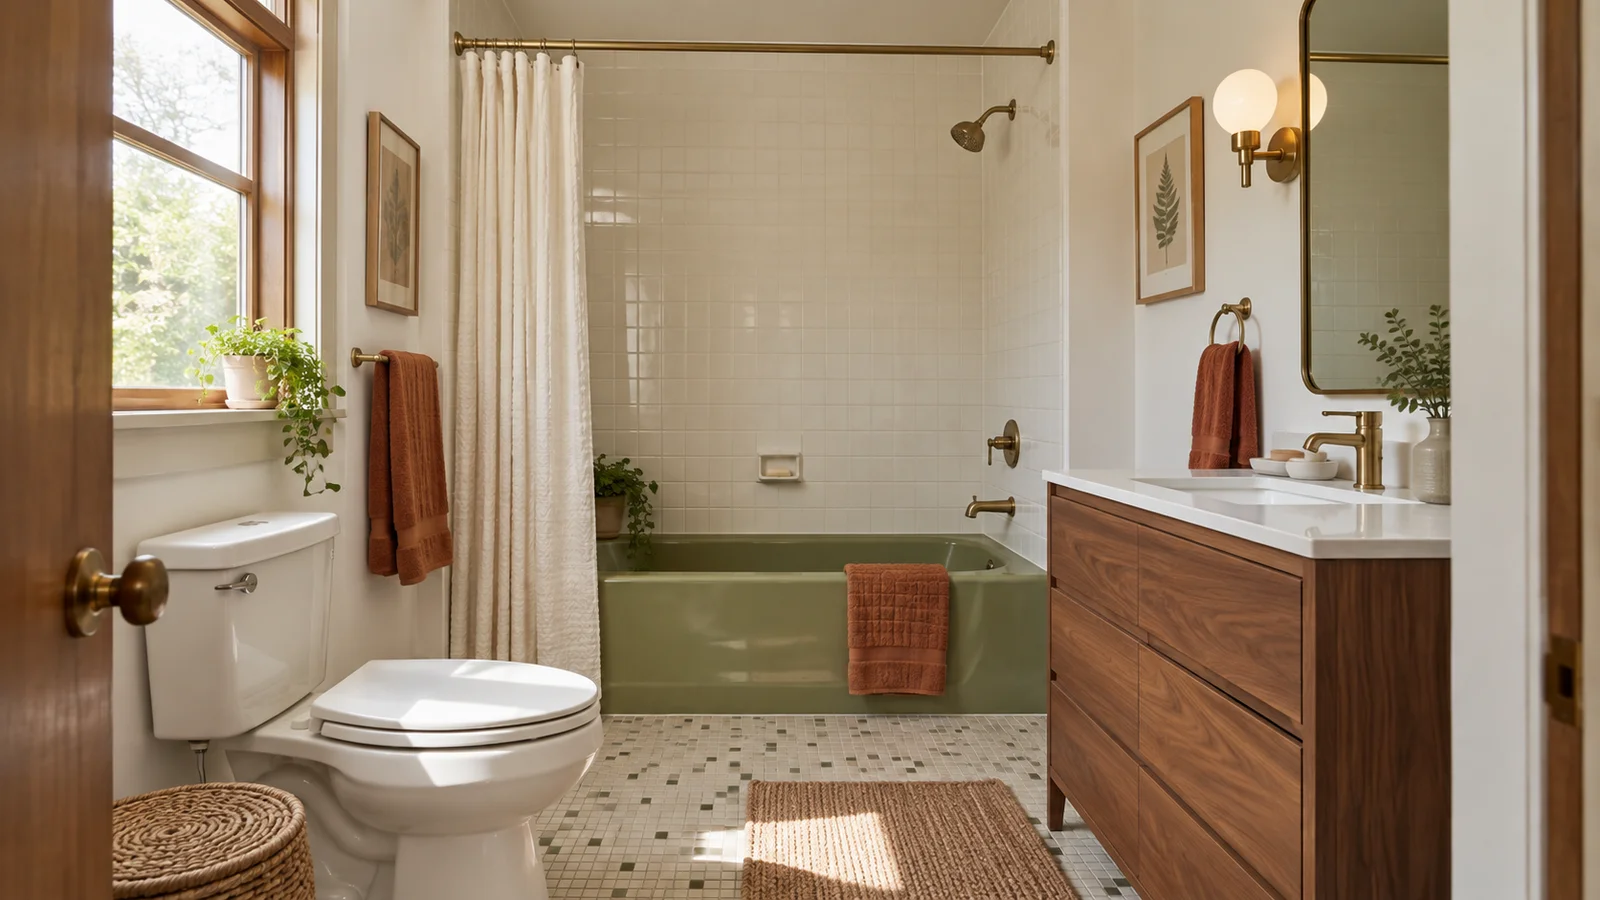
A 1970s bathroom remodel works best when it begins with curiosity rather than a demolition list. The coloured basin, unusual tile or compact plan may be the reason the room feels specific to your home. Start by working out what gives it character, what makes daily life harder and what needs professional attention before you choose a single new finish.
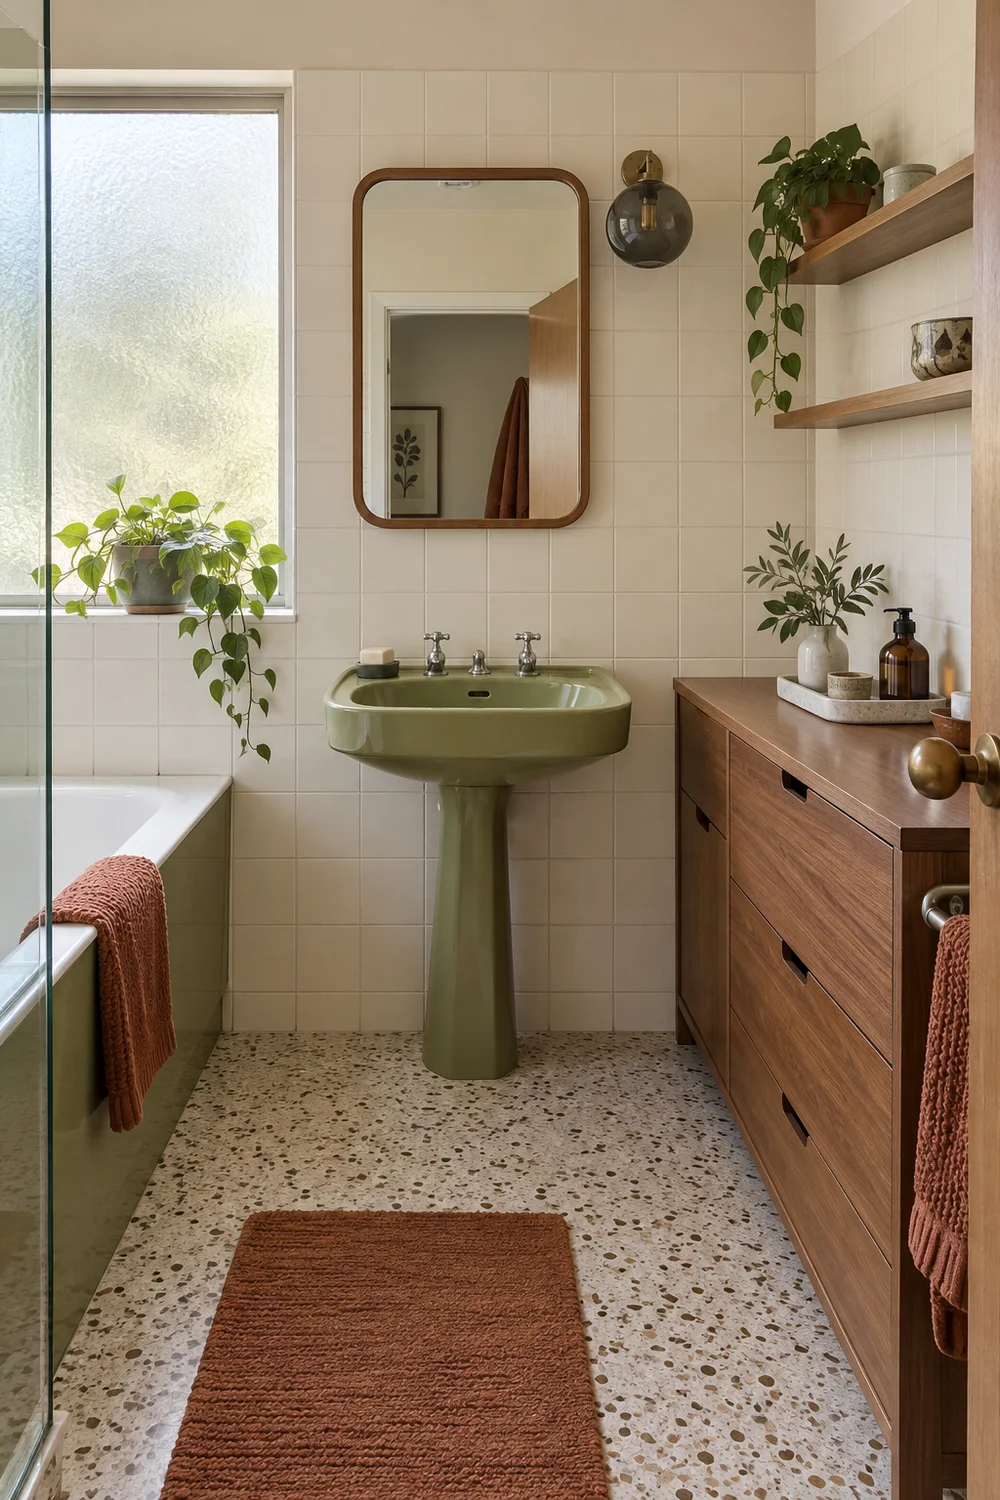
Take photographs from the doorway, the bath and the basin before anything is moved. Photograph the floor, the tile edges, the mirror, the light fittings and the inside of cabinets. It is much easier to make a calm decision when you can look back at the whole room rather than rely on a memory formed during a stressful clear out.
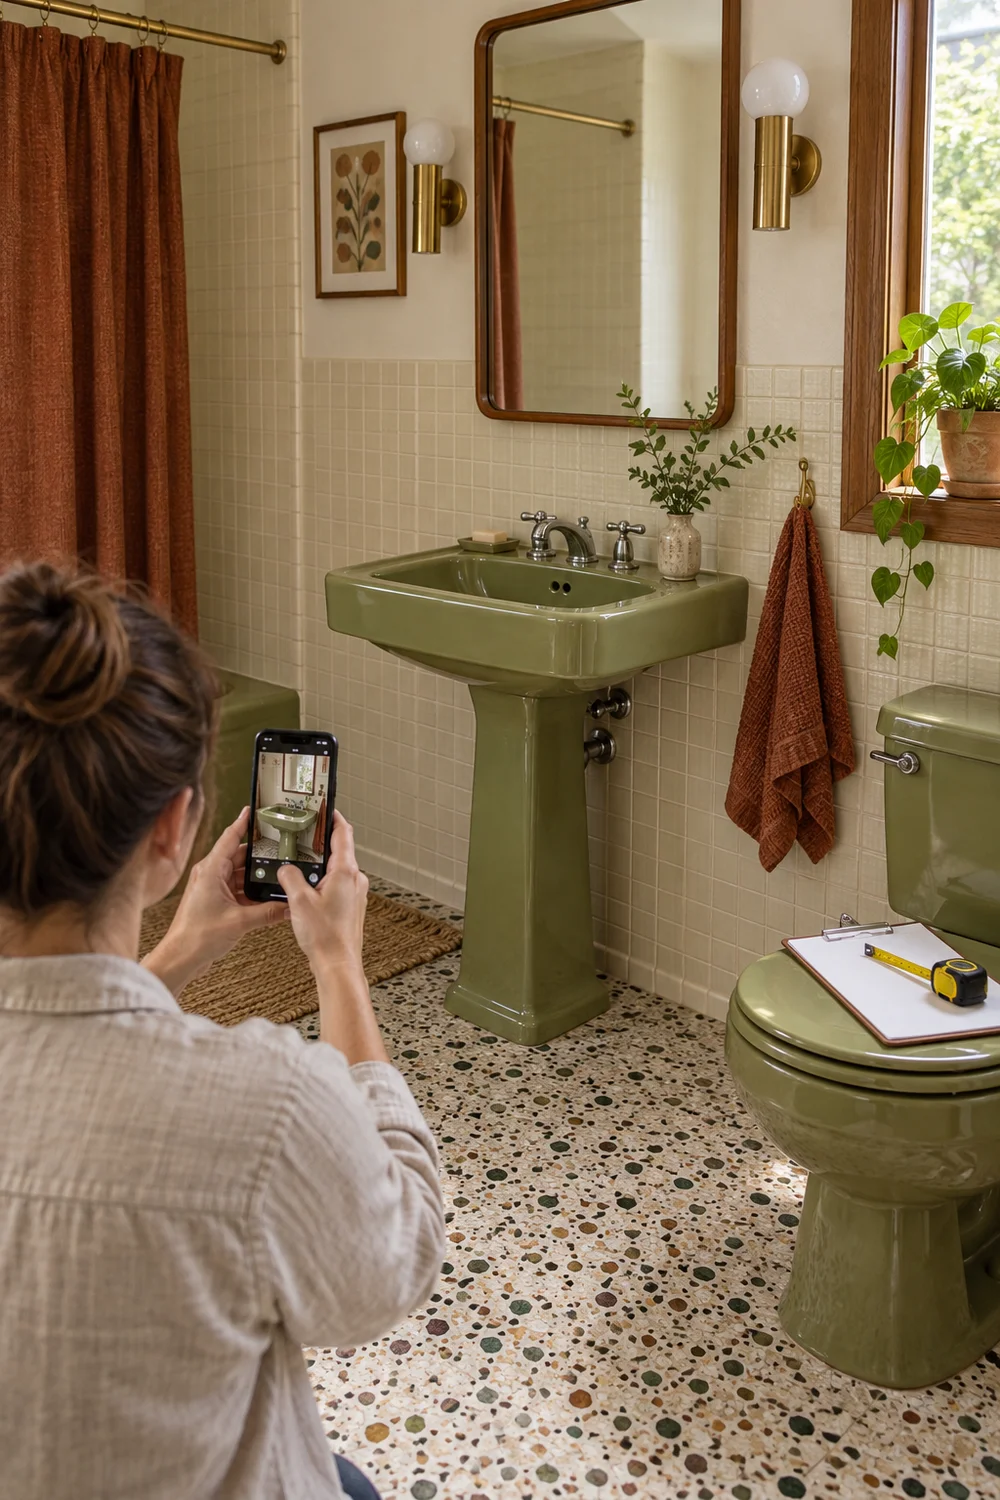
Make a short inventory too. Note the condition of the coloured sanitaryware, where the tile stops, whether the door catches a fitting, where towels collect and which corners are always dark. This is not a catalogue of faults. It is a way to see the ingredients you could keep, improve or replace.
The existing gallery of 70s bathroom ideas can help you name the details you want to protect. For this practical stage, the important question is whether each one can earn its place in the room you use every day.
If plumbing, wiring, ventilation or structural work is part of the plan, bring in appropriately qualified professionals early. Their advice can shape the sequence of work while you are still free to make better design choices.
Try to separate the room into three lists. The first is for features that are sound and distinctive. The second is for features that can stay if they are repaired or given a better setting. The third is for features that prevent the room from working well. A decision written down in this simple way is less likely to be overturned by the next attractive image you see.
Look closely at proportions before deciding that a detail is dated. A low window, a generous ledge or a wide mirror may be more useful than a fashionable replacement. Ask what the original builder was trying to solve and then decide whether the same idea can be made more comfortable for present day life.
Measure the things that affect everyday use while the room is empty. Note the width of the doorway, the space in front of the basin, the depth of the existing cabinet and the distance between the bath and the wall. These measurements are not there to make the project feel technical. They give you a way to compare proposals honestly. A new item might look neat in a showroom photograph yet take too much of the floor you need at home. Keep the measurements with your photographs so you can return to them whenever a decision becomes uncertain.
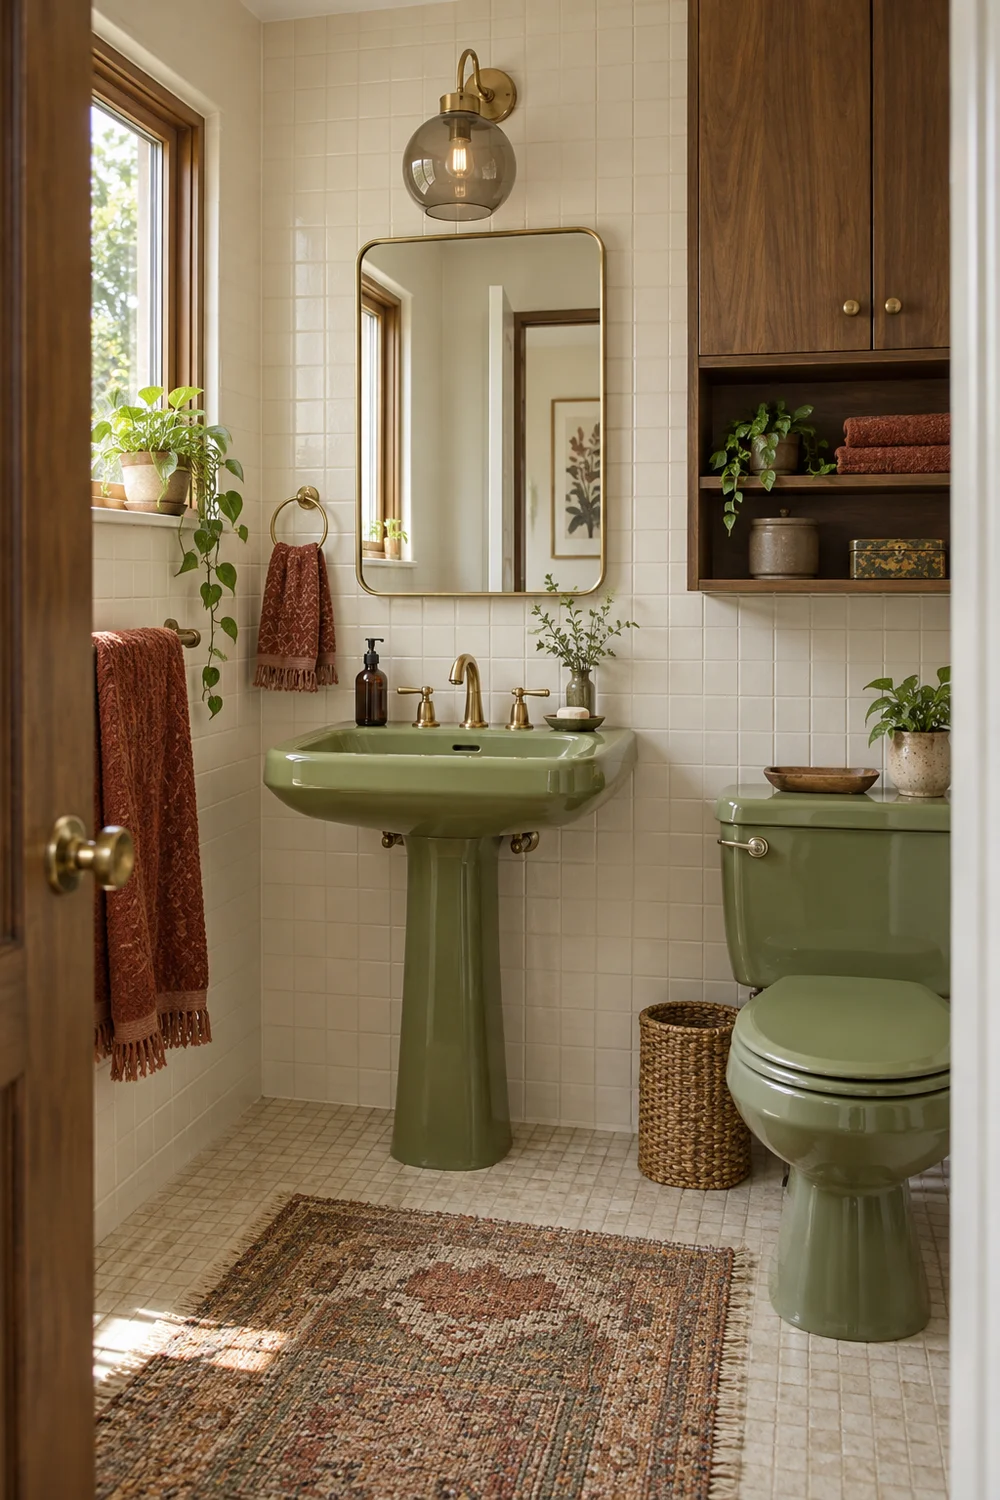
Choose one or two original elements to lead the scheme. A sound avocado basin, a run of warm white tile or a well proportioned walnut cabinet can become a useful visual anchor. Keeping everything can make a room feel frozen. Replacing everything can make it lose the reason you noticed it in the first place.
Judge each piece by condition, function and feeling. A fitting that is difficult to clean, badly placed or beyond sensible repair does not need to be saved for the sake of the decade. A fixture in good condition that gives the room warmth may be worth protecting while the surrounding details become quieter and more useful.
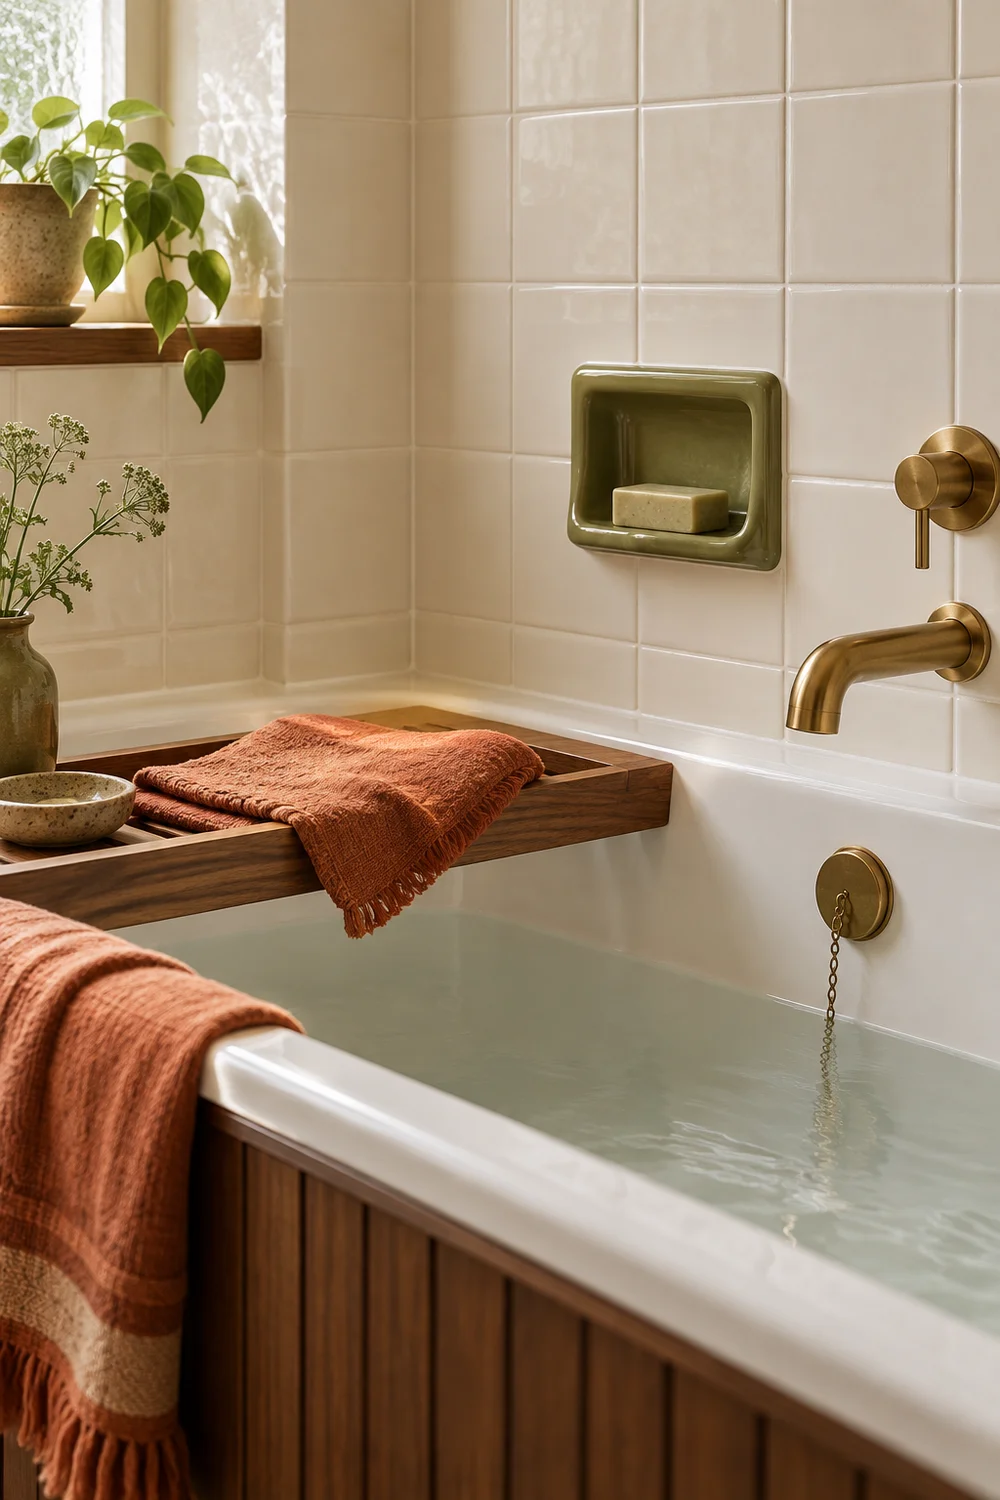
Start with a 70s colour palette rather than a shopping list. Olive, clay, warm white and walnut can make an original coloured fixture look considered without asking every surface to compete for attention.
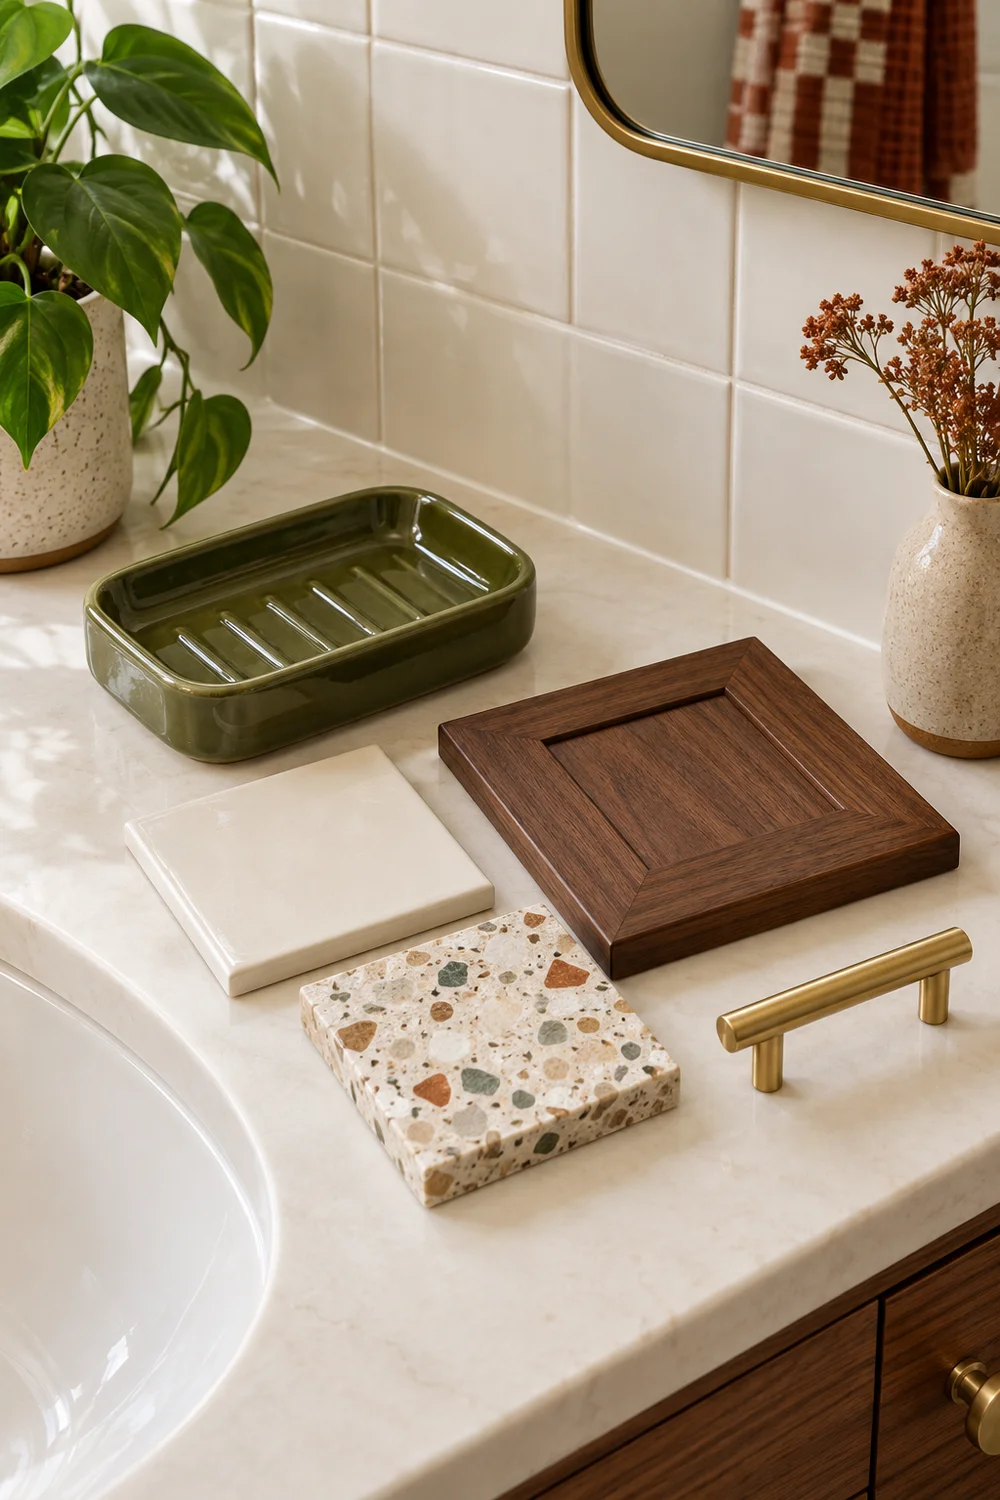
Carry a small sample board through the room in daylight and in the evening. Include the existing ceramic, a tile sample, timber, metal and a towel colour. The aim is not perfect historical accuracy. It is a palette that lets the older element look intentional.
It helps to give the room a quiet background and a small number of active notes. The background may be warm white wall tile and a soft floor. The active notes might be olive ceramic, walnut and a single rust towel. This approach makes the retained pieces feel special because they have space around them.
Do not decide from a tiny tile sample alone. Lay it beside the bath, hold it up at the basin height and look at it near the floor. A material can be beautiful in isolation and still make the older fitting look dull or isolated. The best combination makes the room feel as though its choices belong to one conversation.
There is also value in noticing what you do not want to repeat. Perhaps the original room has one busy wall that makes the space feel smaller, or a dark floor that hides the shape of the room. You can retain the story of the old bathroom without repeating every part of its visual weight. A new surface can act like a pause between stronger elements. This is often what lets a coloured fixture, a timber cabinet or a patterned tile become a favourite detail instead of an overwhelming one.
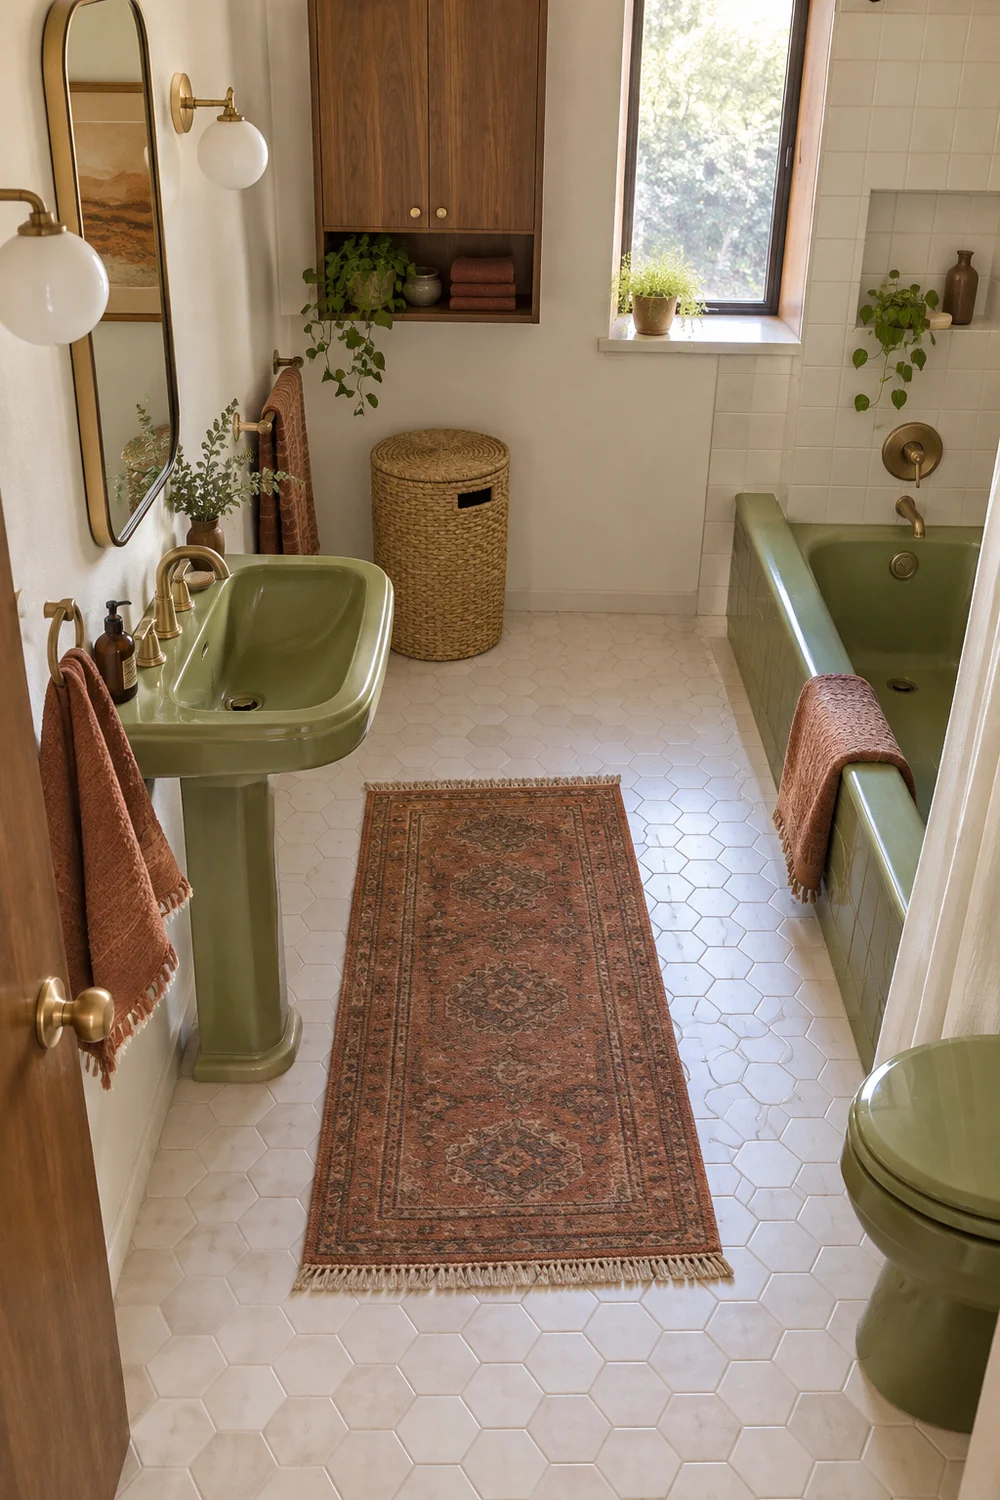
Stand at the doorway and trace the route you actually take. You need room to enter, reach the basin, use the bath or shower and open storage without turning every movement into a negotiation. In a compact room, a clear route is often more valuable than one extra piece of furniture.
Mark the footprint of possible fittings with paper or tape before ordering them. Check the swing of the door, the depth of drawers and the view from the threshold. This simple exercise can reveal that a beautiful vanity is too deep or that a different door arrangement would make the room feel immediately calmer.
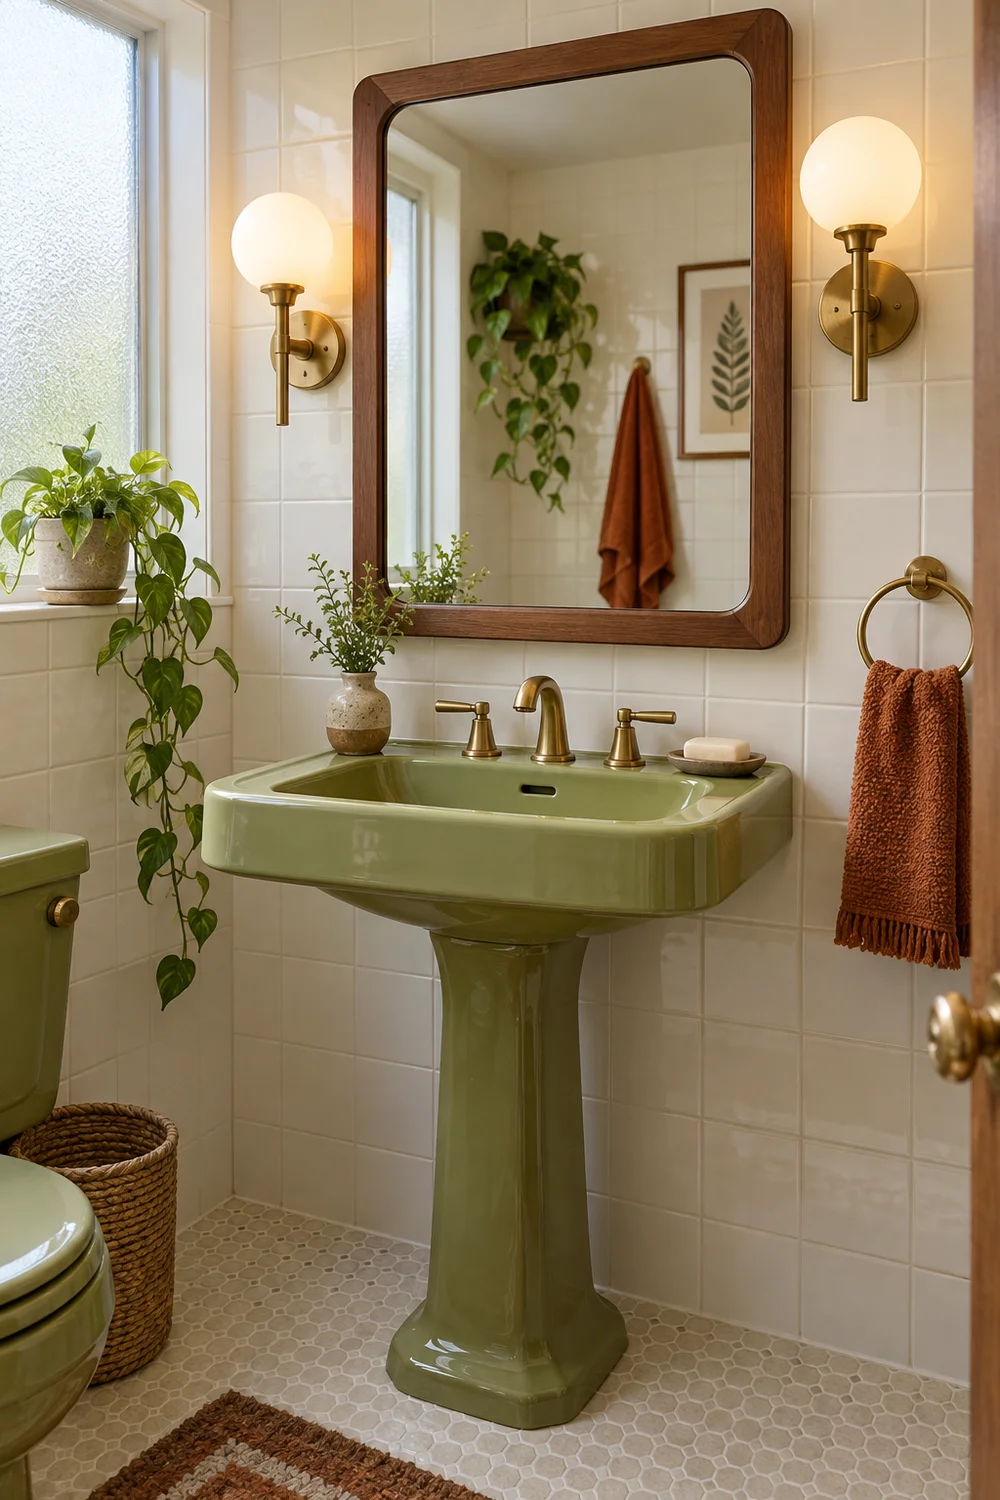
Think about the person who will use the room at the busiest time of day. Where do they put a towel, a wash bag or clean clothes? Where can they stand while another person is at the basin? A useful layout answers these ordinary questions quietly.
Ask your installer to confirm the practical implications of any layout change before work starts. That protects your budget and lets your visual decisions respond to the real room rather than an idealised plan.
Set aside a little room in the plan for the unglamorous necessities. A laundry basket, a place to dry a bath mat and enough access for cleaning are not afterthoughts. When they are planned early, you are less likely to add a bulky cabinet later and lose the clear route you worked hard to create.
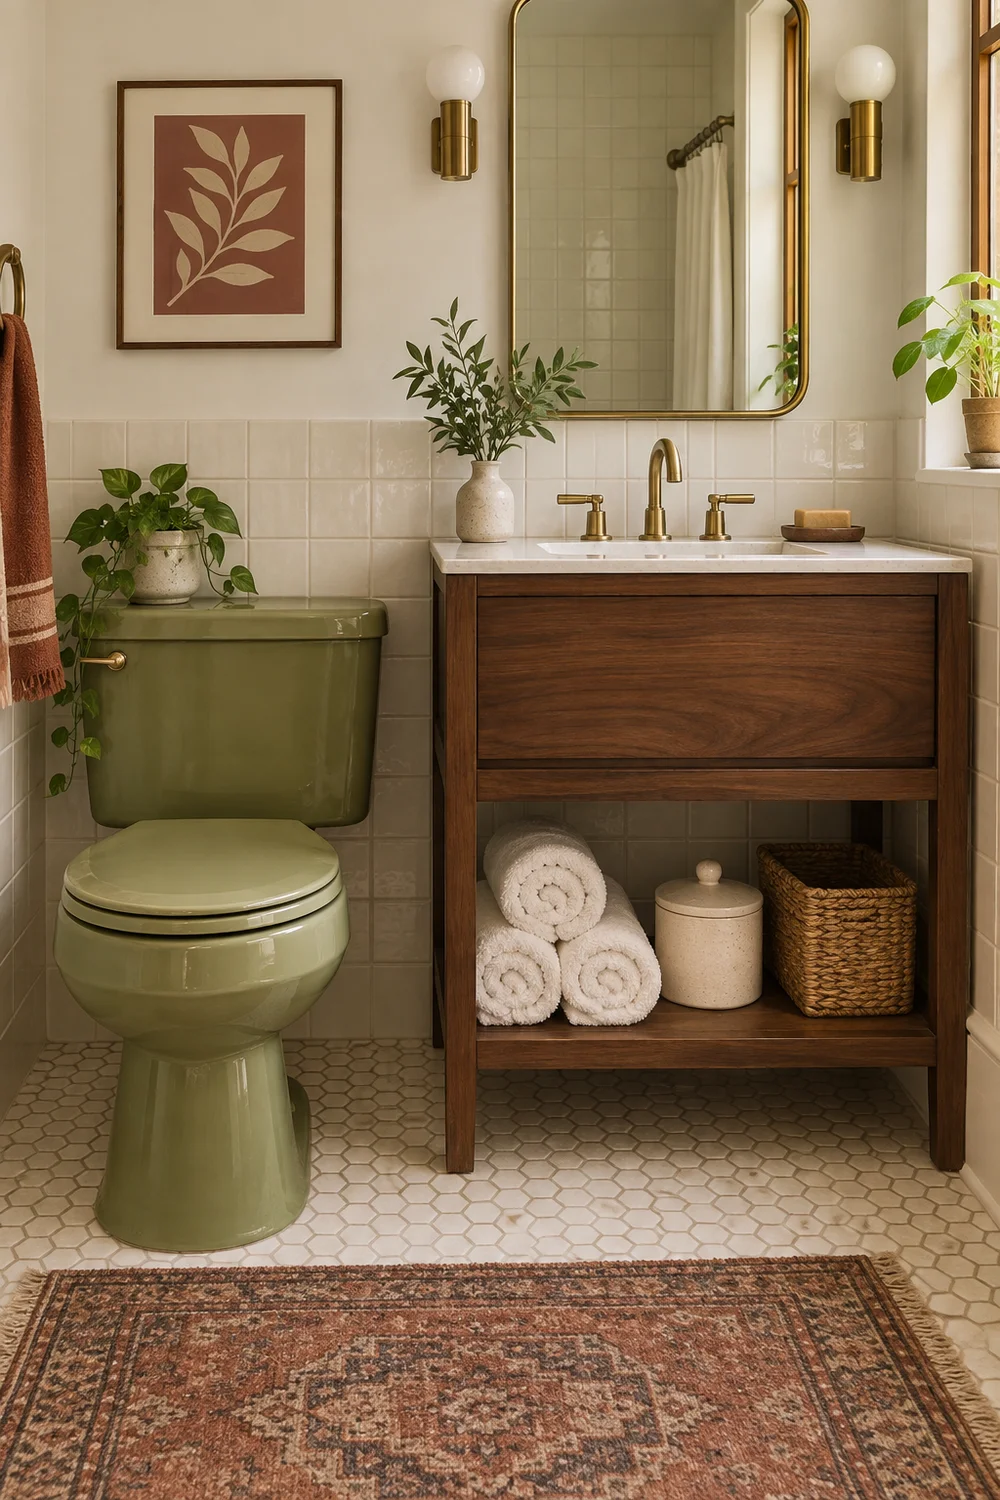
Try a full morning rehearsal on paper. Imagine the door opening, a person standing at the basin, another person reaching for a towel and a drawer opening. This is not about designing for an imaginary perfect routine. It is about finding the pinch points that will make the room irritating when life is busy.
If the room has a bath and shower combination, think about the dry moments as carefully as the wet ones. Where does a robe go, where does a guest put a bag and where can a person set down a glass or book without balancing it on the basin? These questions may lead you to a better shelf, a more useful ledge or a smaller vanity. They can also stop a decorative addition from becoming an obstacle. The goal is a room that feels generous in use even when its footprint is modest.
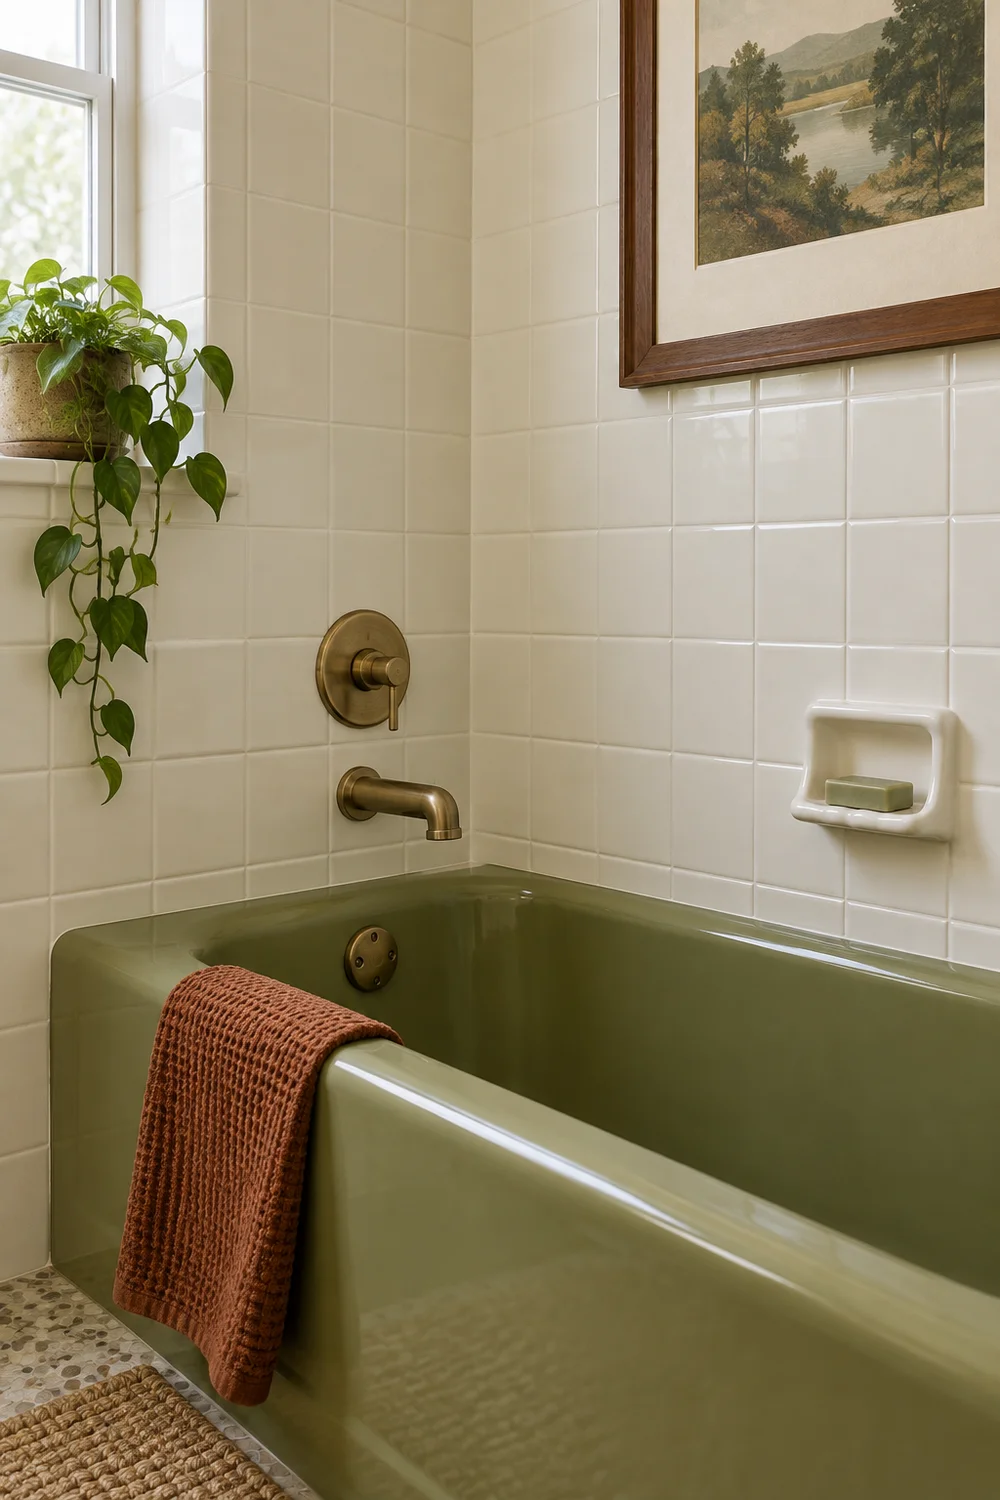
Tile is a powerful bridge between an original fixture and a new fitting. If you keep a coloured basin or bath, use a simple surrounding tile that gives it breathing room. Warm white, soft cream or a gentle tonal contrast can be enough to make the older ceramic feel deliberate.
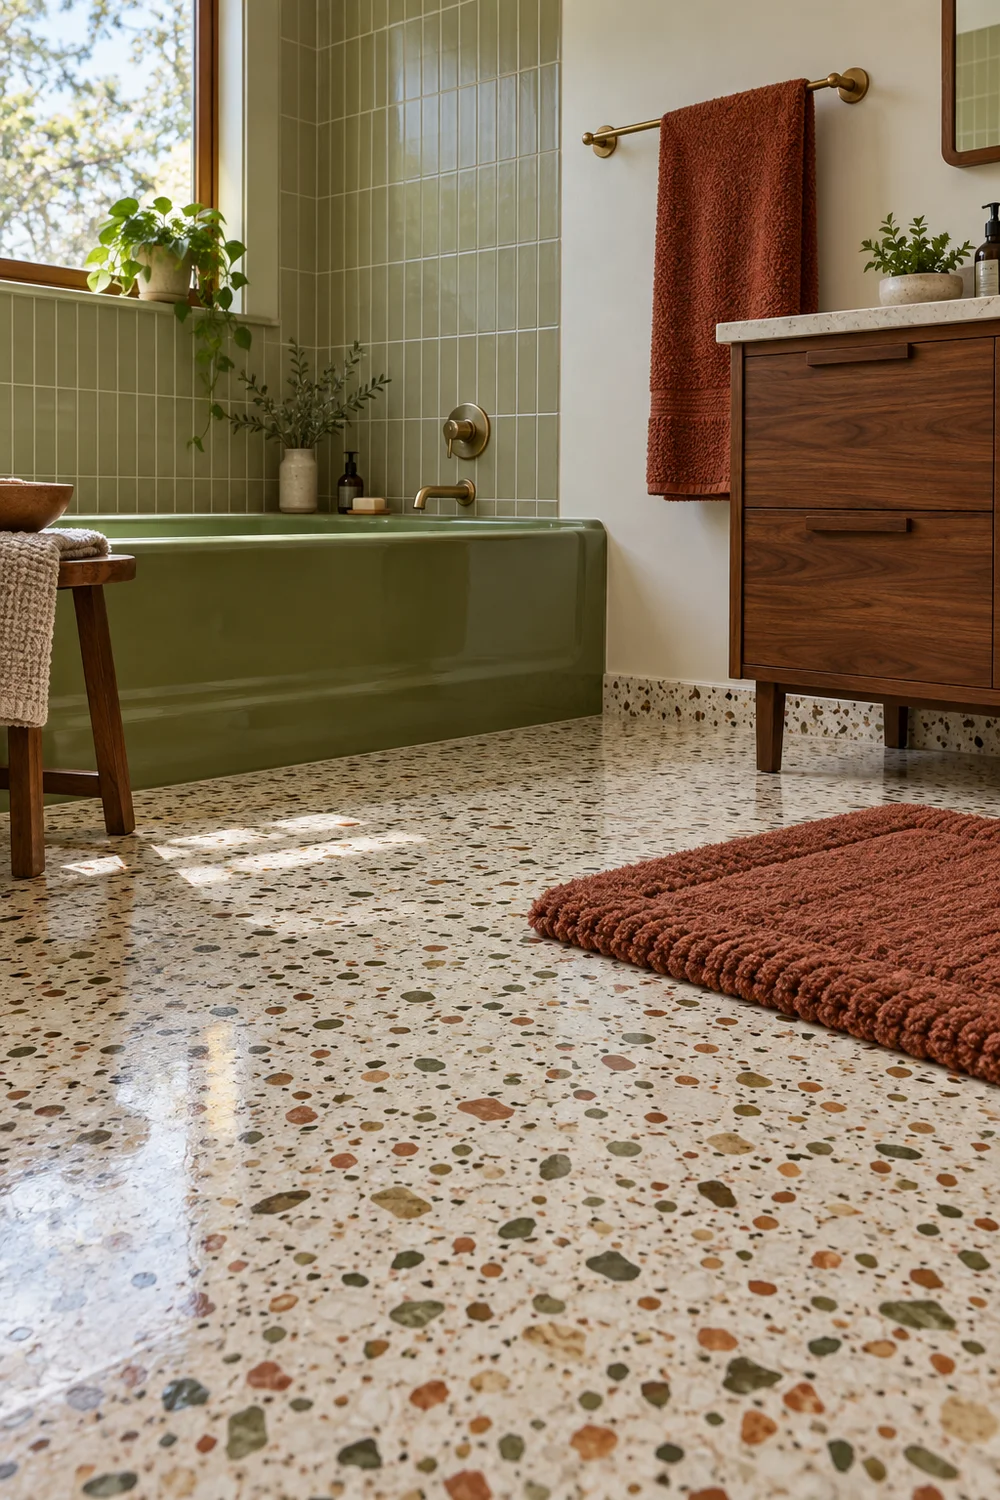
A restrained mid century colour scheme can help you balance timber, metal and textile tones. Let one colour take the lead and use the others in smaller doses so the room keeps its depth without becoming busy.
Pay attention to lines as much as colour. The height at which a tiled area ends, the proportion of a niche and the edge of a mirror all affect whether the room feels composed. Repeating one quiet horizontal line can make a compact bathroom feel more settled.
Keep samples together for a few days. A tile that looks creamy beside a shop display may look cool beside your original fixture. The best choice is the one that holds the room together in its actual light.
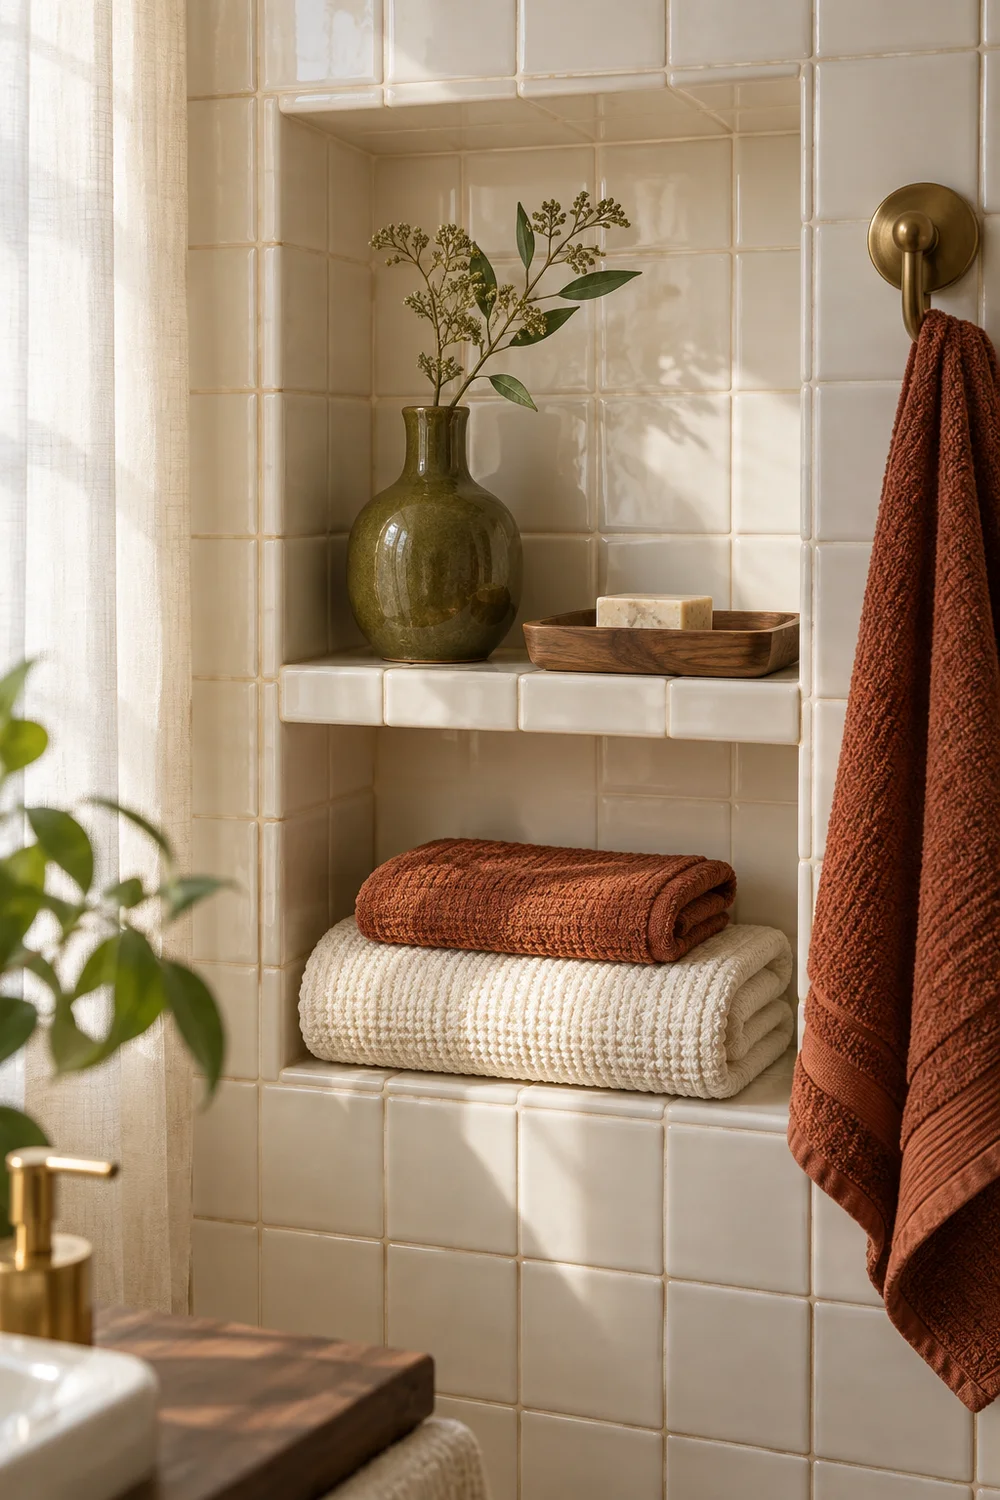
When the original tile is staying, decide whether it should be the main surface or a smaller retained moment. You might keep a good run around a basin and let a simpler tile take over near a new bath. This gives the room continuity while allowing old and new materials to meet with purpose.
Avoid copying every colour in the old room. A single olive note can travel from a basin to a niche or a small piece of art without turning every wall green. Repetition should feel like a thread through the room, not a rule that makes each object match.
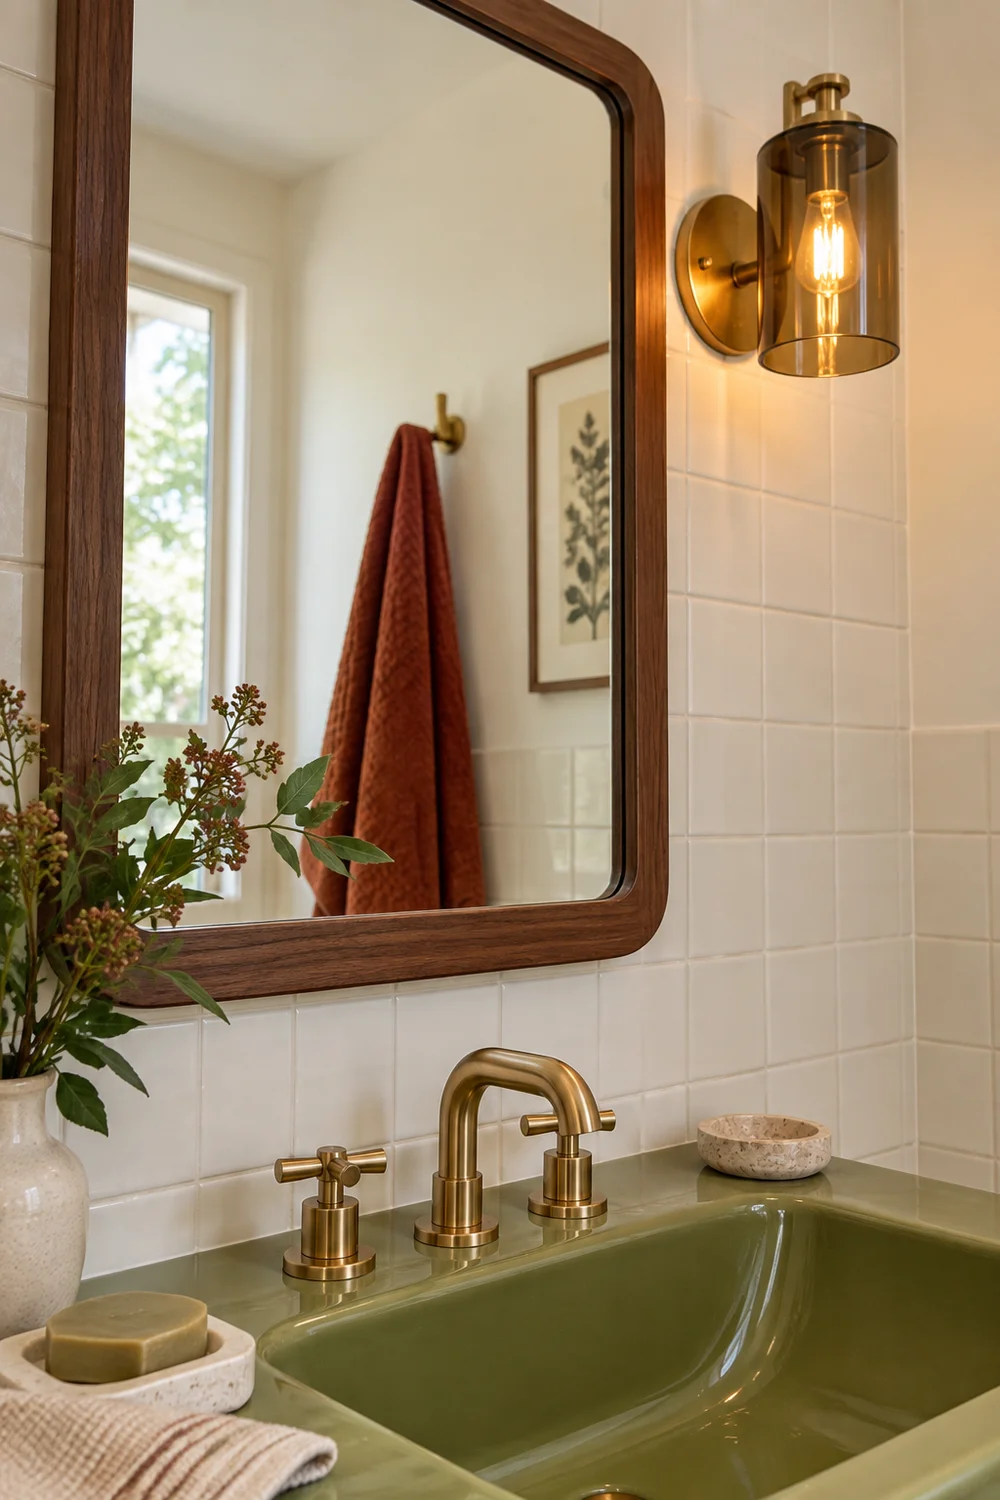
Good lighting makes an older room easier to live with. Put thought into the mirror area because it is where the bathroom works hardest in the morning and evening. A pair of gentle lights at the sides of a mirror can feel more considered than one harsh point above it.
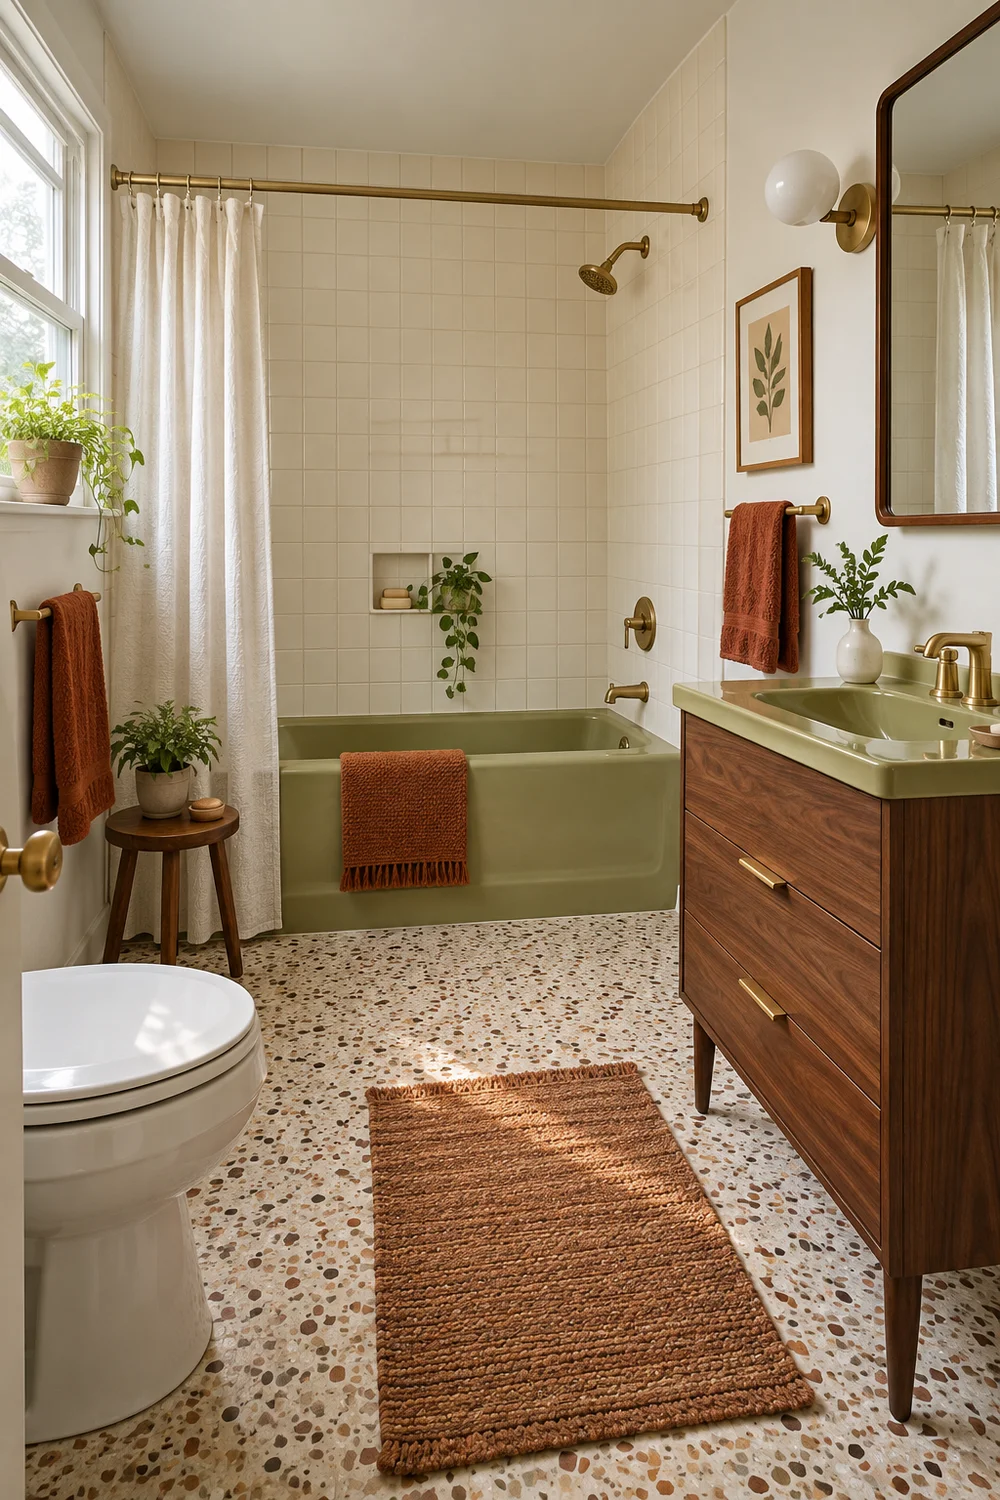
Storage should handle the objects that make a bathroom look untidy. Decide what needs to be within reach, what can live in a drawer and what deserves a visible place. A slim walnut cabinet, a shelf or a niche can be more useful than filling the room with separate containers.
If you want more personality, use the principles behind a statement bathroom with restraint. One expressive surface, a memorable light or a strong original fixture is often enough when the rest of the room has a calm job to do.
Choose handles, rails and taps after the larger decisions are settled. A brushed brass finish can add warmth beside olive and walnut, but the small details work best when they support the plan rather than try to become the whole story.
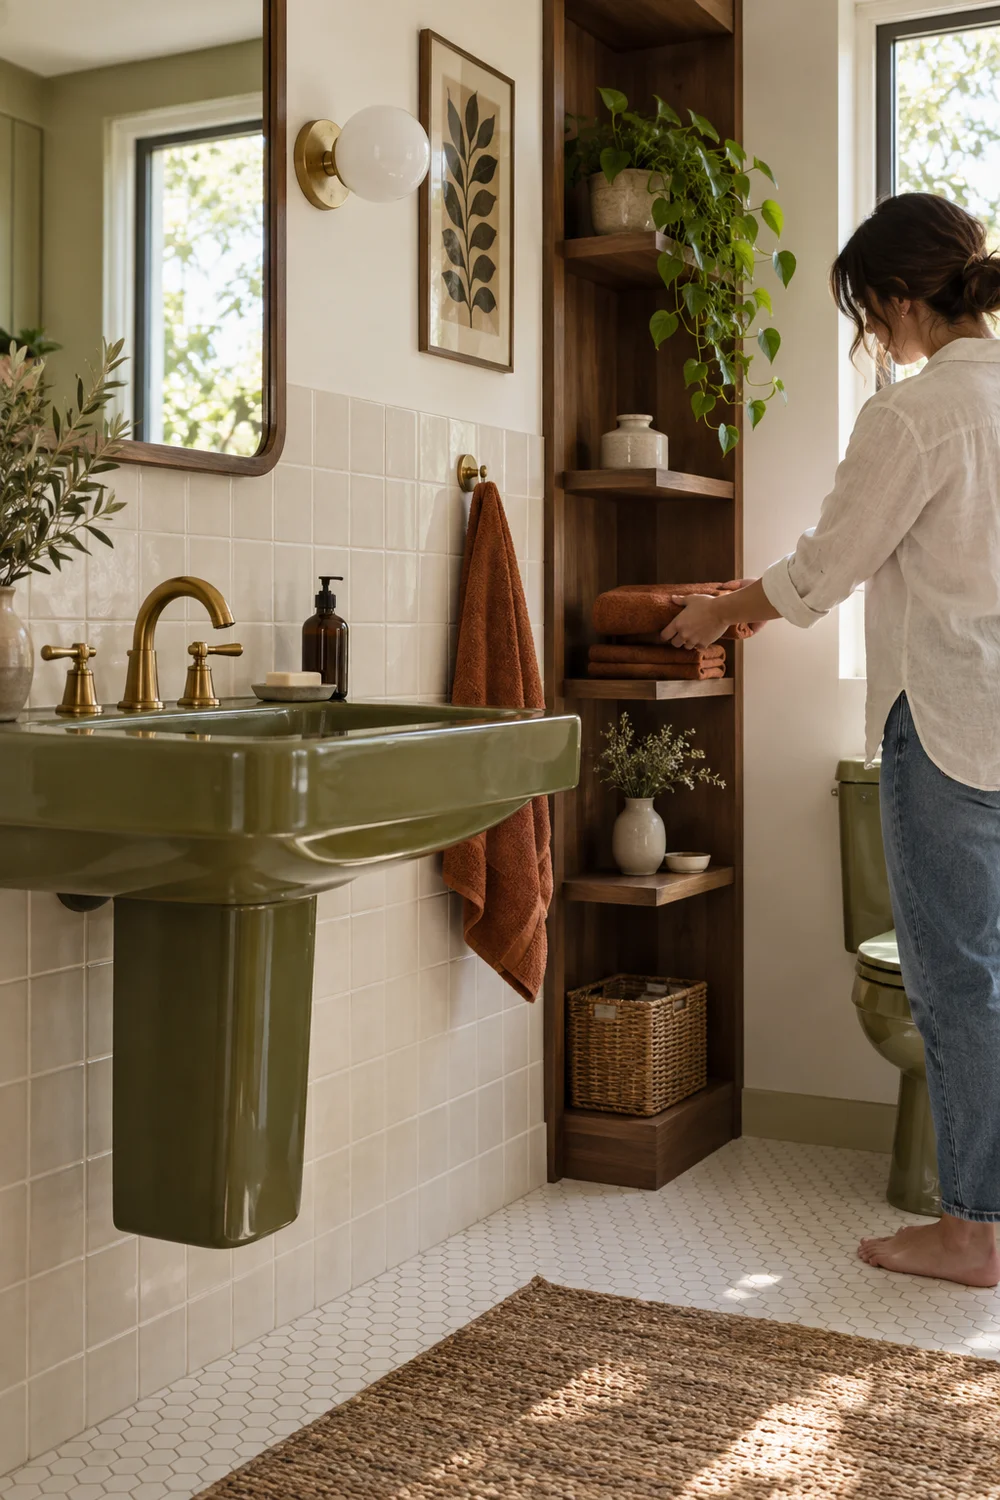
Consider what you want the mirror to show back to you. A wide reflective surface can bring daylight further into a compact room, while a framed option can make the basin wall feel more settled. Either choice works best when the light is planned around the person using it, not only around the object itself.
Keep everyday products near the place they are used. This may mean a shallow drawer close to the basin, a niche by the bath or a towel rail that does not block the route. Good storage reduces visual noise and makes the older character of the room easier to notice.
Take time to decide which surfaces should remain clear. A basin ledge crowded with bottles can make even a thoughtful renovation feel unfinished. A drawer for daily essentials and one open shelf for something pleasing can be enough. This balance is especially helpful in a room with an original colour because it lets that colour read as a design choice. You are not trying to create a display. You are making it easy for the bathroom to look composed after an ordinary weekday morning.
Before work begins, write a short brief in plain language. Say what must remain, what must improve, what you are willing to compromise on and how you want the room to feel. Include photographs of the details you are keeping, the palette samples and the layout priorities.
Give the brief to everyone involved and keep it visible during decisions. This makes it easier to say no to a finish that is attractive on its own but does not belong in the room. It also makes a later choice feel less like a guess.
The finished bathroom does not need to look untouched. It should feel like it has learned from the original room while making space for the way you live now. When the route is clear, the light is kind and one or two older details remain, a 1970s bathroom remodel can feel personal rather than preserved behind glass.
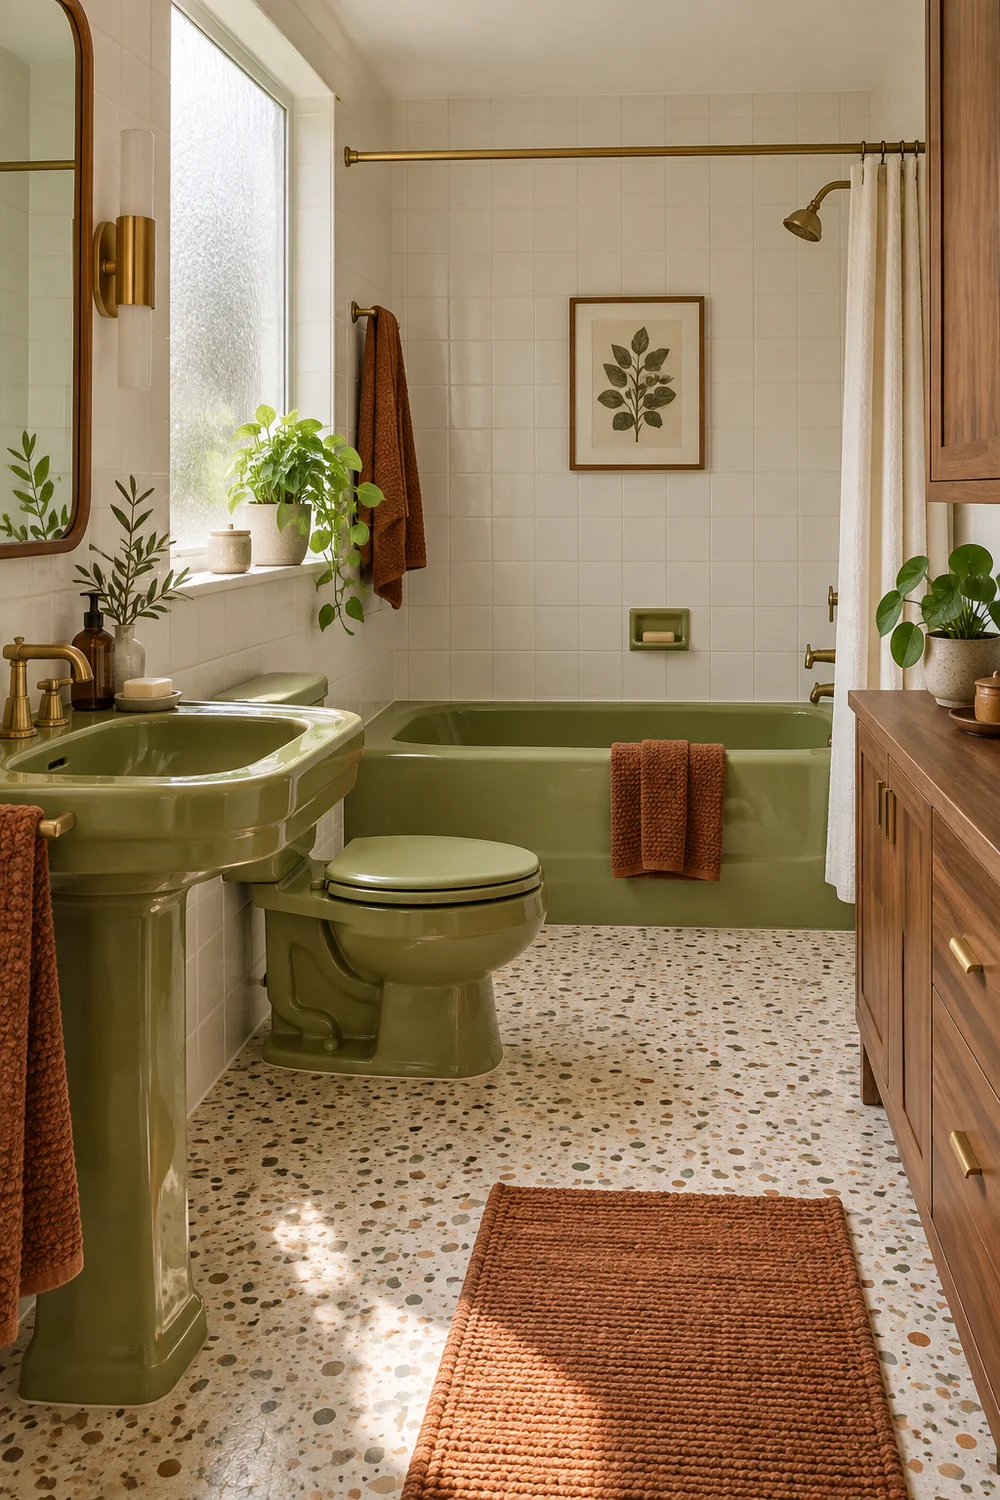
Allow time to live with the room before adding every final accessory. A towel, a small plant and a useful tray can reveal what the room still needs. The most convincing finishing touch is often the one that makes an ordinary morning run more smoothly.
Return to the 70s bathroom ideas gallery when you are ready to add the final layer of personality. Use it to test whether a colour, mirror or accessory supports the brief you have made, not to replace the practical decisions that give the room its ease.
Keep a small record of the decisions that made the biggest difference. It may be the choice to retain a basin, widen visual space around a mirror, move storage into a drawer or use a quieter tile. Those notes are useful when a final question appears during installation, but they also help you recognise what the project has achieved. A good renovation does not have to erase every trace of its starting point. It gives the room a clearer and more generous next chapter.