Newsletter Subscribe
Enter your email address below and subscribe to our newsletter

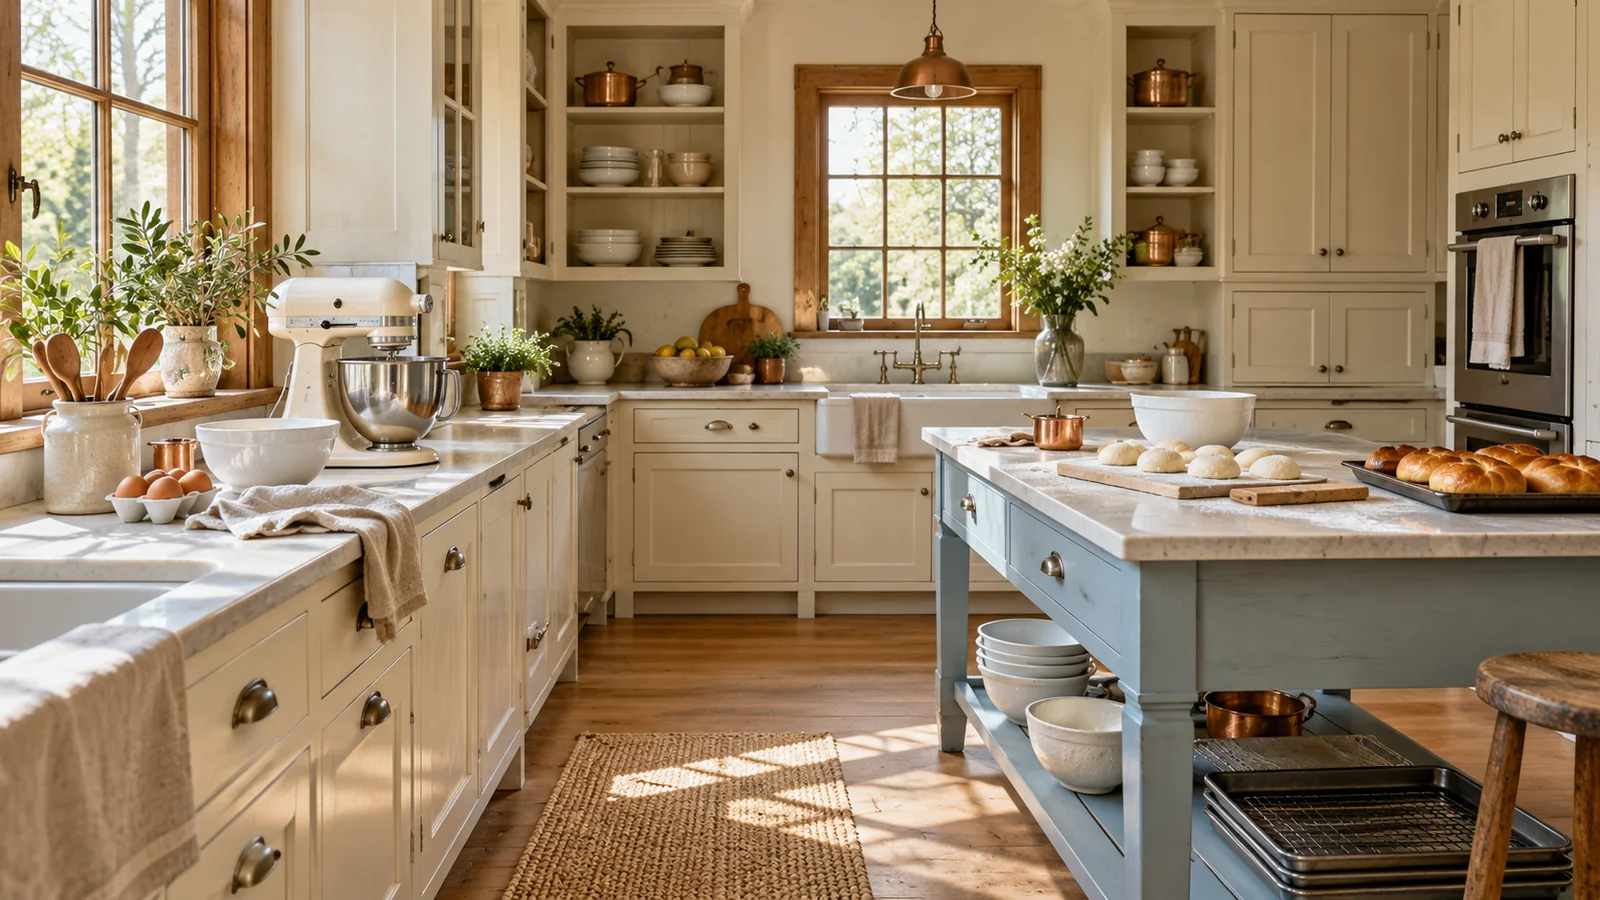
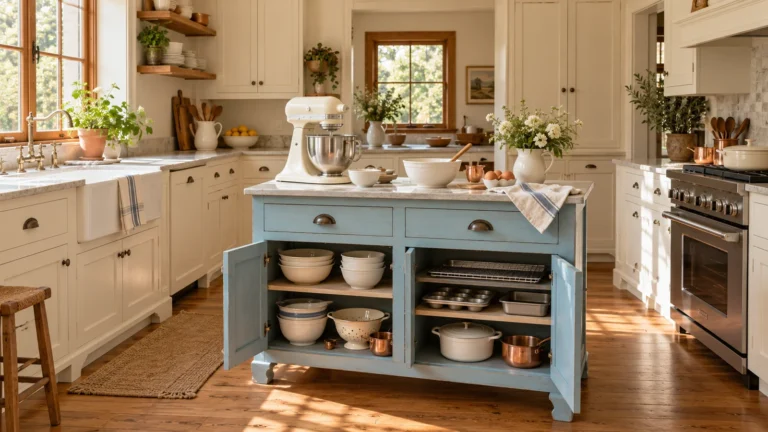
A baking station should make a real batch easier to finish, rather than give the mixer a prettier place to stand. If you bake regularly in the same kitchen where you prepare everyday meals, I would start with the moment the worktop disappears: ingredients are open, the bowl is waiting, two trays need filling and there is still nowhere for the finished bake to cool. French country style can give that work a lovely setting, with warm ivory cabinetry, a faded powder blue work table, medium oak and a little aged pewter. The useful question is how those pieces support what you actually do. I would map one familiar recipe, give its overlapping tasks separate surface jobs, then test the arrangement before choosing more storage. You should finish with a workable baking plan that respects the ordinary kitchen as much as the baking you enjoy.
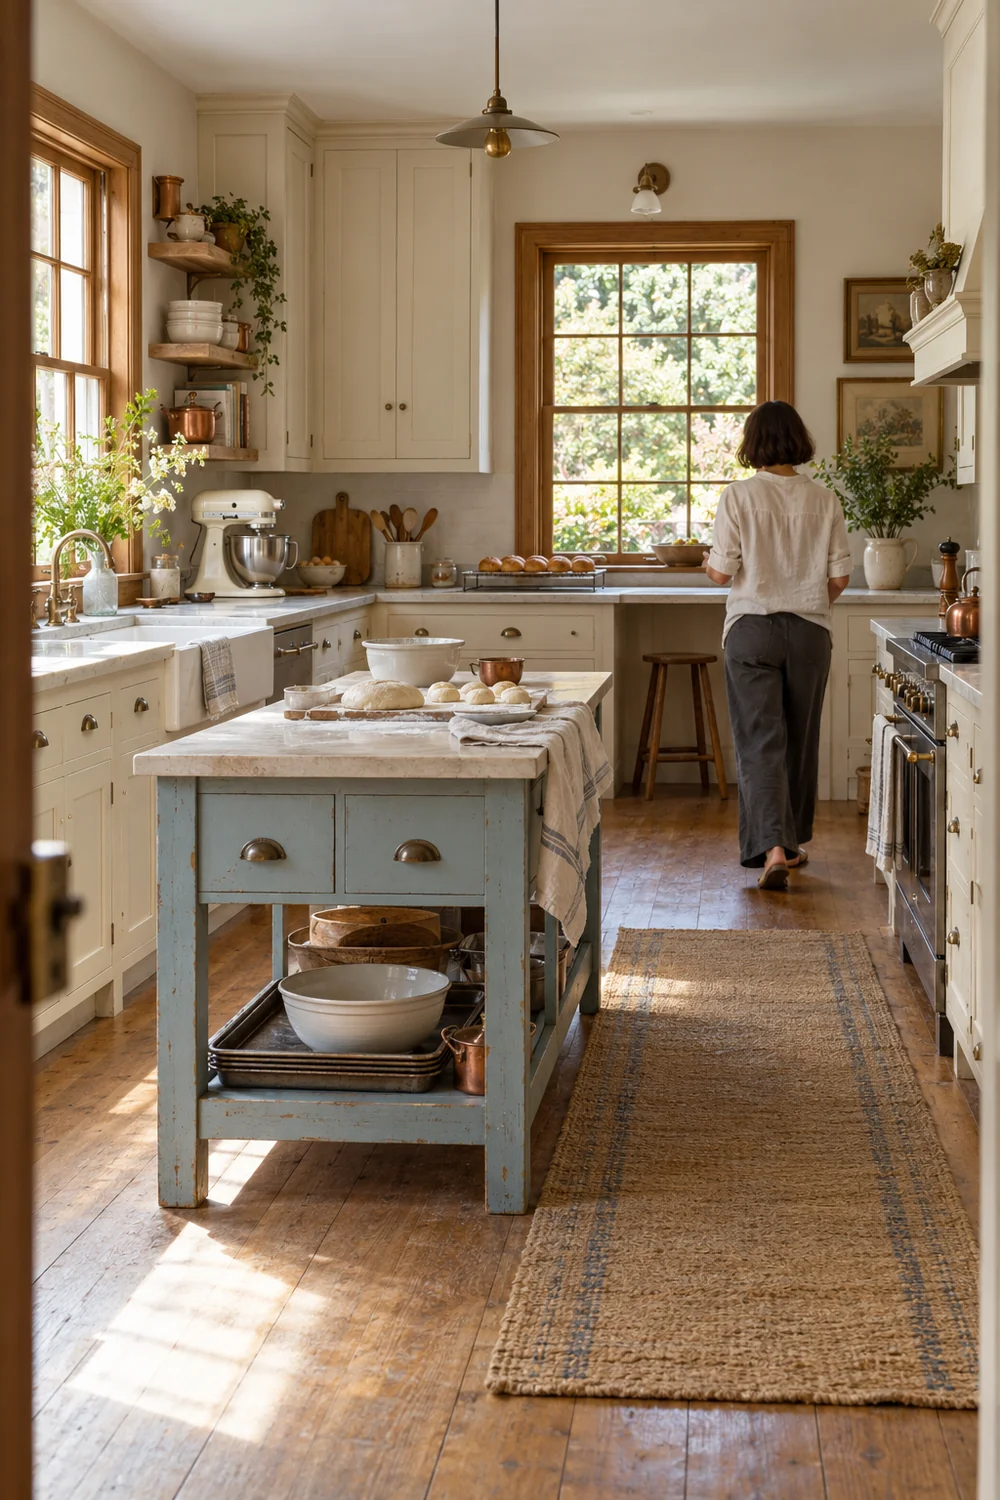
Choose a recipe you already make, rather than the elaborate celebration cake you hope to attempt someday. I would use a familiar batch of biscuits, a loaf or a simple cake because you know where the interruptions happen. Put its equipment and ingredients on the table before starting. Include the scales, mixing bowl, trays, cooling racks and cleaning items, not just the photogenic mixer. The collection shows what the room must accommodate during the work, which is different from what it holds when everything is put away.
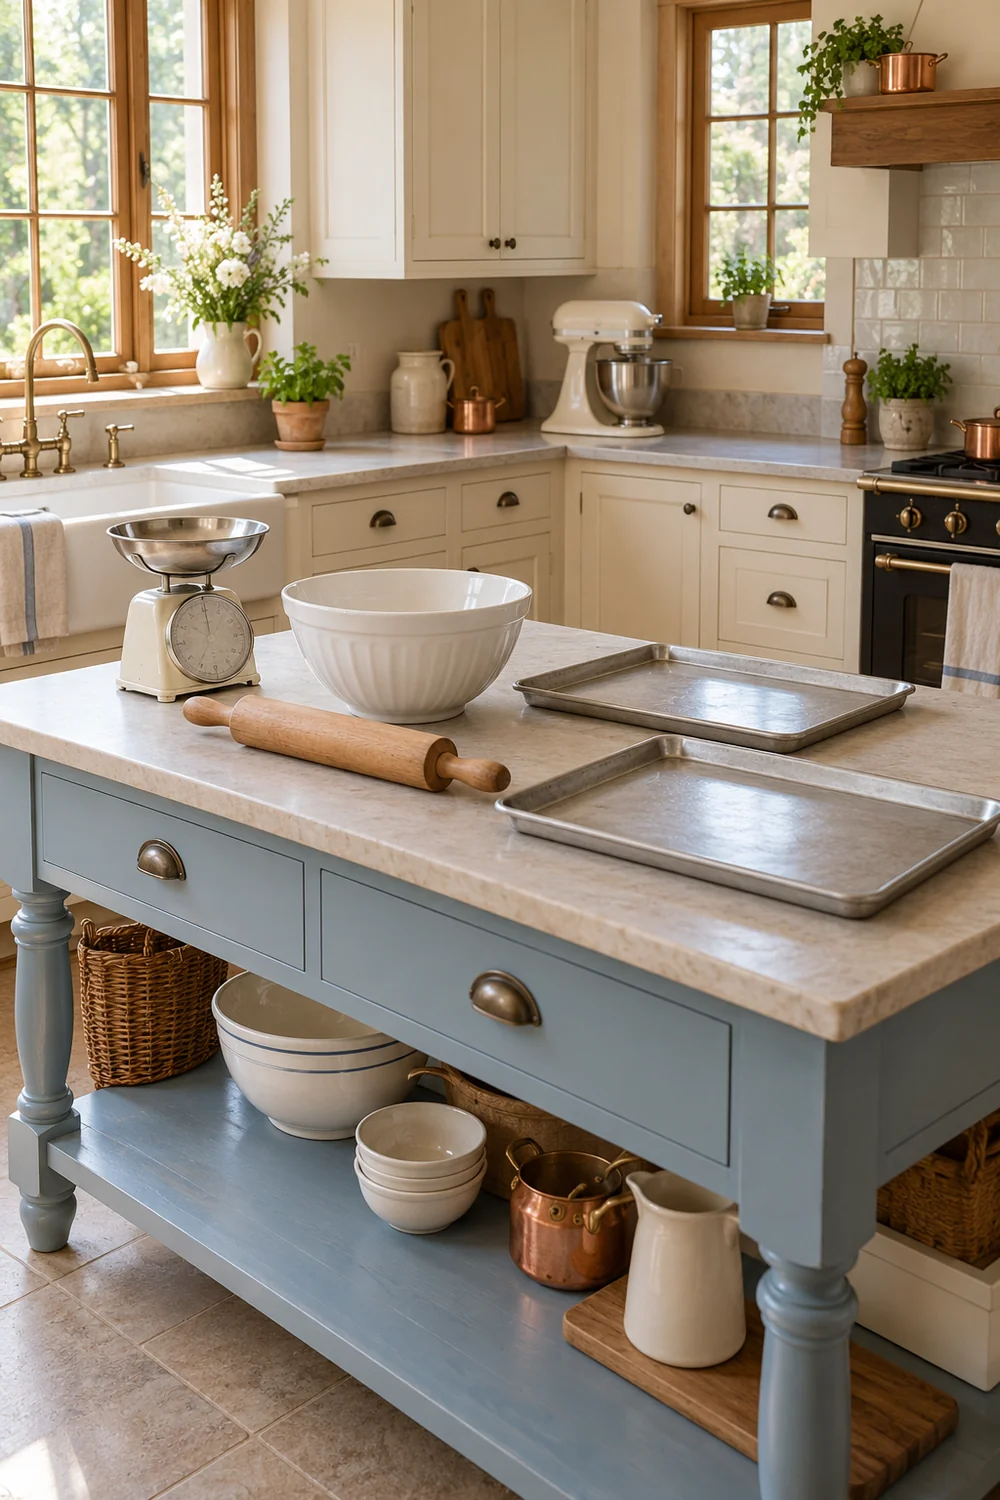
Write the sequence in ordinary language: gather, weigh, mix, shape or portion, bake, cool and clear. Then notice which jobs overlap. A second tray might need filling while the first is in the oven. A cake can still occupy its cooling position when you need to prepare lunch. The mixing bowl may need washing before the last batch is finished. Those overlaps explain why a counter that appears generous when empty can feel inadequate halfway through a bake. You are planning occupied surfaces over time, rather than a single tidy photograph.
I would distinguish objects that work in place from those that visit briefly. A mixer needs its operating position and access. Scales can often be put away after weighing. Ingredients need a temporary gathering place before they return to storage. A cooling rack needs a genuine destination for as long as the recipe requires. None of those jobs should be assigned to the same patch of counter at the same moment simply because the objects fit there separately. Mark the conflicts on your sequence before moving furniture.
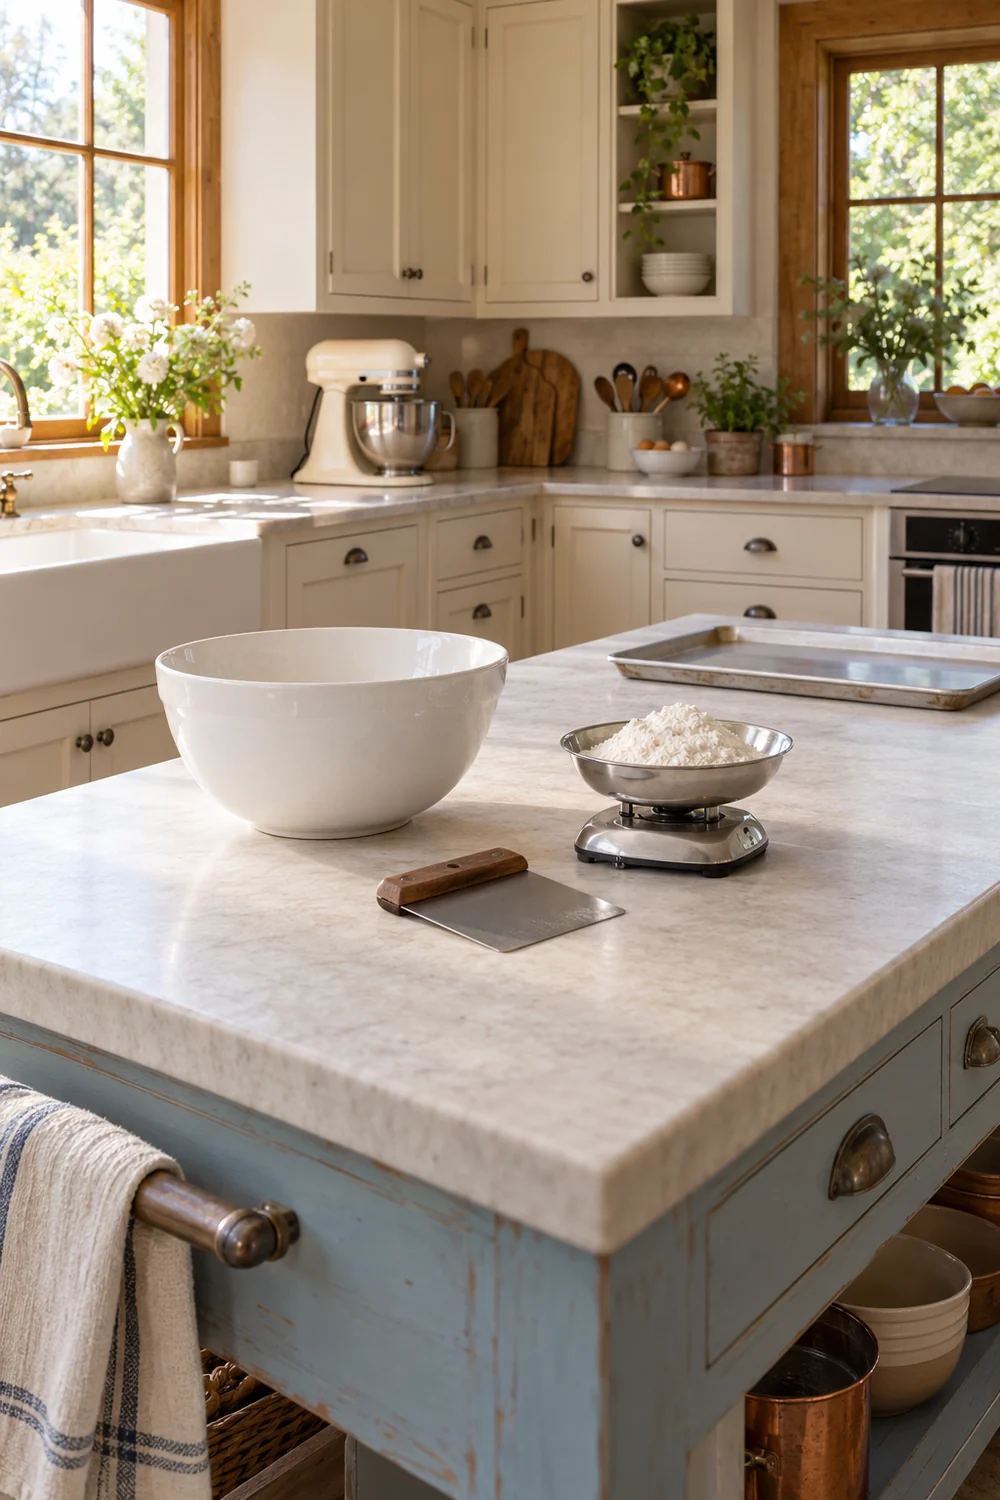
The style decision can stay simple while you do this practical work. My French country kitchen inspiration explains the timber, painted cabinetry and furniture character that make the room feel coherent. For this project I would keep that character in one powder blue baking piece and the existing warm kitchen shell. You do not need to reproduce every rustic detail to have a convincing result. The batch sequence decides where the work belongs; the style gives those useful positions a consistent visual language.
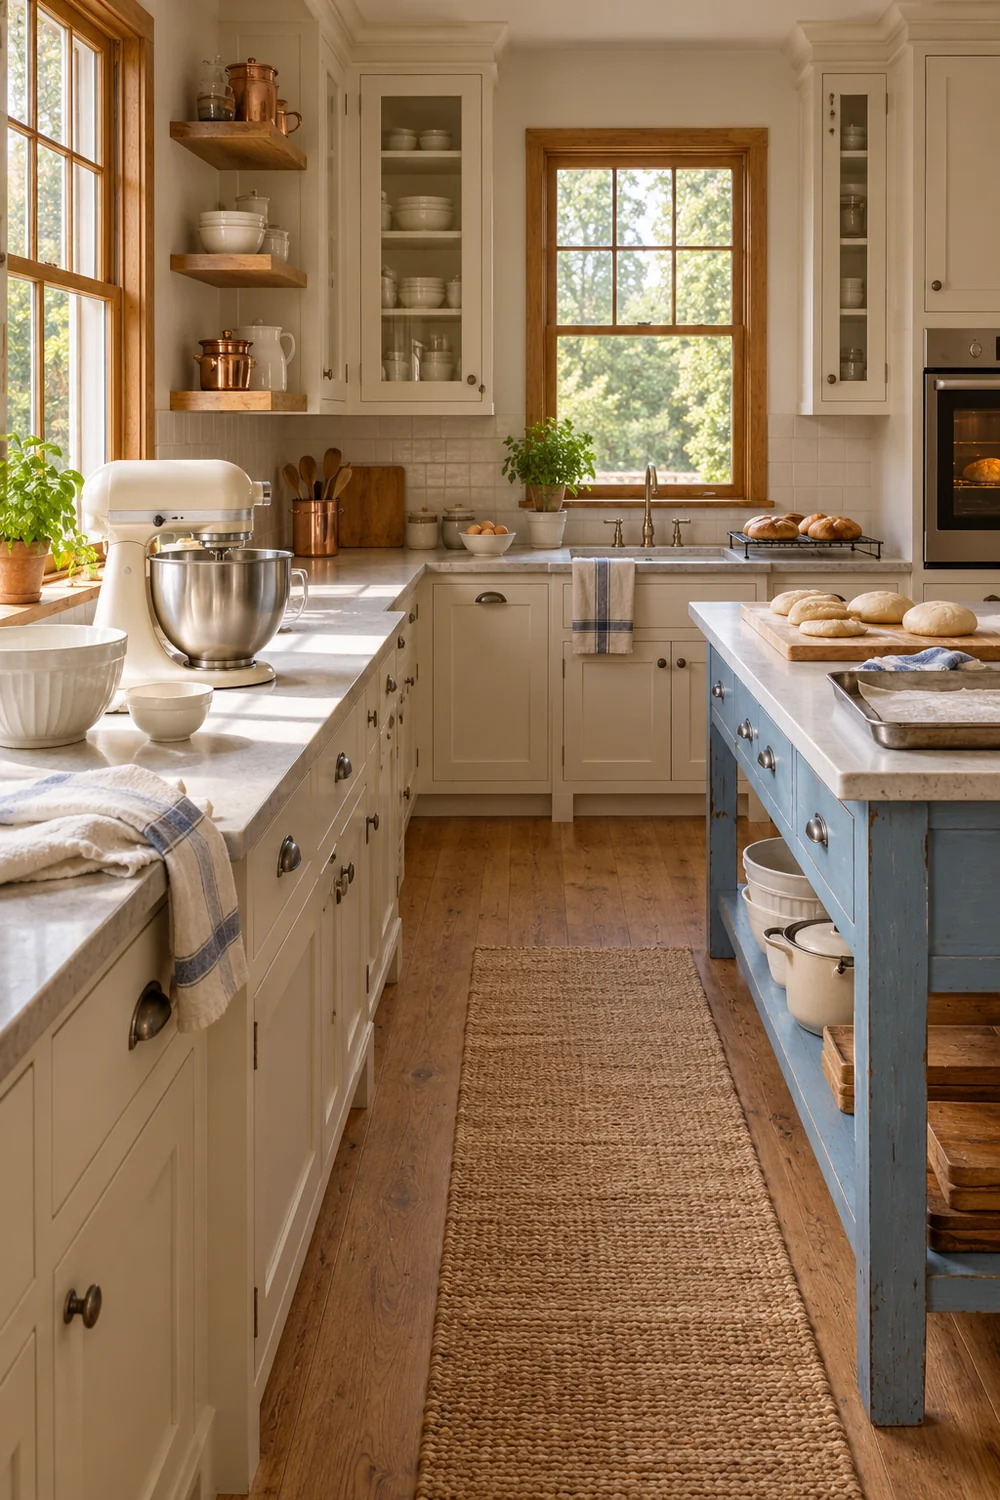
I would give each important surface a job before giving it a decorative name. The mixer surface holds the appliance in use. The shaping surface accommodates the board, dough or trays you actually handle. The cooling surface receives the finished bake without becoming a borrowed corner of tomorrow's breakfast area. These jobs may occupy one continuous worktop, but they remain separate positions while they overlap. A single small station cannot promise all three if it only works after you move the last task elsewhere.
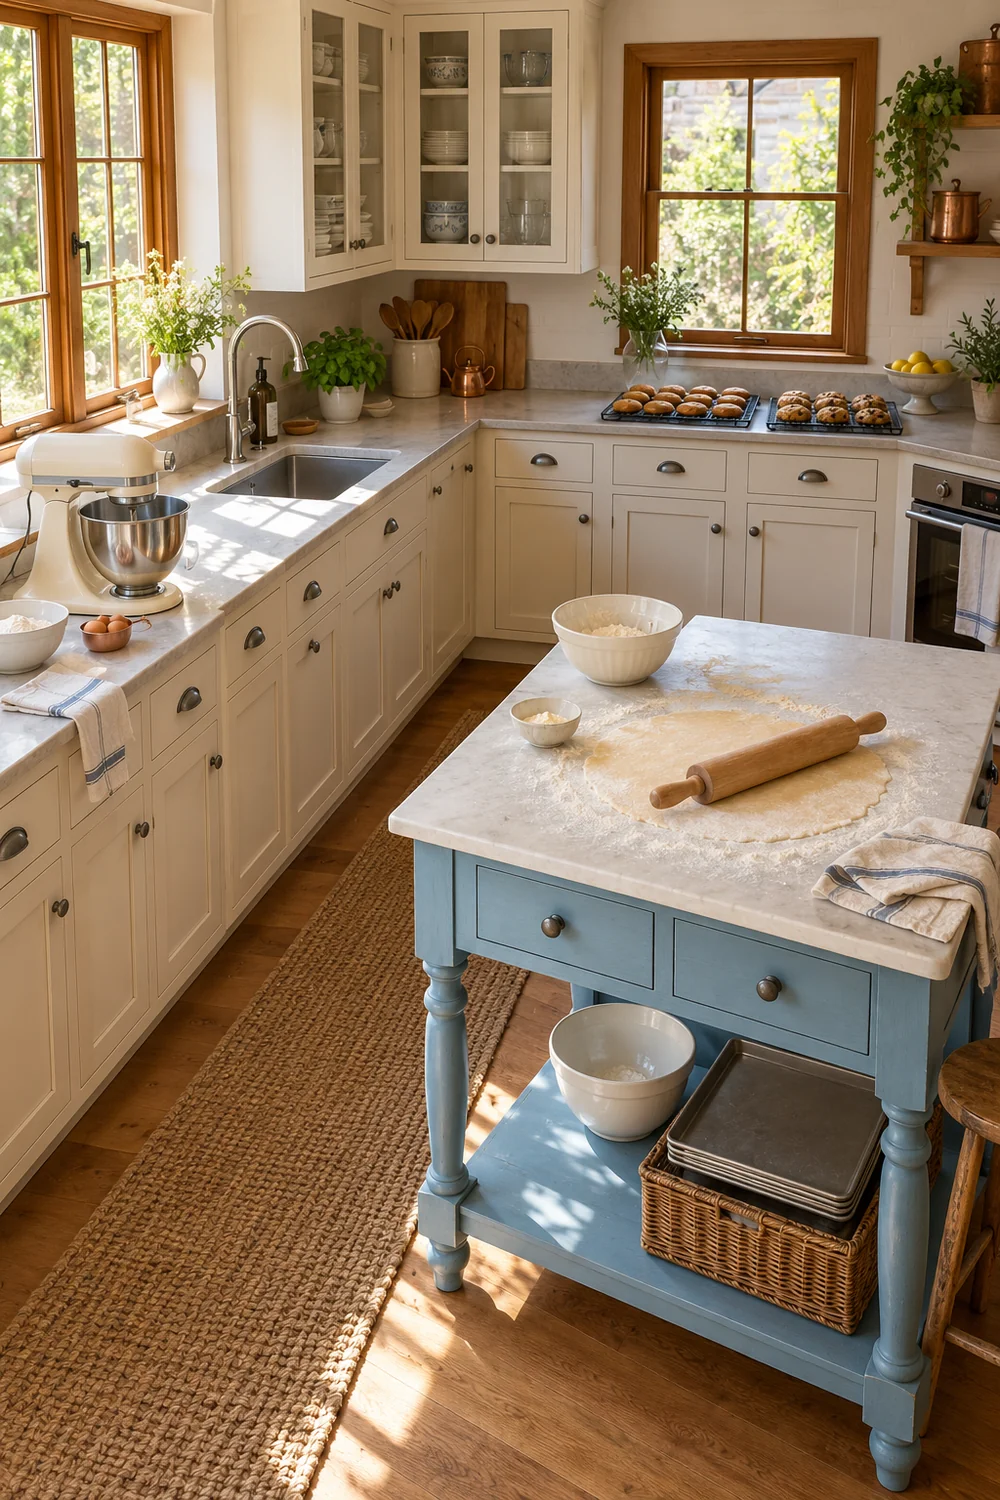
Lay out the equipment without running it and take a photograph from above. Open the mixer as its instructions require, place the real board where you shape, and set out the number of racks or trays the recipe needs. Include the bowl beside the scales and the place where utensils wait between actions. This simple rehearsal shows whether the apparent spare worktop is usable or just narrow gaps between objects. I would clear those gaps of ornaments before assuming the kitchen needs another cabinet.
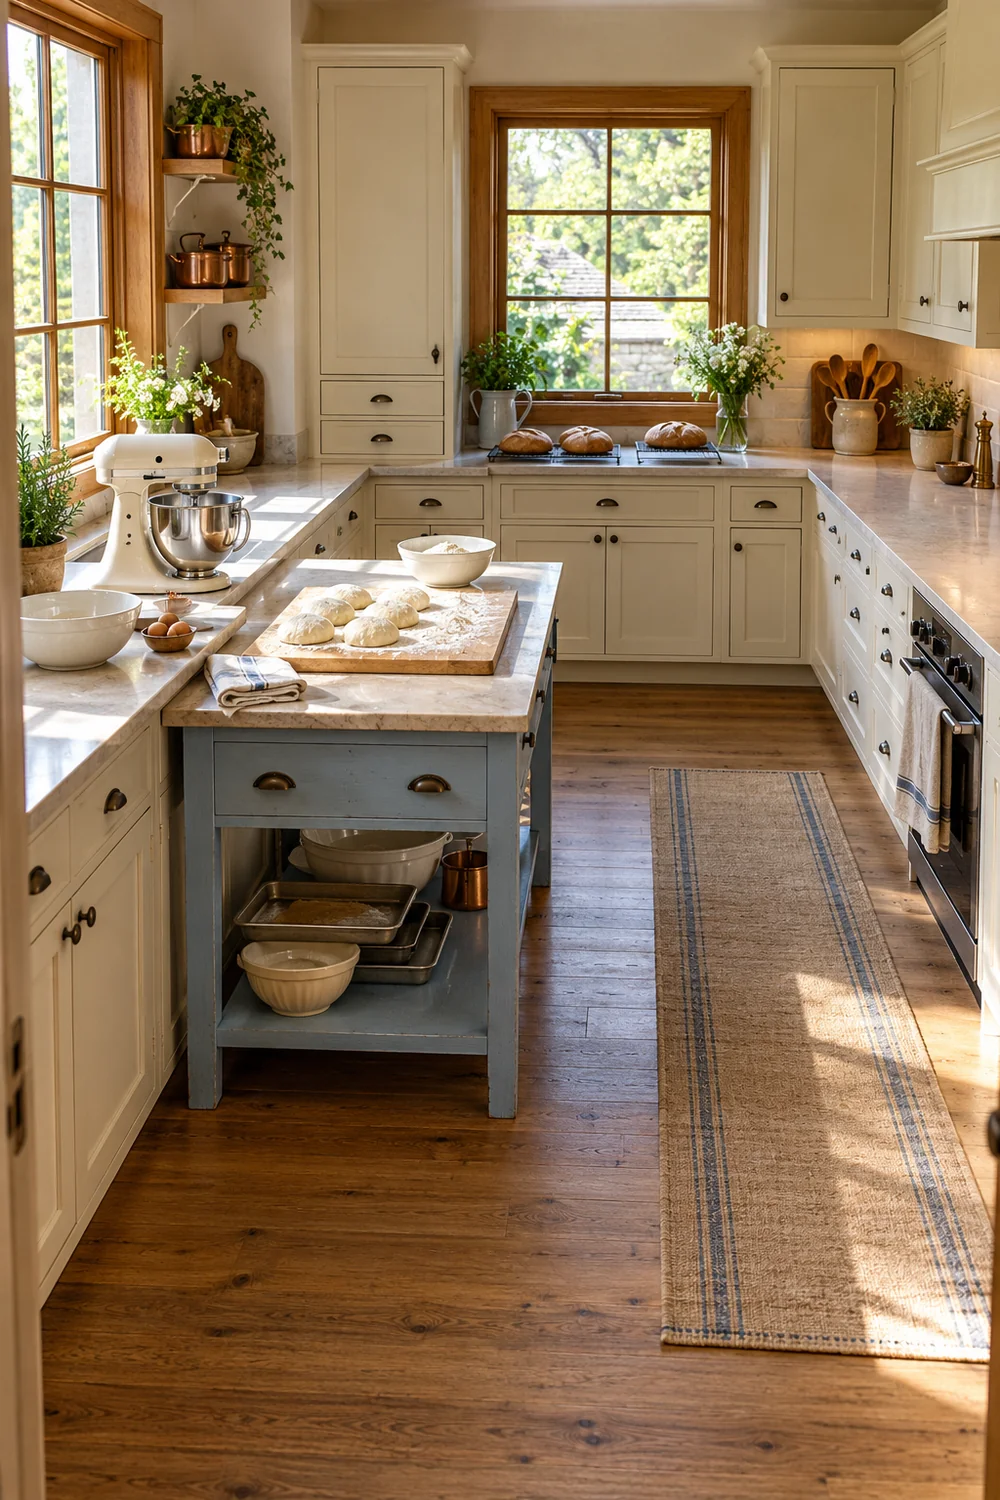
Cooling is the job I would allocate earliest because it is easy to forget and difficult to improvise when the room is already busy. Choose a stable position appropriate to the rack, bake and surface instructions. Keep it out of the route to the sink and away from the place where someone will prepare the next meal. If the only available position is the dining table, make that an explicit part of the plan and check that it remains available. A named temporary destination is more honest than an imaginary spare counter.
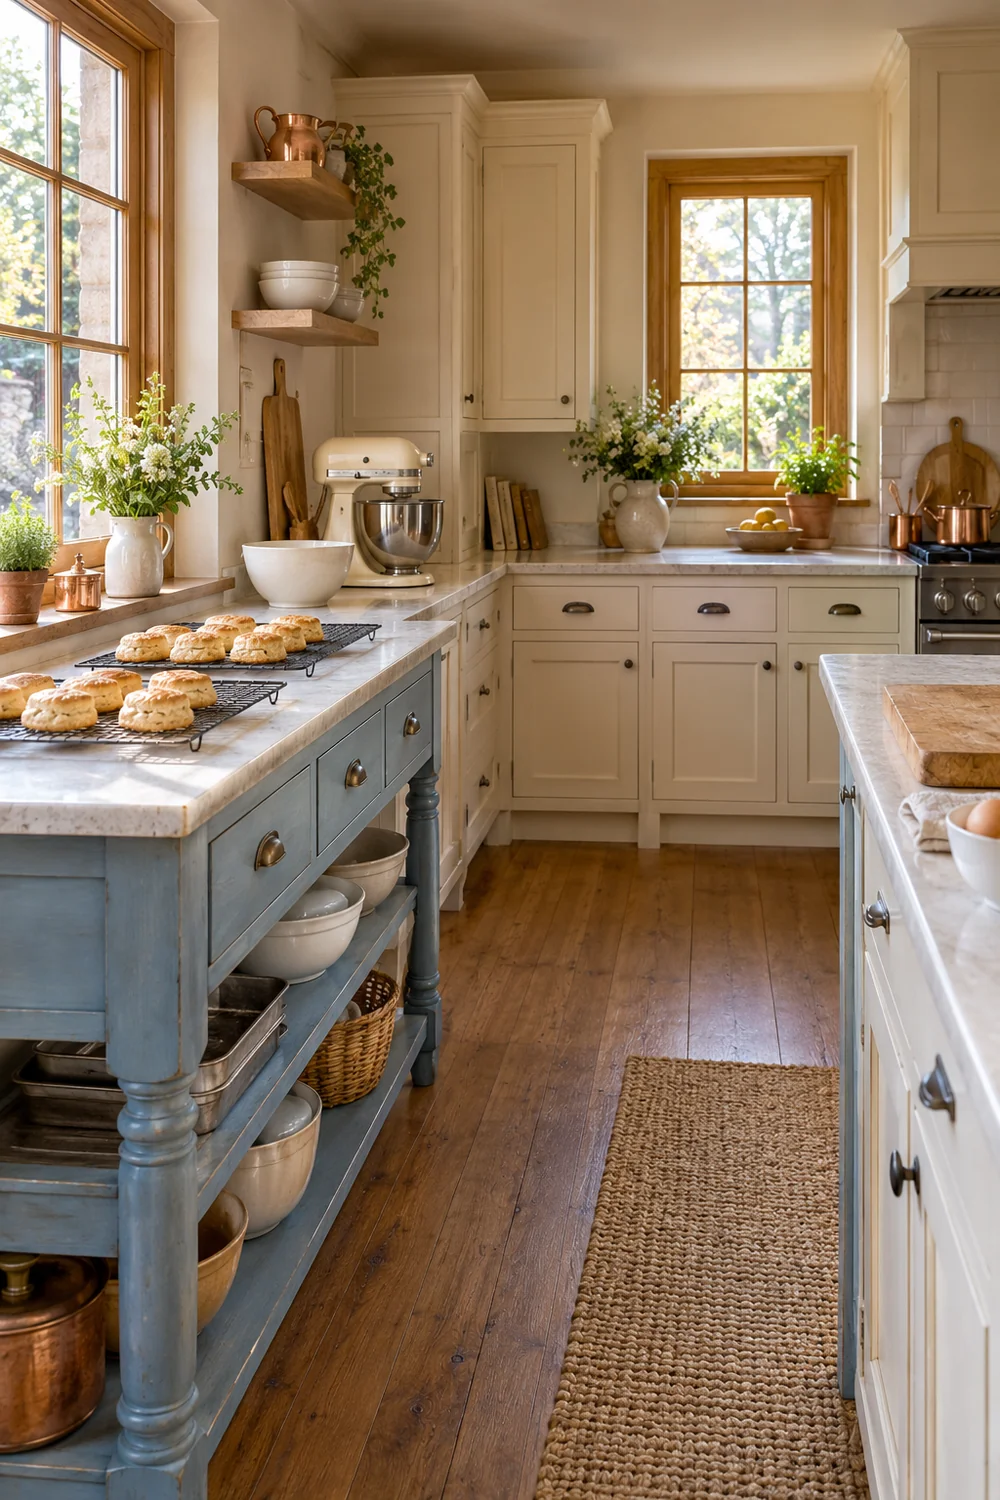
Storage below these surfaces should follow the jobs above. Keep the tools used together within a convenient reach where the room allows it, while moving infrequent tins and decorative serving pieces out of the daily working group. My general kitchen cabinets guide explains the wider choice of drawers, pantry arrangements and construction. Here I would record the storage requirement first: daily mixing tools, flat trays, dry supplies and the mixer itself if it is put away. The later selection step can check which actual configuration fulfils those jobs.
A continuous counter run can work beautifully when gathering, mixing and shaping can sit beside one another without blocking ordinary cooking. I would test the longest genuinely available section, including the appliance openings and the person standing there. Keep the useful length distinct from the total length: the sink drainer, kettle position and cupboard corner may already have jobs. A counter arrangement earns its place when the batch can progress without spreading into those established uses whenever another bowl appears.
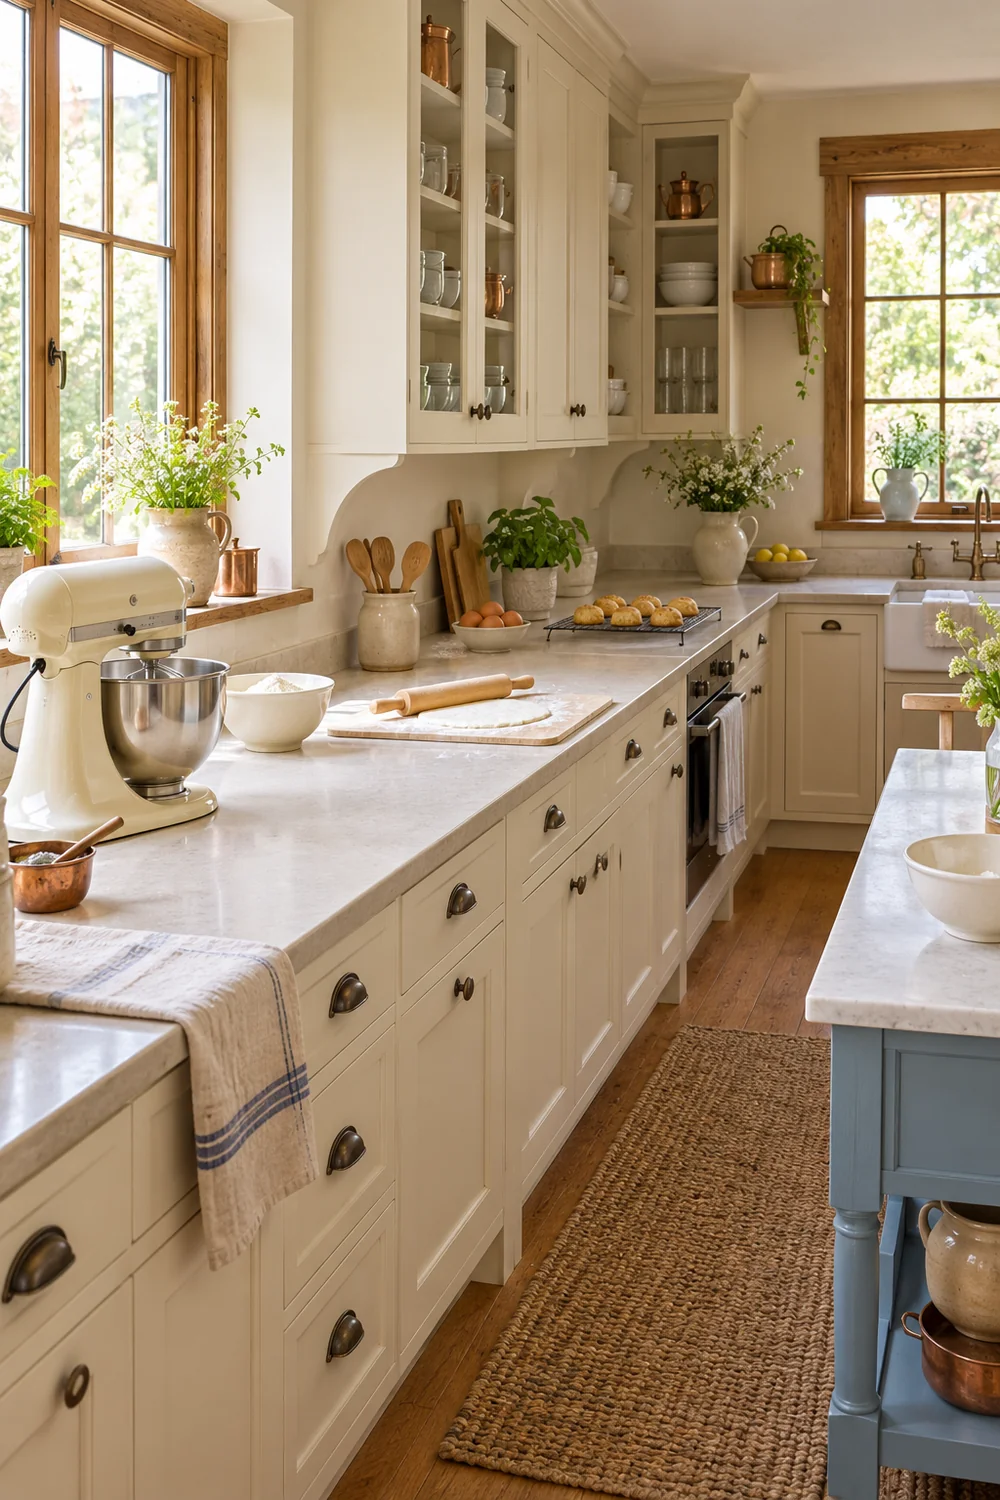
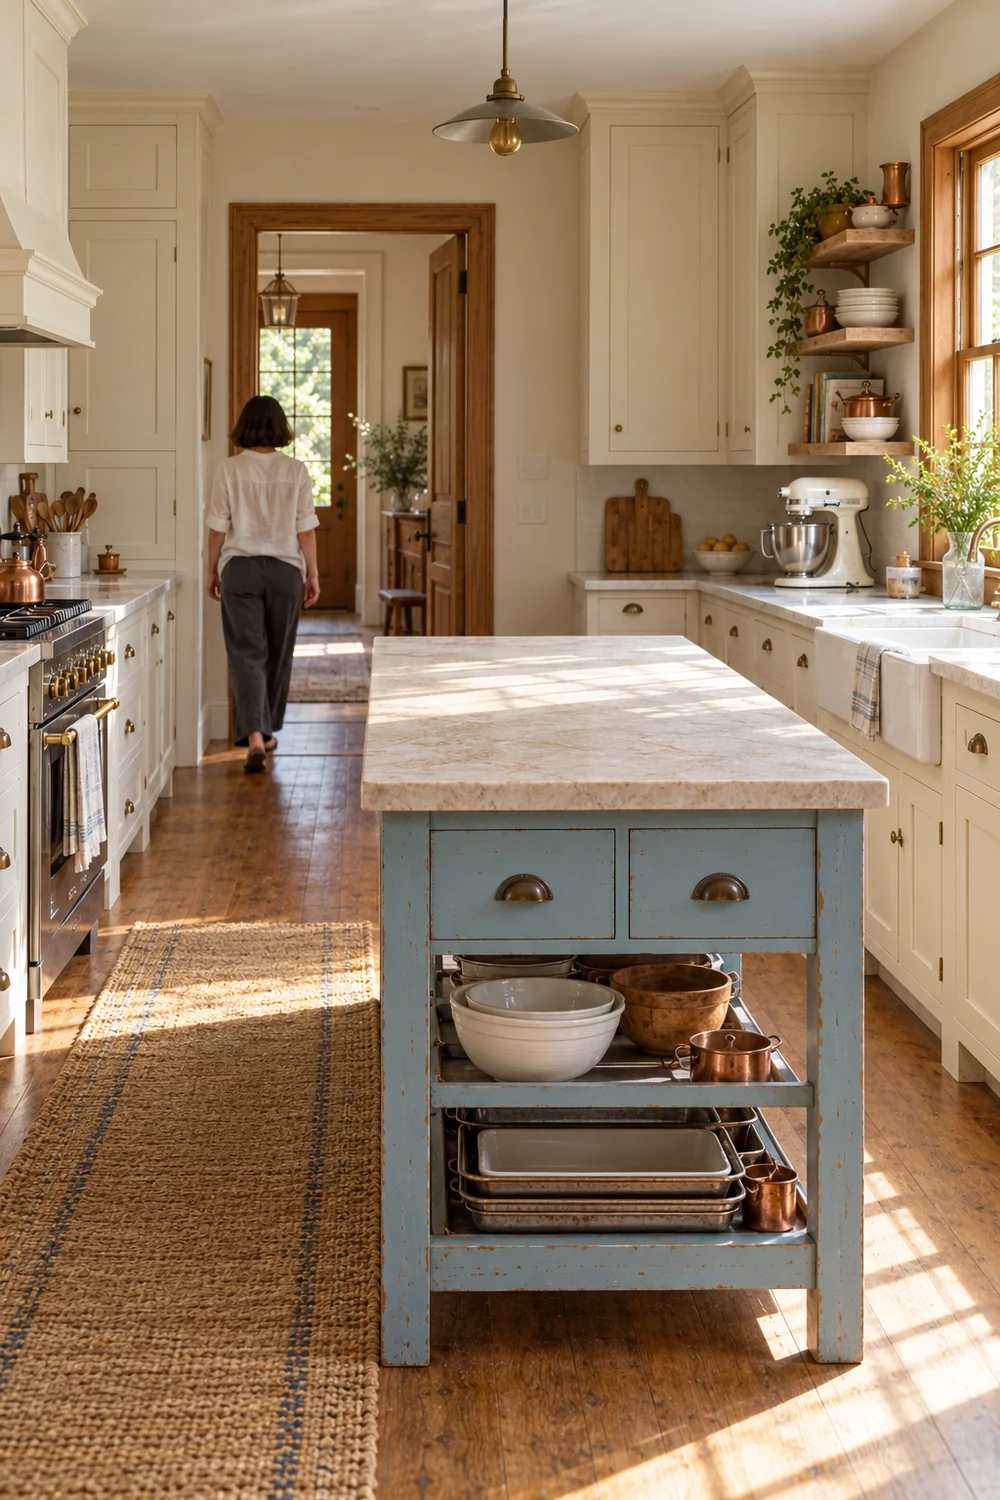
A separate work table is worth considering when the fixed counter cannot accommodate the overlapping tasks. In a French country kitchen, its furniture character can look entirely natural. But I would assess its working footprint, stability, surface suitability and occupied position before its turned legs or paint colour. Stand where you would shape dough and open the nearby cupboards. A table that fits an empty floor area can still make the kitchen awkward when a baker, an open drawer and an oven door are added to the scene.
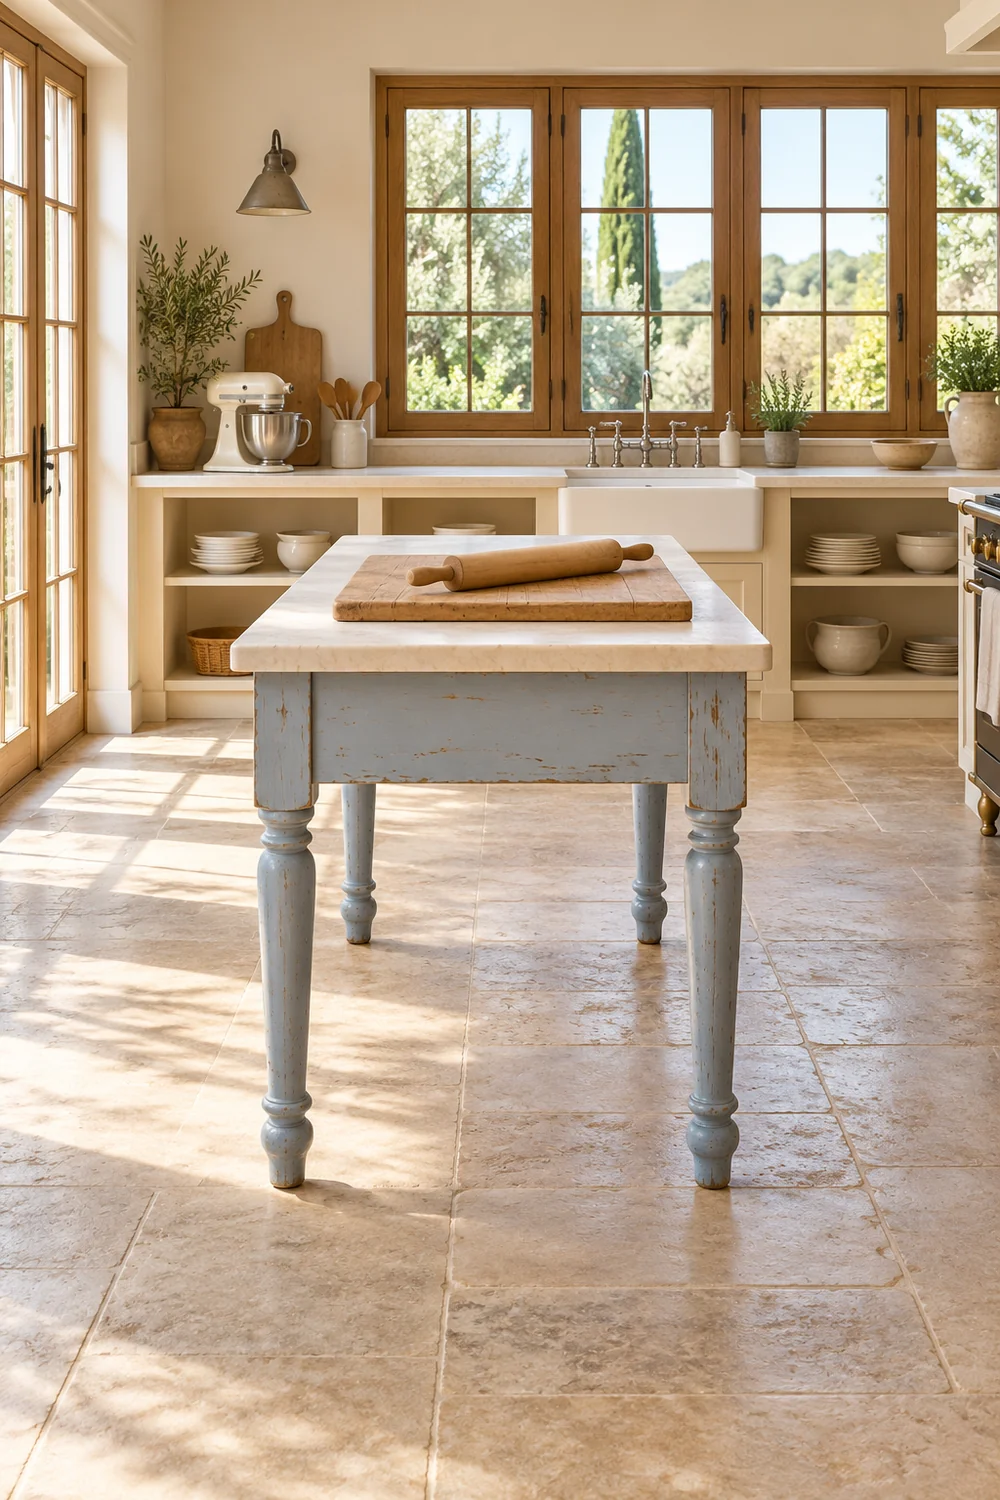
Compare the two arrangements using the same recipe and objects. For the counter option, record where ingredients arrive, where mixing happens and where the shaped tray waits. For the table option, include the journeys to the fixed appliances and sink. Notice what has to be carried and what must be cleared before a different task begins. I would favour the arrangement with fewer awkward transfers and fewer conflicts with ordinary meals, even if the other option makes a more dramatic kitchen photograph.
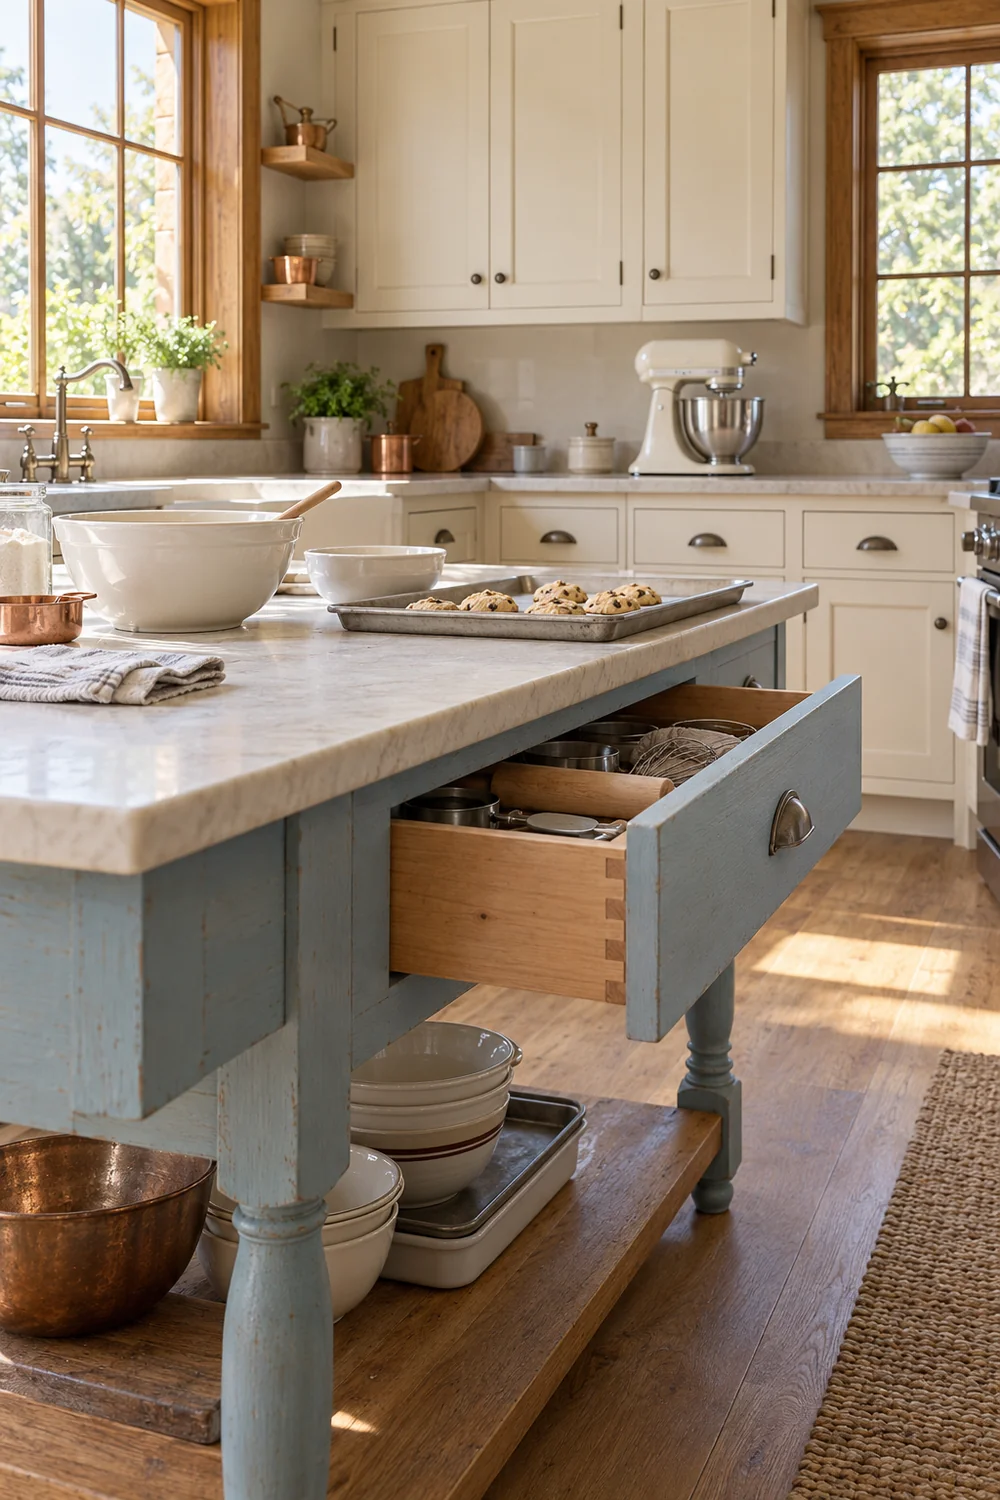
Once the positions work, turn the chosen arrangement into a storage brief. That is the point to use my baking supplies organization guide, which checks actual mixer access, tray withdrawal and ingredient capacity. A room sketch cannot tell you whether a particular drawer releases your largest pan or whether the mixer can open beneath the proposed cabinet. The planning answer settles the positions and priorities; the separate selection answer tests the pieces that must deliver them.
The baking plan needs a clear place for a tray at the point where you remove it from the oven. I would identify that landing position before adding a work table or relocating the mixer. Check the appliance instructions, the surface protection you actually use and the route between them. Keep unrelated objects out of that position. An attractive bowl of fruit or a permanent stack of cookbooks becomes an obstacle when the surface has been promised to a hot tray, even if it usually looks harmless there.
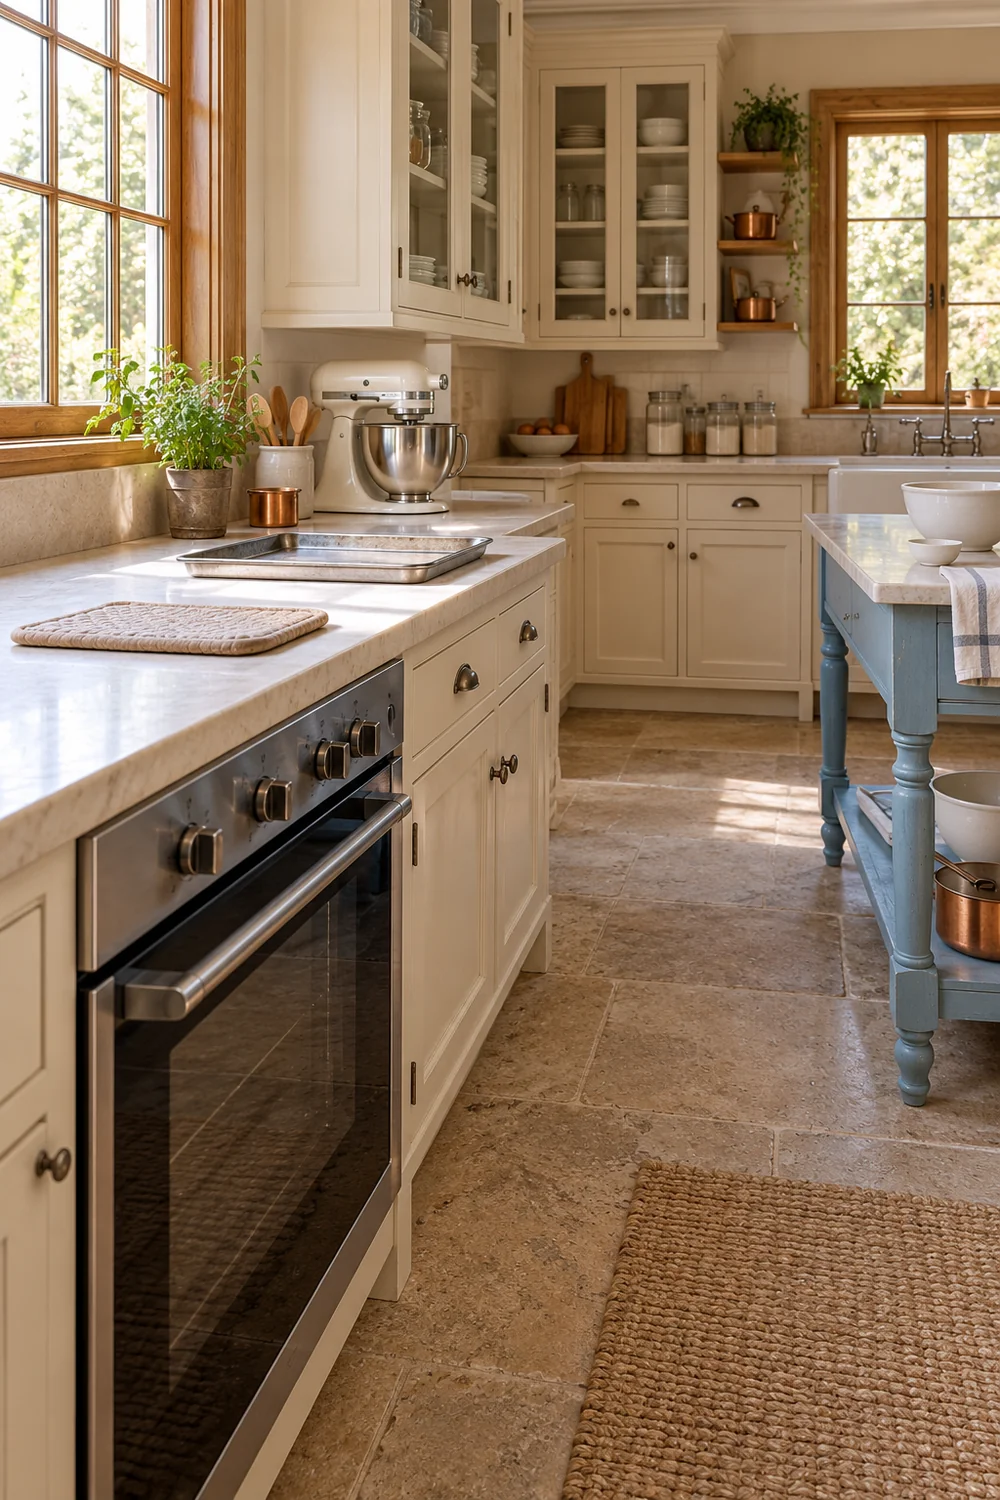
Rehearse the movements with the oven off and empty equipment. Open the door, stand where you would normally stand, then follow the movement to the landing position. Include any table, island corner or drawer that might intrude. This is a practical arrangement check, not a substitute for the clearances and installation requirements of the actual appliance. If the route feels awkward, change the plan now. A decorative centrepiece should never be the reason a straightforward kitchen action becomes a complicated transfer.
Ordinary meal preparation also deserves a named surface. I would put the chopping board and bowl used for a normal lunch in that position while the cooling rack remains occupied. If they cannot coexist, decide when the jobs can happen rather than pretending the conflict is solved. You might shape on the work table and reserve the fixed counter for meals, or use a smaller batch when both routines overlap. The useful solution can be a change of sequence instead of a larger piece of furniture.
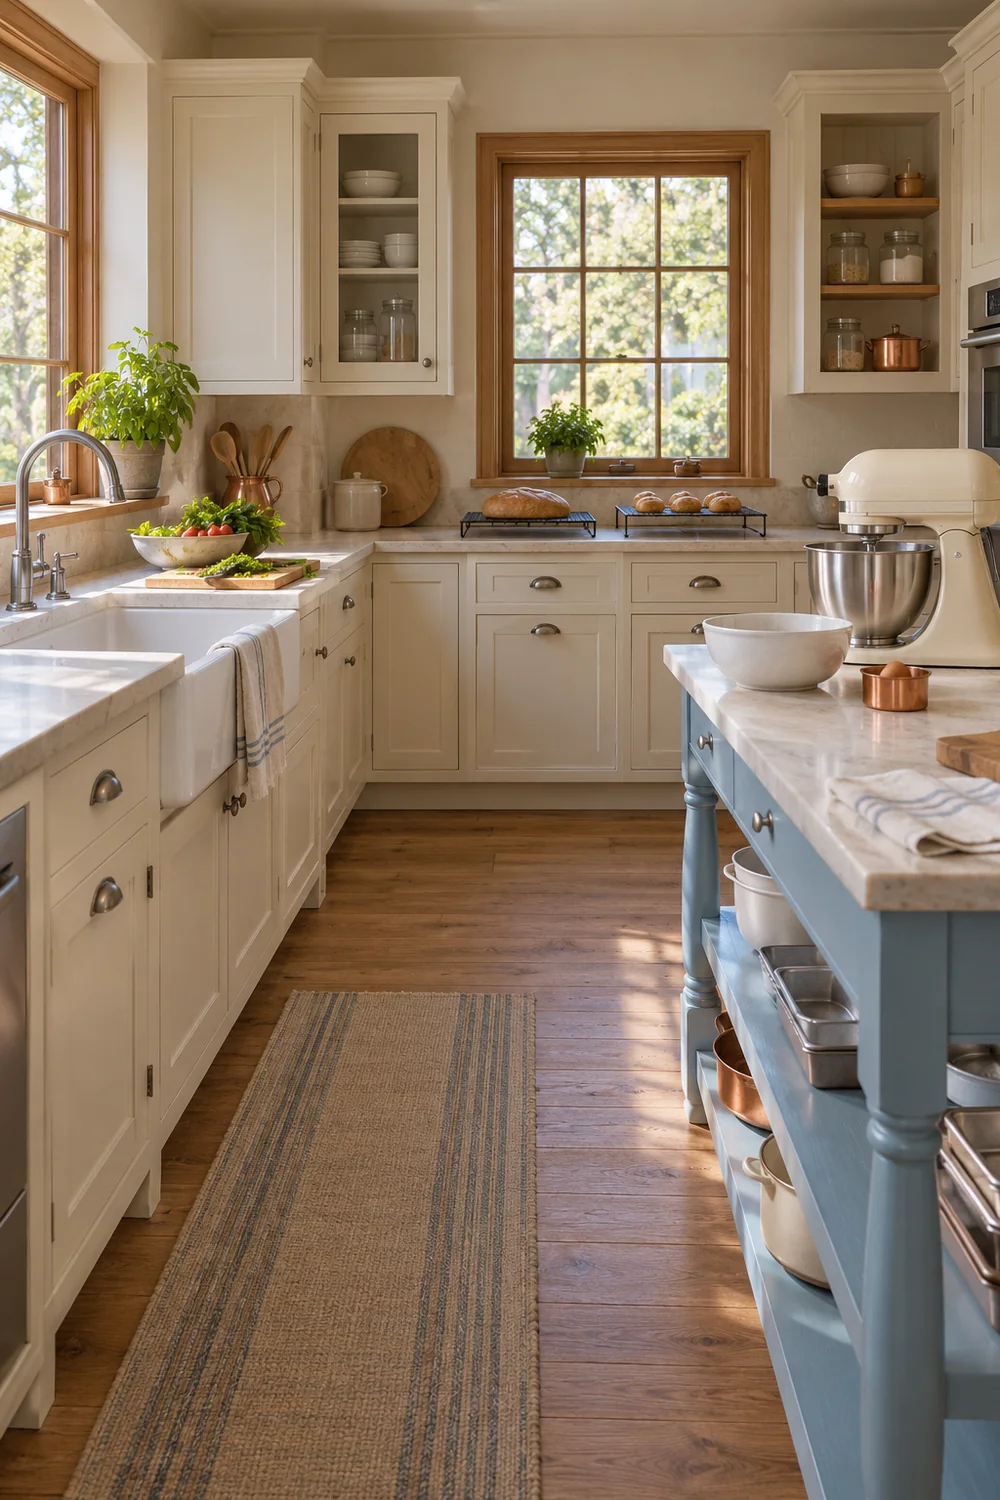
Light should make these working positions easy to read. Notice where your body casts a shadow over the scales, where the tray edge disappears against the counter and whether a cabinet conceals the task light. Resolve the light's job and position before choosing its decorative form. My French country lighting reference can help with compatible fitting materials once that practical decision is clear. I would keep a characterful pendant or pewter detail subordinate to the visibility needed at the actual work surface.
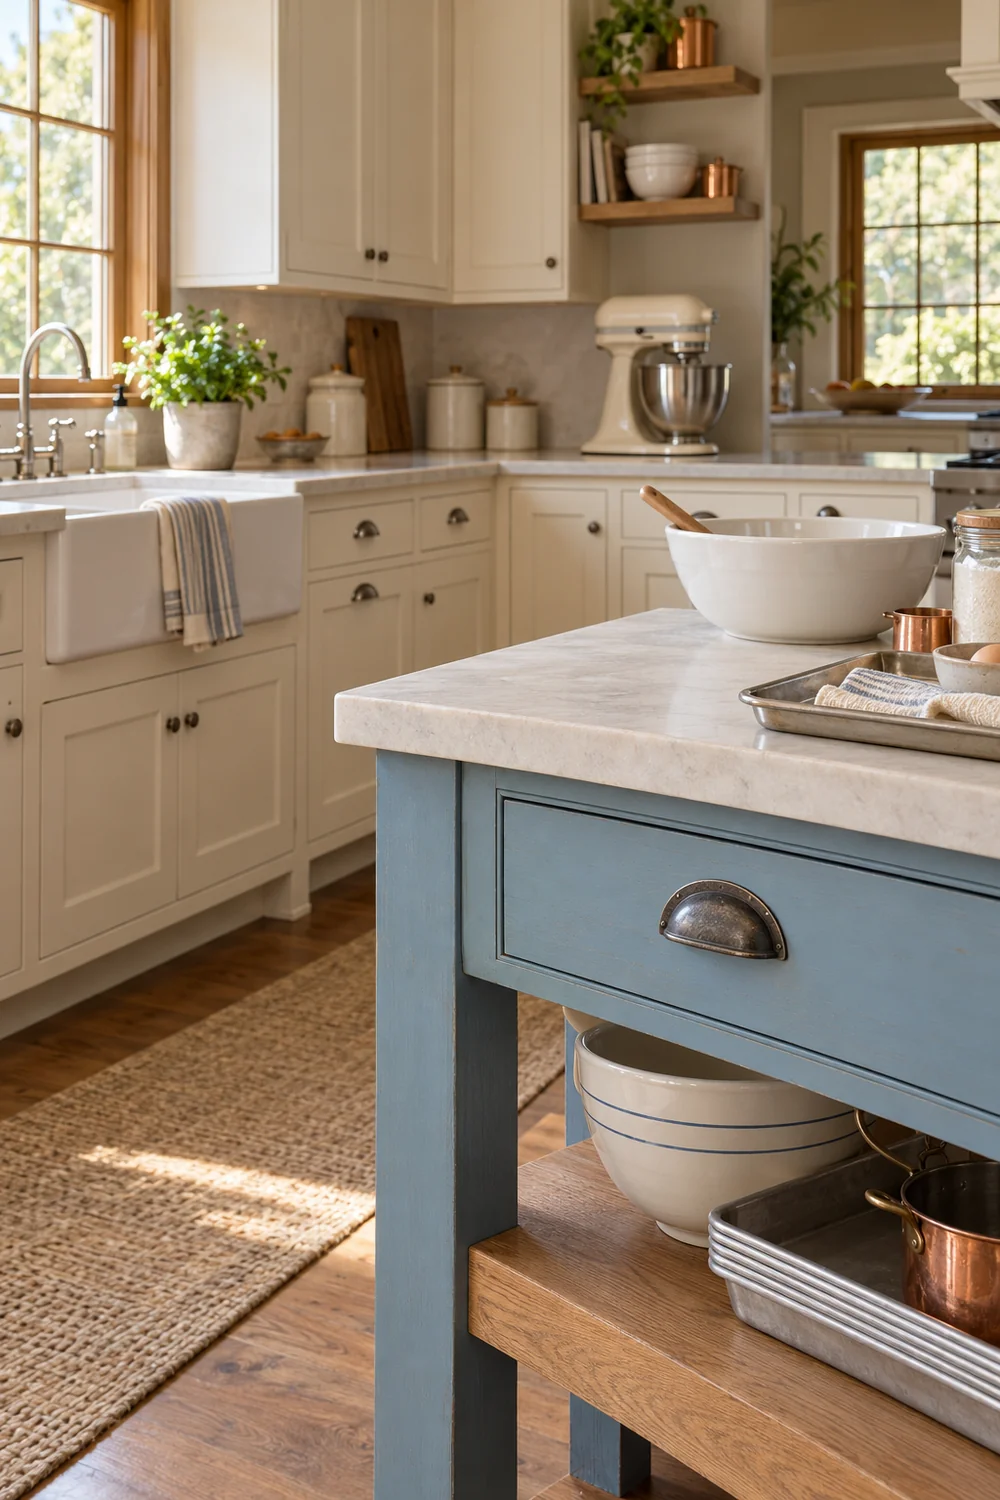
I would make the baking zone recognisable through a small number of useful materials. Warm ivory cabinetry can remain the calm background. A faded powder blue table or cabinet identifies the baking position without requiring every door in the kitchen to change. Medium oak brings warmth through a rail, a stool or existing trim, while aged pewter keeps the metal quieter than a row of bright decorative objects. The room can feel collected without covering the surfaces that the batch has just proved it needs.
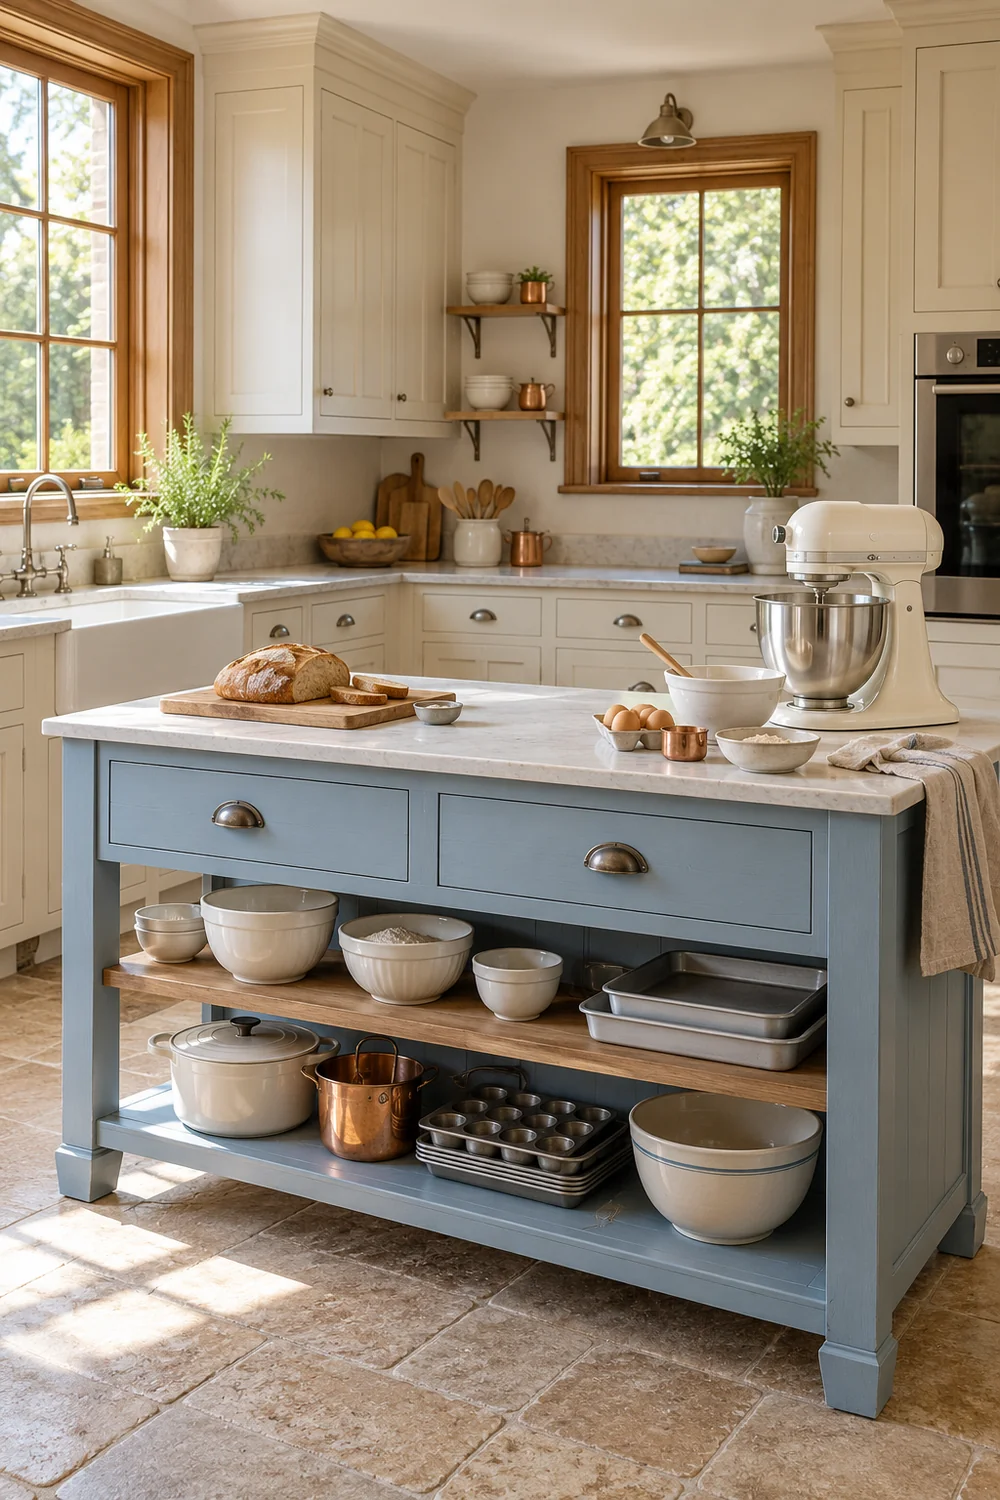
Choose what stays visible according to use. A mixing bowl that comes down every week can belong on an accessible shelf. A large cake stand used a few times a year does not need the easiest reach simply because it looks beautiful. I would keep the shelf arrangement shallow enough to understand at a glance, with less frequently used pieces stored elsewhere. The practical reward is fewer objects to move before baking. The visual reward is a room that has room to breathe between its familiar tools.
The French country color palette reference compares the wider blue, cream and earth toned families if you are unsure how the new piece should relate to existing finishes. In this kitchen I would sample the powder blue against the actual ivory doors and oak, in the daylight the room receives. I would also look at the samples beside the mixer and bowls. Equipment remains part of the room, so its colour should be acknowledged rather than hidden by an imagined replacement set.
Keep vulnerable textiles and decorative objects out of the operating arrangement. A lovely curtain, basket or hanging cloth still needs a sensible position that respects the equipment and room instructions. I would use fabric where it can be removed and cared for easily, rather than letting a styled skirt conceal the practical storage problem. The French country character should survive the act of baking and clearing away. If the attractive version only exists while every tool is absent, the styling is asking too much of the kitchen.
Test the proposed positions with your existing equipment before ordering additional furniture. Begin with the room in its ordinary state, not specially emptied for a rehearsal. Gather the ingredients, weigh them, mix, prepare the trays and follow the route through baking and cooling. Notice when an object has nowhere to go. A used spoon, an empty packet or the second bowl can reveal a missing return position that the larger furniture sketch never showed. Write down the interruption rather than quietly moving it out of the photograph.
Use a batch timeline to distinguish a brief inconvenience from a lasting surface conflict. If the scales can return to a drawer before shaping begins, their surface can change jobs. If two racks remain occupied while dinner starts, that is an ongoing claim on space. I would record the moments when surfaces become free again and the moments when they remain needed. That record helps you decide whether an extra table solves a real overlap or simply provides a larger place for things that could have been put away.
Your finished brief should name the chosen counter or table position, the operating mixer position, shaping area, oven landing, cooling destination and ordinary meal surface. Add the storage jobs beneath or beside them, plus the opening and movement conflicts you rejected. Keep the brief specific to the actual kitchen and familiar recipes. It does not need a professional drawing to be useful. A few annotated photographs and a clear sequence can prevent an appealing cabinet from undoing the practical decisions you have already made.
Take that brief to the baking supplies organization article before choosing dividers, containers or a mixer cupboard. I would check the real objects, their filled or open states and the proposed furniture together. Keep what already works, improve the interruption that happens most often, and leave decorative additions until the routine has a reliable home. The new storage should satisfy the completed plan, rather than force you to arrange the bake around whatever happened to be available in a pleasing shade of blue.
I would call the baking station plan complete when you can describe a whole familiar batch without borrowing an unnamed surface or moving unrelated objects at every stage. You know where mixing and shaping happen, where the tray lands and where the bake cools while everyday life continues. The powder blue piece, warm timber and useful bowls give that work a French country identity, but the sequence remains the organising idea. With that clear, you can choose the next piece slowly and check it properly, knowing which inconvenience it must solve and which parts of the kitchen it must leave usable.