Newsletter Subscribe
Enter your email address below and subscribe to our newsletter

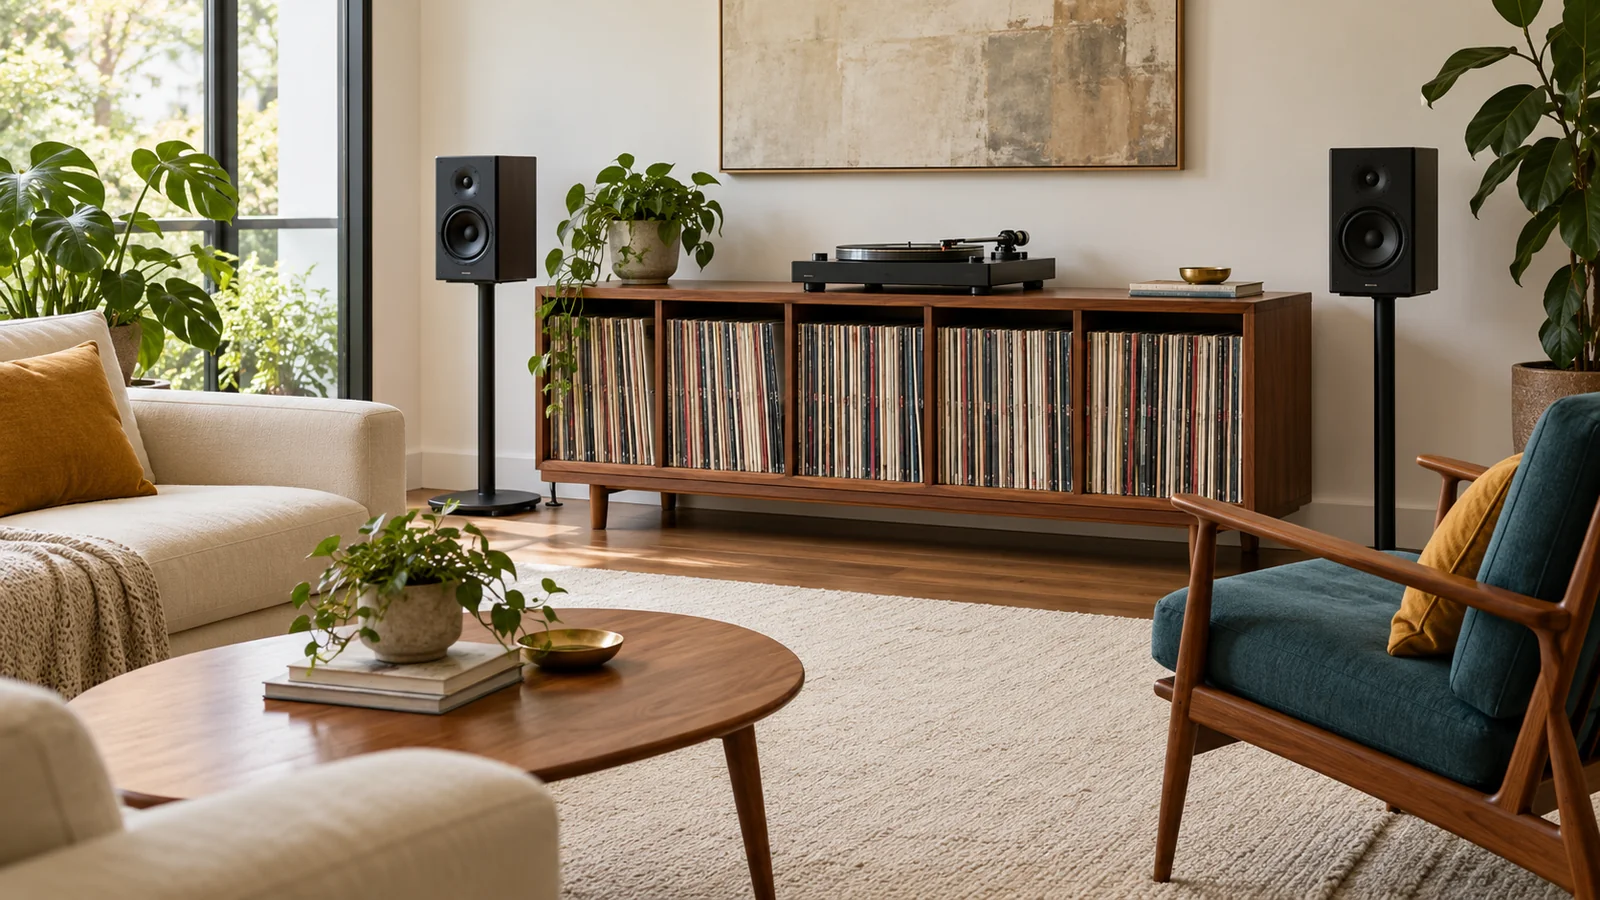
I would choose vinyl record storage by taking a protected sleeve and a useful set of measurements to the decision, rather than trusting a cabinet photographed with a handful of albums. A growing collection asks more of furniture than an attractive display does. You need usable compartments, suitable support, a playback surface that works with your equipment and enough space to browse without squeezing the rest of the living room. For a mid century scheme, walnut, cream and a restrained petrol accent give me a clear material direction, but the finish comes after the fit. This guide turns an agreed room plan into practical choices for cabinets, equipment surfaces, seating and light. I would use it to accept a suitable piece, put an unanswered specification on hold, or reject furniture that cannot do the job. The checks continue after installation, so new records do not quietly undo the arrangement you worked to create.
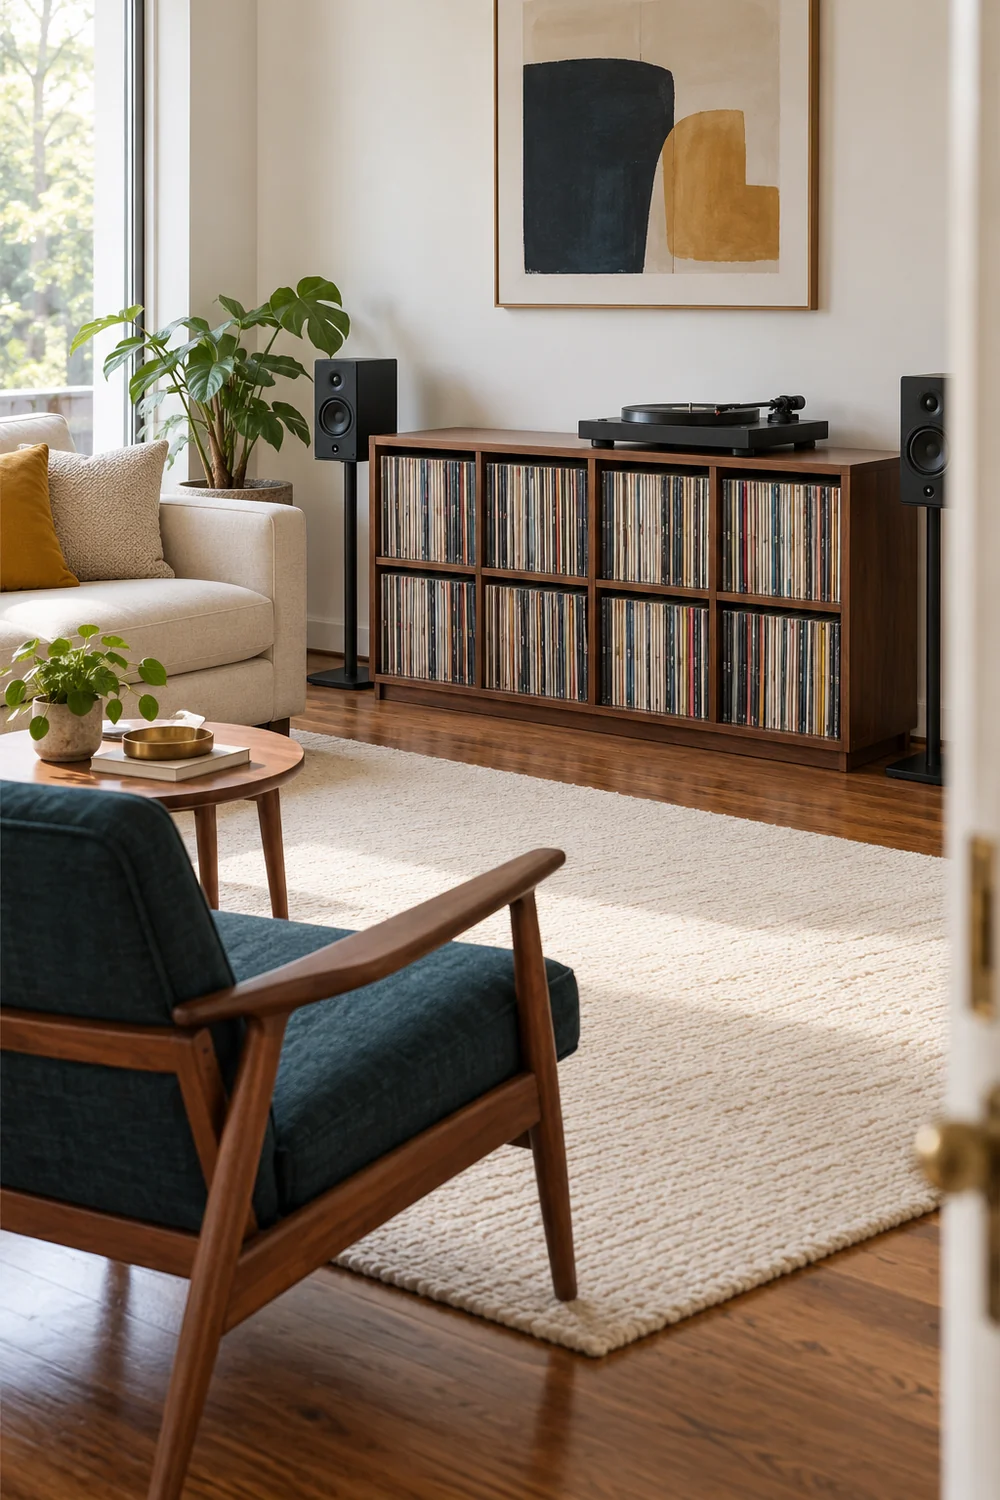
I would start with the collection in its real protective sleeves. Measure the tallest and deepest examples, including unusually large editions, and note which formats need a separate compartment. The nominal record size does not tell you the outside dimensions of every package. You are fitting the object you store, not the disc by itself, and a slightly awkward sleeve can determine which attractive cabinet is actually usable.
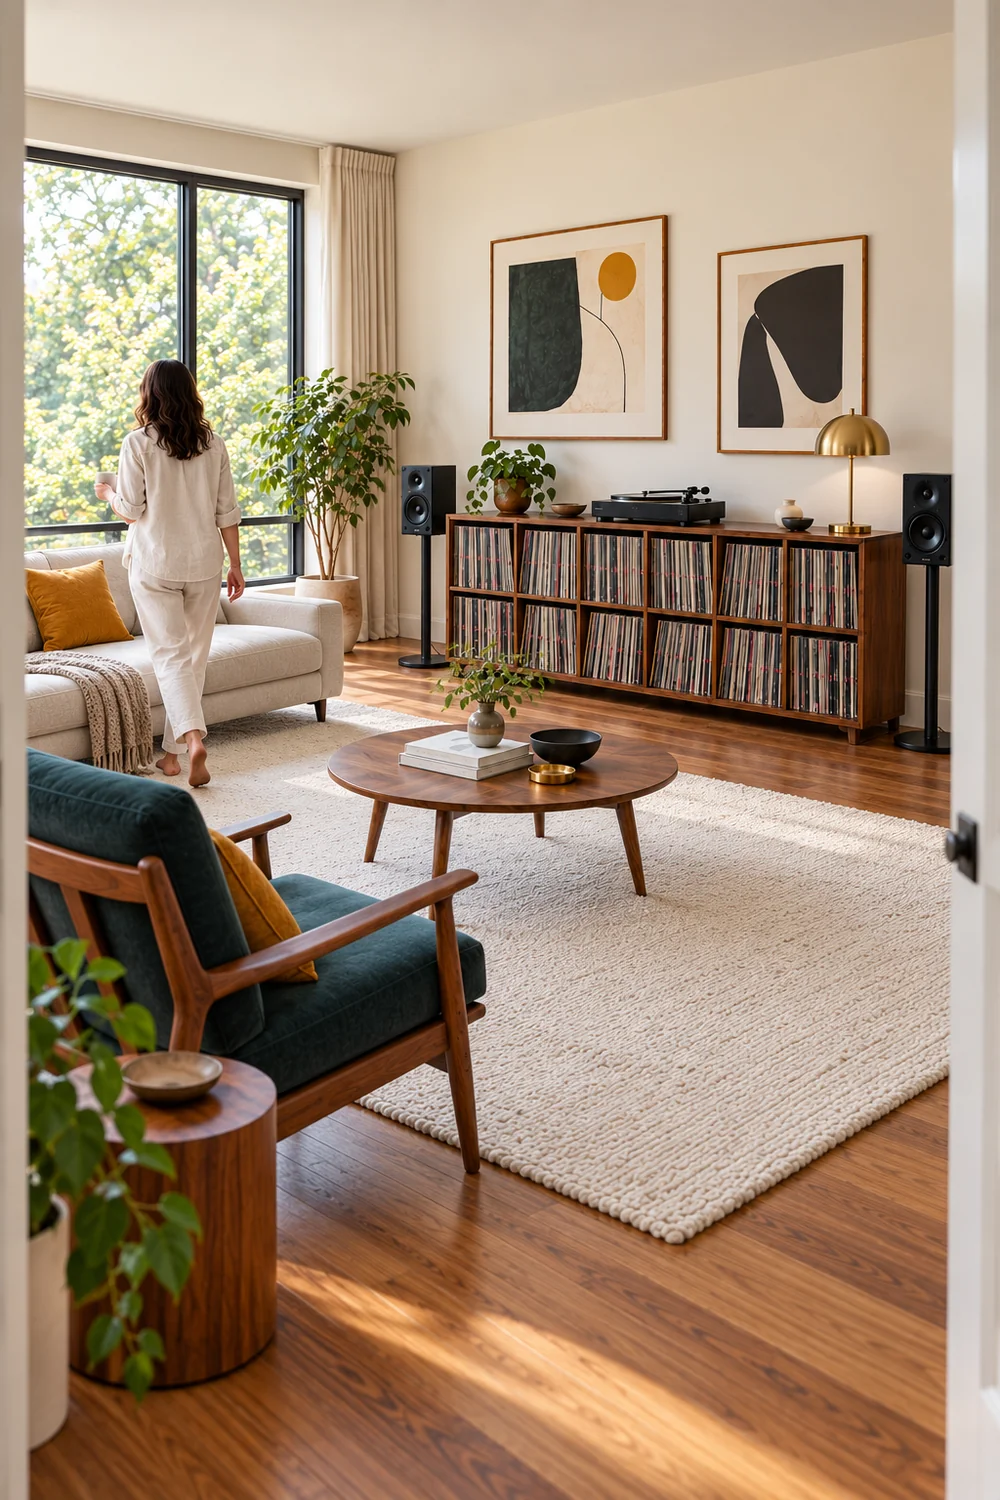
Measure the shelf run the collection currently occupies without compressing it tightly. Then write a separate growth allowance based on how you actually collect. If today's sleeves occupy 90 centimetres and you deliberately reserve another 30 centimetres, your example brief needs 120 centimetres of usable run. That is planning arithmetic, not a prediction that a particular number of records will fit. Different sleeves and sets change the capacity.
Return to the vinyl living room plan if that required run cannot fit in the allocated zone. I would resolve the room relationship before choosing a taller or deeper unit simply because it offers more compartments. Additional capacity can also mean more visual weight, a different browsing position or a larger open door footprint. Those are room decisions as well as furniture decisions.
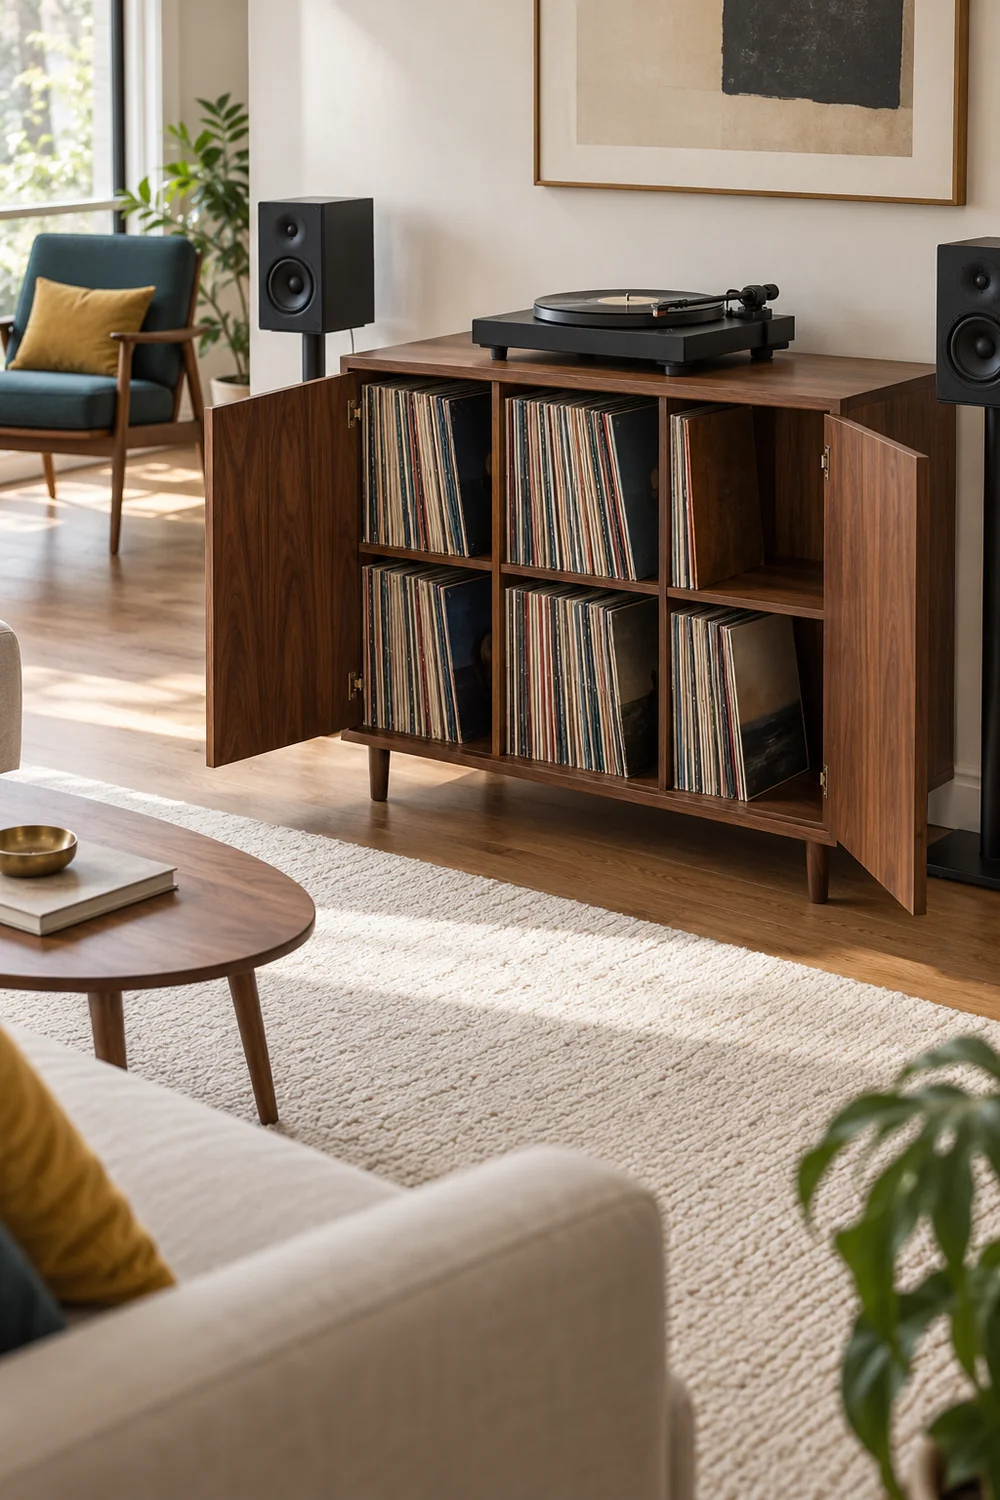
Next, distinguish external dimensions from usable internal dimensions. Ask for the clear opening, the depth behind any door, and the effect of hinges, tracks and dividers. A cabinet may be wide enough overall while its actual compartments are interrupted in unhelpful places. I would sketch those internal breaks on the collection note so that large editions and the everyday selection have an intentional home.
Record the actual load information too. Check the rating for each shelf, the top and the complete unit, including any required installation conditions. A whole cabinet rating is not a shelf rating. If the documentation does not establish suitability for your intended load and arrangement, the piece stays on hold. Elegant proportions and a seller's approximate album count do not answer a missing construction or load question.
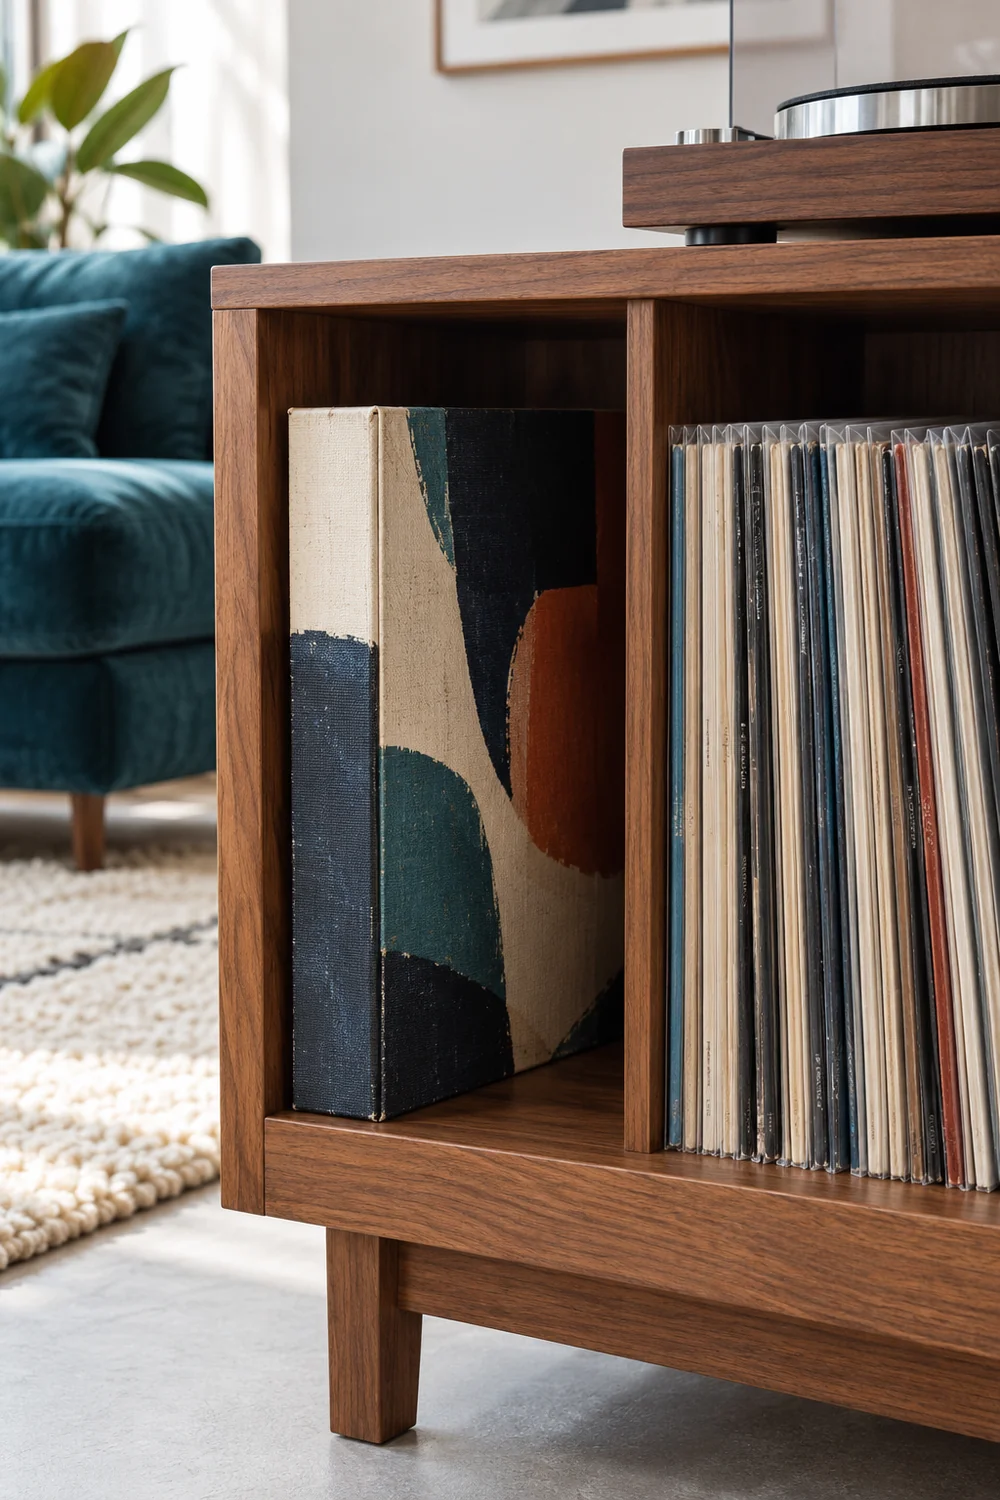
My acceptance sheet would therefore contain the collection's occupied run, the growth allowance, the largest sleeve, the compartment openings and the relevant documented limits. Those few entries make a useful first comparison between candidates. You do not need to find the perfect storage style immediately. First remove the pieces whose published information or actual openings cannot support the collection you have brought to the decision.
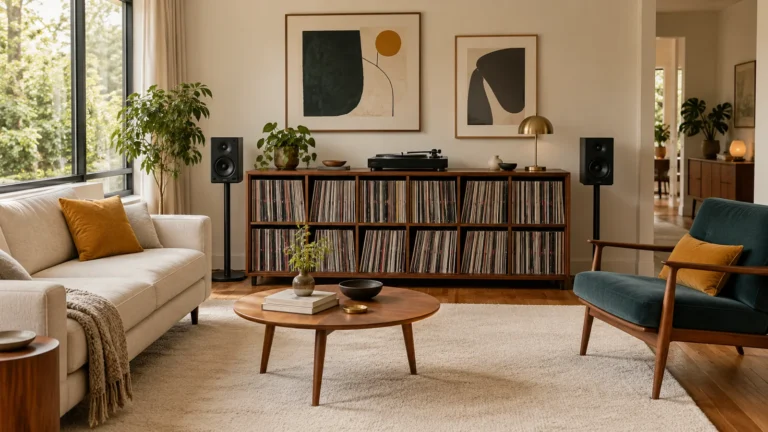
I would compare three storage forms against that sheet. A low cabinet suits a room where the collection should read as one calm horizontal element. Open compartments make spines easy to browse, while doors can reduce visual busyness. Check the open door movement and whether a sliding panel blocks the compartment you use most. A closed front is useful only when everyday access remains straightforward.
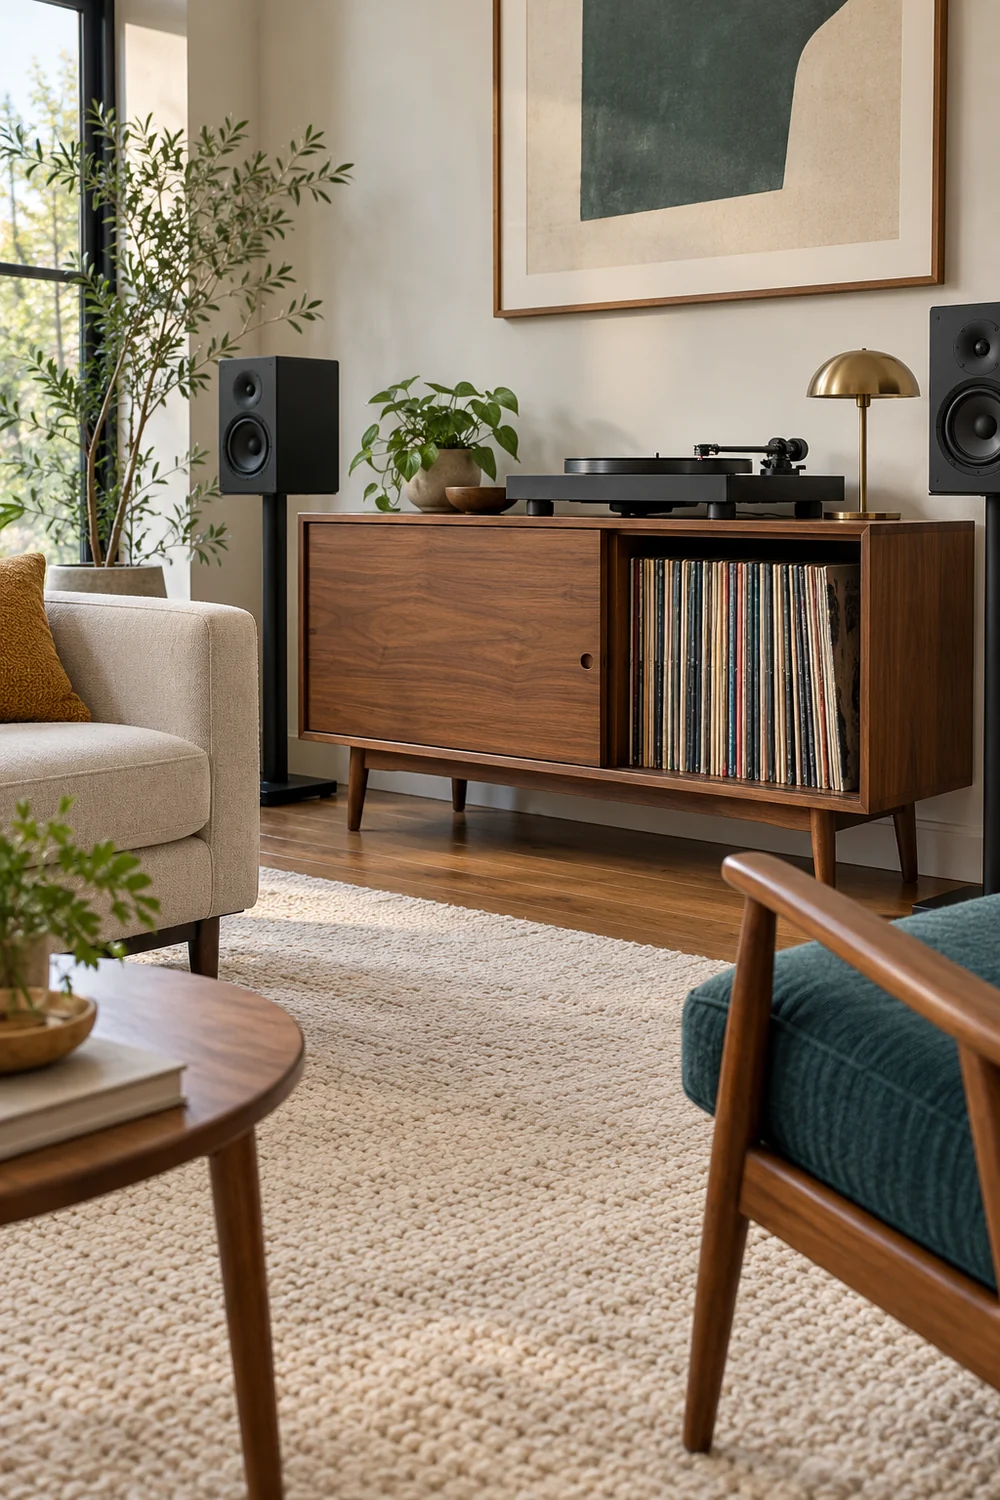
Modular compartments make sense when you want to separate formats or add capacity deliberately. I would confirm that the proposed configuration, orientation and any base are supported by the actual instructions. Do not assume that changing the legs or stacking modules preserves the original rating. A growing collection can make future flexibility valuable, but it should be documented flexibility rather than an improvised promise.
A browsing bin offers a different interaction, with covers facing you rather than spines. I would use it for an active selection only when its dimensions, support and position work for the records. It may occupy more floor than a narrow shelf run. Decide whether that browsing experience is worth the footprint instead of treating it as free extra capacity beside the main cabinet.
The furniture scale principles in the mid century apartment guide can help you reconsider a bin, door or extra module that disrupts normal movement. I would not accept a smaller walking route simply to keep a particular piece on the shortlist. A different storage form may fit the agreed room relationship better, even when its product photograph feels less immediately appealing.
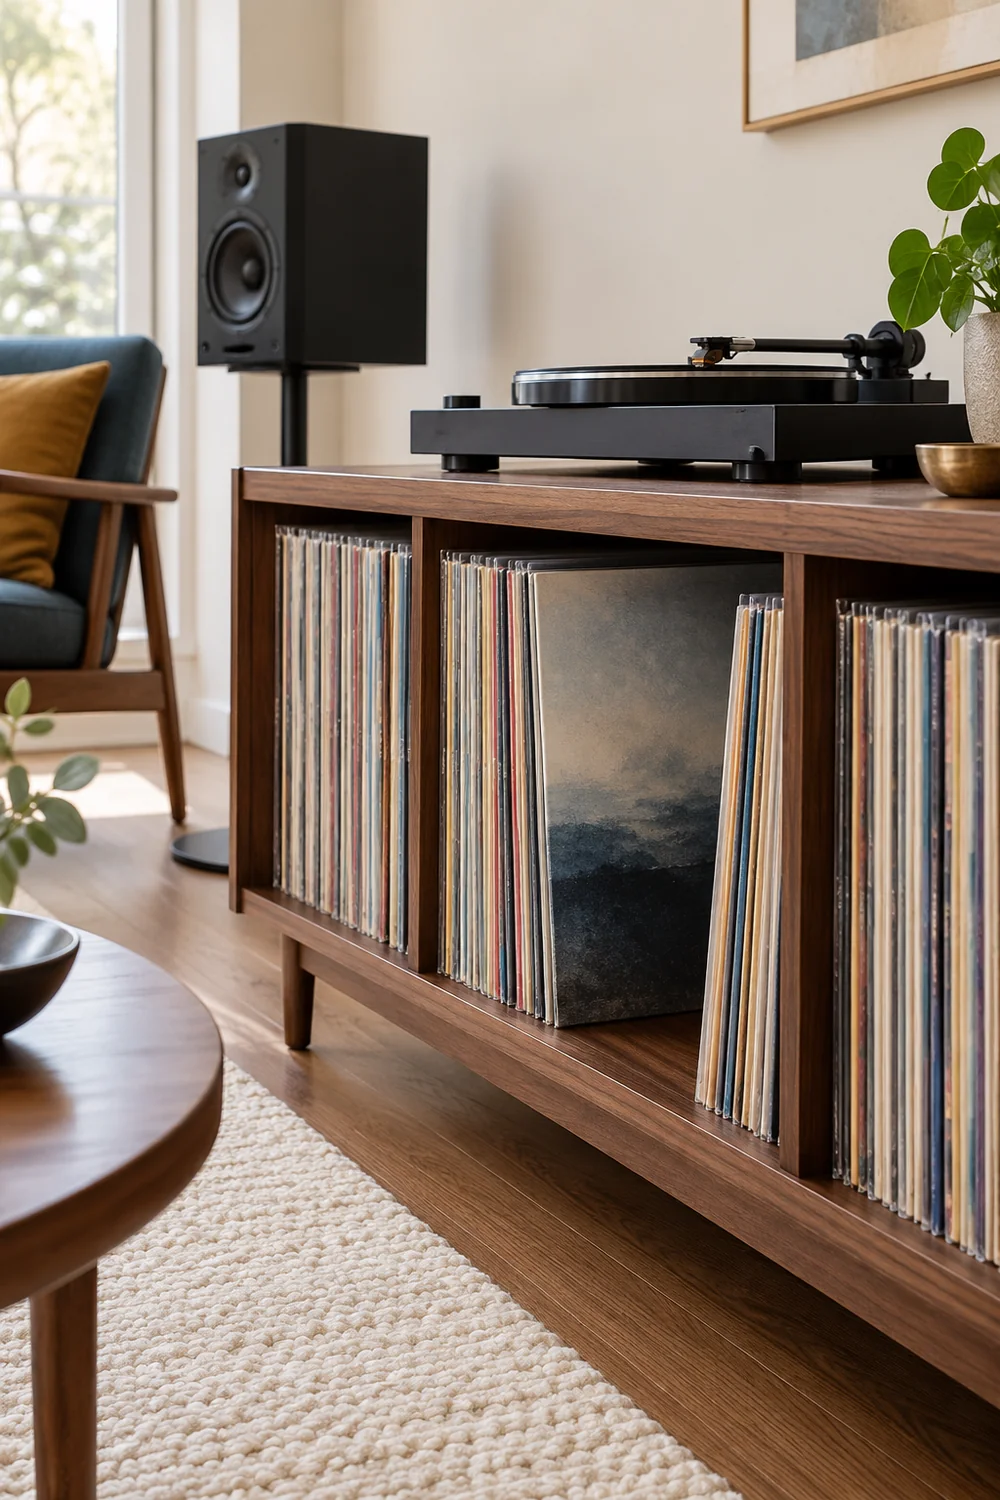
Check support inside the chosen unit. The Library of Congress recommends upright storage with supportive dividers for grooved discs. I would avoid leaving a short group leaning heavily across an almost empty compartment, and would use suitable supports rather than packing every space tight. Keep the oversized formats in the compartments you measured for them. The practical aim is a collection you can remove and return without forcing the sleeves.
For a final fit check, use a protected sleeve representative of your largest regularly stored format, with the seller's permission if you are inspecting furniture. Check the opening, the useful depth and the way you retrieve it. If you cannot inspect the piece, request the missing measurements in writing. I would mark the decision pass only when both capacity and access are established; unknown dimensions remain a question, not an optimistic assumption.
I would give the player its own measured working envelope. Record the footprint with the controls accessible, the dust cover in the position required by its instructions, and enough rear access for the actual connectors and cables. The closed player dimensions are only the starting point. A shelf directly above it or a wall immediately behind it can make an otherwise generous top surprisingly difficult to use.
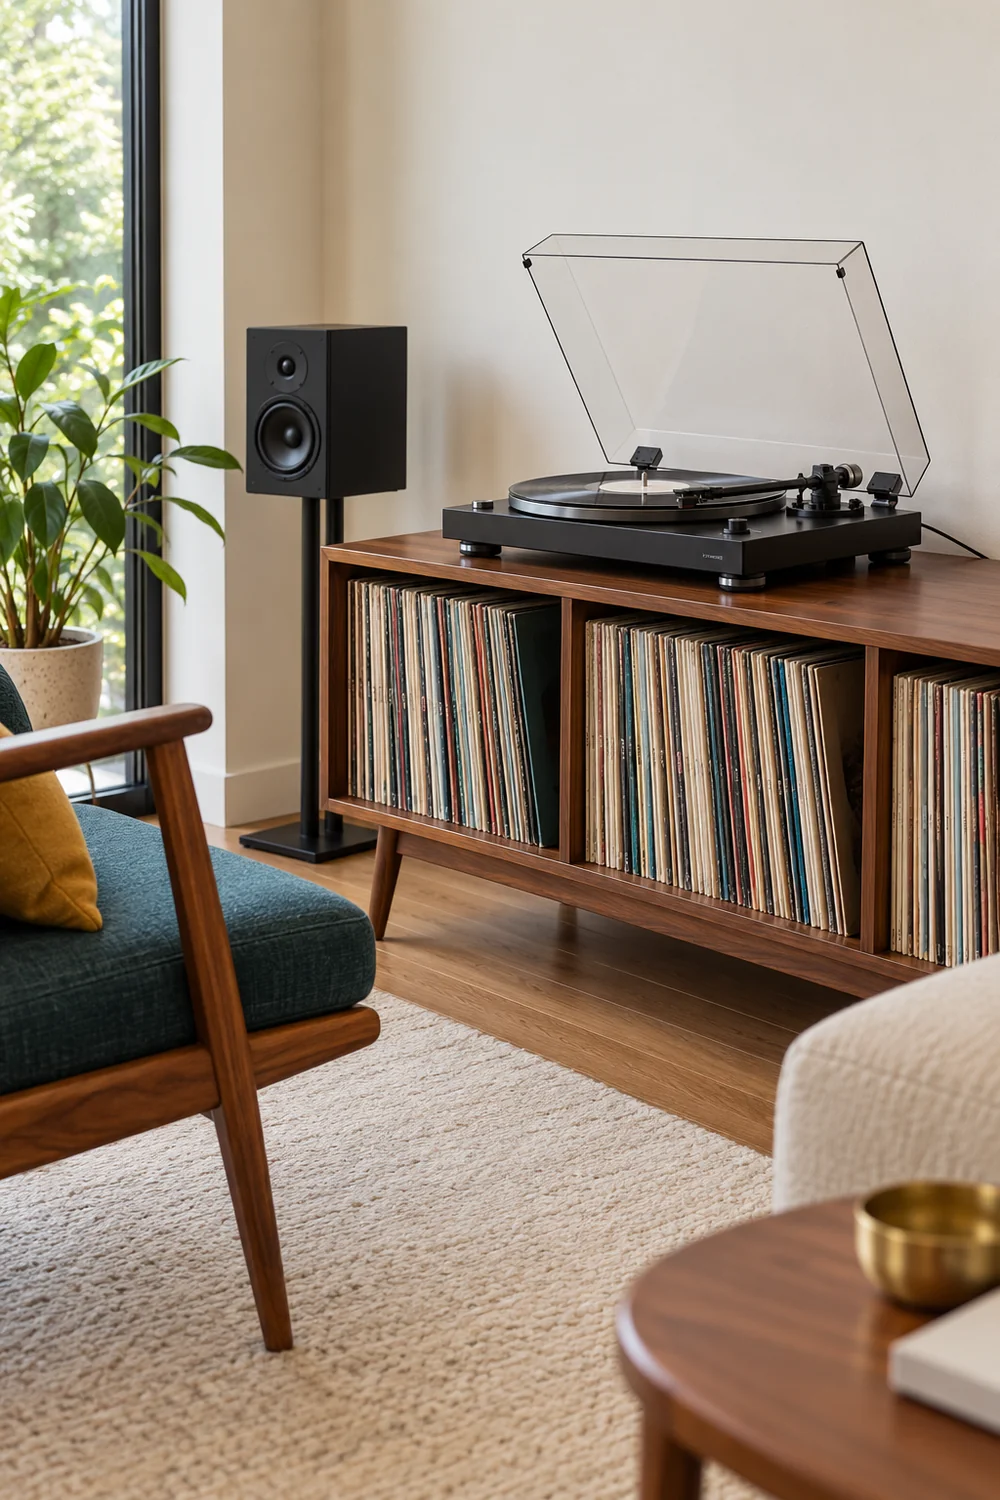
Use the setup instructions for your particular model. Audio Technica's AT LPA2 manual, for example, specifies a flat level surface and warns against extreme vibration. That supports checking the furniture as a working equipment support, but it does not establish identical requirements for every player. I would verify your model's instructions and keep furniture selection separate from cartridge adjustment or other specialist setup work.
Include the rest of the system in the same exercise. An amplifier may need ventilation and access that a decorative closed compartment does not provide. Confirm the clearances in its own manual, the cable route and the ability to reach connections without unloading records. I would not invent one universal gap or assume that a few holes in a rear panel make every enclosed installation suitable.
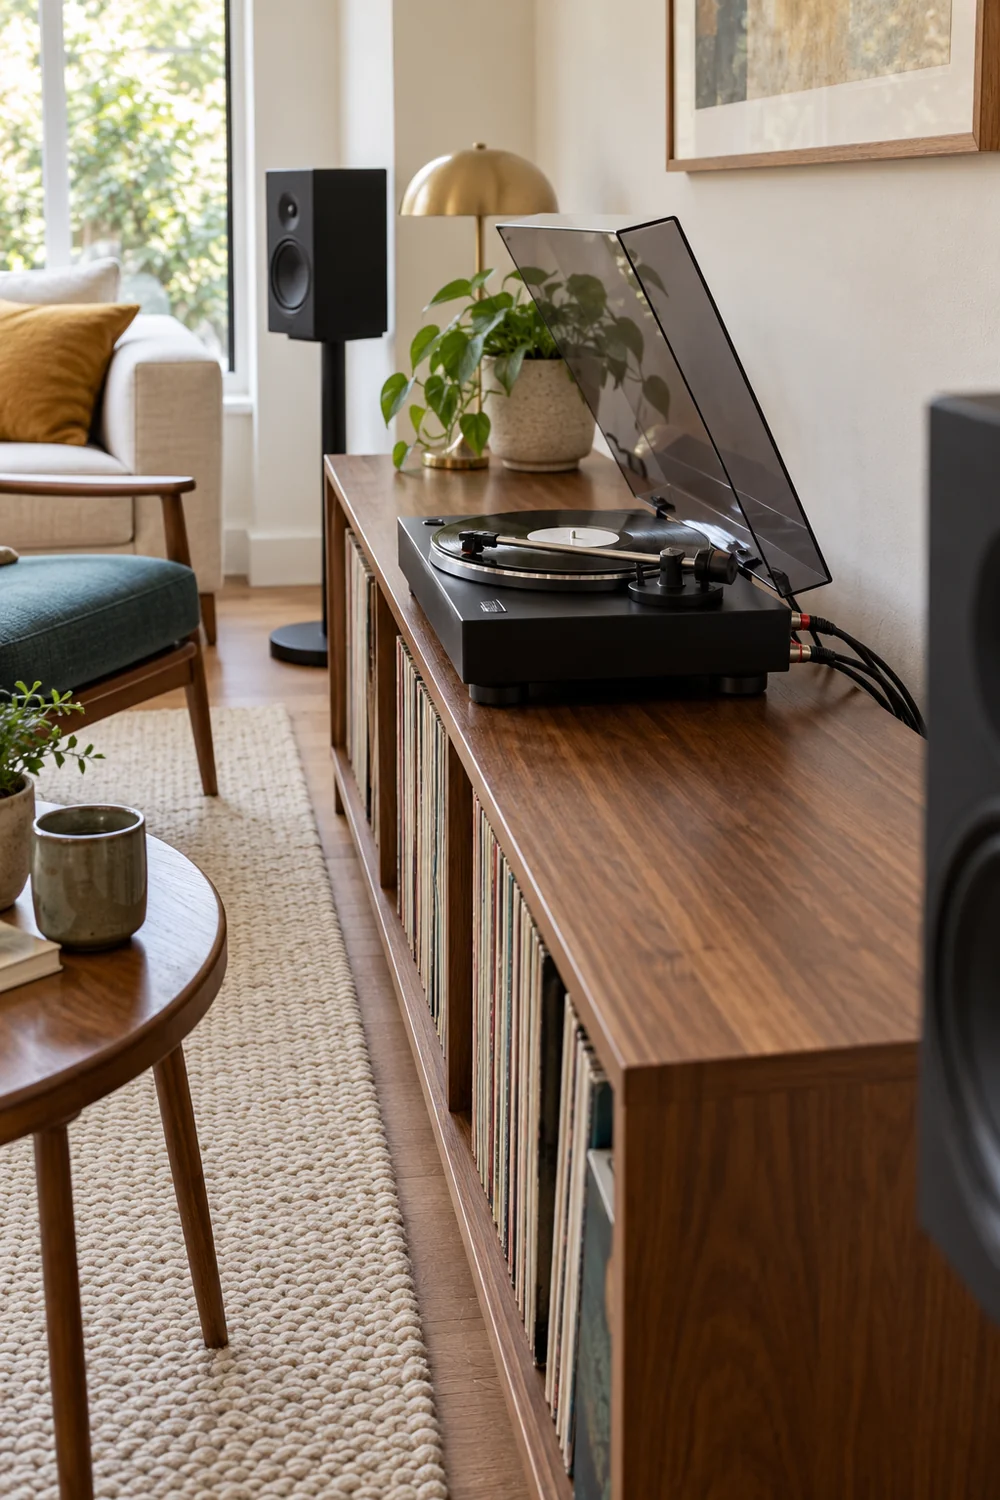
The mid century living room guide is useful when you want the equipment surface to sit comfortably among low furniture and warm timber. I would use those visual principles to compare suitable supports, not force a player into a period cabinet that fails its working requirements. A contemporary piece with the right proportions can belong in the scheme without pretending to be an original stereo console.
Keep the top free of objects that interfere with use. A sleeve rest can sit nearby, while a lamp, drink or decorative vase belongs outside the equipment envelope. I would check that moving a record never requires balancing another object on the player. Follow the equipment instructions for speaker positioning and vibration control as well; one attractive shared surface does not establish a suitable setup.
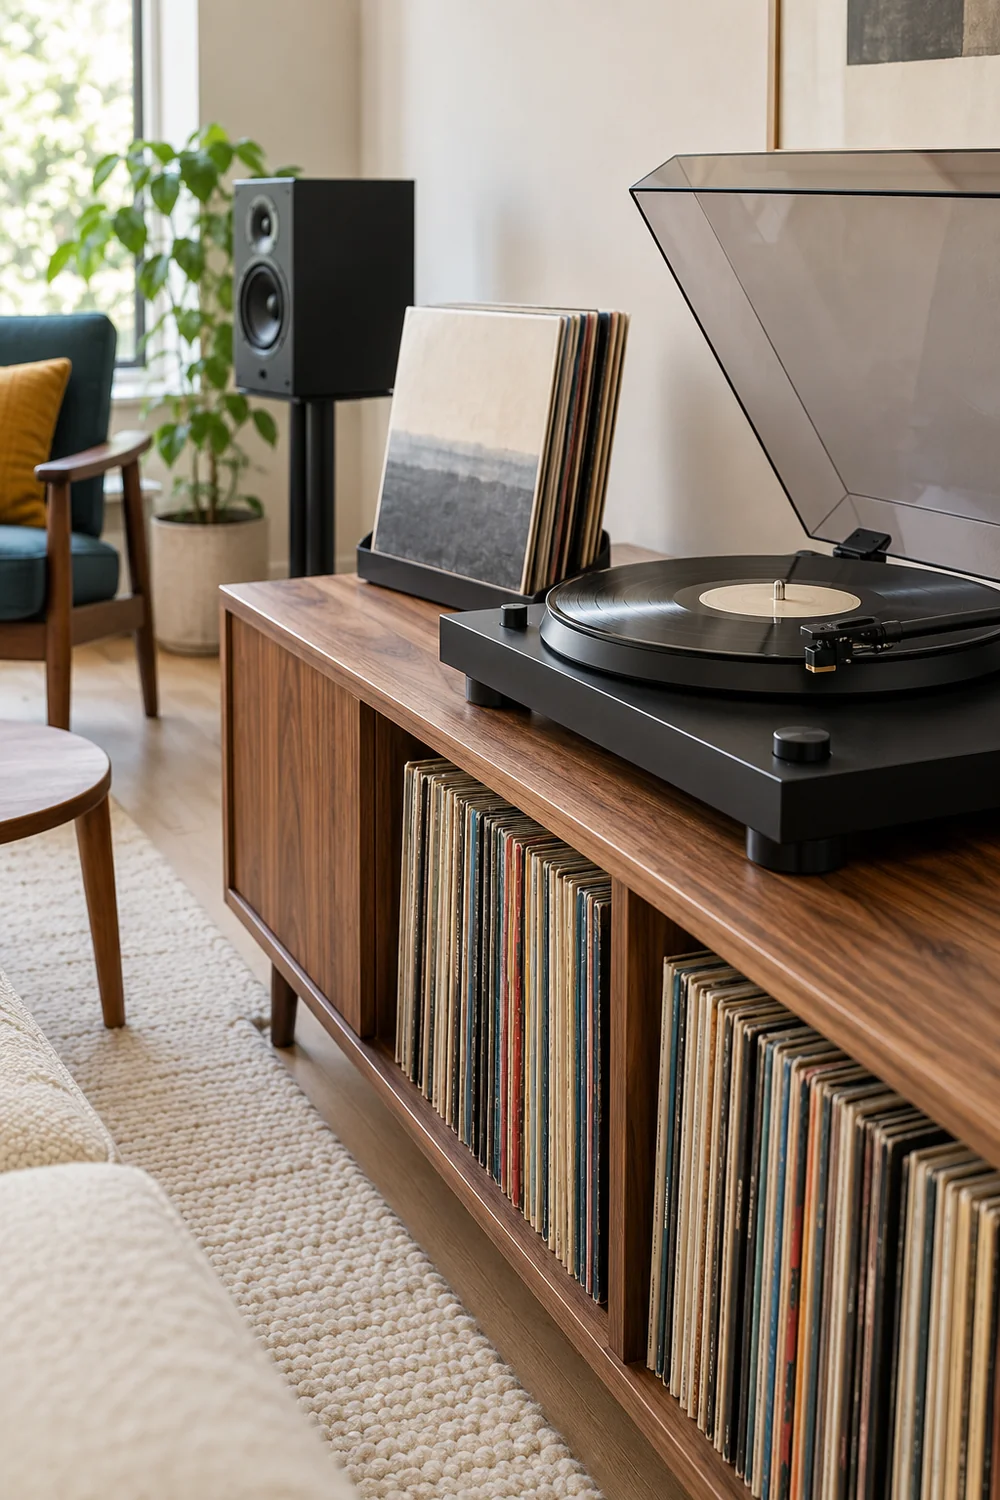
My final check is an ordinary action sequence with the equipment switched off where appropriate: open the cover, reach the controls, route the cables and retrieve a sleeve. If a hand cannot reach a connection or a lid meets the wall, revise the furniture position or reject the support. The purchase is ready when the complete working envelope fits, rather than only the rectangular outline shown on the product page.
I would choose the listening seat through a proper sit, not a silhouette alone. Check the back support, the seat depth, the ease of getting up and the way the chair sits in the agreed room plan. You will return to the player between sides. A chair that looks wonderful but makes that routine awkward may be the wrong choice for your listening habit, however convincing its timber frame.
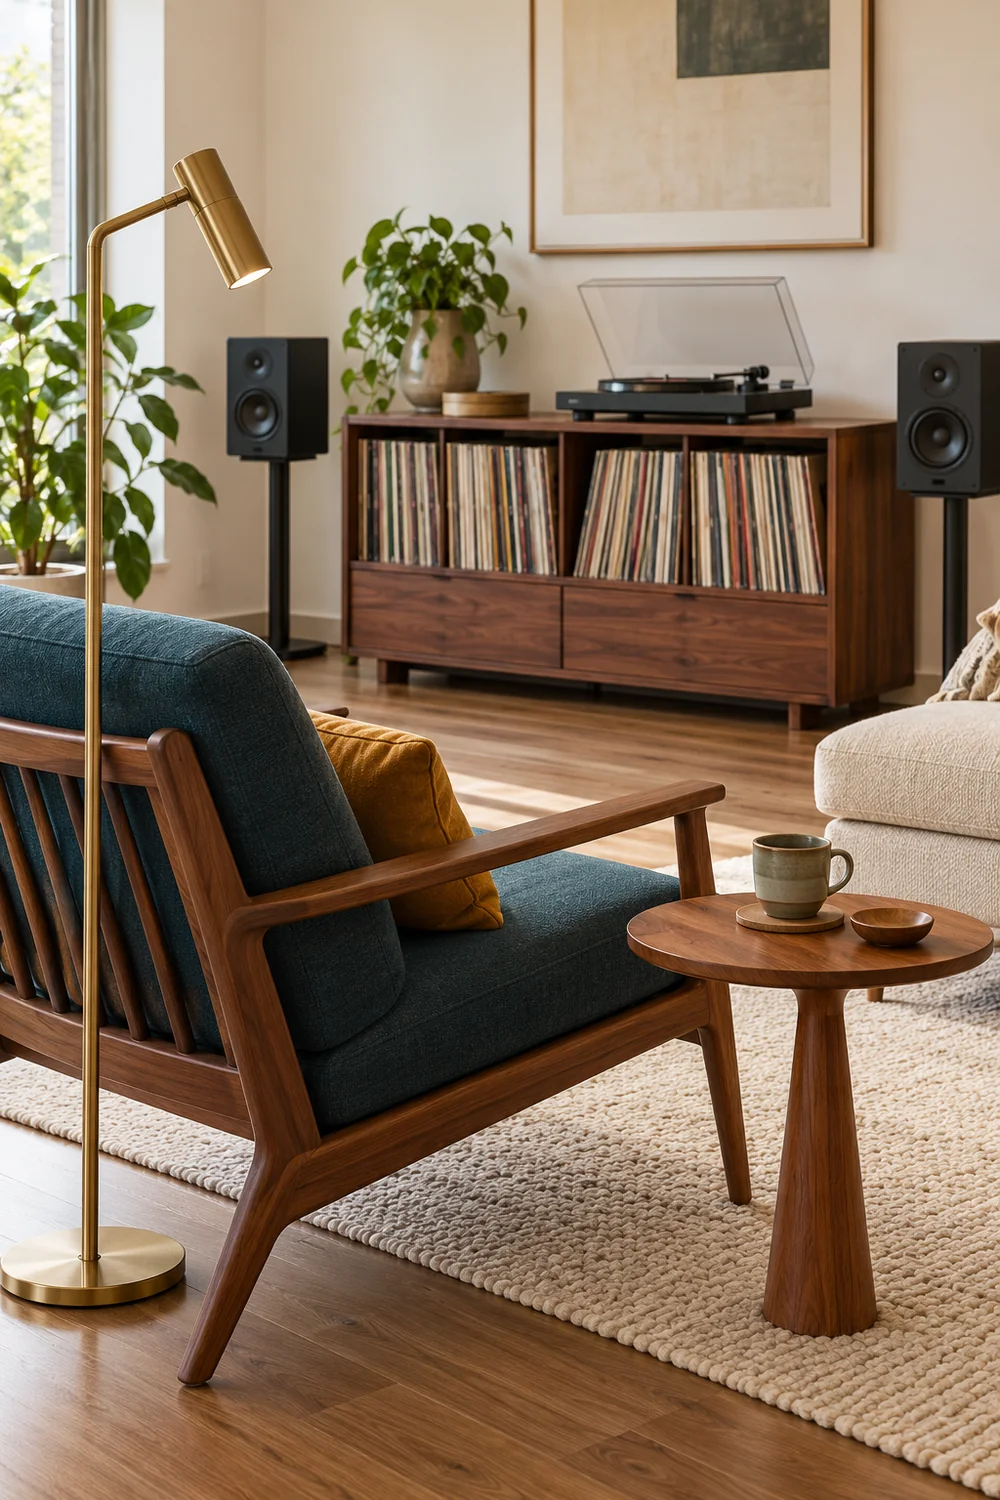
Include its actual footprint in use. A reclining chair, a separate footstool or a wide angled base can occupy more space than the seat itself suggests. Try the turn from chair to record storage and back, with the coffee table in place. I would also check whether the chair can participate in conversation when music is not the room's main activity. Its usefulness should survive more than one carefully styled moment.
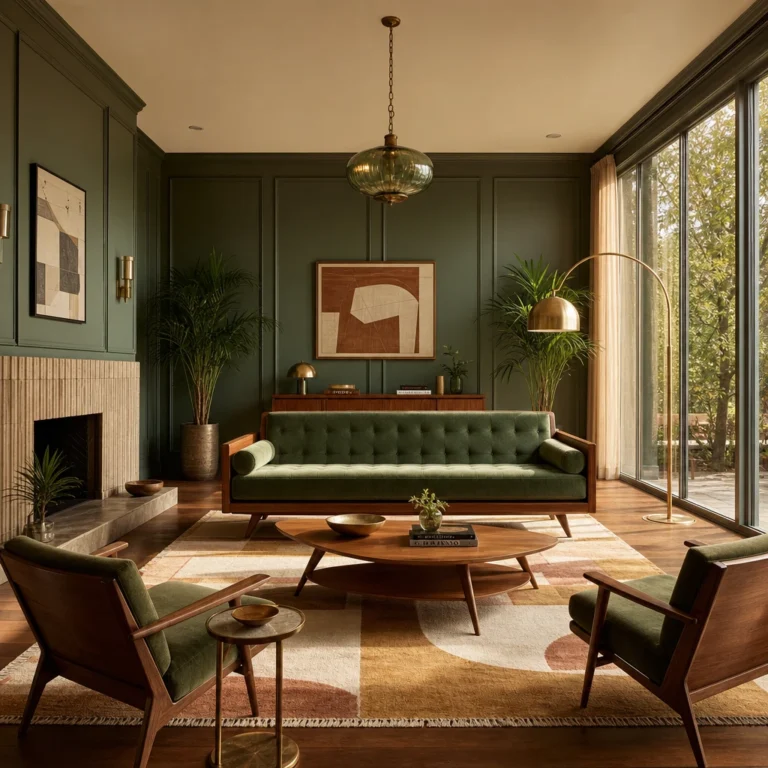
For the approved palette, I would begin with petrol upholstery beside walnut and cream. If you already have a suitable green chair, the green mid century chair examples show how that alternative can relate to warm timber. That is a reason to test the chair you own, not a requirement to buy another accent colour. Keep one clear upholstery direction rather than layering every attractive option into the same room.
Lighting has two immediate jobs here: making record spines and covers legible, and supporting comfortable use of the seat and player. I would place a movable light where you can test those jobs before committing to a fixed position. Check the view from the listening seat as well as from the cabinet. A bright reflection on the cover or a lamp in your line of sight can make a decorative arrangement irritating to use.
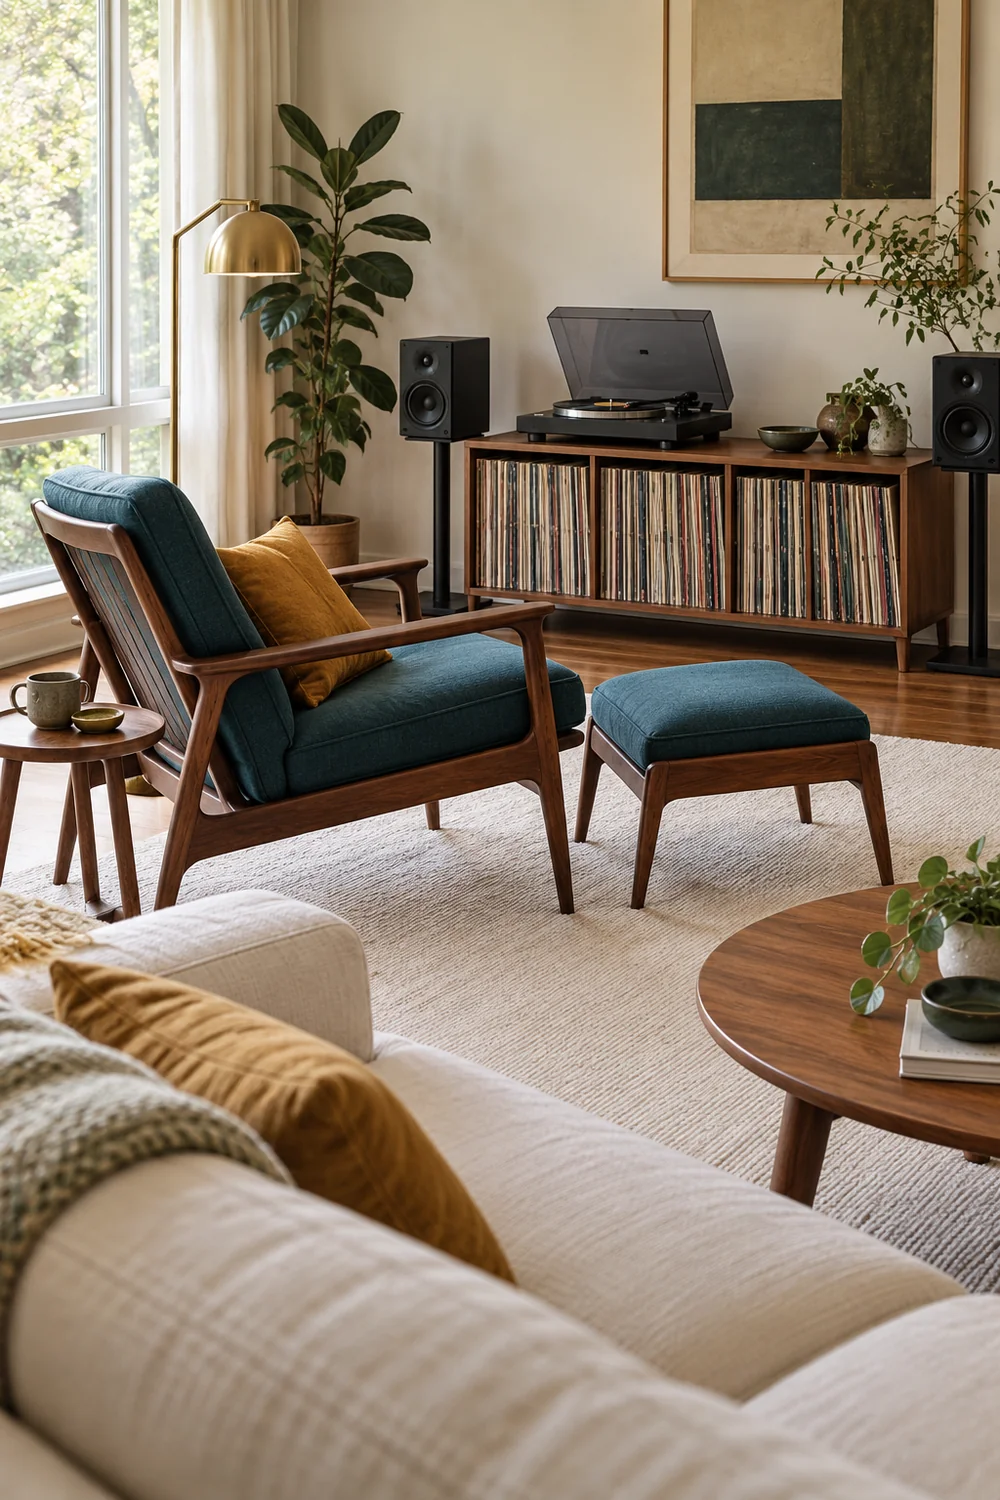
Keep cords within the planned furniture zone and follow the light manufacturer's installation instructions. I would not solve poor placement by running a loose cable across the route you have just protected. Where existing outlets make the proposed arrangement impractical, revise the layout or obtain the appropriate installation advice. The room plan should reflect the actual supply positions rather than conceal an unresolved cable problem in a photograph.
Before accepting the pair, sit in the chair with an album sleeve and try the light in the positions you will actually use. Can you read the information, put the sleeve down and stand without moving three other pieces? That short rehearsal tests the furniture and light together. It gives you a more useful result than deciding that any low chair and brass floor lamp automatically complete a mid century listening corner.
I would compare finish samples beside the furniture that remains, in the room's normal daylight. Start with the largest timber surface, because it will have the strongest relationship with the record covers and black equipment. For this scheme, medium walnut is the anchor. A small existing teak table can remain a warmer supporting note, provided the combination feels deliberate when the pieces are seen together.
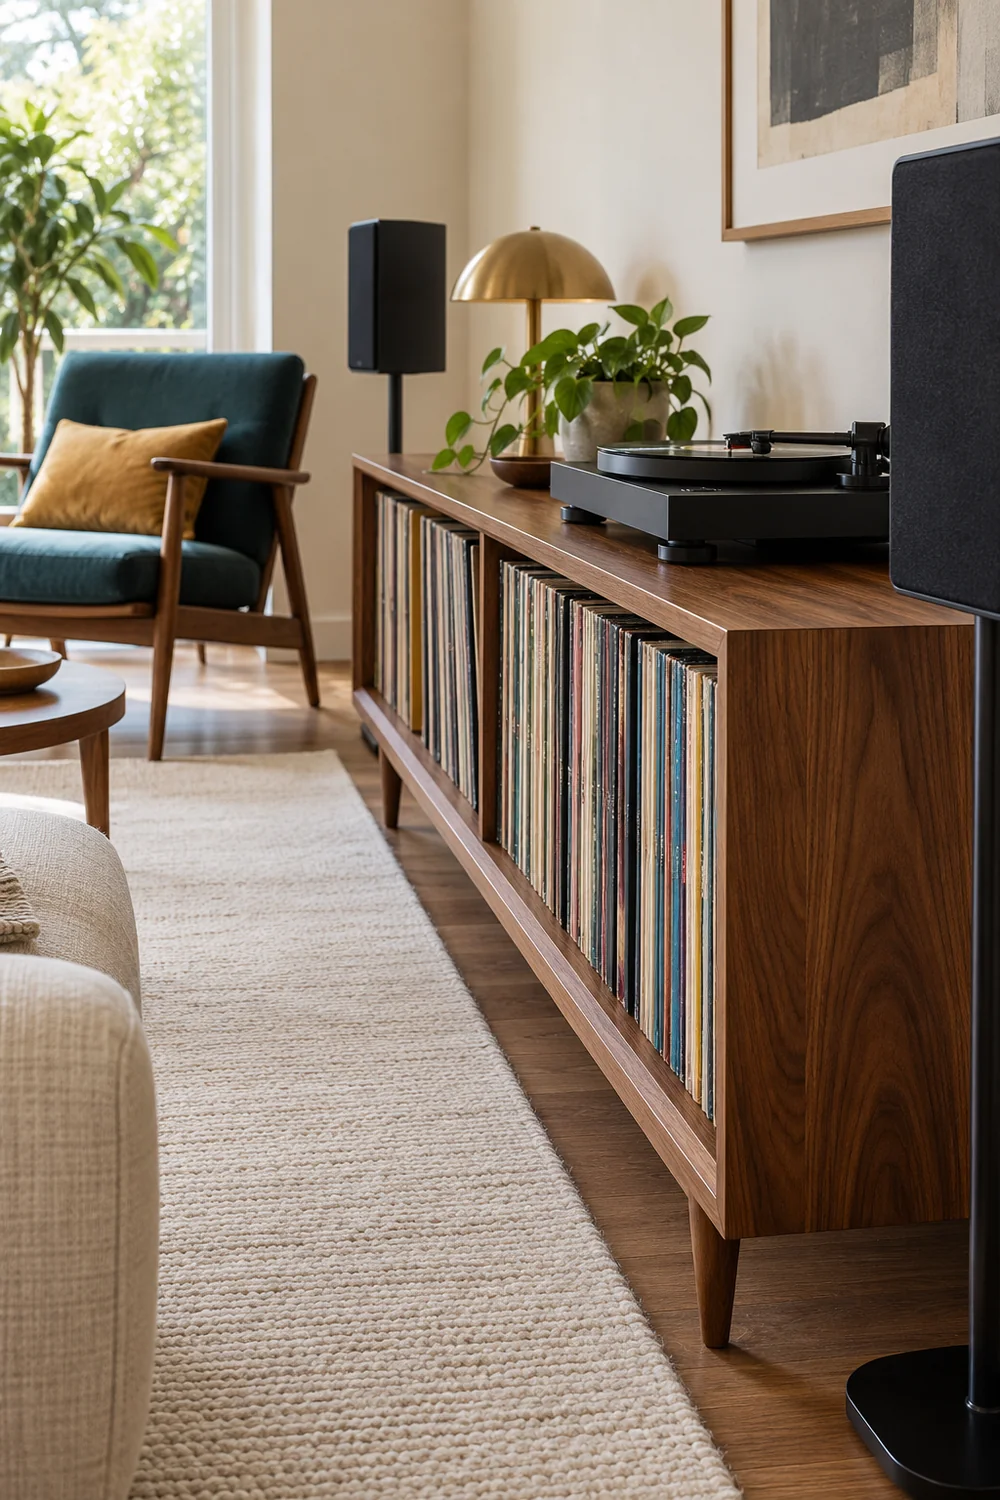
The mid century color palette article helps you compare those relationships within a wider family of neutrals, earthy shades and brighter accents. I would keep the final specification narrow: warm cream, walnut, petrol upholstery, a restrained ochre textile and brushed brass where a light needs it. The varied sleeves already contribute colour, so the furniture does not have to repeat every shade in the collection.
Test the finish through touch and care requirements as well as appearance. Ask what treatment the timber has and how its maker recommends cleaning it. A vintage cabinet and a new veneered piece may require different care. I would record the stated finish on the acceptance sheet rather than relying on a name such as natural walnut, which can describe noticeably different colours and surfaces across suppliers.
Look at exposed edges, handles and the area around the player. These are the details you will see and use frequently. A busy handle arrangement can make a low cabinet feel more decorative than you want, while a carefully chosen plain front can give the album art room to breathe. I would compare the whole front with doors both open and closed, since daily use reveals more than the showroom composition.
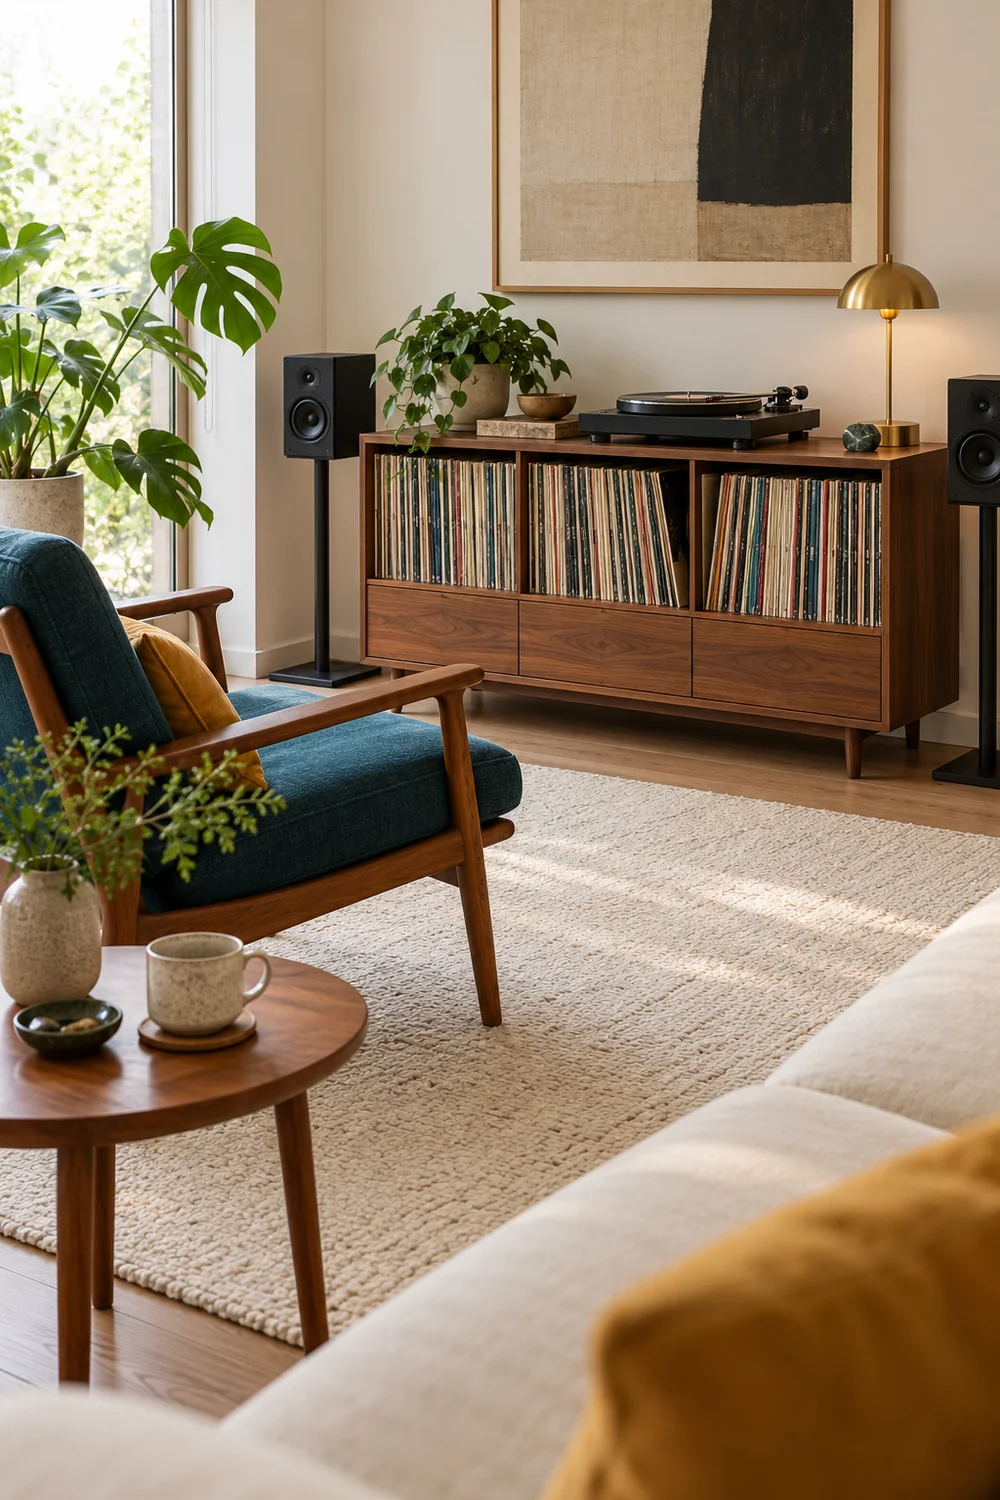
Upholstery needs its own decision. Compare the actual petrol sample against the walnut and cream, and ask for the relevant cleaning and wear information for the fabric you would order. I would avoid promising that a colour name or a particular weave is automatically suitable for every household. Choose it against your real use, including any practical requirements that are not visible in the inspiration photograph.
Finish with a short specification rather than a matching collection from one catalogue. Name the cabinet finish, the chair fabric, the lamp finish and the pieces you are retaining. If a candidate introduces another dominant timber or an unrelated accent, ask what it improves. It can still be the right piece, but it should earn that change through fit, comfort or a clear visual contribution rather than the appeal of buying a coordinated set.
I would check delivery and installation before the final order. Compare the furniture's packaged dimensions with the route into the room, identify required assembly, and follow the maker's instructions for positioning and any anchoring. Confirm that the specified configuration is the one you are buying. A suitable cabinet becomes an unsuitable project if it cannot reach the room or depends on an installation condition you cannot meet.
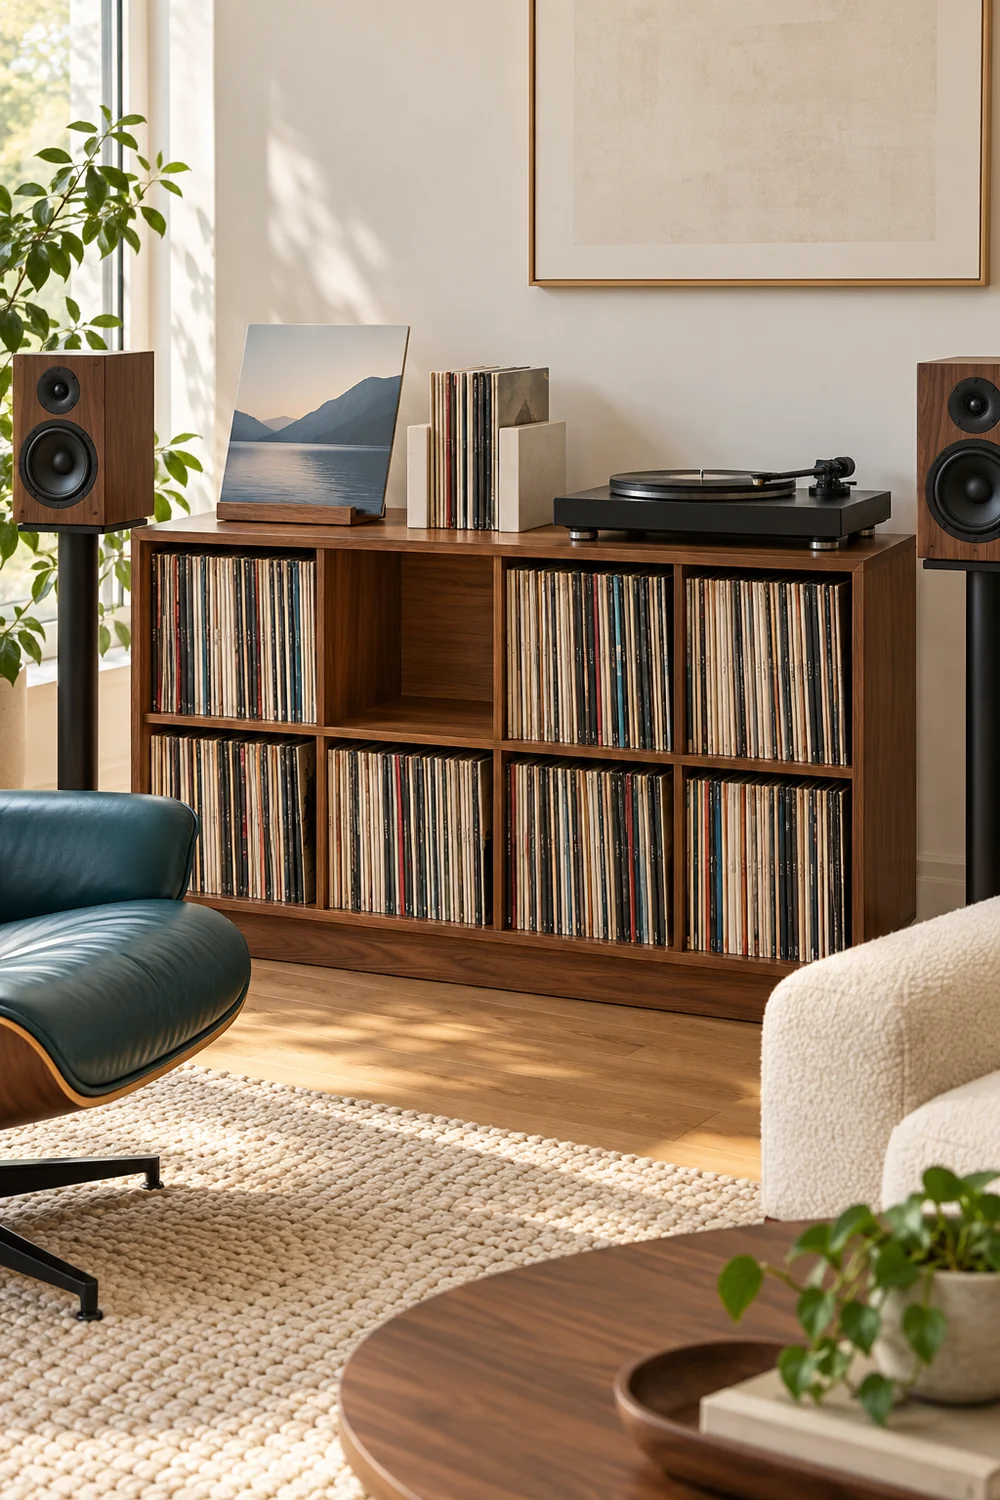
Once installed, load the collection within the documented limits and keep the intended growth capacity visible. Check that supported sleeves remain easy to browse and that doors and drawers work as planned. Position the equipment according to its instructions, then repeat the listening routine. I would deal with an awkward connector, blocked lid or inconvenient sleeve rest before treating the arrangement as finished.
If the cabinet now changes the ordinary route, the mid century apartment guide offers useful reminders about furniture scale and room zones. Recheck those relationships rather than leaving the installation slightly inconvenient because the finish looks right. You can often improve a room through a modest positional adjustment, provided the collection, equipment and furniture instructions remain properly accommodated.
Aftercare begins with a home for new arrivals. I would file them into the allocated capacity rather than start another permanent floor stack. When that capacity is nearly used, revisit the vinyl living room plan before ordering a second unit. Notice whether the active selection has expanded, whether unusual sleeves need a different compartment, or whether a door is now difficult to use. Those observations tell you what the next change actually needs to solve.
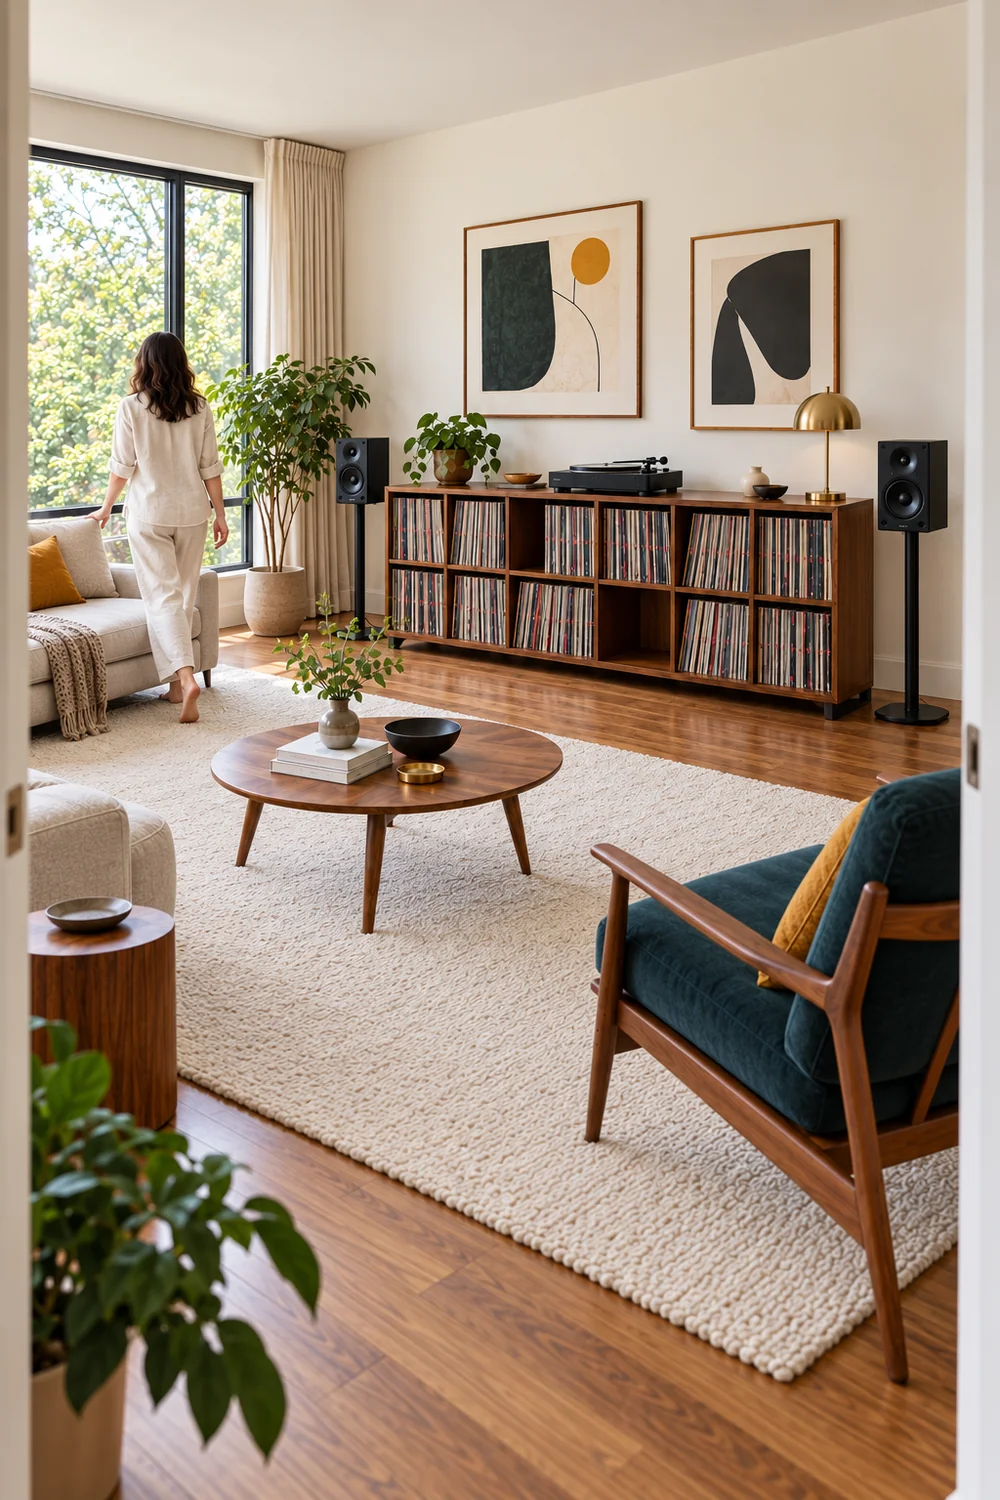
Keep the storage and equipment care instructions together with your measurements. Follow the appropriate guidance for the records, furniture finish and player instead of applying one cleaning method to everything. Check the route and the accessible compartments when you add equipment or move a chair. The room should keep serving the routine; a new purchase should not quietly consume the surface or movement another part depended on.
I would call the project complete when the collection fits, browsing feels easy, the equipment works within its requirements and the seating still belongs to the living room. That is a more useful finish than filling the last spare compartment for the photograph. Keep your acceptance sheet and let the remaining capacity do its job. When growth changes the arrangement, return to the room plan with a specific question. You have a clear way to improve the setup without buying the whole room again, and a collection that stays ready to enjoy.