Newsletter Subscribe
Enter your email address below and subscribe to our newsletter

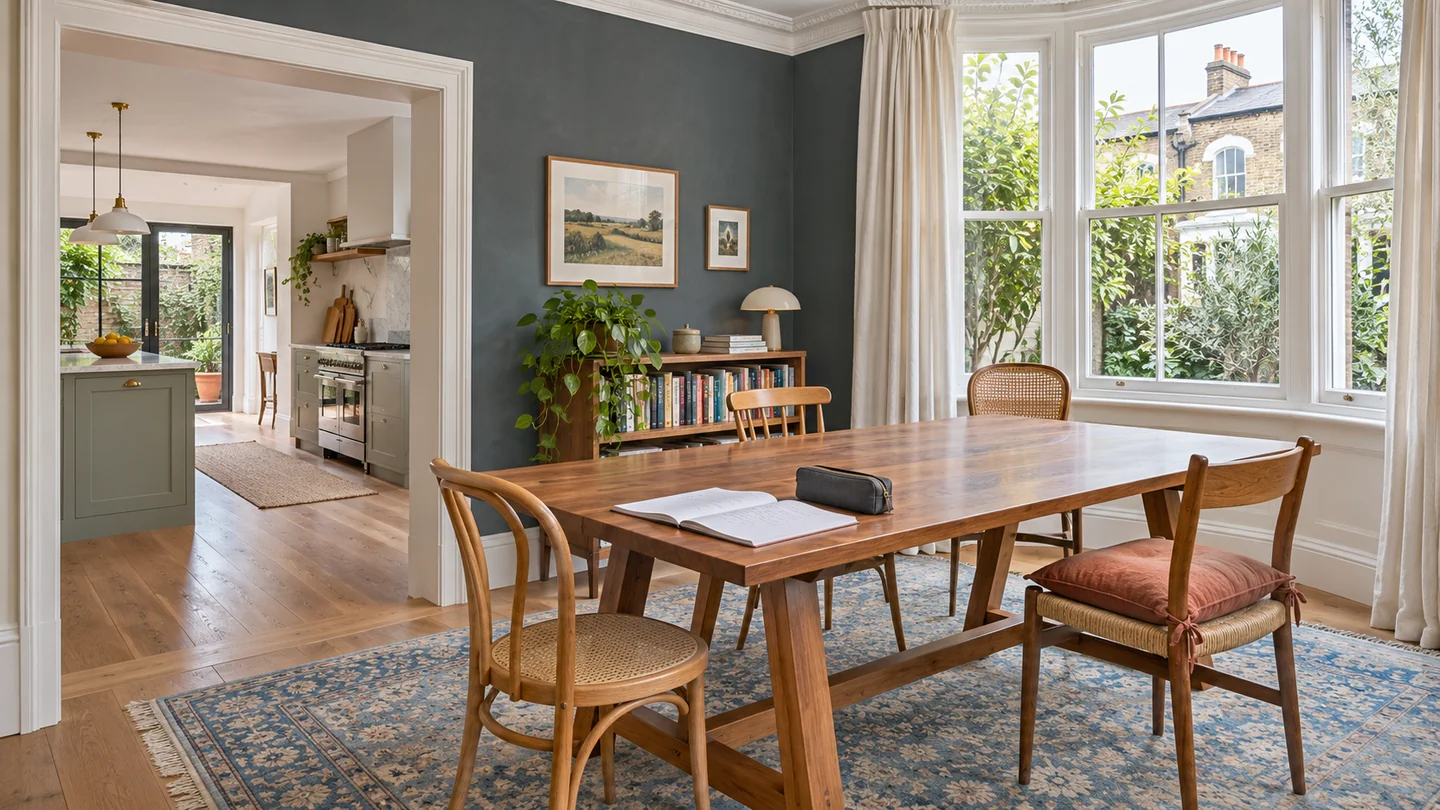
When there’s one table for schoolwork and supper, the hardest moment is usually the handover. Your child is halfway through a page and someone needs the space for plates. I would plan a dining room homework station as two arrangements of the same room. That starts with choosing a useful seat, keeping the path from the kitchen open and giving an unfinished page a place to wait. You can test the whole arrangement with what you already have. If the room works with a borrowed tray, the chairs you own and an ordinary school bag, you’ll know exactly what any new storage has to do. Here’s how I would draw the two arrangements, then try them on a real school night.
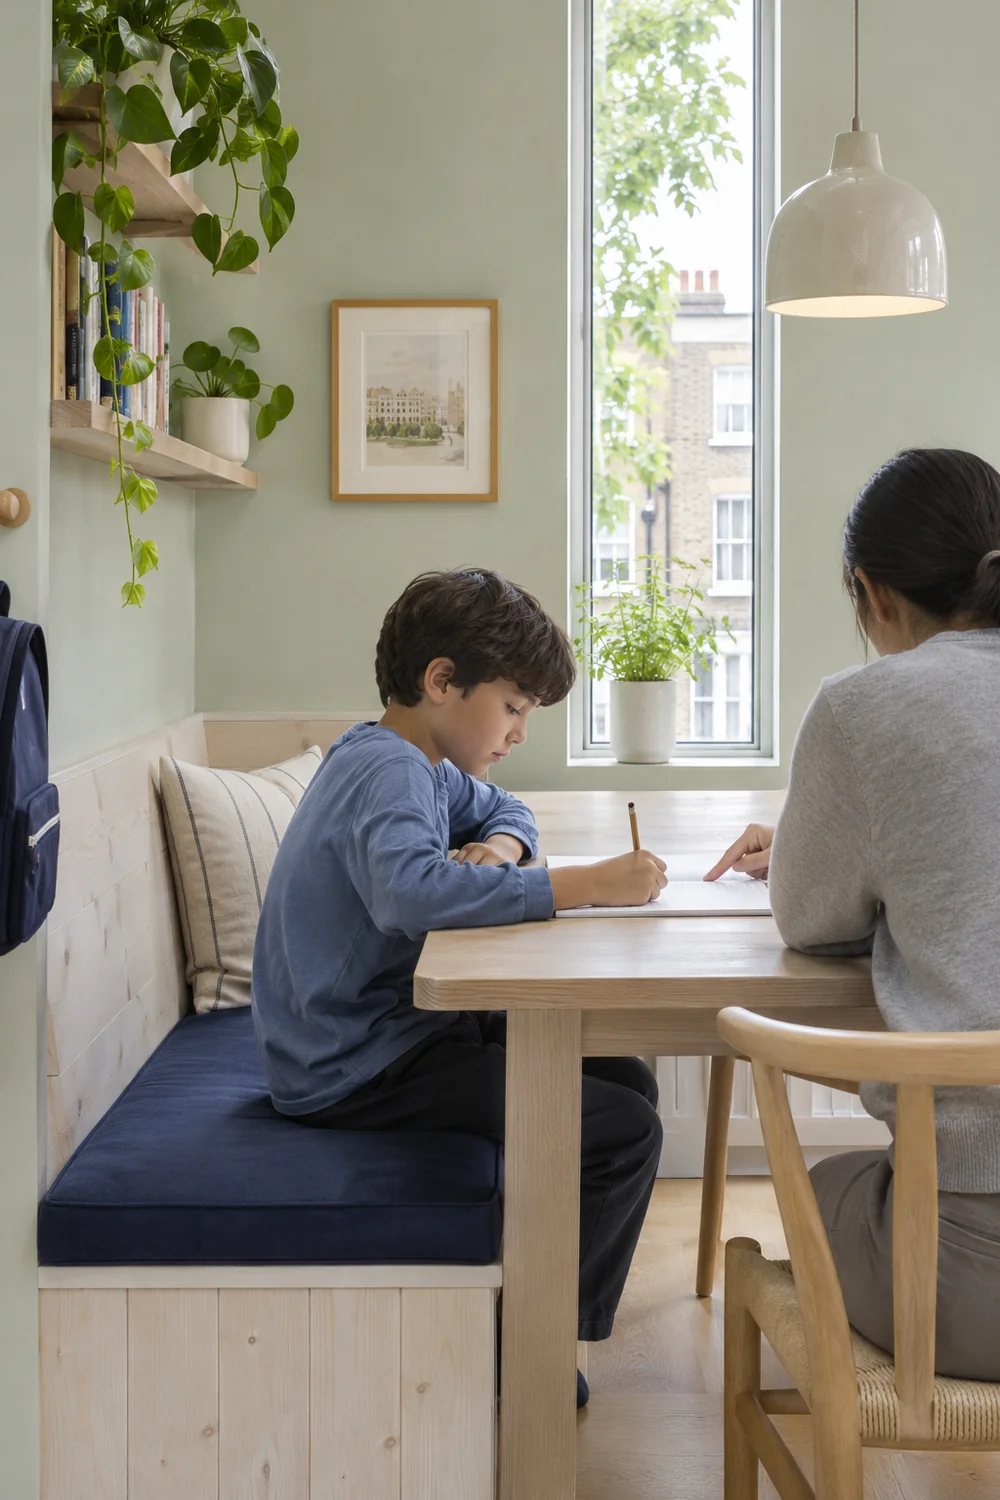
Make two quick sketches from above. Draw the table, chairs, doorway and any sideboard or radiator you can’t move. On the first sketch, draw the chair where your child would work, where an adult might sit to help and the parts of the table the child actually uses. On the second, draw the usual dinner places and where food enters. A rough rectangle for the homework and a smaller one for each plate will do. The point is to capture what occupies space in each state, including the things that temporarily have nowhere to go.
I’d mark the table legs as well as its edge. A seat that seems generous on paper may put your child against a leg with nowhere to rest their feet. At the dinner end, draw the plates and the place you normally put a serving dish. When the two sketches disagree, circle the collision. A chair back blocking a doorway calls for a different seat. A stack of exercise books covering one place setting calls for somewhere nearby to pause the work. Each gets its own fix.
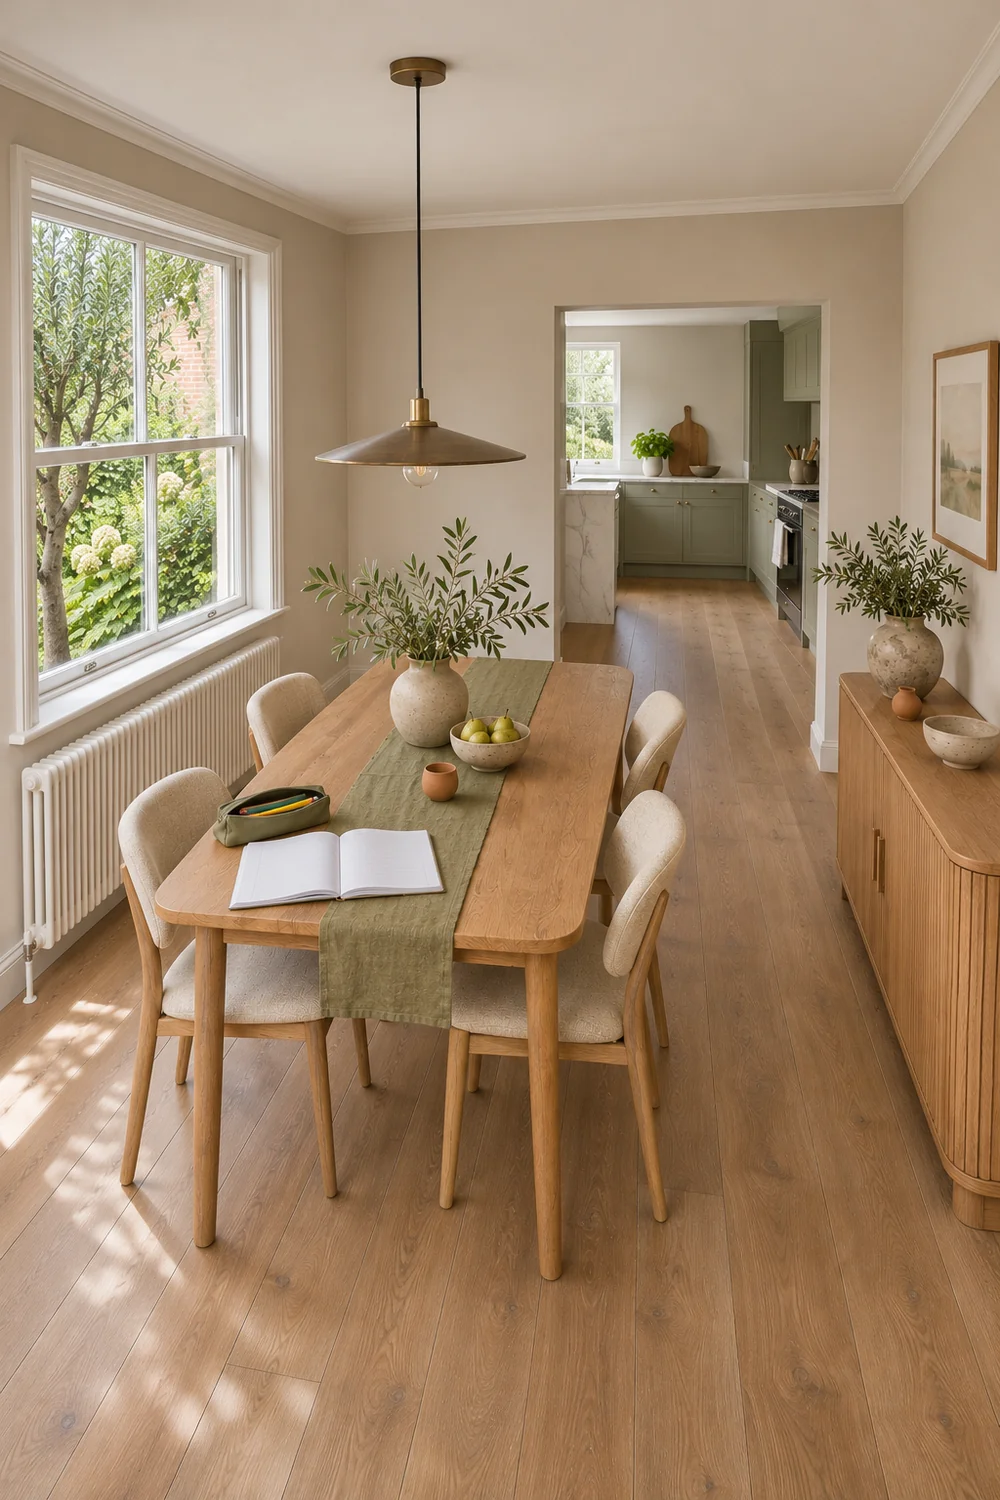
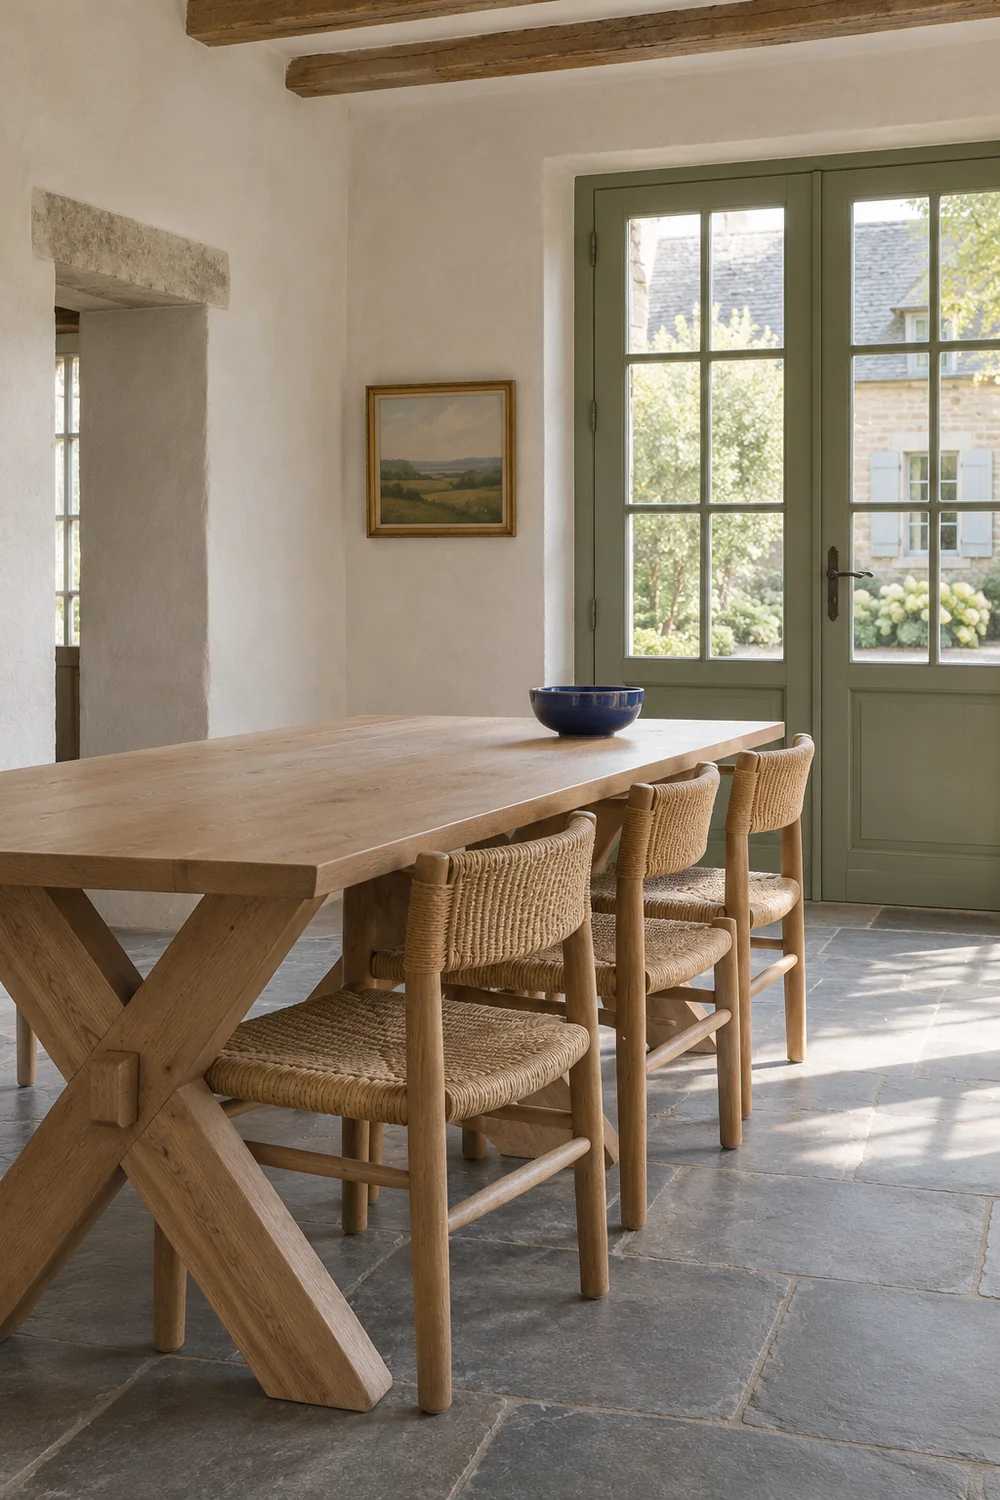
Imagine a rectangular four seat oak table, 140 by 80 centimetres, with a kitchen opening at one short end and a window beside a long edge. Put a school bag, an open exercise book and a water glass on the table. Even if these fit, their position can put the child directly in the route used for dinner. A move to the window side may solve that while leaving the two ends free. Treat these dimensions as a worked example. Your drawing should use the positions and furniture you have.
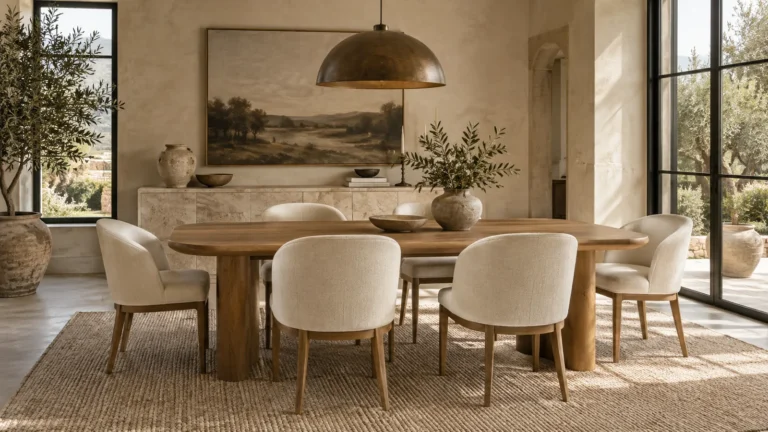
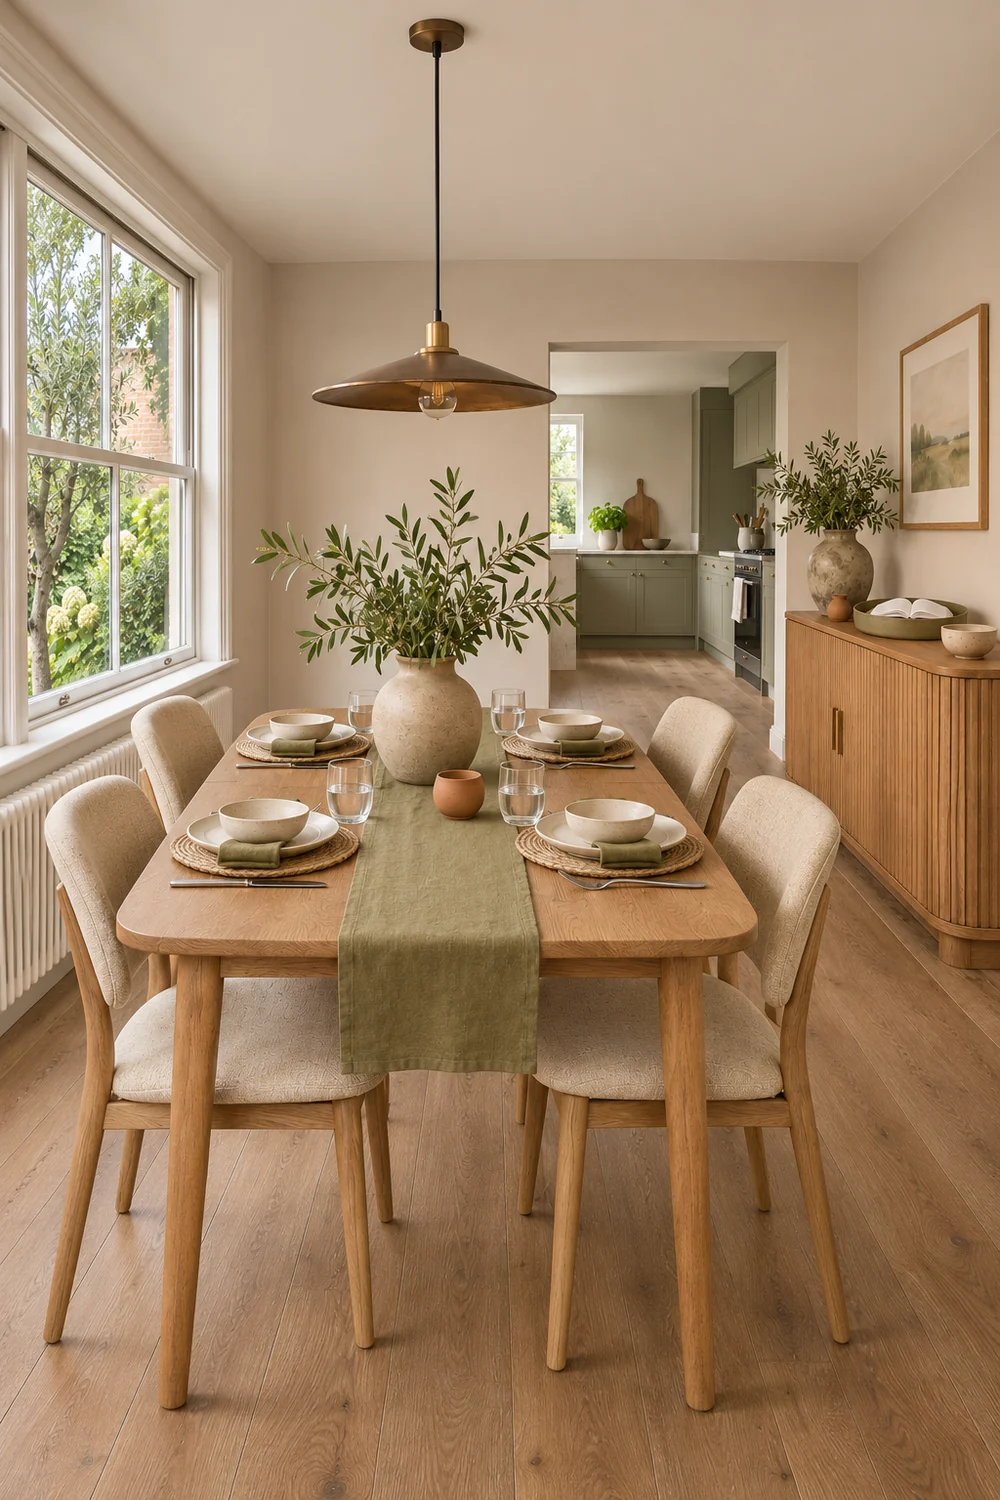
Look from the entrance after you’ve drawn both states. The pendant and the oak table can stay the visual centre while the little things move in and out of use. My organic modern dining room guide shows how timber, light and a restrained sideboard can support those everyday rituals. In this room, I would start by clearing a working rectangle and leaving the rest of the furniture where it normally lives.
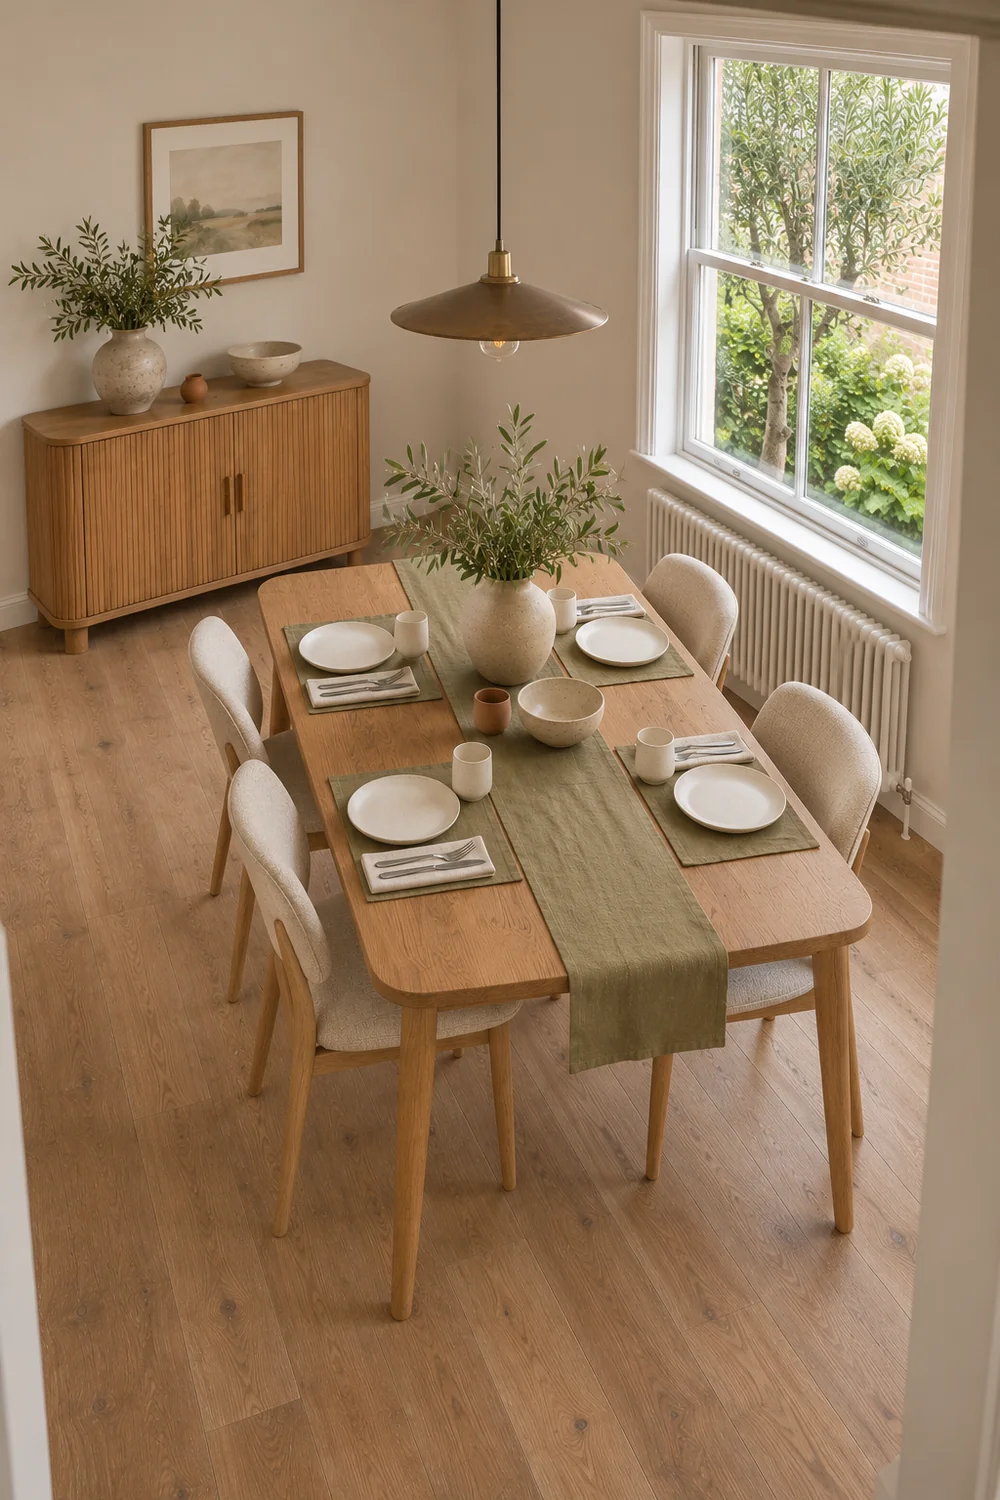
If you draw only one chair on the first plan, it’s easy to forget what will happen to the other three. Mark whether each one remains tucked in, needs to be turned for an adult to help, or occupies a place that dinner depends on. You may find that the chair you use for helping is already free, while the chair you thought was convenient puts a bag or a person in the doorway. That discovery costs nothing on paper.
Have your child sit and open the largest book they regularly use. Add a pencil case and whatever else has to be open beside it. Look for a place where their forearms can rest comfortably and they can reach the middle of the work without constantly leaning. Test a different seat if the chair is too far below the table or its arms won’t slide far enough in. Let them write a few words and tell you which position feels easiest to use.
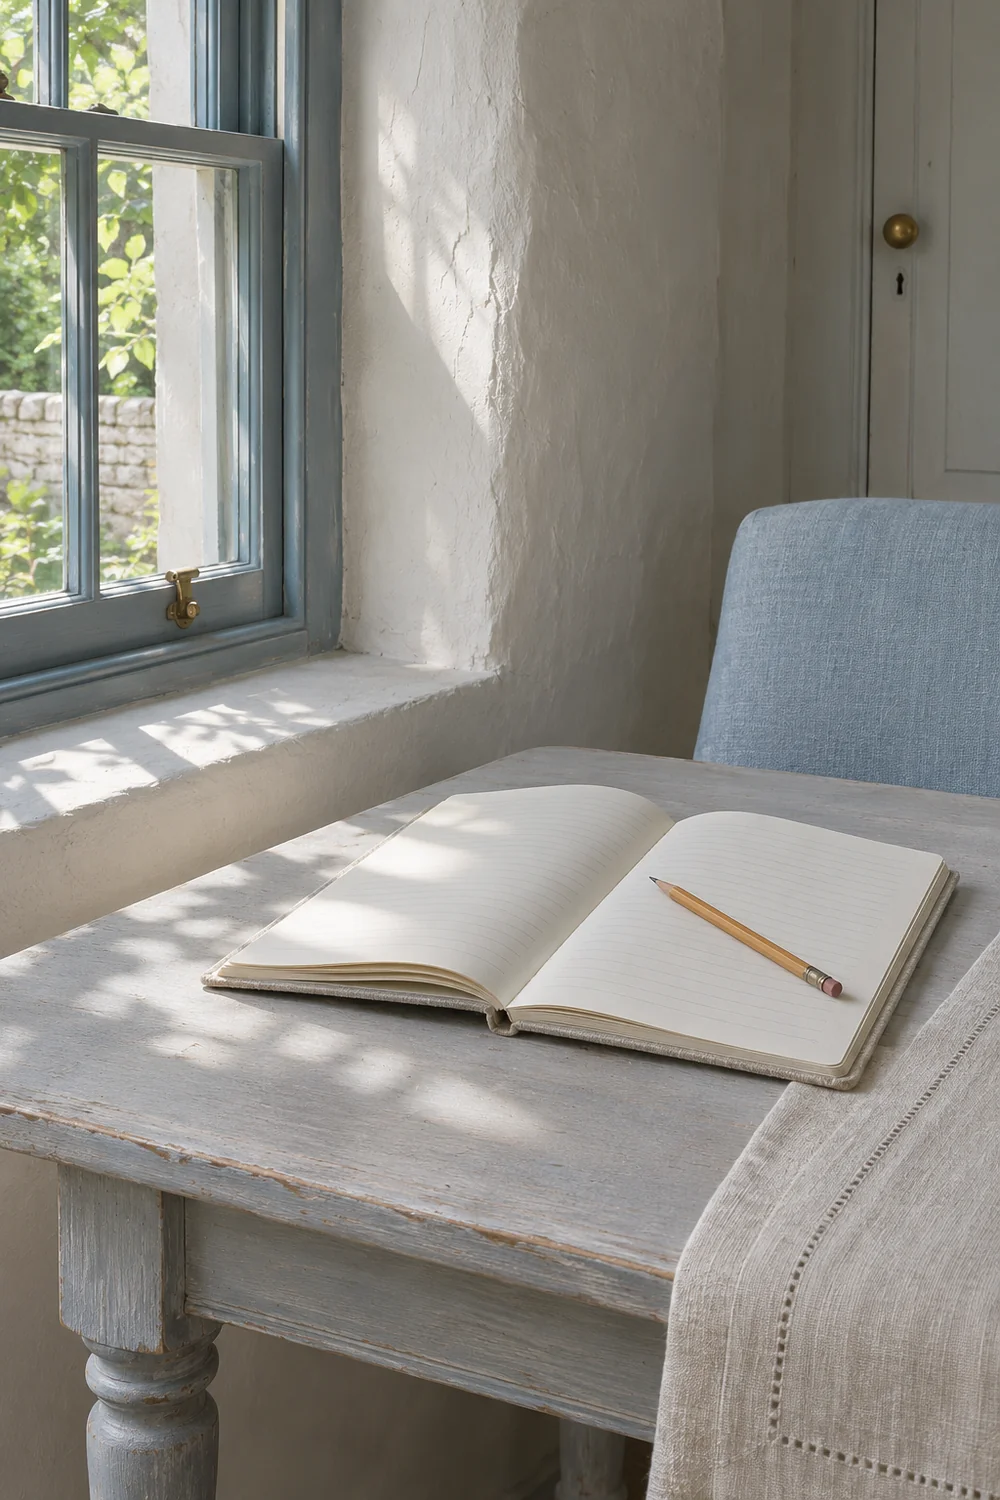
Turn the book so daylight comes from the side and check where the writing hand casts a shadow. Then sit down yourself and see whether a glossy page reflects the window or the pendant. If there is glare, first try turning the page or trying the next seat. A lamp can help with a particular dark patch. Check that it illuminates the paper, fits on the available surface and has a safe cable route that stays away from feet and doors. A bulky lamp on the table can block the space an adult needs to help.
Try the helping position as a separate decision. From the next chair, could you look at the same page without leaning across the book? If you usually help from the kitchen, can you see and speak to your child from where you’re working? For two children using the table together, test the books and hands on the real surface. They may find it easier to sit diagonally with a gap between their working areas. Leave the spare chair where you can pull it out when the work needs a second pair of eyes.
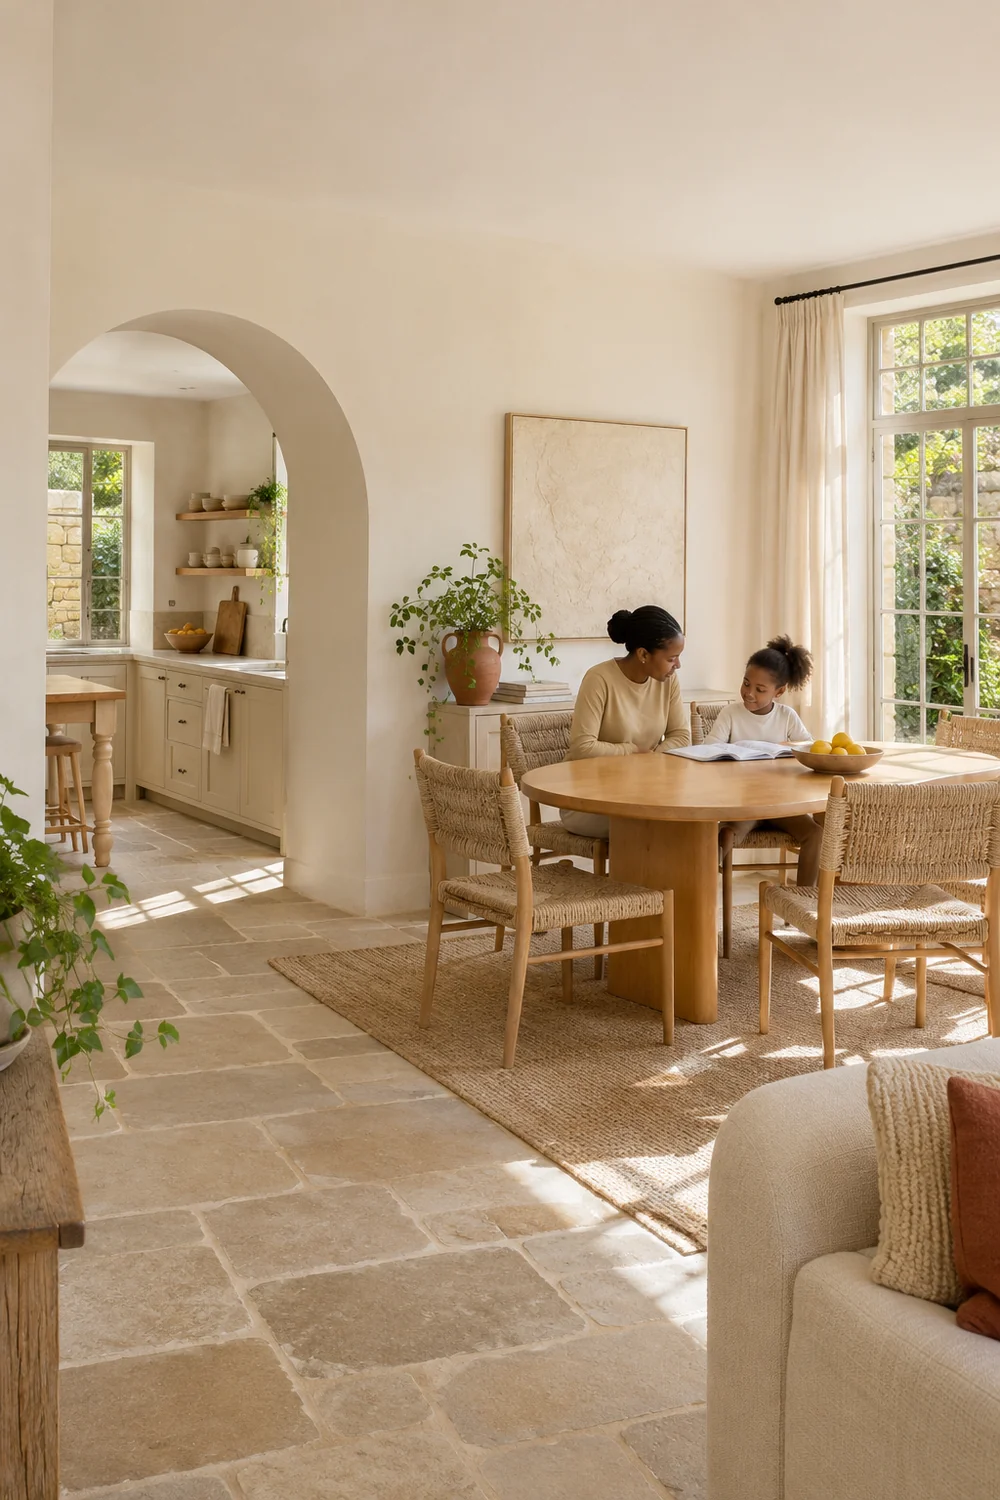
If you are tempted to replace a seat, use the dining chair dimensions guide to check underside clearance, table legs and the distance the chair pulls out. Then repeat those checks with your child sitting at your table. They are the person whose reach and comfort matter here. Record the best seat and the times of day when it works.
Check the seat twice if the same window faces clear afternoon sun and later falls into shadow. You may find that a blind adjustment or a quarter turn of the paper is enough. If the chair suits handwriting but the screen of a school device reflects the window, try the device in place separately. Leave your child room to push the book or device away and stand up without moving someone else’s things.
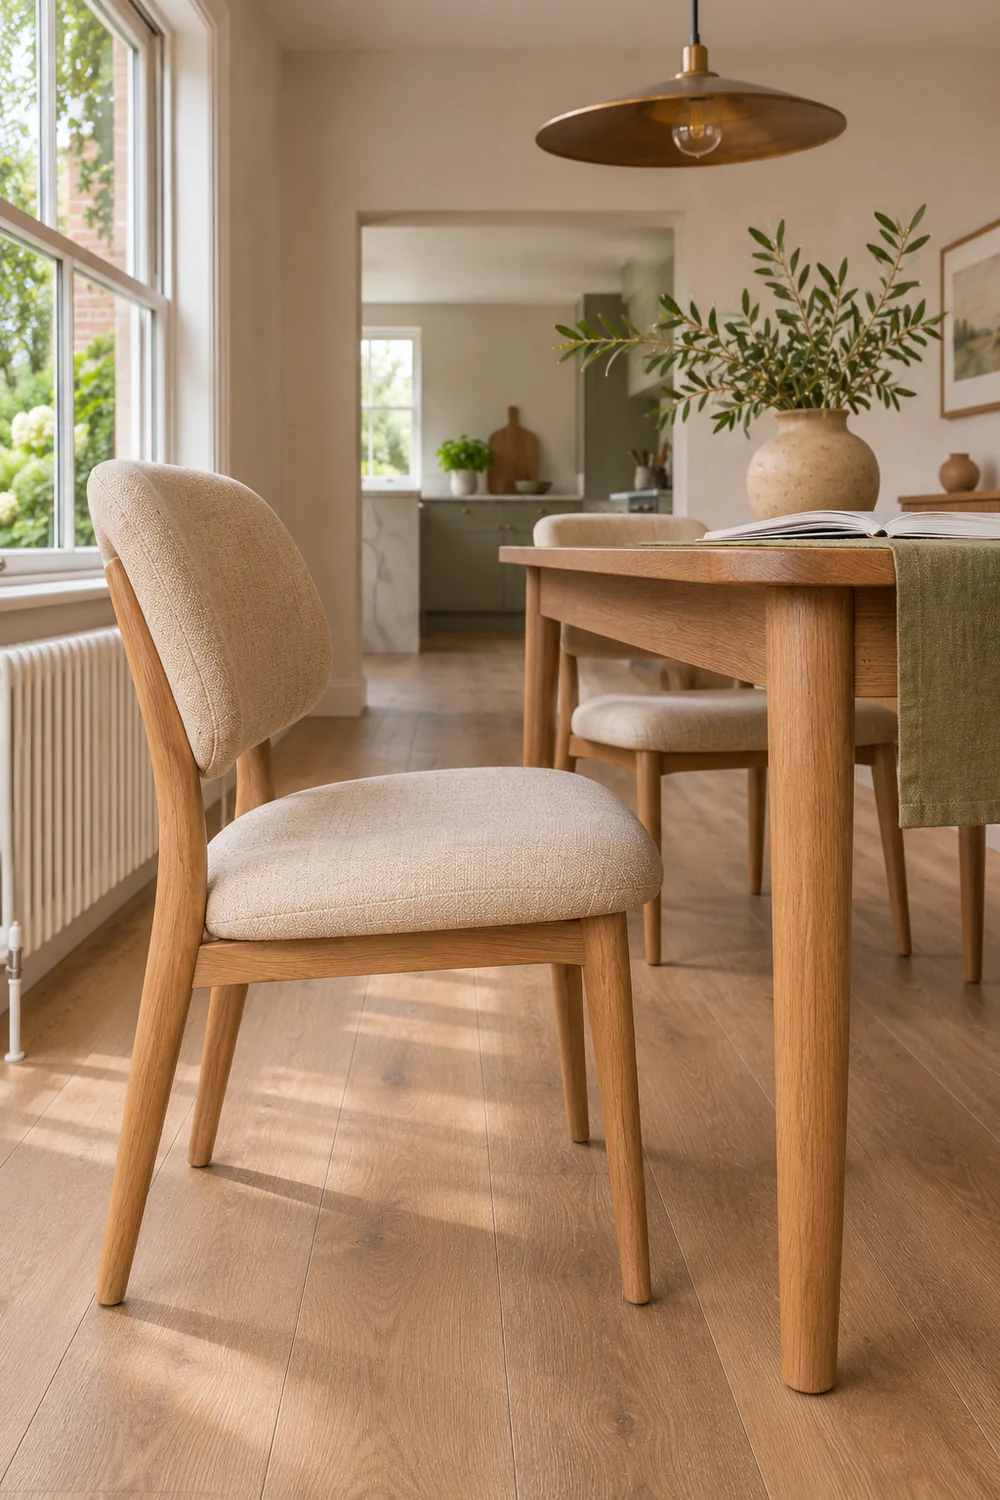
Walk the dinner route with someone sitting at the chosen seat. Use an empty tray about the size you actually carry so your hands and elbows take up their usual space. Open the nearest door or cabinet if you use it as part of the dinner routine. Then ask your child to sit back or get up as they normally would. Watch where the chair and tray need the same space. An empty room makes almost every route look workable. Test the chair when it is occupied and again when someone is standing up.
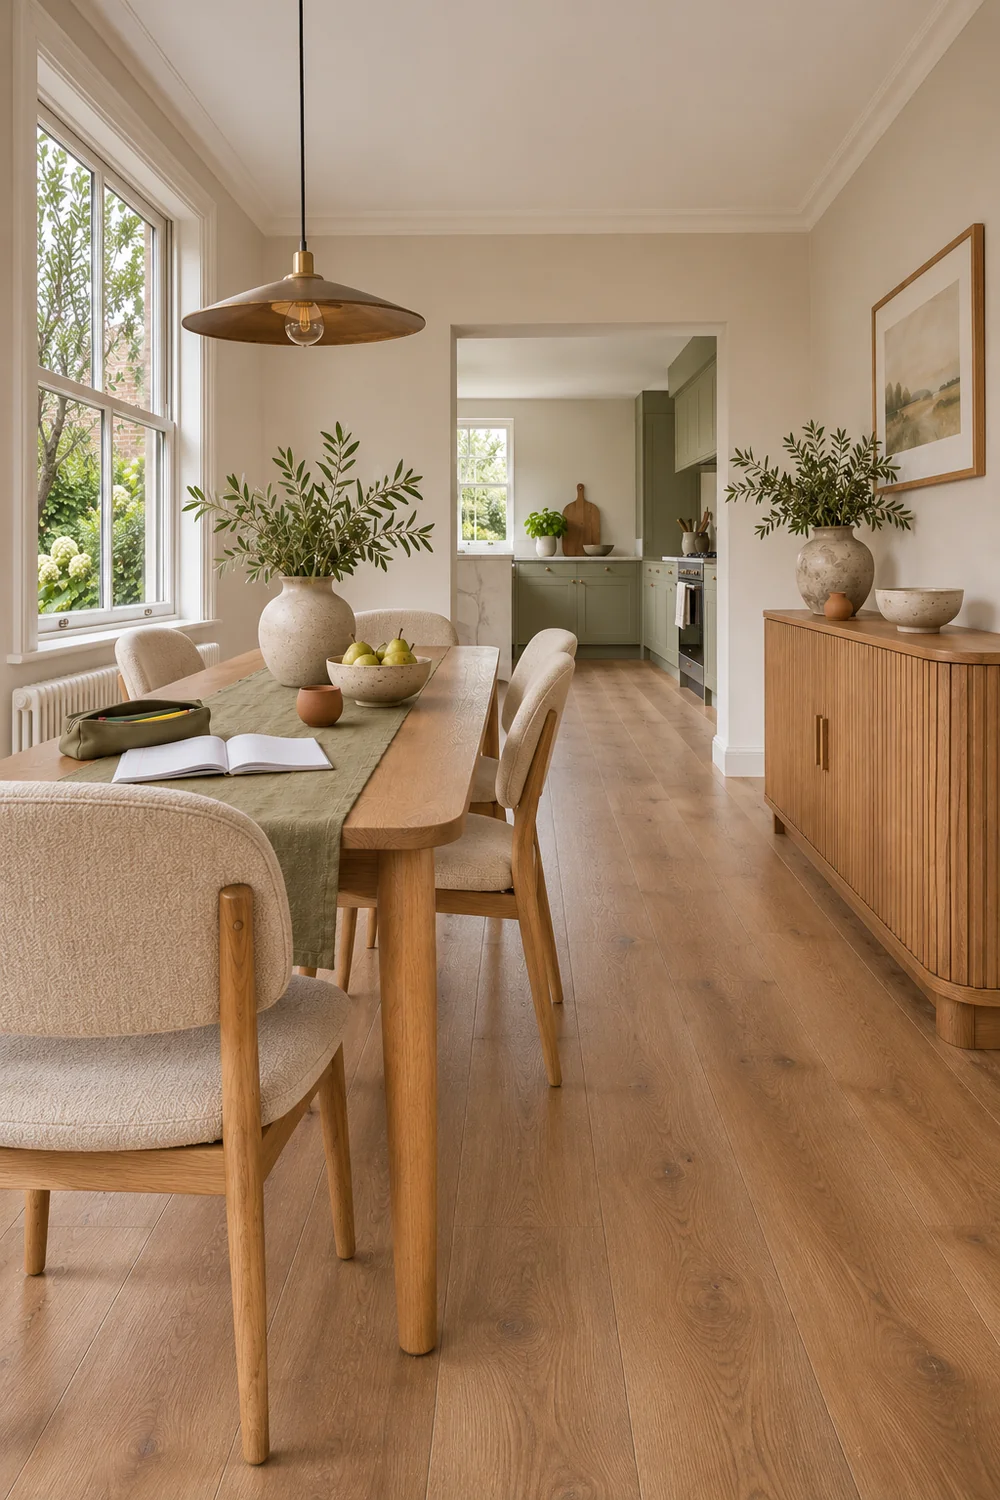
In the four seat example, I would keep the end closest to the kitchen free as the place where food arrives. The child’s workspace goes on the window side of the table, with the bag away from the walking line and the helping chair on the far side when it’s needed. That arrangement leaves somewhere to set a dish even if the schoolbook stays open for another minute. If your room has the reverse layout, try keeping the seat with the clearest access to the kitchen for dinner and putting homework in the quieter corner. The workable route matters more than following the example.
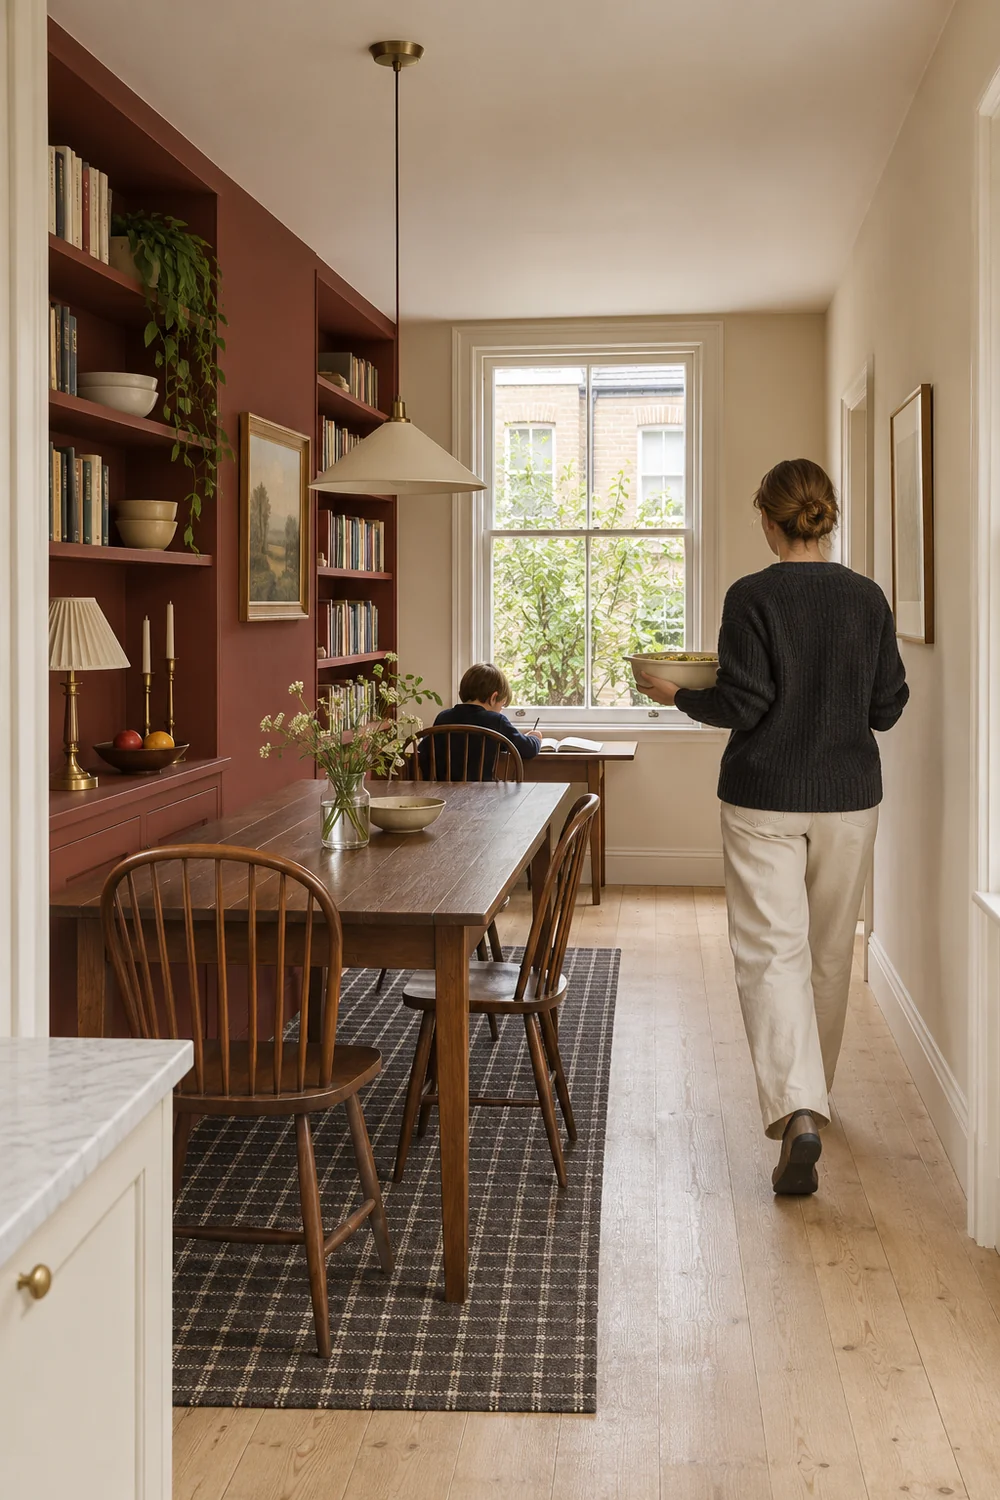
Give the route a start and end on your drawing. Include the chair or tote bag people usually walk around. If a doorway is tight, test getting past it while both hands are full. A moved chair, a book bag left by the door or a temporary tray sitting on the floor can undo a good plan. Put each of those things where it will be during both states. My guide to a small living dining layout shows how I’d protect an approach when a larger piece of furniture stays put.
If the tray and child’s chair still meet, change one thing at a time. Move the child to the next seat and repeat the walk. If that fixes circulation but leaves the page in shadow, return to the earlier light check. If the table has to shift, sketch the new position before moving other furniture. The layout is ready when the occupied chair and an adult carrying dinner can both use the room without asking each other to move.
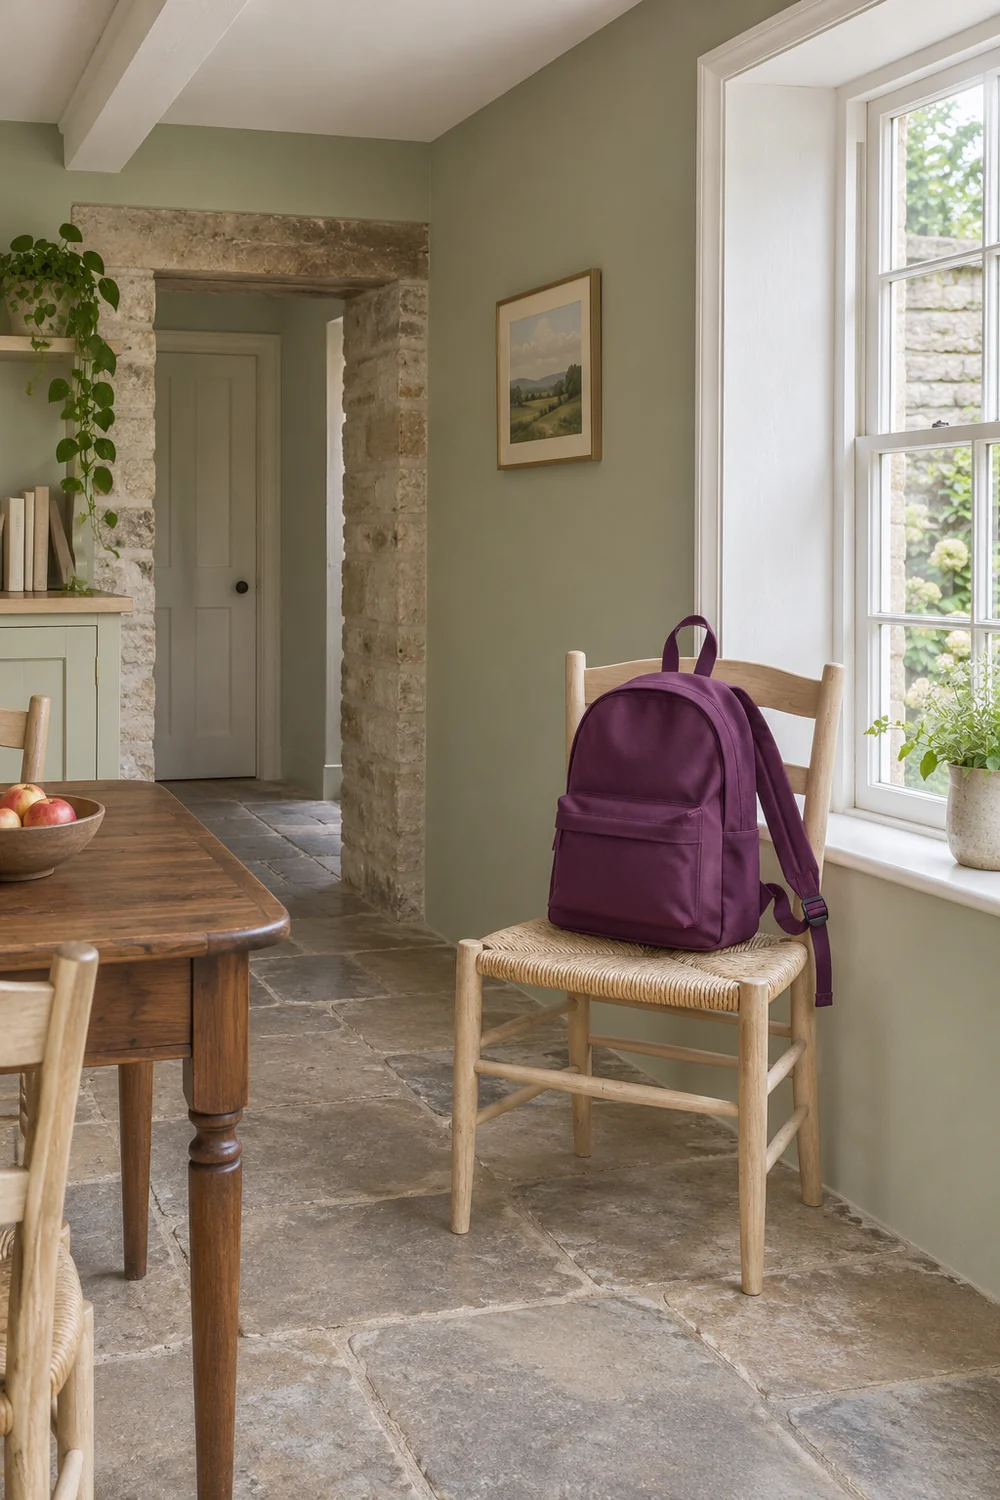
Some families need the serving route to reach the table and then continue past it, for example to a fridge or a back door. Draw that second leg as well. A clear first step through the doorway can hide a bottleneck near the far chair. If an open end really matters, give the home for the school bag to the other side of the room.
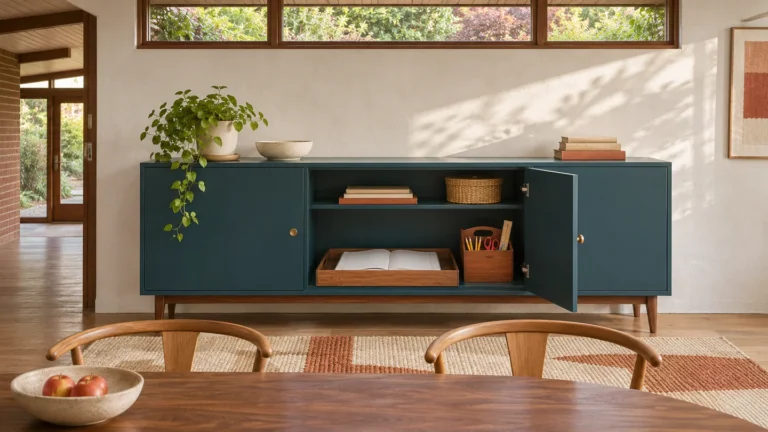
Choose a place just off the table for work that is still in progress. A cleared shelf in an existing sideboard, or a stable part of a nearby surface, will do for this trial. Start with a tray or shallow box you already own. Open the largest book you’re likely to pause, put the loose sheet on top and see whether you can transfer it in one motion. For work that can close, use a bookmark or slip the loose page inside a folder. For a spread that needs to stay open, make space for the spread at this stage.
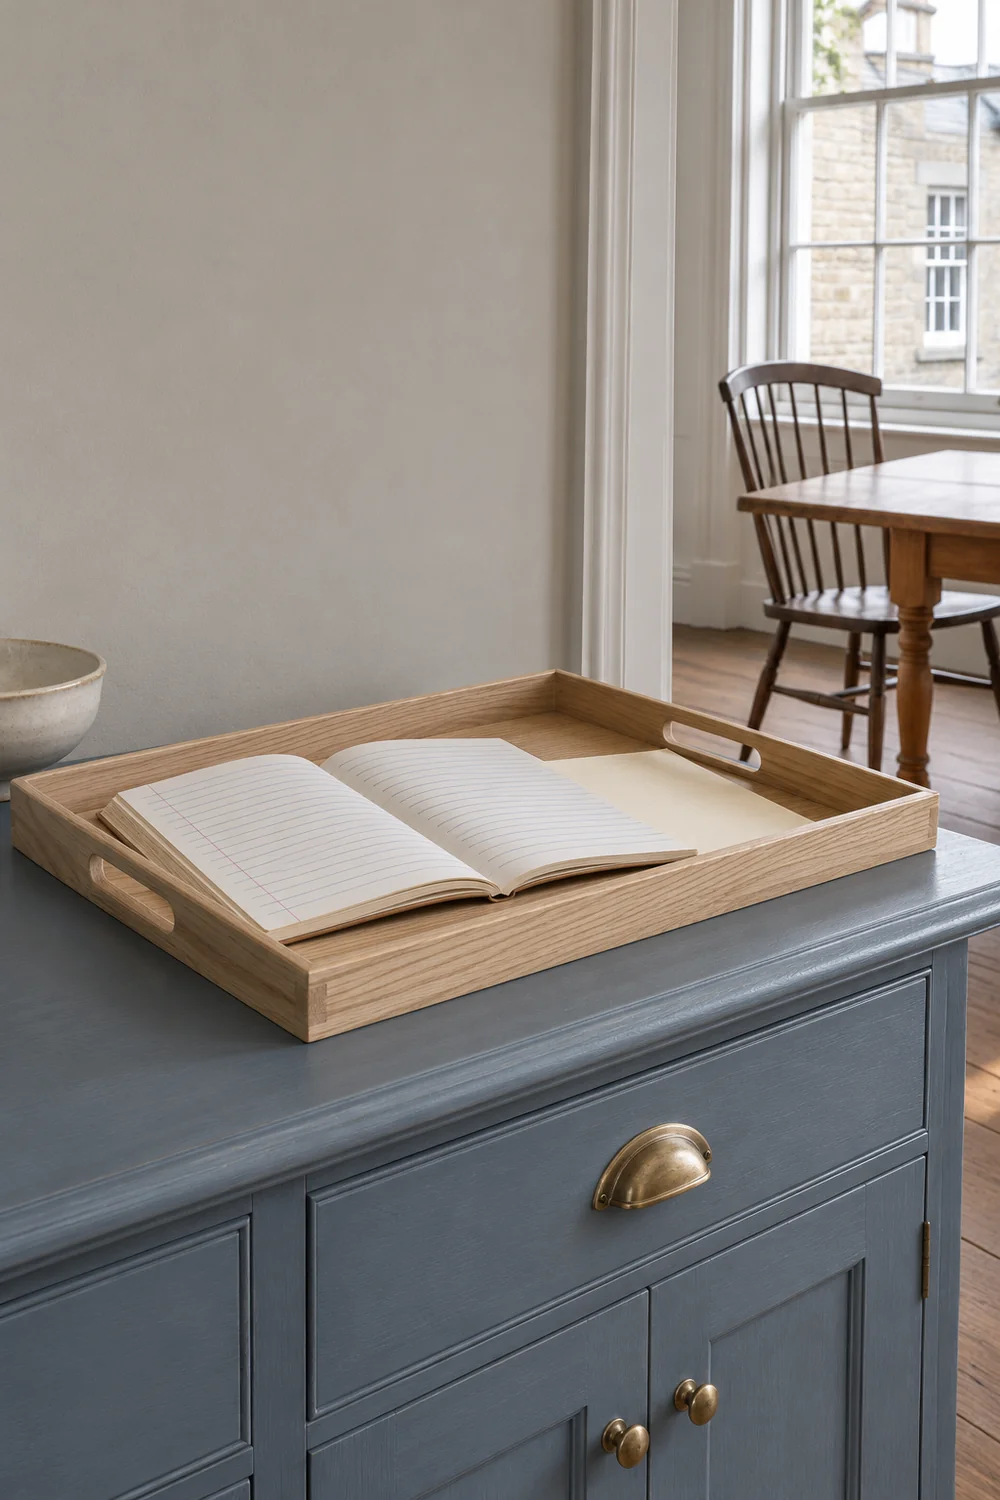
I’d practise moving three kinds of things. First comes the active page that has to be found again. Then come the pencils, ruler or other little things that get used most afternoons. Last is the piece of work that has finished and needs to go back into a bag. Each can have a simple destination. The active page pauses nearby, the small tools stay together and finished work goes back where it will be taken to school. A single pile makes those three jobs surprisingly hard to tell apart.
If you have no sideboard, try a nearby existing shelf with a clear landing space. Test whether your child can reach it while carrying what they really use. If it needs an adult every time, decide who will do that bit and where the child can safely put the tray in the meantime. If the only workable spot is out of the room, check that the kit can travel without being tipped. A smaller everyday set might travel better while the larger school project gets a separate resting place.
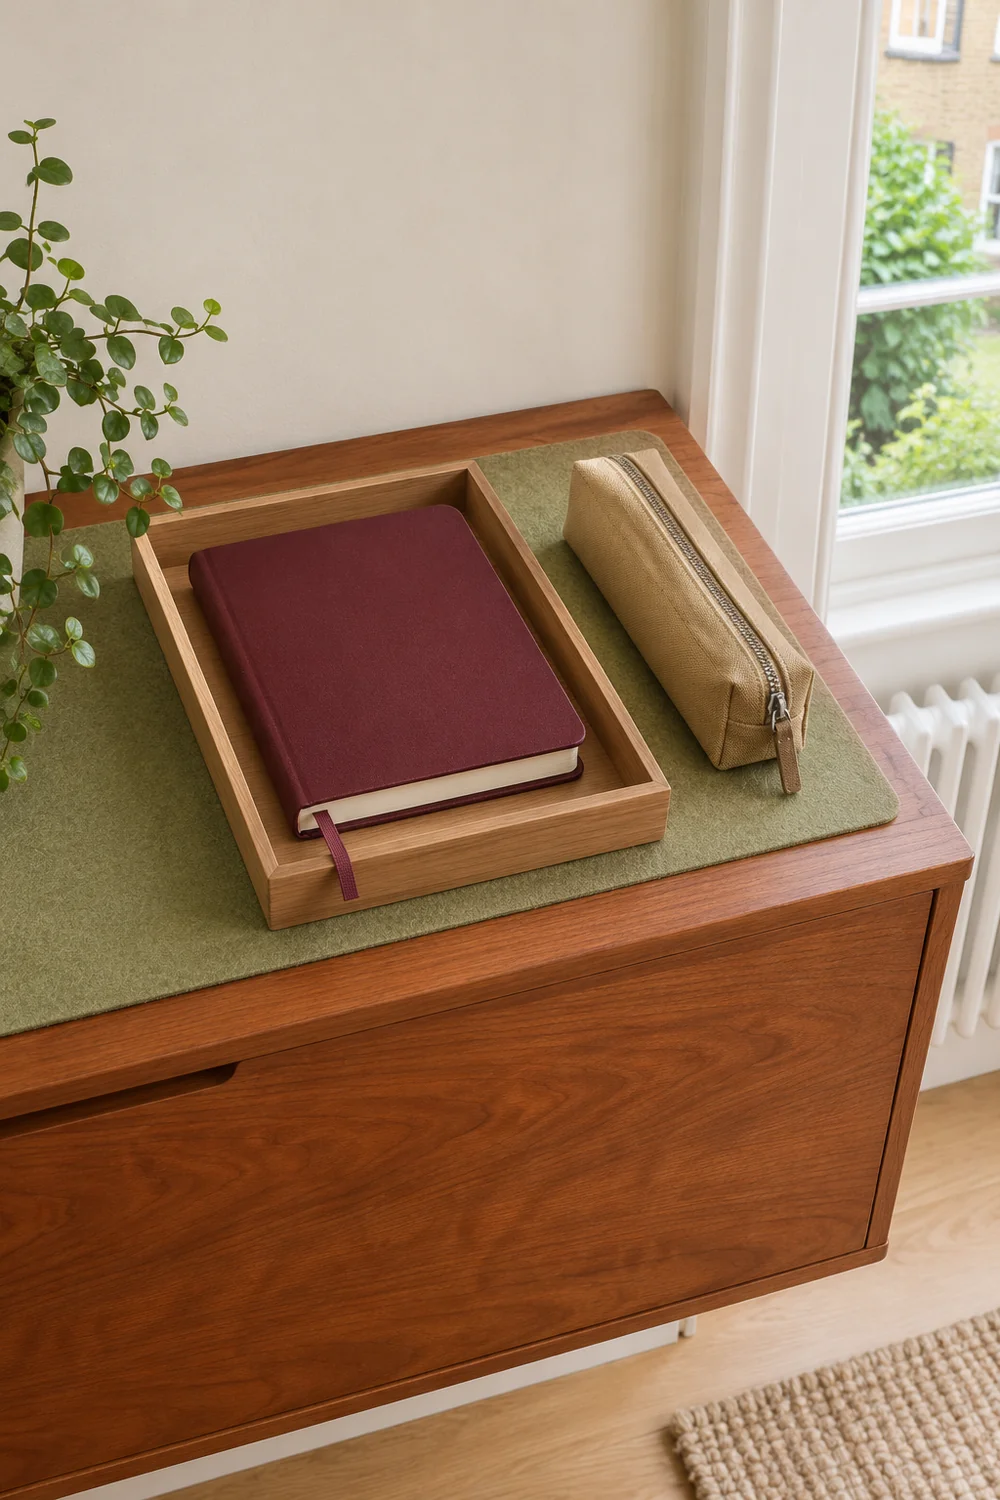
Mark the landing spot on the drawing only after you have moved the work there and brought it back. At this point you can keep using the things you tested. My homework station storage guide covers choosing and measuring a caddy or sideboard shelf once you know what the spot needs to hold.
Give the homework arrangement ten ordinary minutes. Ask your child to sit with an open notebook. Sit beside them for the part where they typically need help. Leave the bag and pencils where they would actually land. Then set the table as you would on a normal evening. Use your real plates and an empty dish for the serving test. Note the first point where either setup stops working, because that’s usually the easiest and most valuable thing to fix.
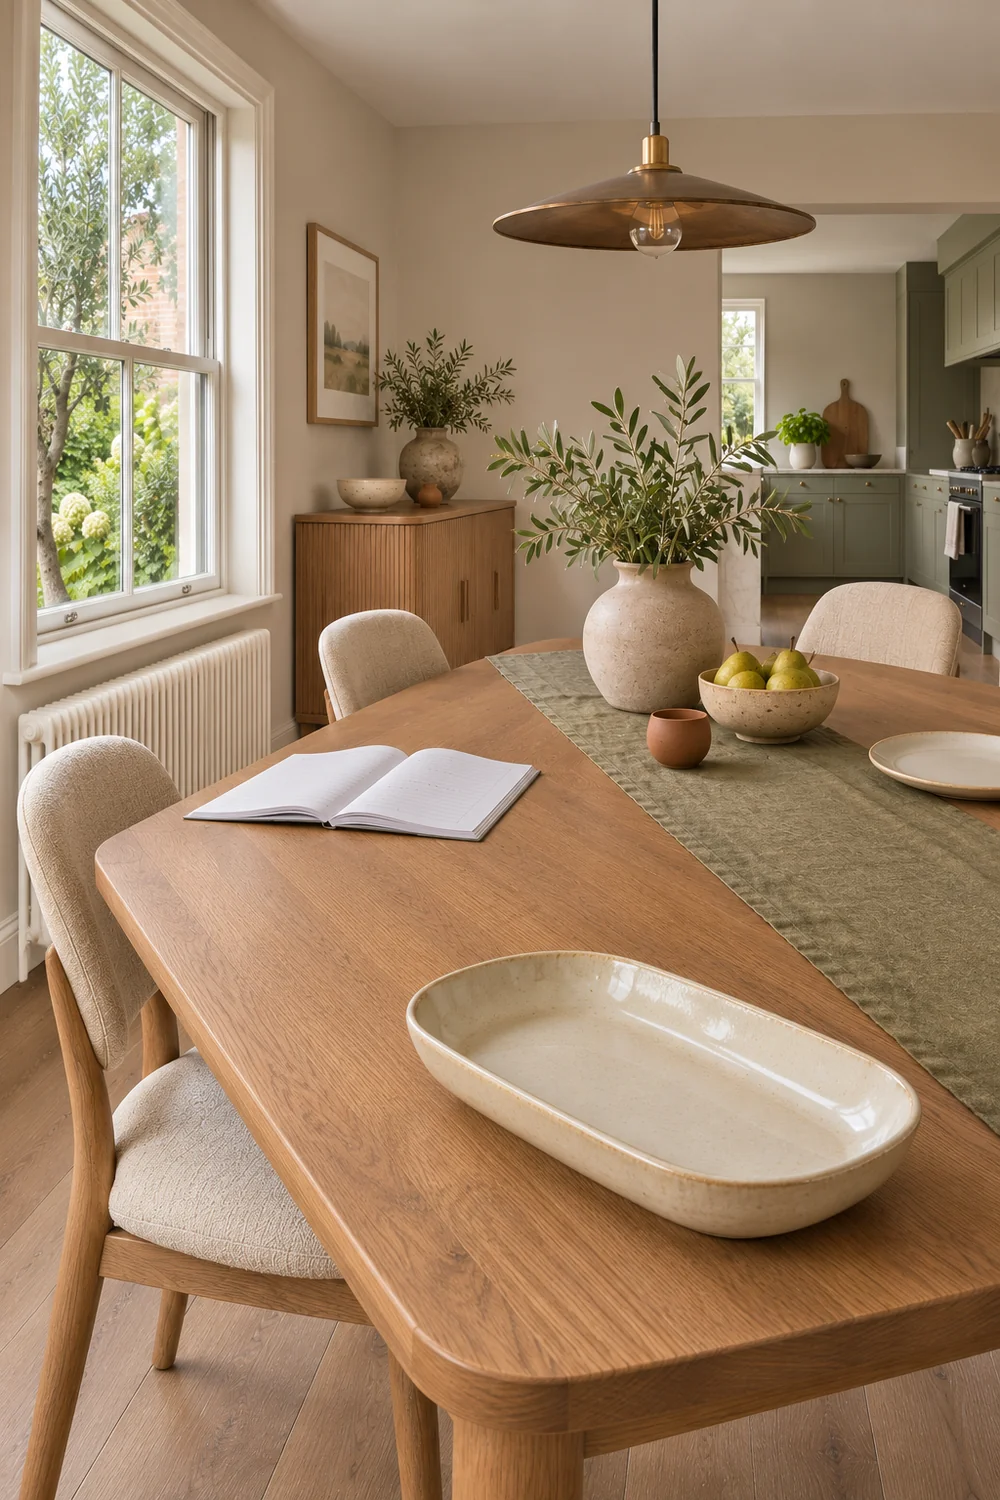
Try clearing in the order you expect to use. Put finished work into the bag, move the active page with any pieces it needs, and put the little supplies back. If your child intends to return to the same work after dinner, leave the bookmark or active sheet at the top. Set the places. Then reverse those steps once. In the example room, the reset is successful when the active page reaches the sideboard intact and all four seats are available without moving the table.
Pay attention to the hidden extra trips. If the child carries the pencil box to the cupboard, comes back for a folder and then looks for space for the ruler, that’s an unresolved part of the plan. Move the supplies that travel together into one temporary container and see whether the return is easier. If work is waiting next to a place used for hot dishes, choose a different landing spot. I’d move the dinner objects back to where they naturally go before deciding that the school setup is finished.
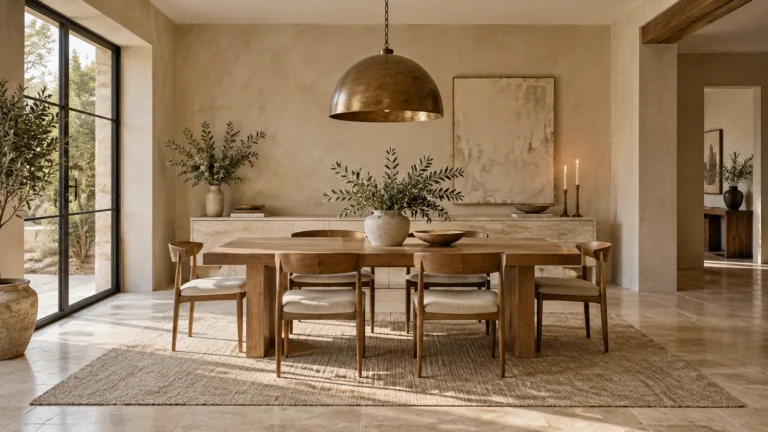
For another example of testing two uses with the furniture actually occupied, see my small modern dining room guide. Its two seating arrangements are useful here because the room only passes when the change works in practice. At your table, a successful trial leaves people seated comfortably, a clear serving route and a page you can find again without sorting a pile.
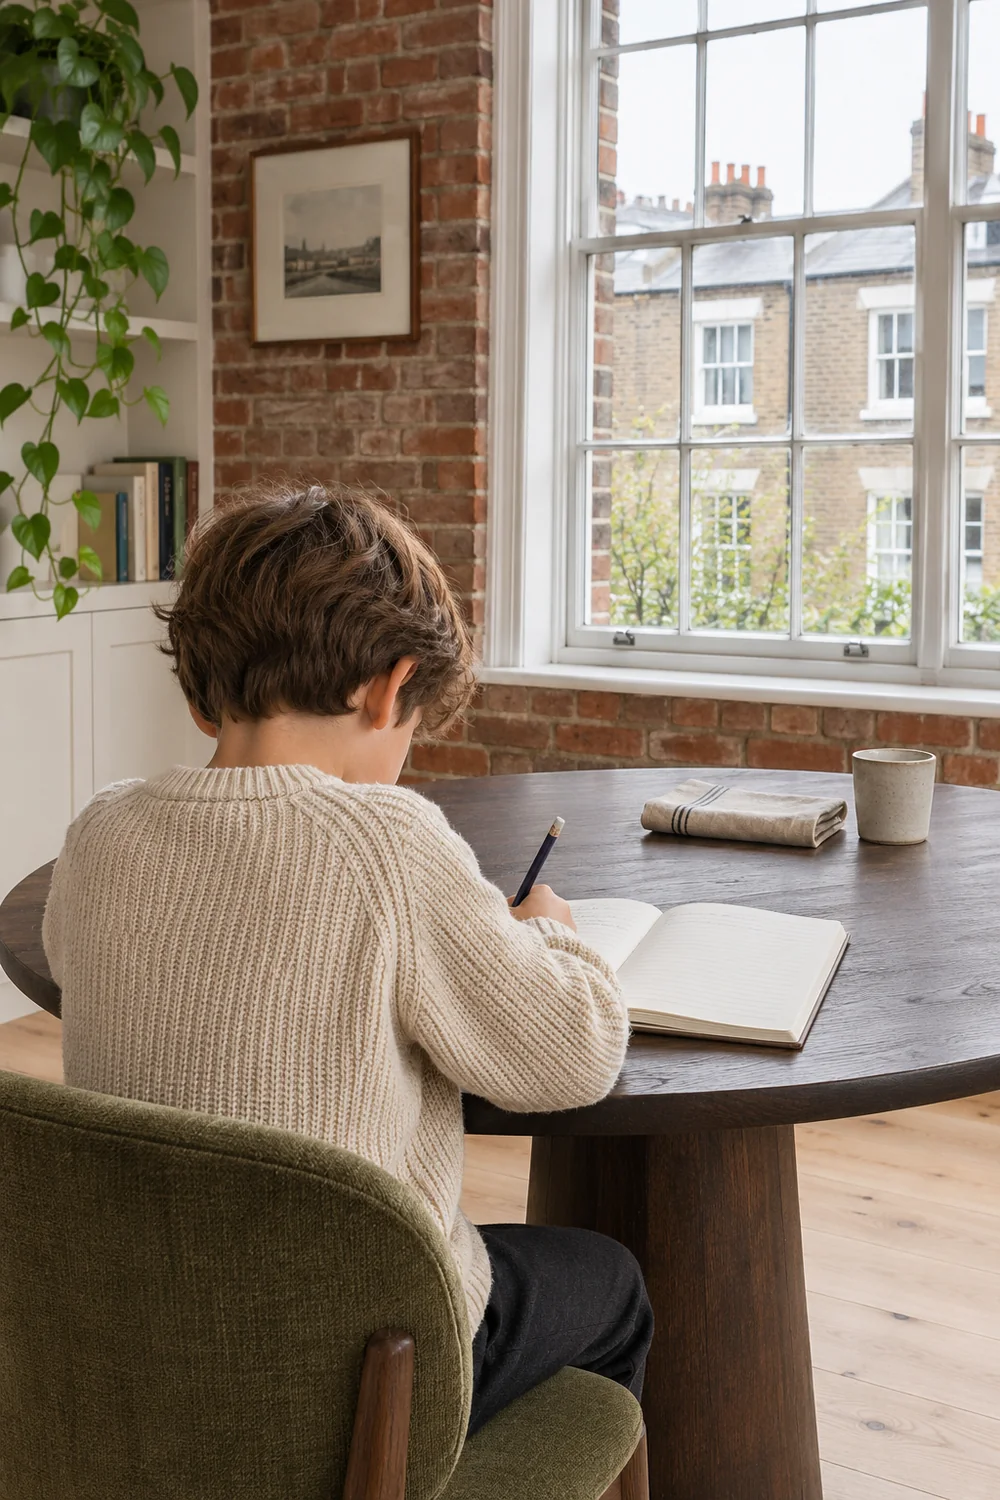
If your child comes back to finish after the meal, repeat the return in the real dinner arrangement. Find out whether they can lift their tray while someone is still seated or whether you need to wait until the chair is free. A plan that works only after every plate has been cleared may suit your evening. A child who usually finishes one last line before the plates are lifted needs a landing spot they can reach earlier.
Put the homework seat, the helping seat, the serving route and the landing spot on a single piece of paper. Circle any choice you’re still testing. Leave that drawing at the sideboard or inside the cupboard for the first few evenings. Check it again on a different school night, when the workload is bigger or the light comes from a different direction. A change in the homework may only require a different tray. A recurring collision at the kitchen door calls for a change to the layout. I’d let the family try the simple arrangement for a week before making a purchase. When the same table can hold the work and then a meal without a rummage for missing pages, the room has a rhythm worth keeping.