Newsletter Subscribe
Enter your email address below and subscribe to our newsletter

If your narrow rented hallway is hard to see when you come home, I would plan the light from the front door inward. Start with the moment you turn the key, step inside and look for the next switch. A ceiling fitting in the middle may be doing its job while the lock and threshold sit in shadow. The spot that most needs a lamp may also be the spot where the door opens or where the cord cannot reach. This dark hallway lighting plan turns those constraints into decisions you can make before shopping. You will mark the route, find the worst gaps, draw the useful sockets and test a couple of positions with something you already own. The result is a plan you can explain in one photograph and a marked sketch.
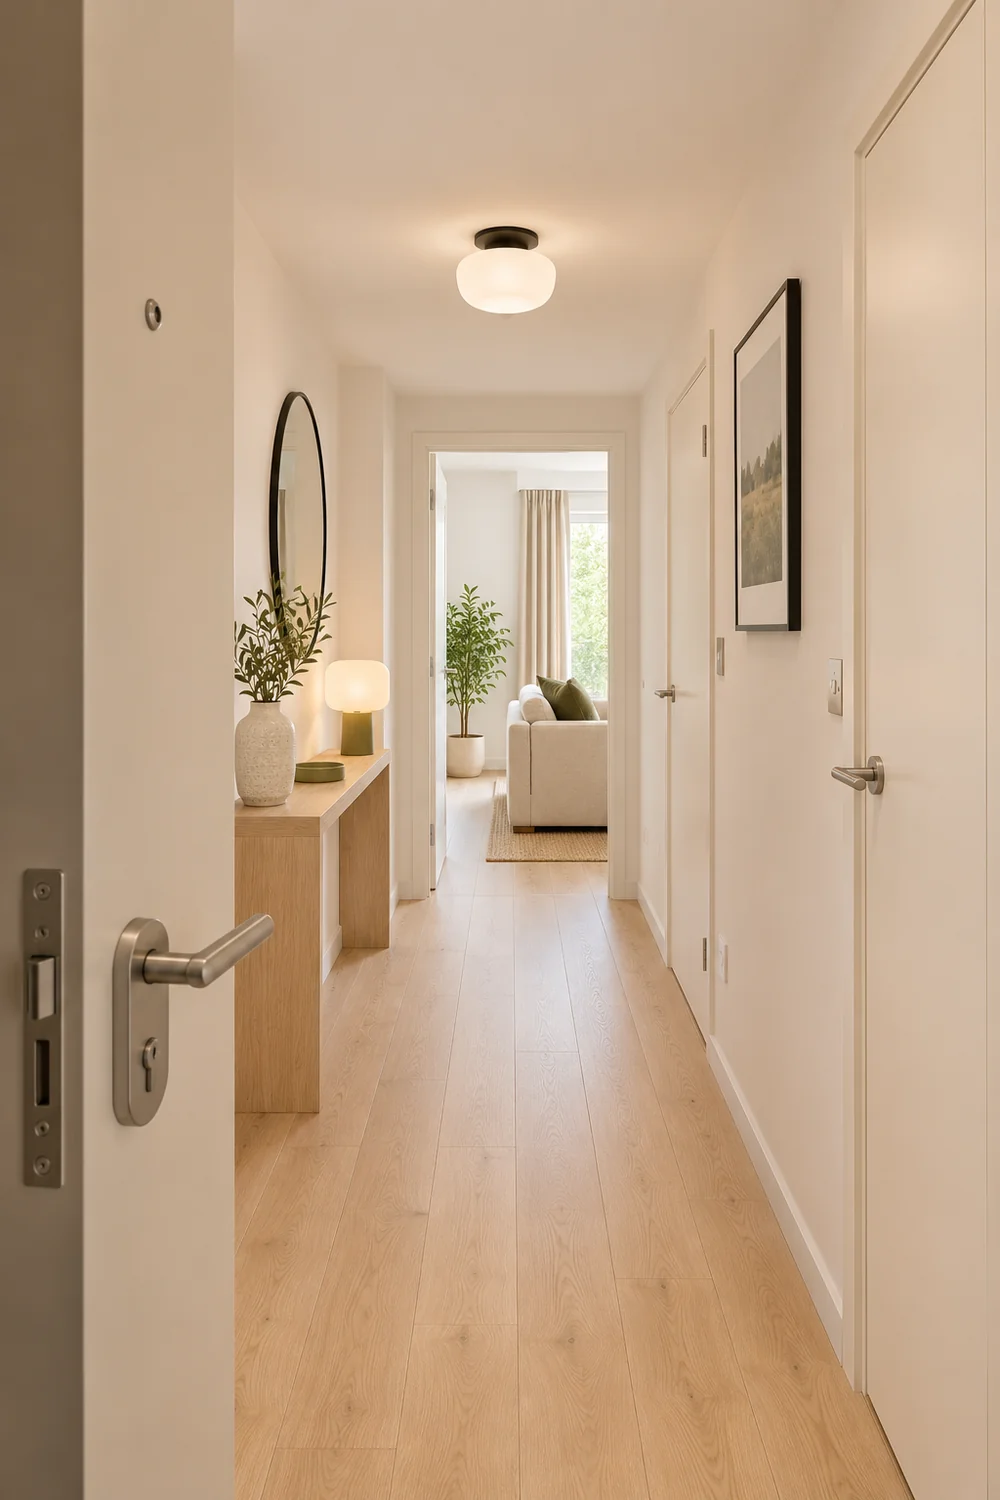
Draw the front door, the openings you use every evening and any corner that interrupts the view. A sheet of squared paper is enough. Measure the usable hall width where you actually walk, including the radiator, open door handles and anything that projects from the wall. Record where the front door and the nearest inside door swing. Check with the doors open as far as you normally open them. A recess that looks empty from inside the flat can vanish when you arrive carrying a bag.
I would draw the route last. Trace the first steps from the main door to the inside switch and onward to the room you usually enter. If the flat has more than one resident, do the exercise from both directions and ask where you naturally reach out or slow down. When you read the small hallway guide for ideas about proportions, compare its slimmer treatments with the route you have drawn. Any piece that shrinks the useful route stays off this plan.
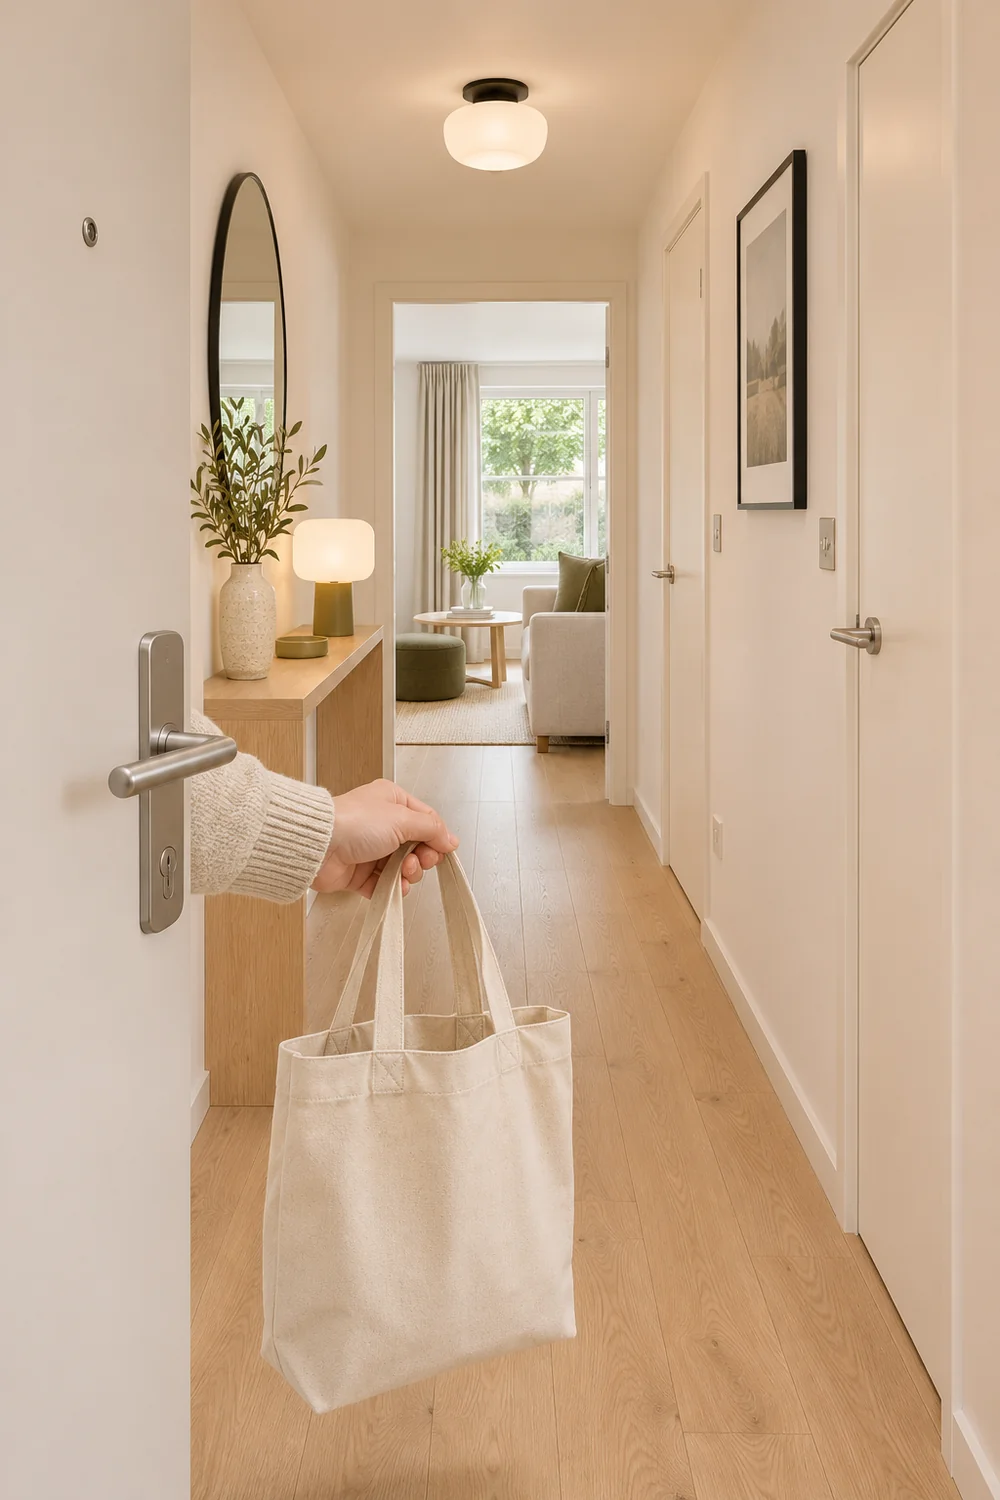
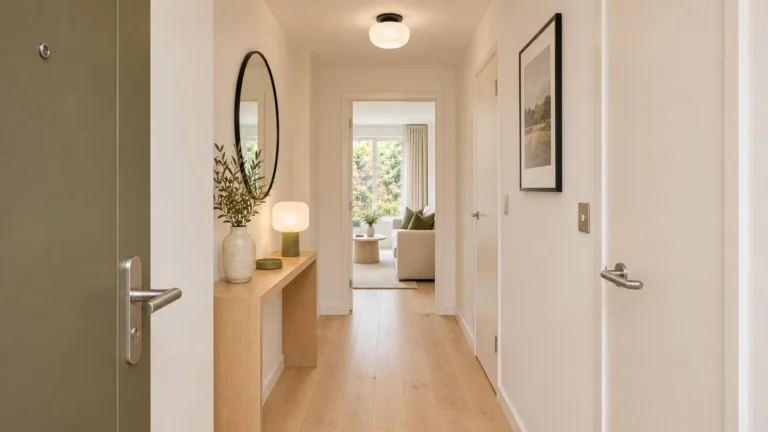
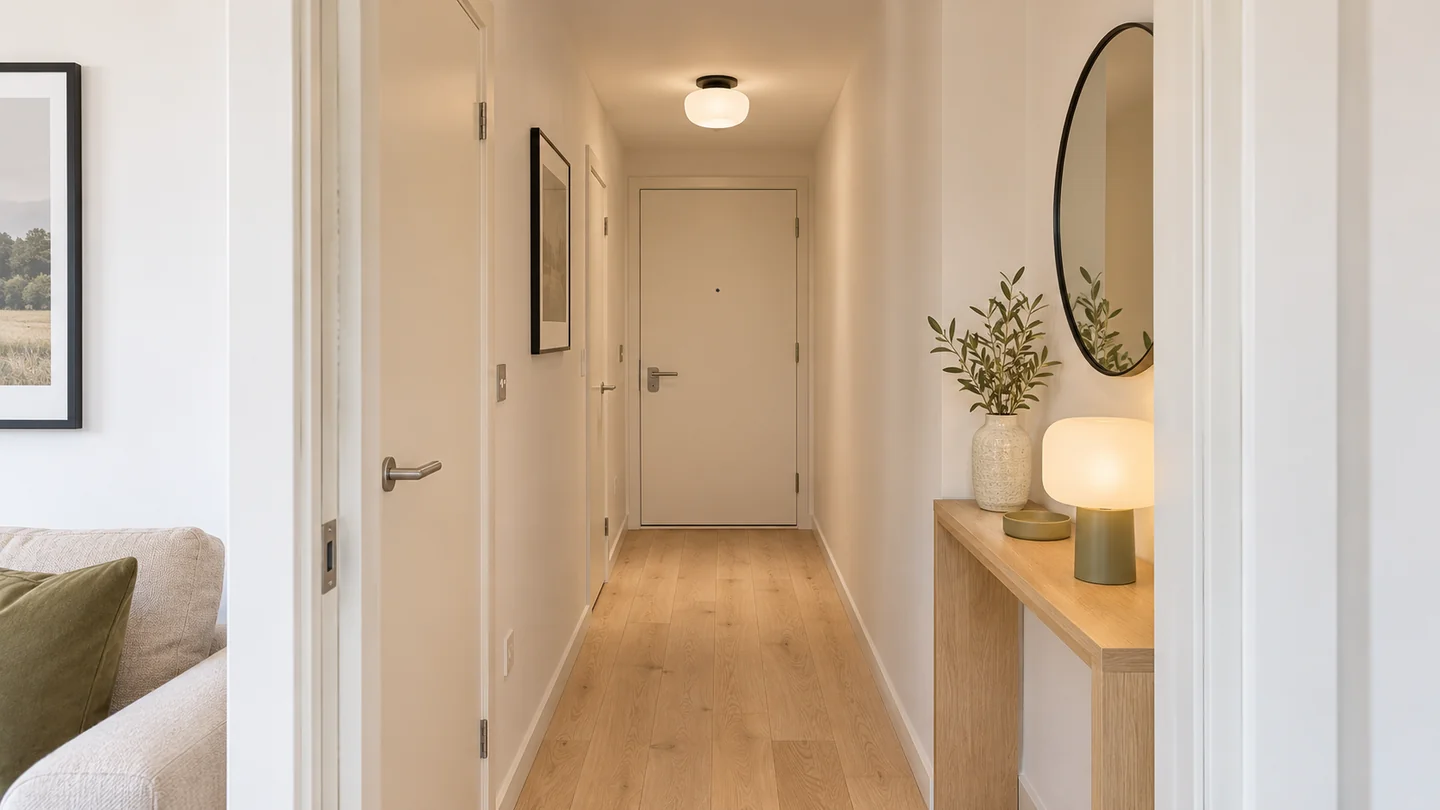
My worked example is an internal hall about 3.4 metres long and 96 centimetres wide before projections. The flat has a warm white front door that swings inward on its hinged side. The living room is near the far end. A shallow, stable oak console already sits in a recess on the right. There is a ceiling light near the middle and a socket alongside the console. There is no socket at the front door. The numbers describe one example, so take your own dimensions before trusting any placement.
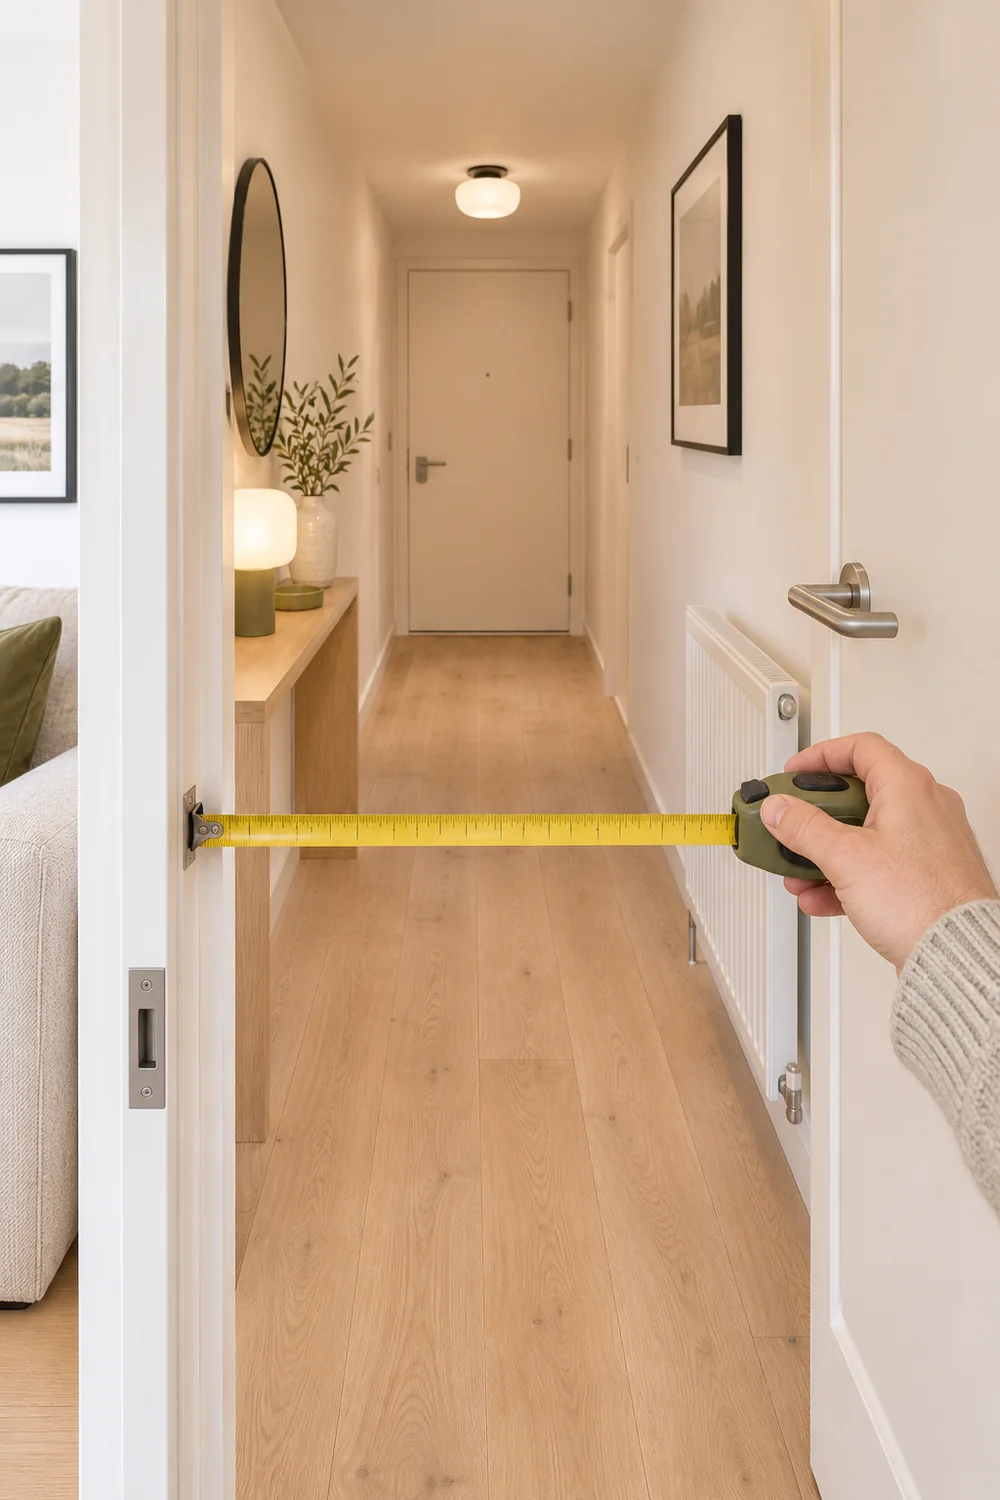
On the sketch, shade the open door arcs and mark the console footprint. At the front of this example the clear wall beside the lock looks tempting, but the leaf hides part of it when it opens. The console is useful farther in because the lamp can sit within its existing footprint. With the plan flat on a table, you can see the difference between a place a light could physically sit and a place it can illuminate as you enter.
Use the hall inside your own flat for this exercise. Keep communal entrances and escape routes clear. If the problem is a failed fixed light or safety lighting in a shared corridor, report it to the landlord or building manager. Start the design work with the routes and working fittings you can actually control.
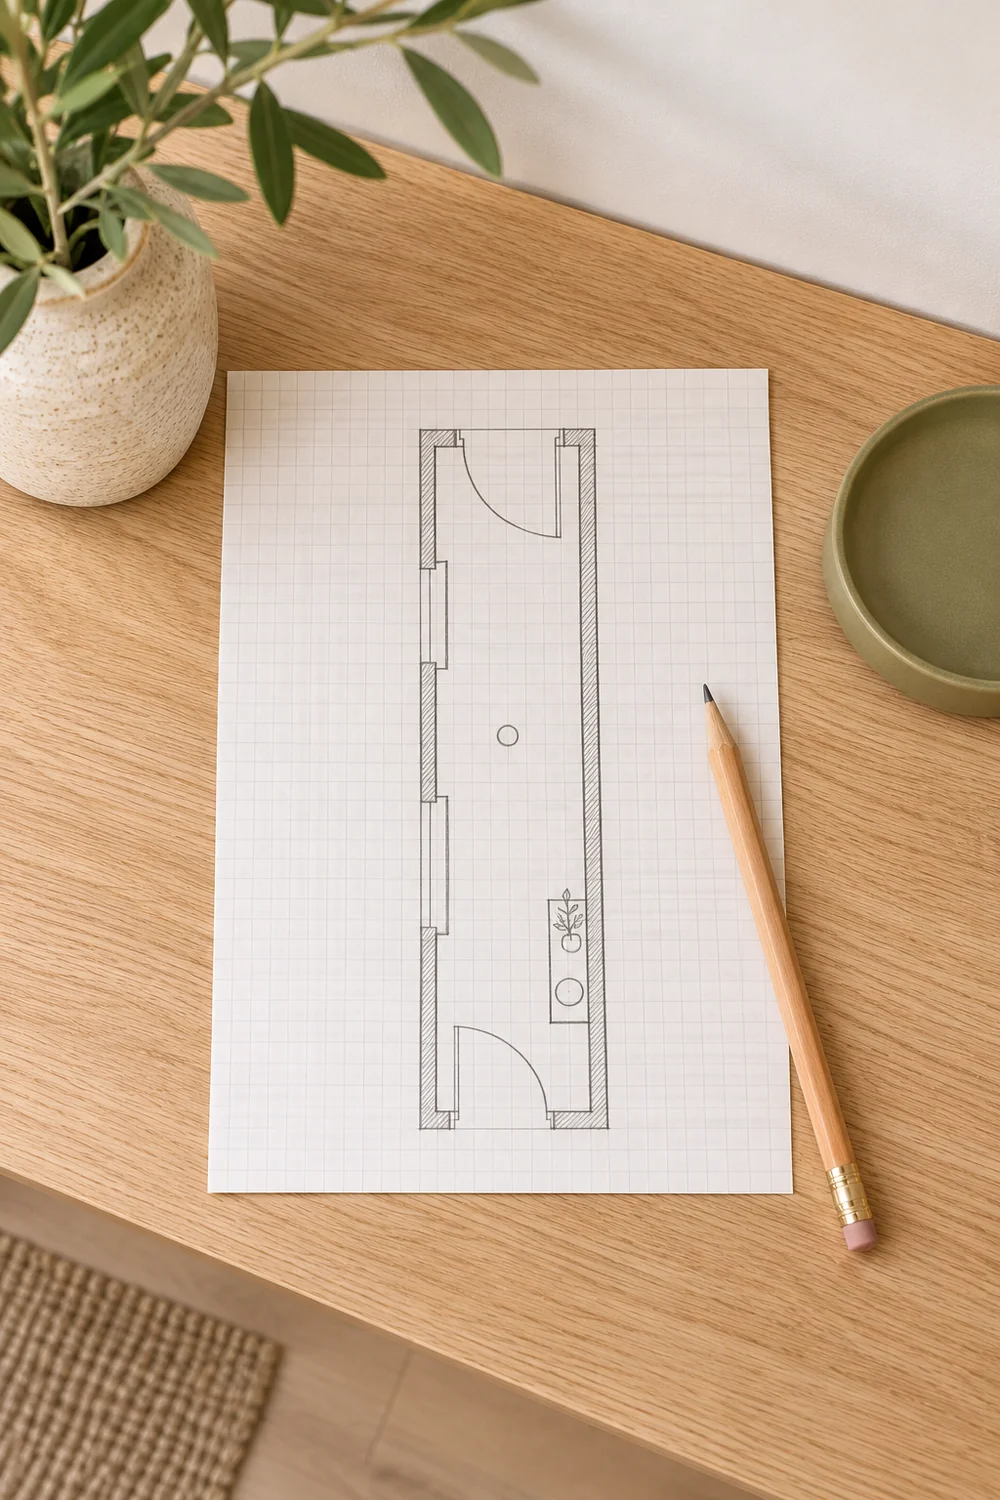
Walk the hall after daylight has gone, starting with the lights as you normally leave them. Pause at the front door and let your eyes settle. Ask what you are trying to see. At the door it might be the keyhole, the latch or a bag you need to set down. Farther in it might be the threshold between two floor finishes. Put a dot on the sketch where the task happens and a second mark where you would stand to do it. Those positions can be surprisingly far apart.
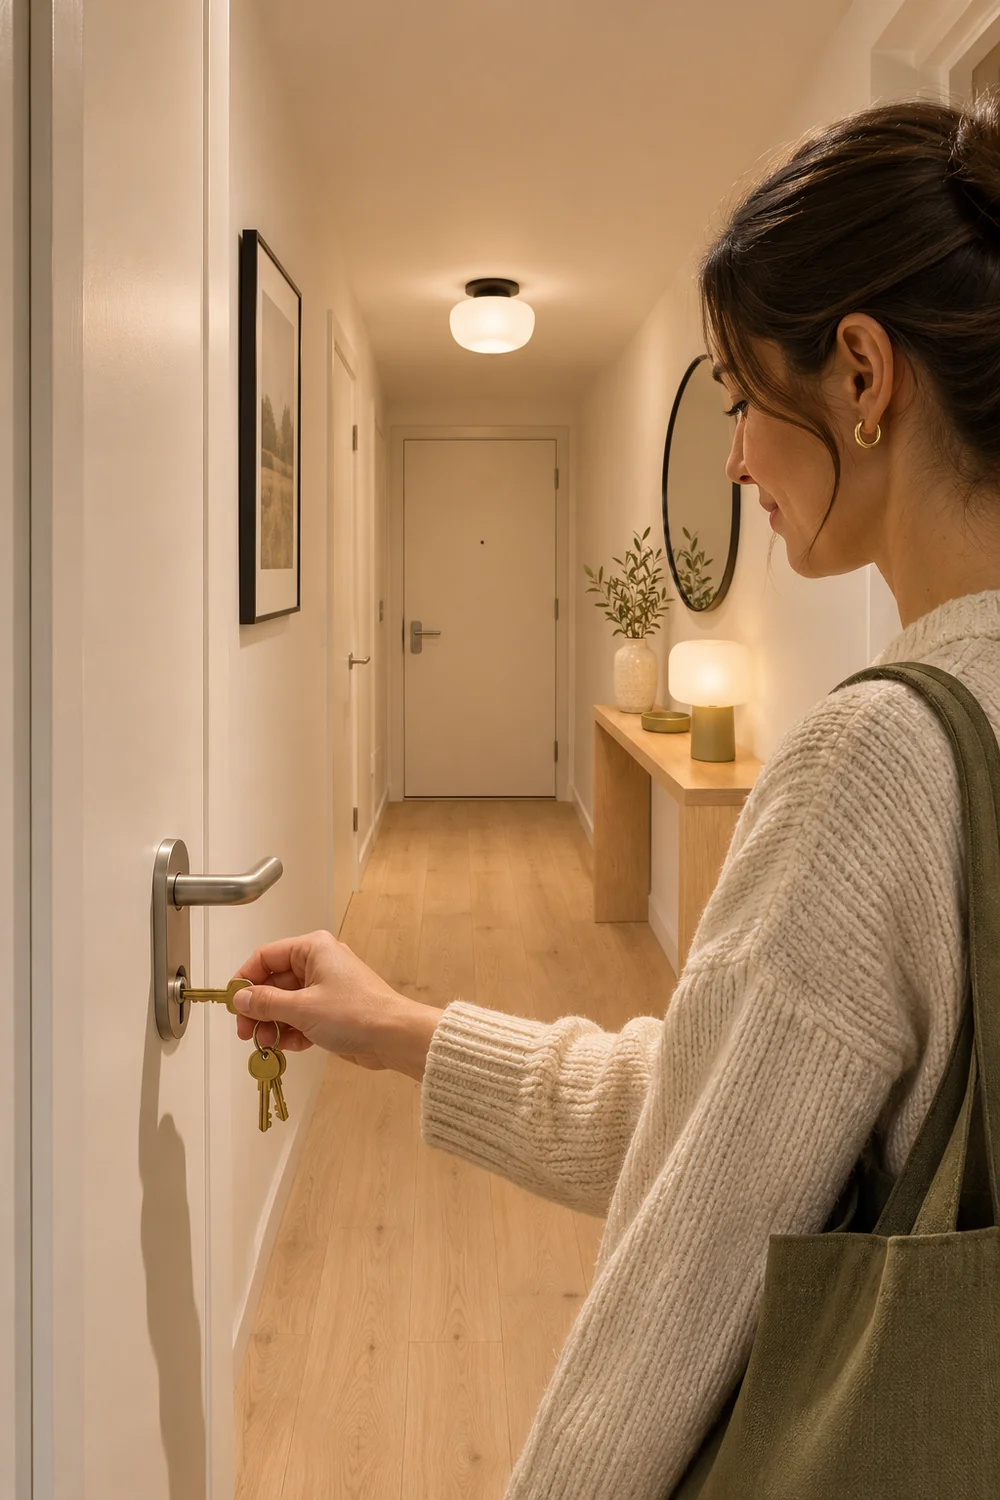
Next turn on the ceiling light. Check which of your marks still need help. In the example, the middle becomes legible as soon as the ceiling light is on, but the person entering still casts a shadow across the latch. The useful improvement is a brighter vertical surface beside the entrance, with some light spilling onto the first steps. A stronger lamp at the far end may light the view while doing little for the task.
I would distinguish between seeing your way along the whole hall and seeing something specific at the door. The modern hallway guide shows how general and task lighting can sit together. Translate that idea into plain jobs for your flat. Give one light the job of revealing the first threshold and let the existing fitting cover the middle when it already does. Mark the two most consequential dark spots even if a single new source eventually covers both.
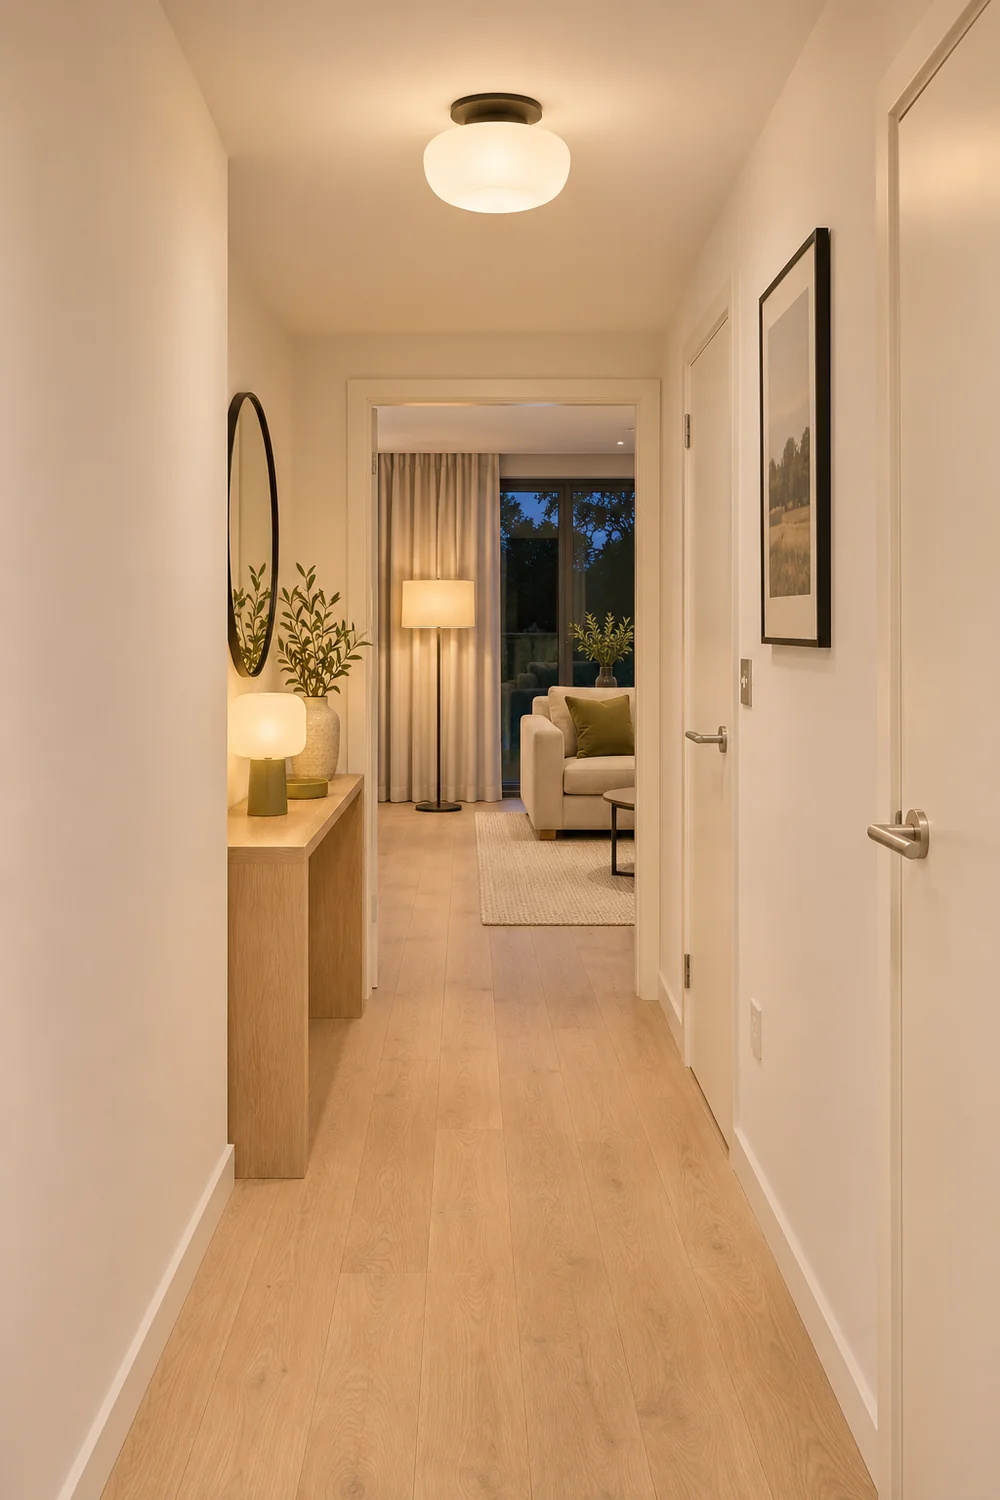
Repeat the walk from the living room with that room lit. Light behind you can make the far end of the hall look darker than it did from the door. Notice whether you can see the edge of the runner, the handle and the next step. If a mirror is already there, look at it from both ends. A reflection can make a hallway feel open, but it also tells you if you will see the emitter directly from one of the doorways.
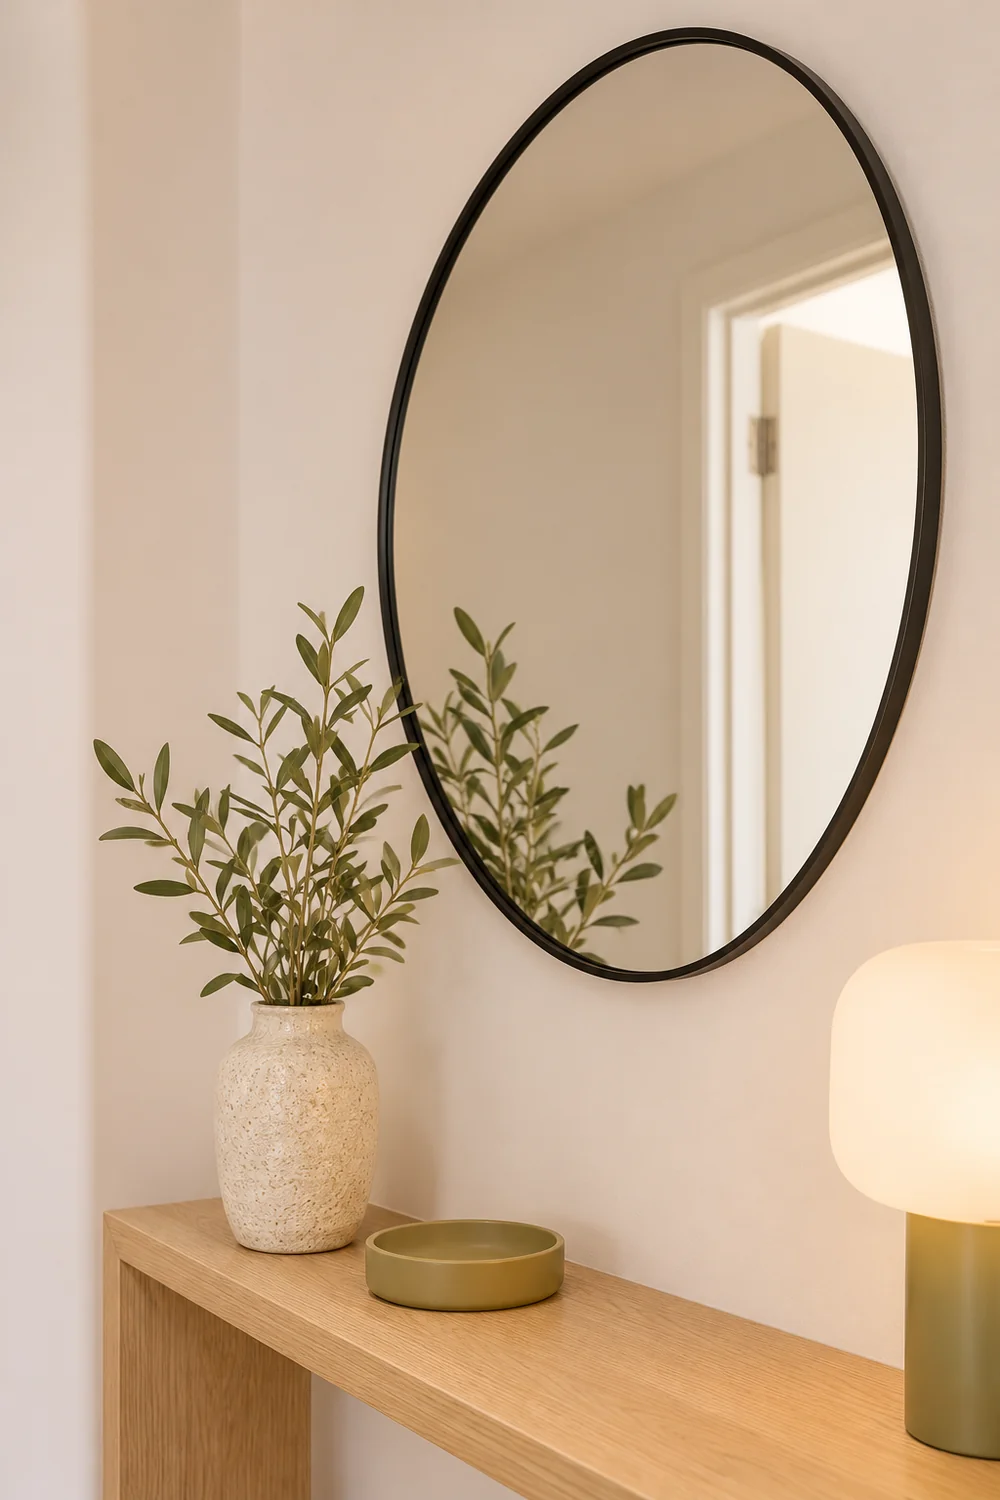
Write the location of every useful socket on the sketch. Add the position of the light switch and any support you already have, such as a stable shelf or recessed console. Mark whether the right wall and the left wall are connected by a continuous cable route on the same side of the hall. I would treat a floor crossing, a route through a closing door or a cord hidden under a runner as a reason to rule out that lamp position.
If an outlet is already used for a router or another device, mark it as occupied on the plan. Check whether the cable can stay on the same side without being squeezed between the unit and the wall. Take one photograph at socket height. It will show a skirting return, a door frame or a plug that protrudes farther than your plan suggests. I would keep that photograph with the measurements rather than trust the nearest socket in a listing photo.
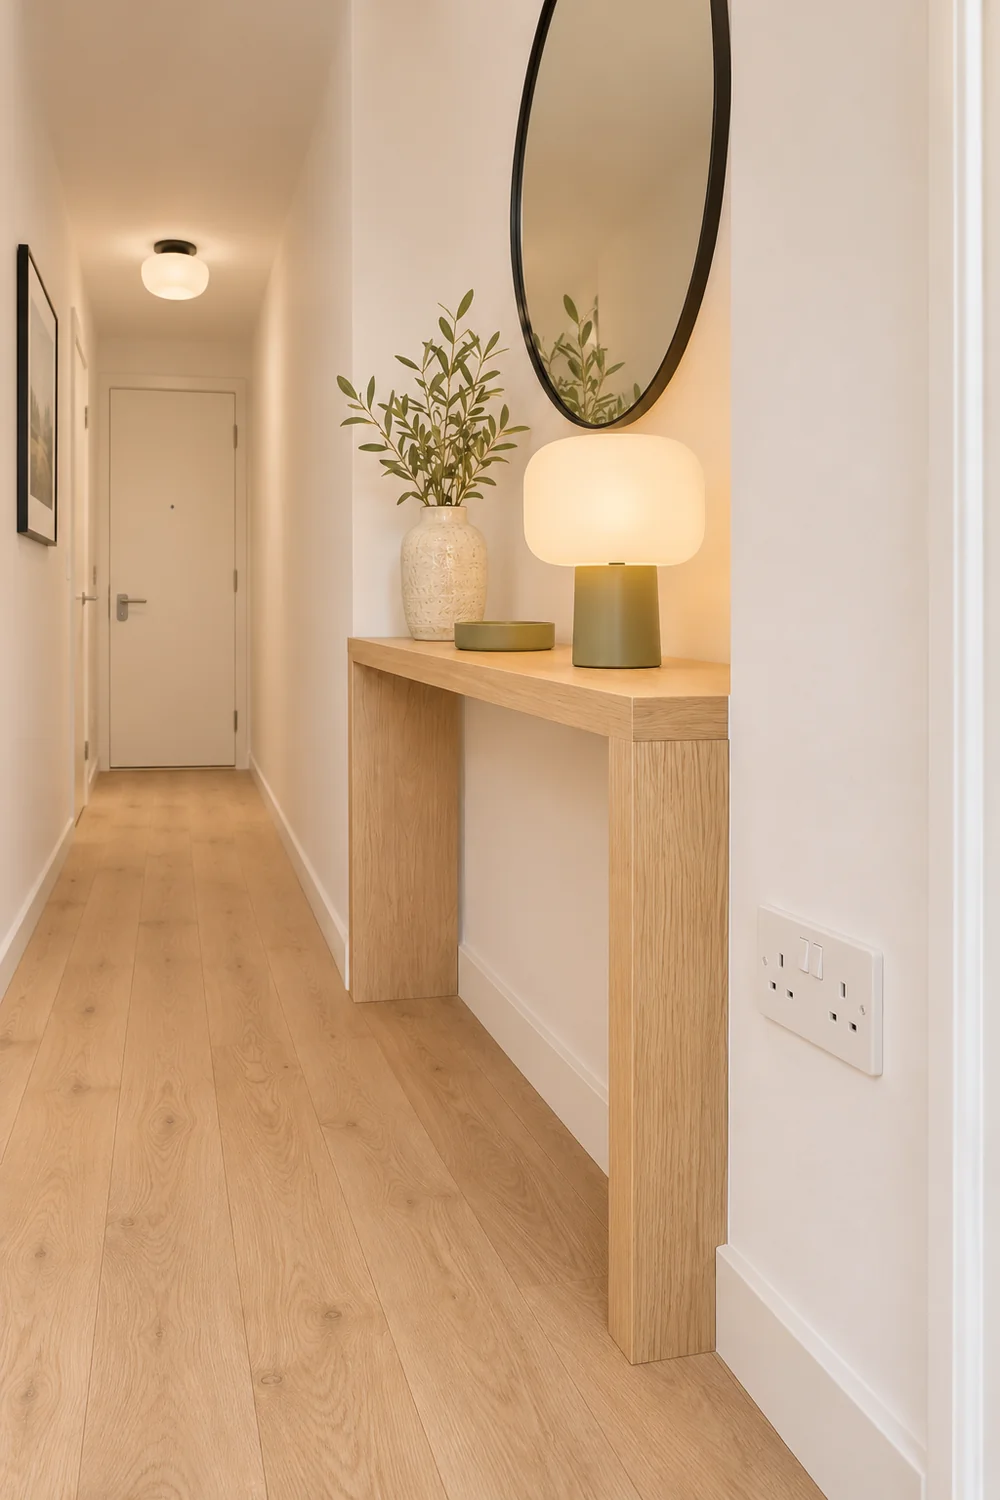
In the worked example the console socket belongs to the far end of the plan. It can serve a light on the console, because the cable can stay alongside the unit and clear of passing feet. It cannot sensibly serve a light at the front door if the path would cross an opening or run along the busy threshold. Mark the door end as needing an option that uses no cord there. That small decision is worth making on paper before an attractive lamp goes into a basket.
Record what you know about the wall. In one flat the lease may allow a fitting in an existing mounting point. In another the finish or terms may rule out fixings and adhesive. Treat an uncertain fixing as unresolved and record a placed option you can test. The renter friendly wall decor guide explains how to separate pieces you can simply place from pieces that rely on an existing fitting or permission. Apply the same distinction inside the hall.
Where there is already a working bulb, check what the existing fitting accepts before considering a compatible replacement. Record whether a warmer or more diffuse appearance is the aim, or whether the light is in the wrong place altogether. An easy bulb change can improve the quality of an existing light. The plan still needs to account for the dark spot it cannot reach. If the fitting itself is faulty, raise that before trying to work around it with accessories.
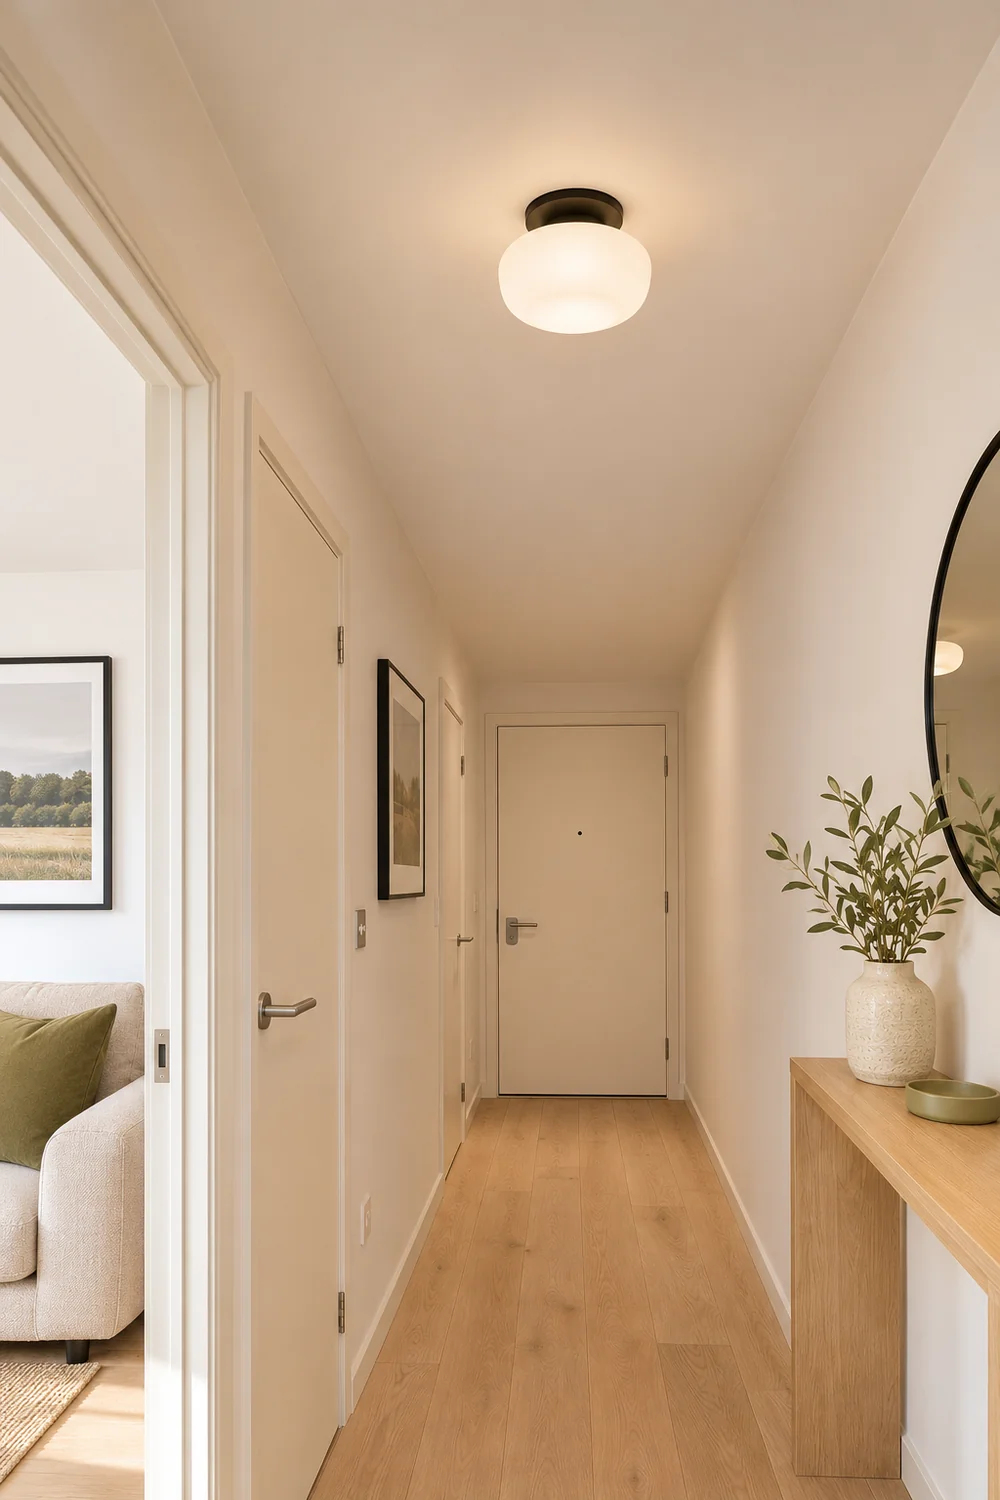
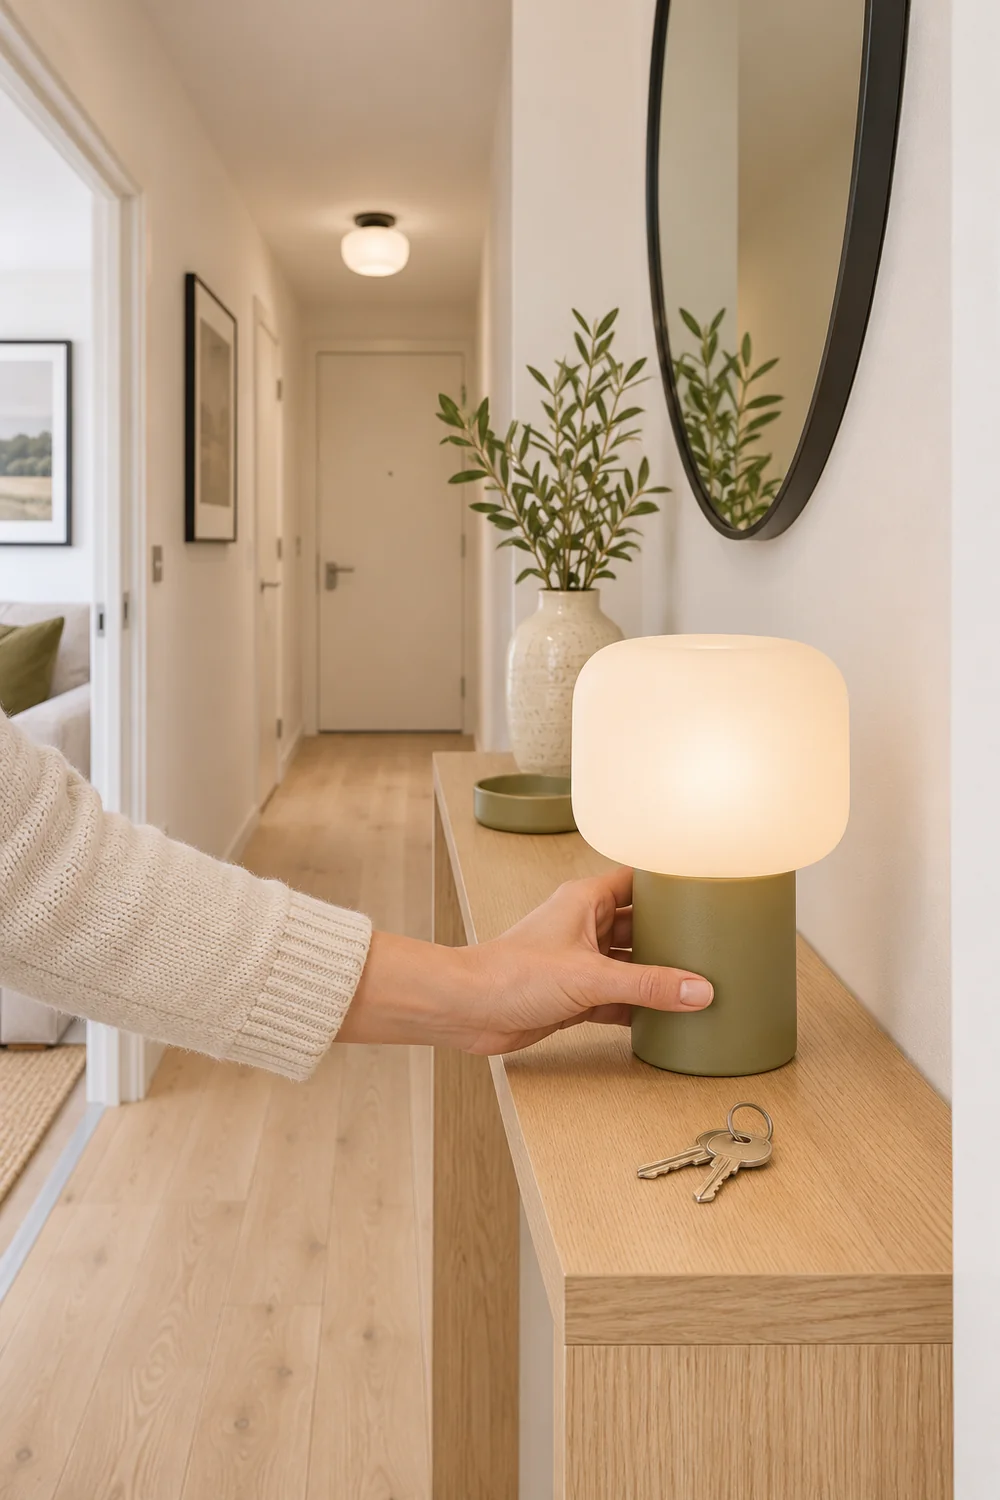
Use a lamp you already own on a stable surface if it fits, or hold a torch while another person checks the route under the normal ceiling light. For a hands free check keep the torch on a stable, suitable surface. I would try a low, shaded light on the existing console first. Direct it toward the wall or let a shade spread the light rather than pointing a bright beam down the corridor. Walk through with your usual keys, bag or shopping so the test reflects how you arrive.
Try the same light or a portable light nearer the entrance when a suitable surface already exists. If the front door has no usable surface, keep the route clear and test the direction by holding the light from a position where it could legitimately go. A position that depends on a new shelf, a fix to the wall or a support in the walking line goes on a separate list until you know it can work. The visual examples in the small neutral hallway guide are useful for seeing how light can land on a wall as well as on the floor.
Test the lamp with the key tray and any objects you use still in place. A shallow console can hold a lamp on paper and lose the necessary space once you add the bits that live there every day. Give yourself a clear landing place for keys without pushing the lamp nearer the edge. If the only way to fit it is to clear the console every night, mark that position as a weak choice and try another.
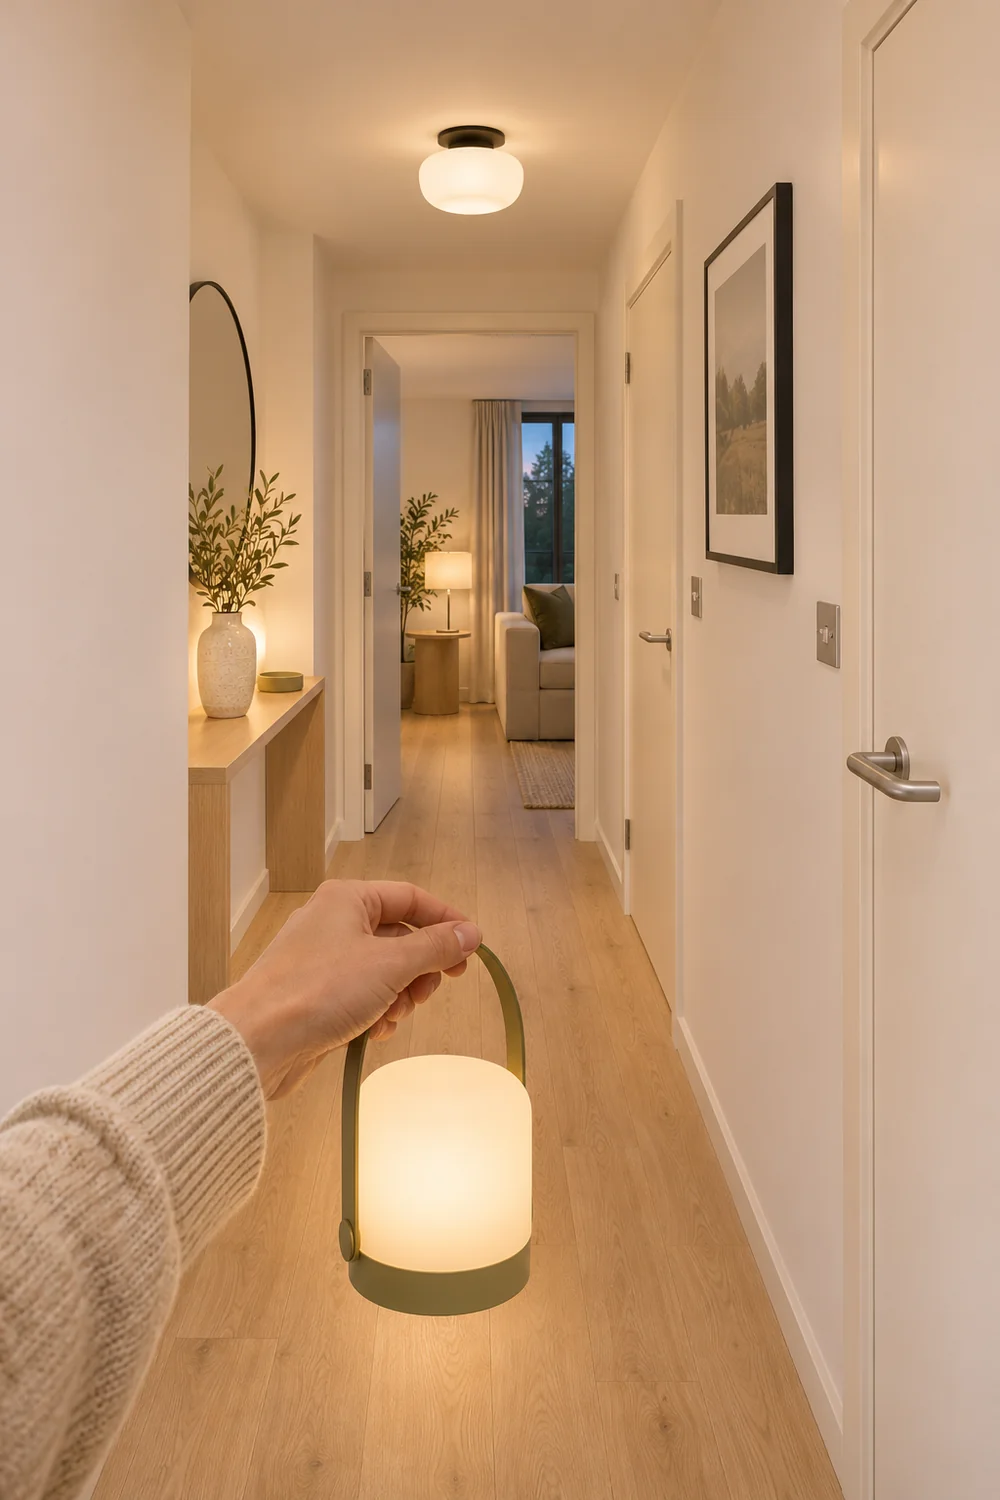
In this example I would try two versions. In the first, the console light is the only addition. It softens the view from the living room and may reach far enough toward the entrance if the shade is open. In the second, a movable light closer to the front door takes the first task while the ceiling light covers circulation. Stand beside the door like someone letting themselves in. Choose the version that gives the threshold useful light without adding an object to step around.
Start at the front door with the ceiling lamp switched on. Walk to the living room, look back and then make the return trip. Open the relevant doors and watch what happens to the beam. If the door shuts off most of the light, move the position on the sketch and repeat the check. An attractive view from one end can still leave a bright bare source at eye level from the other.
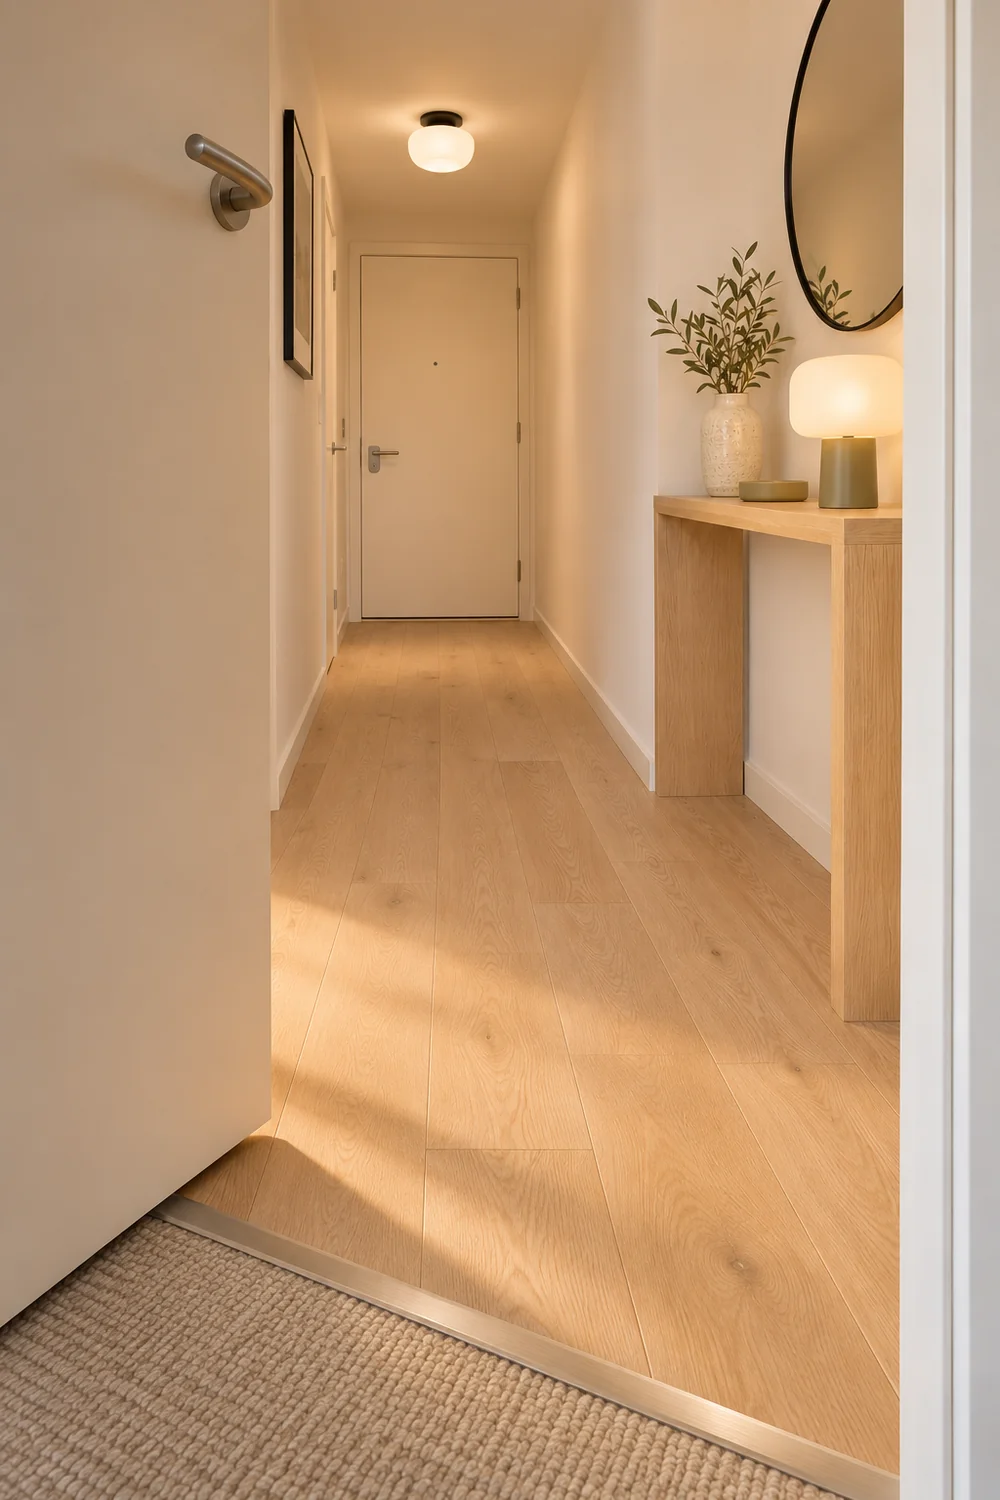
I would run a second check with the household using the usual evening settings. Look at the locks and the edges of the floor. Check whether you or anyone you live with can enter and reach the intended switch without taking an extra step into shadow. Have one person stand in the usual spot while another approaches from the far end. In a narrow hall a person and a door can cover nearly all of a useful light path. Mark where the test changes when someone is standing there.
Make a simple pass or revisit note beside each dot. A useful pass describes what became easier to see, such as the keyway from the first step or the edge of the threshold from the living room. A revisit note should say why. It could be a beam blocked by the door, a bright source in the reflection, a position with no usable power, or a lamp base that takes over a surface already needed for keys.
Check the plan on an ordinary evening again. If another room routinely throws light into the hall, start with that room as you actually leave it. Photograph the same view with the proposed test light in two positions and use the photographs as a record of placement. Trust what you could see in person when the camera makes both versions look equally bright.
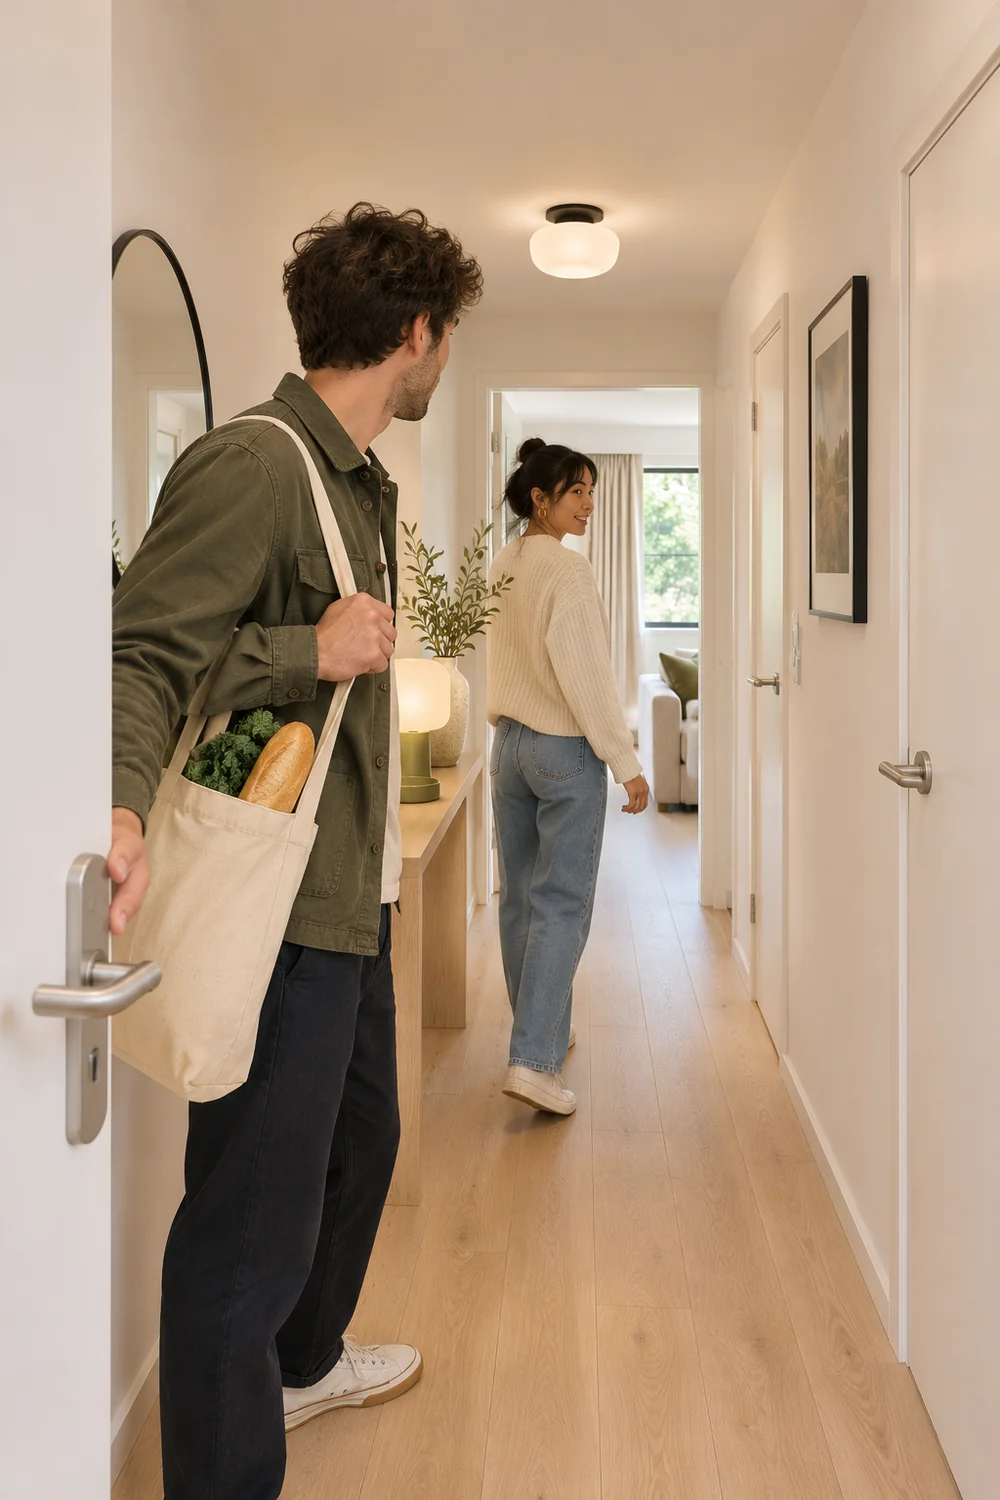
Write one line for each position you would carry forward. Include the light job, the nearest switch and how you would support the light. In the example, the console has an existing socket and room for a small shaded light within its top. The door end has a legibility problem around the latch, no practical cable route and limited support. This gives the two spots different requirements and stops you from buying a pair simply because they match.
Photograph the finished sketch next to a view of the hall from the front door. Add the inside view when the doors affect it. If you share the flat, let someone else follow the sketch and see if they identify the same places without you pointing. The plan should still make sense if you come back to it next week with several products open on your phone.
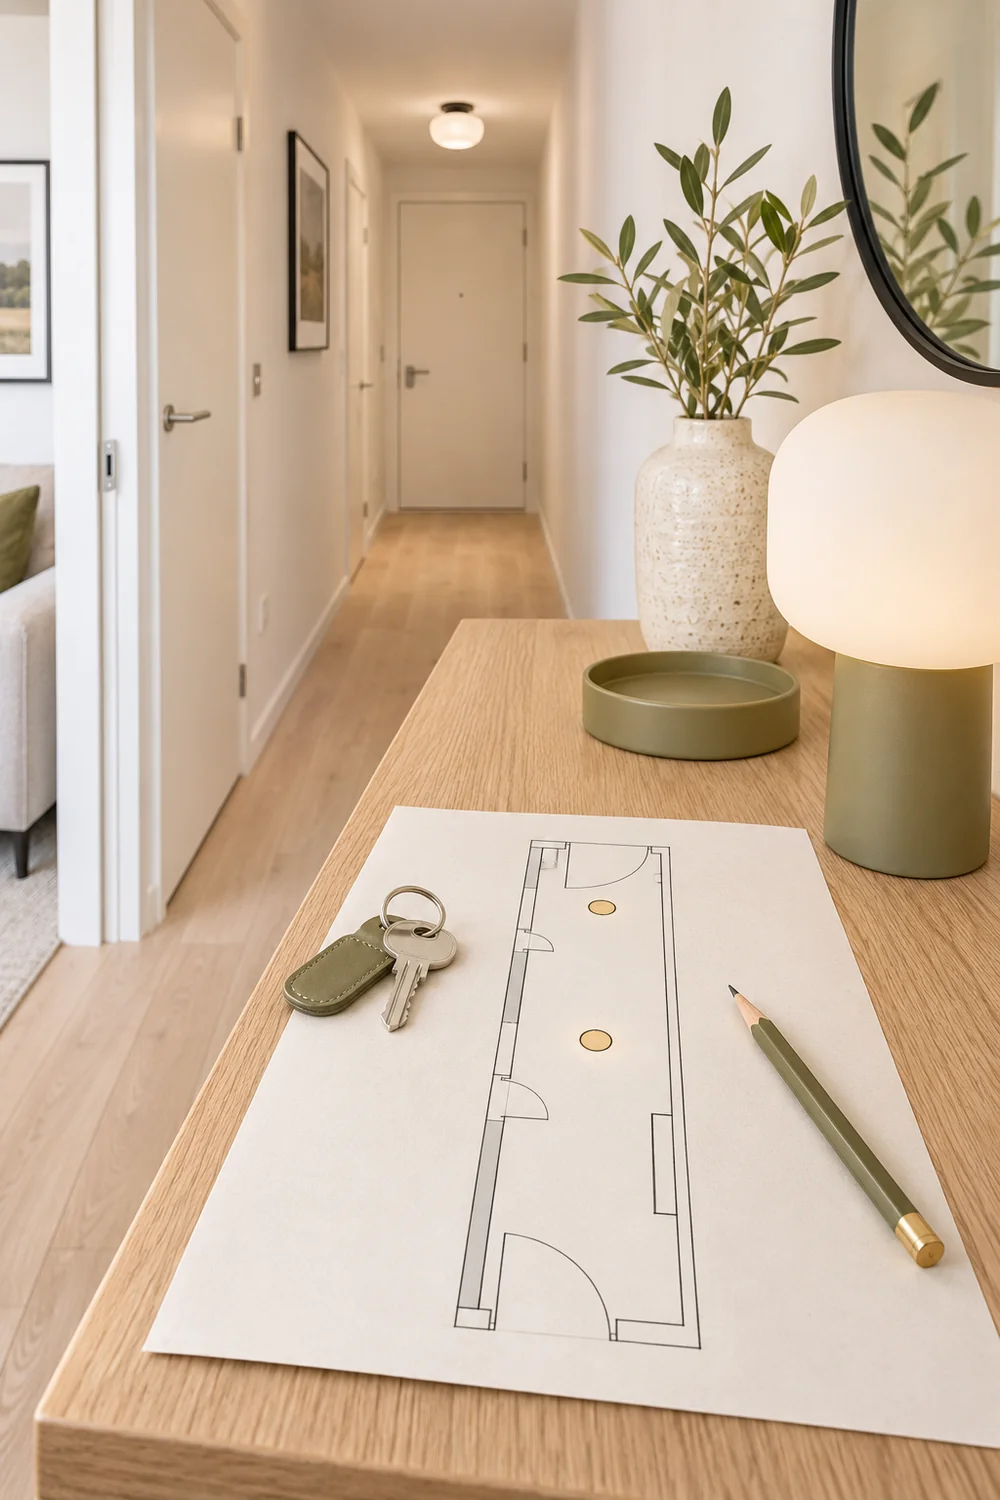
Once the positions are clear, use the rental hallway lighting guide to choose a fitting for each useful spot. The comparison starts with surface area, switching, cord reach and charging, so take the sketch and your notes with you. I would keep the original ceiling fitting in the picture while you choose. When it already covers part of the journey, the addition only has to solve the stretch you actually marked.
Before you buy, read the plan as if you were letting yourself in again. You should know where the dark spot starts, where the door swings, and which changes you can make within the flat you rent. If only one position passes the mockup, start there. If both are useful, keep their jobs separate so you can judge each one after dark. Write down one thing you expect to see better at each spot and keep that note beside the map. It gives you a clear check when the fitting arrives, and a sensible place to begin again if a piece of furniture or your usual route changes.