Newsletter Subscribe
Enter your email address below and subscribe to our newsletter

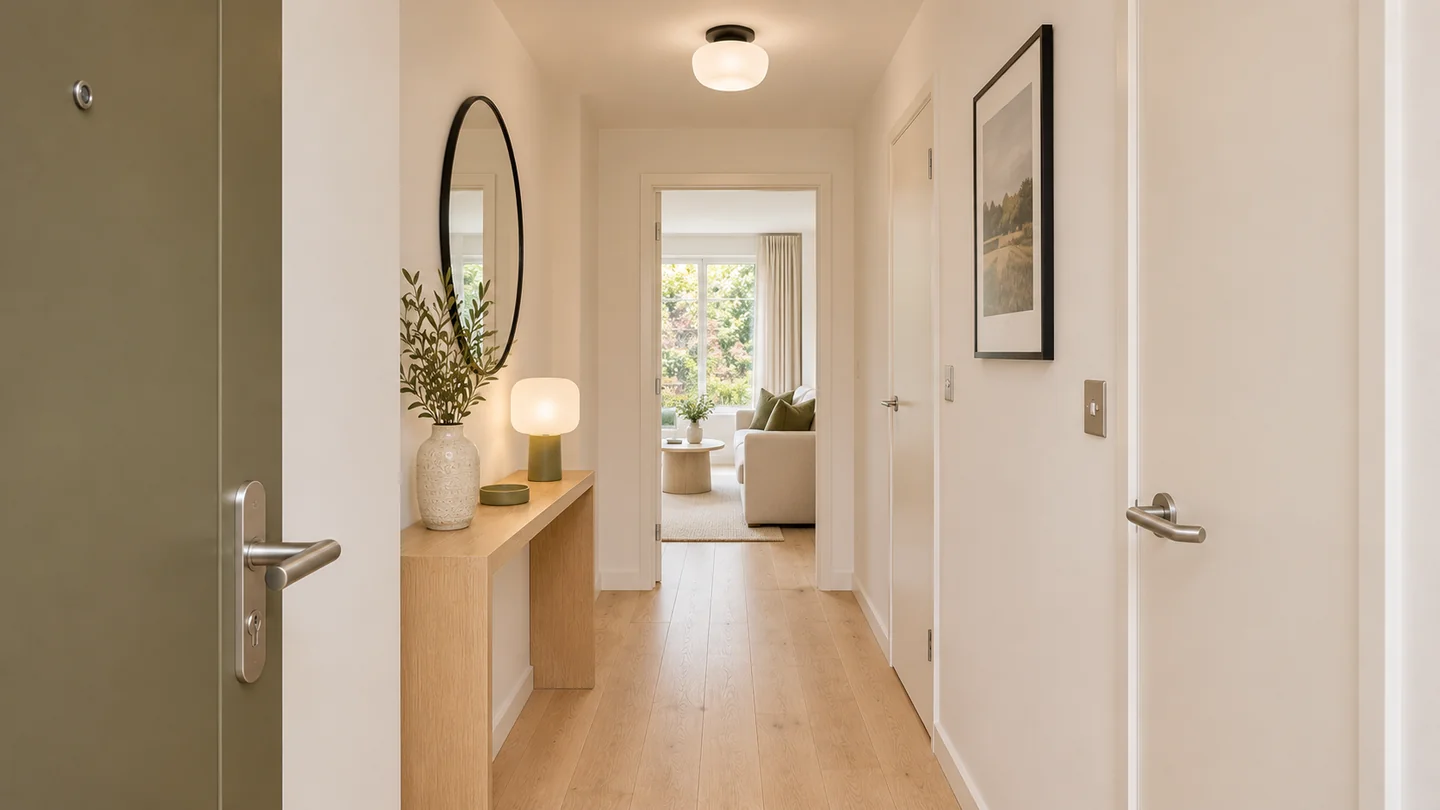
I would choose rental hallway lighting by standing where it has to work. At the front door, try seeing the latch with your hands full. From the living room, look back along the floor and notice where the light falls short. Those are different jobs, and the lamp that suits an existing console may do little for a threshold at the other end. This guide starts from the spots you marked and compares choices you can use with the wiring you already have. You will check the actual room for a plug, a stable support and a switch you can reach. Then you can decide which fitting to try, how to check it after dark and what to change if keeping it charged turns into a chore.
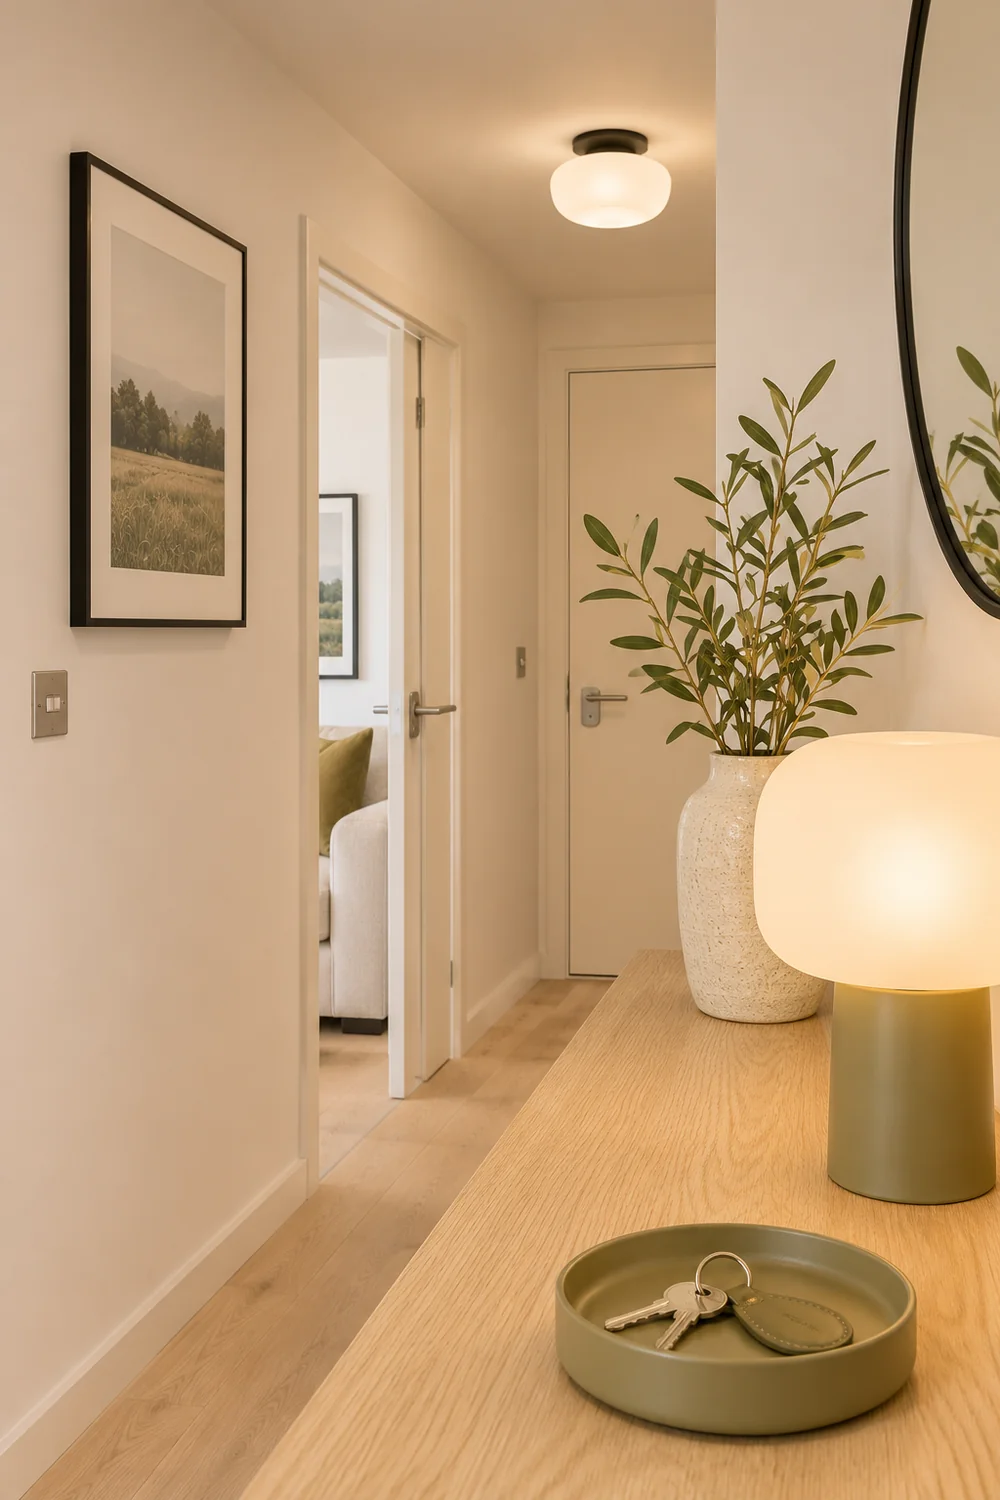
Put the plan in front of you and choose the spot that matters most. In my example, the console has a socket beside it, while the front door has a shadow across the latch and no feasible cable route. I would give the door side a specific requirement. The light needs to reach the lock and threshold while the door is open, without a new lead across the floor. Write your version down. It will make it easier to compare the fittings that look similar on a retailer’s page.
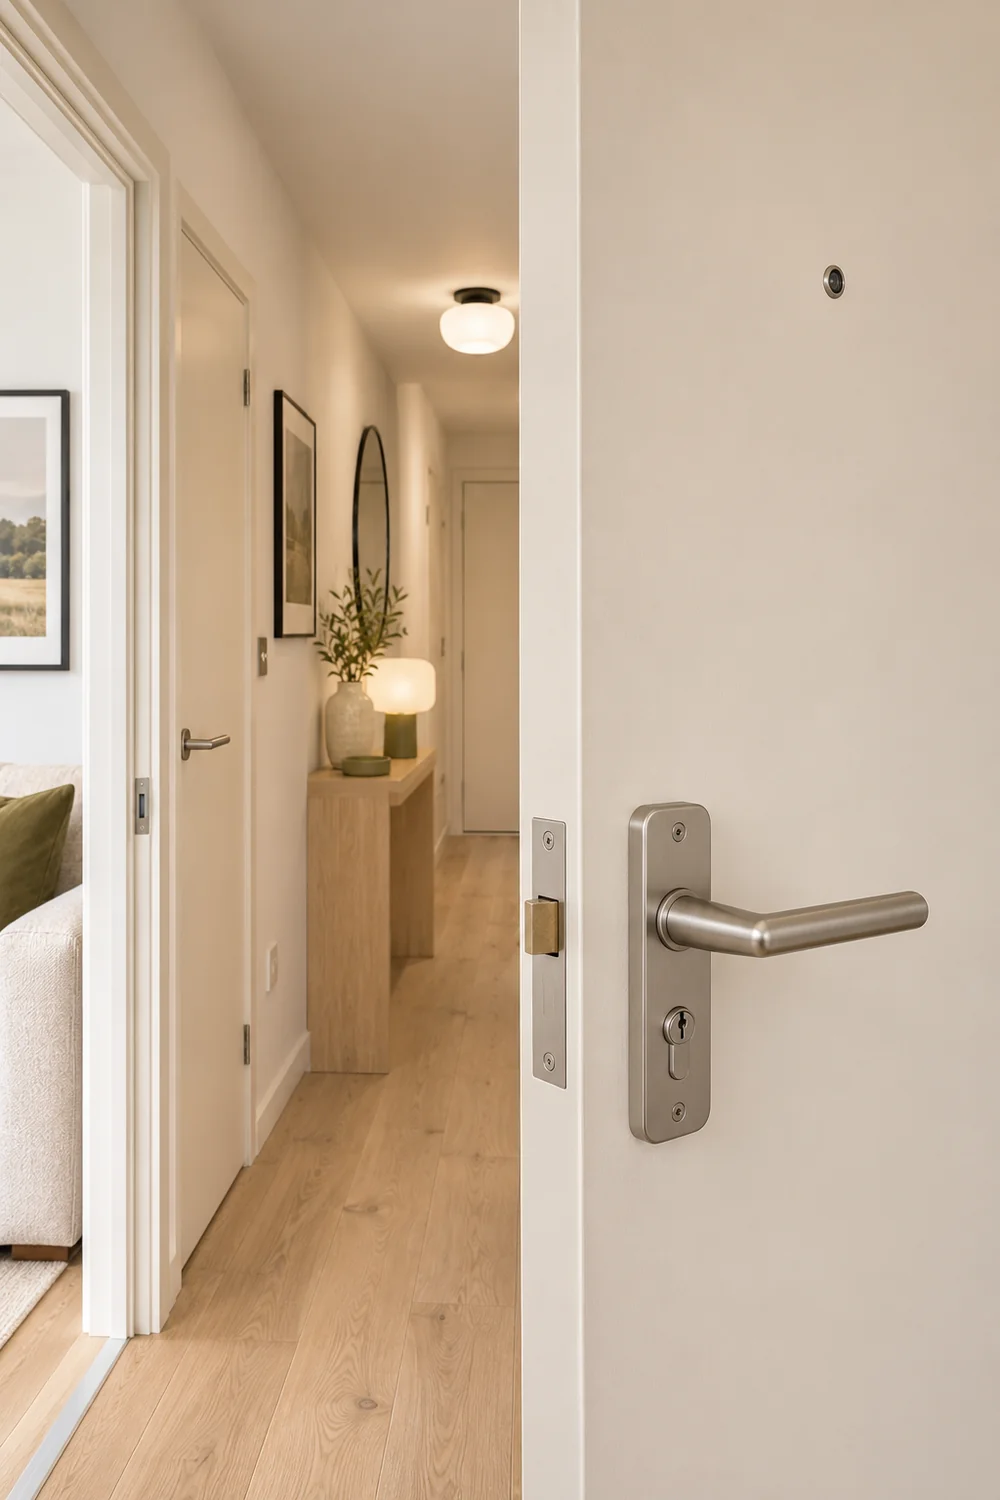
For every spot record three details from the plan. Measure how much shelf or console surface is available and how far the light would be from the task. Mark where you would operate its switch. Finally, note what would prevent you from putting the light there. A door may come out farther than the product photograph suggests. A socket might be close in a straight line but inaccessible once the console is pushed back.
A general ceiling light may already make the centre of the example visible. The addition should carry useful light to the place that stays dark. Try moving the test lamp before deciding you need to buy a brighter one. A diffuse shade closer to the latch can make that task easier even if a stronger lamp would make the whole corridor look brighter from the living room.
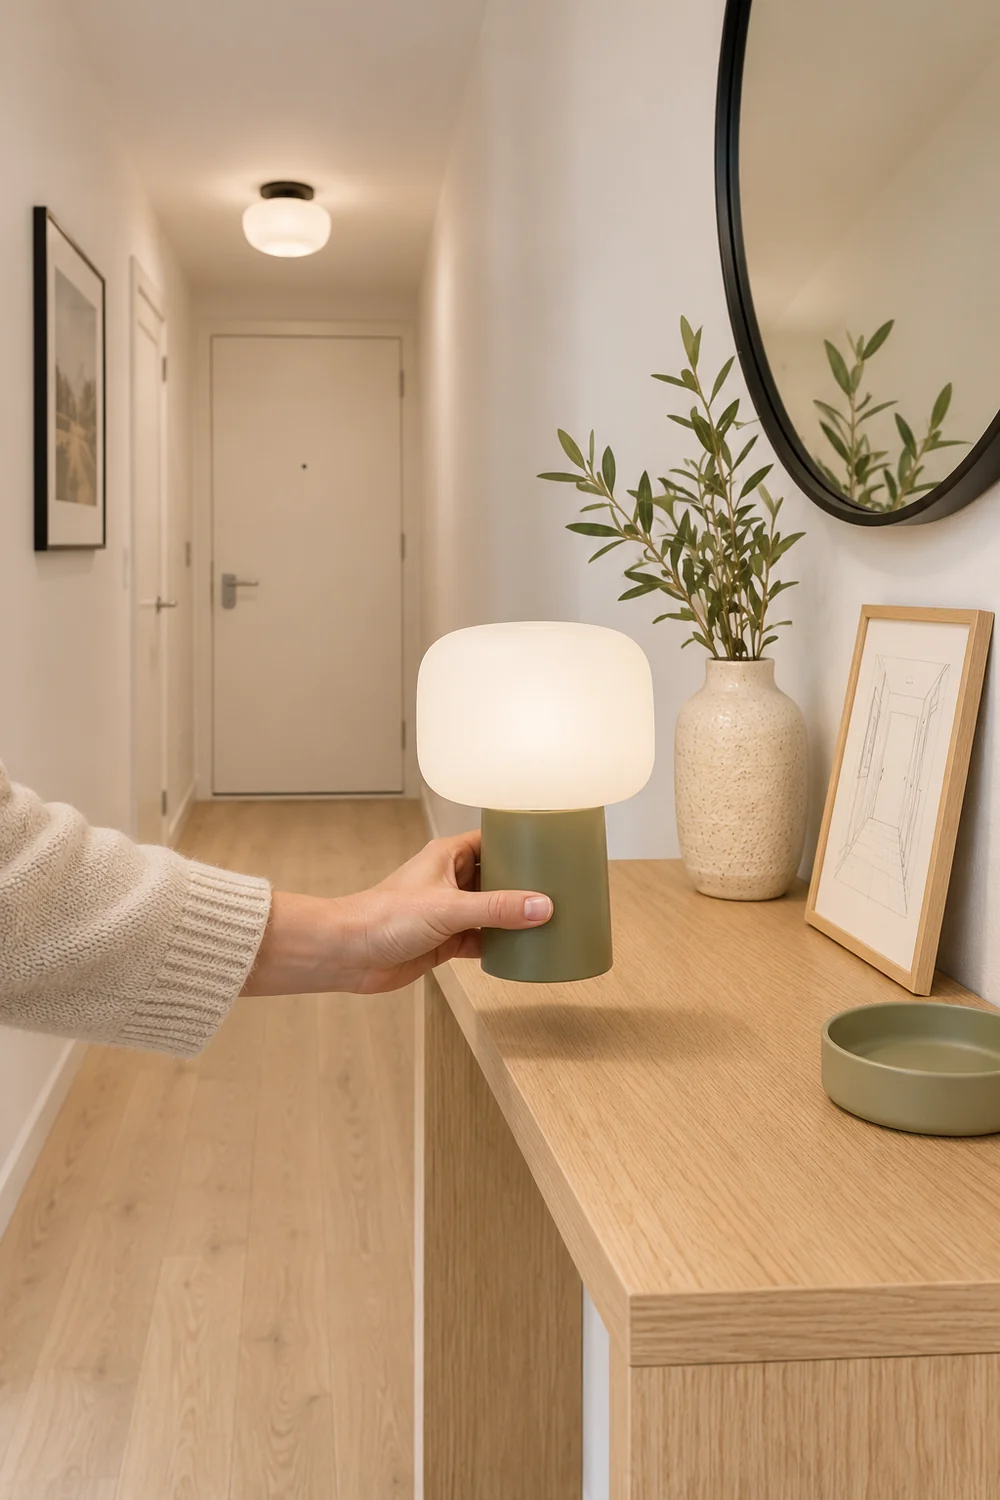
Draw a short list using the evidence you have collected. I would give a console position an allowable base size, a cord path and a switch location. I would give a socketless position a stable support or an approved method specified by the manufacturer. If you have neither, keep the option on paper and reassess the spot. A product that depends on permission you do not yet have is an uncertain choice until you resolve it.
Choose a plug in lamp where an existing socket can serve it without a cable crossing the way through. I would look for an opaque or diffusing shade with enough spread to reach the wall and the floor nearby. Check the manufacturer’s cord length against the actual same side path. Allow room for the plug and make sure the switch does not end up behind the console or out of reach when the front door is open.
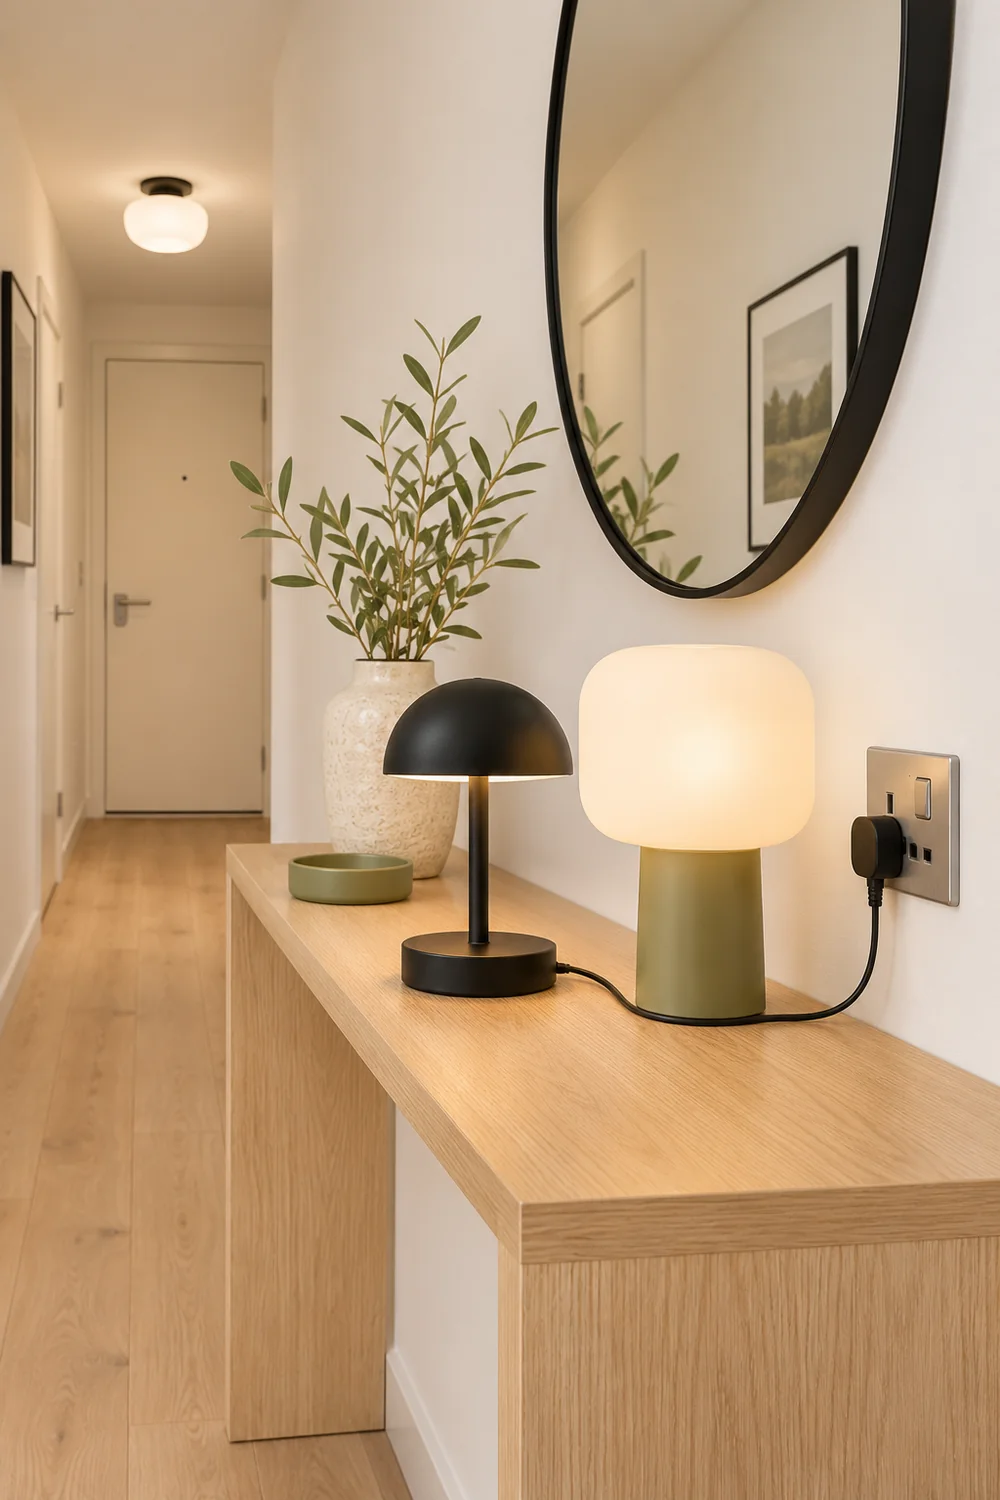
A rechargeable light earns its place when your useful position has no socket and the existing furniture or an approved fitting can support it. Compare the controls at the level you would actually use. A model that suits the photos may require the highest setting to reveal the threshold. Check the maker’s runtime for that setting if it is provided and whether there is a low battery indicator. If runtime is given only for the dimmest setting, the useful runtime is still something you will have to check.
Look at the physical controls in the product photographs and instructions. A broad switch you can reach from the doorway solves a different problem from a small button under the base. If you need to set the lamp down first, make sure the surface is deep enough for the way you use it. Consider what happens if someone moves it to charge and another person comes home before it is back. A clear charging spot or an easy to reach spare can matter more than an extra mode.
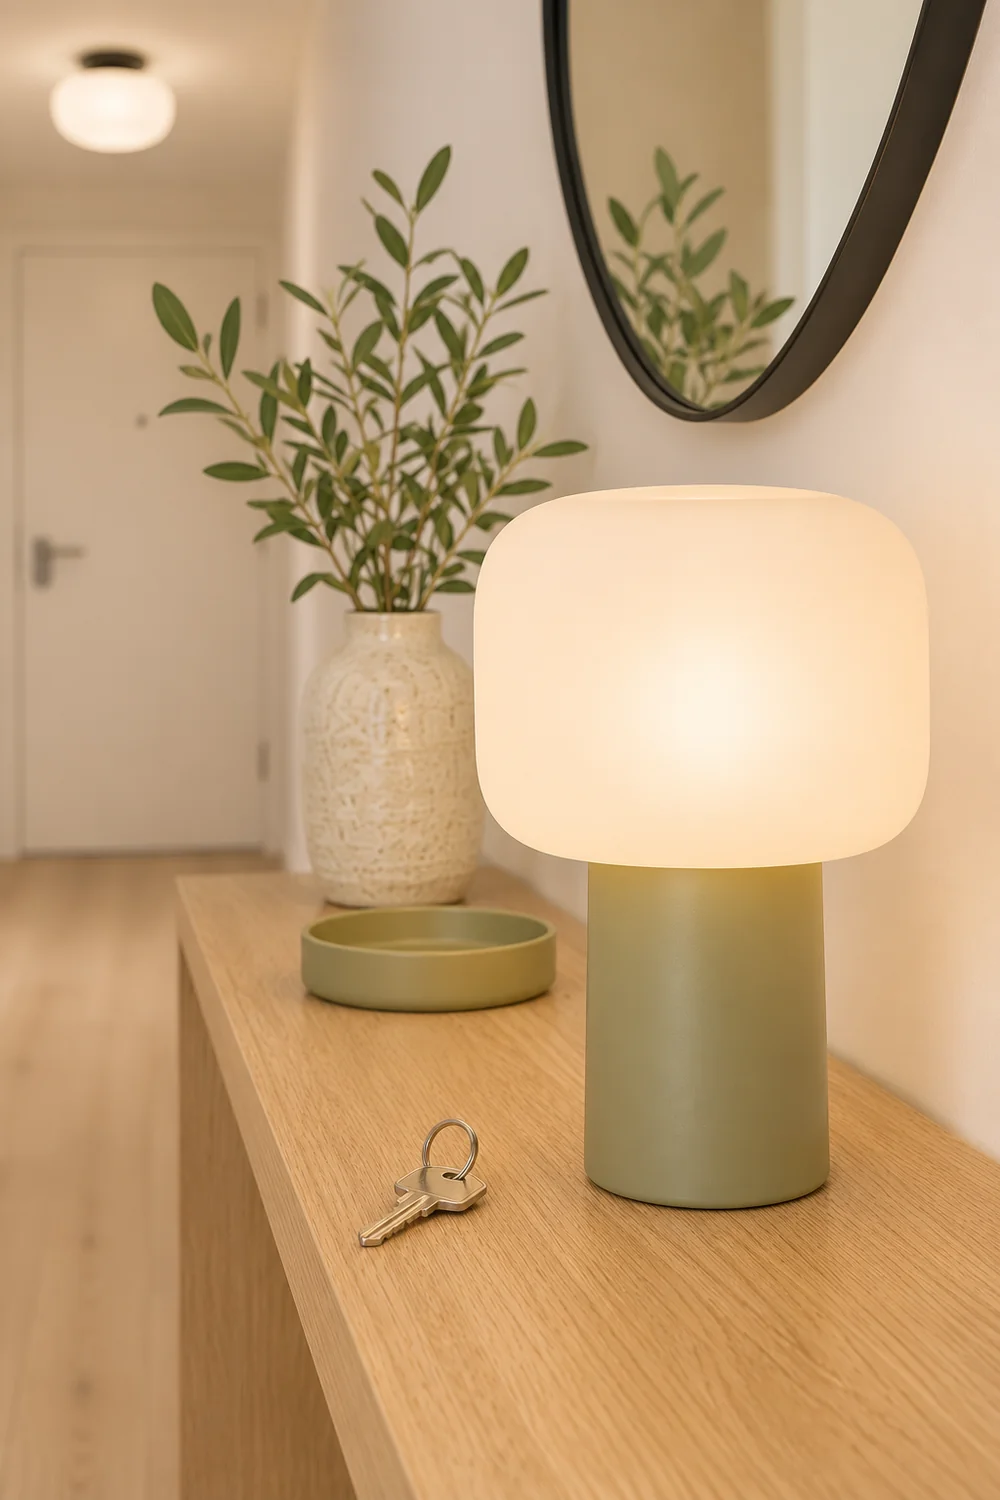
I would also distinguish between a steady glow and a brief light that switches when you approach. A sensor can suit a short arrival when it sees the movement from the right direction. A manual control can suit a place you also use to find things or speak to someone at the door. Read how long the light stays on and whether the timer or sensor mode can be changed. Look for the sensor’s stated conditions instead of assuming it will trigger from the other side of an opening door.
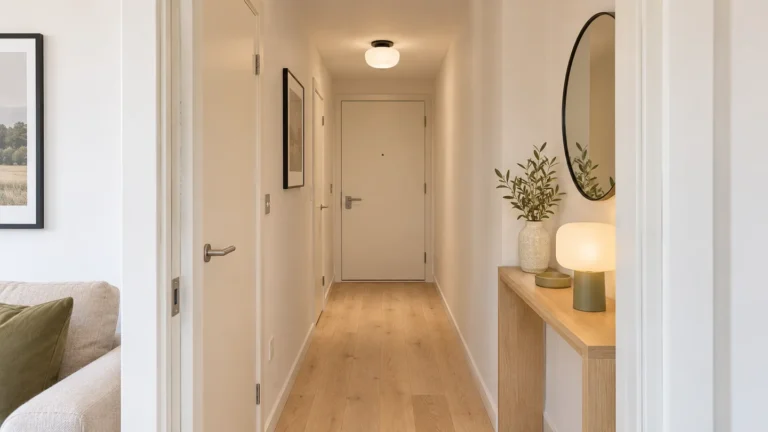
The modern hallway guide illustrates the separate jobs of general and task light. If you are pairing a steady console lamp with a small arrival light, compare them in that order. Keep the wider glow useful enough to see the floor, then check that the smaller light adds something at the point you marked.
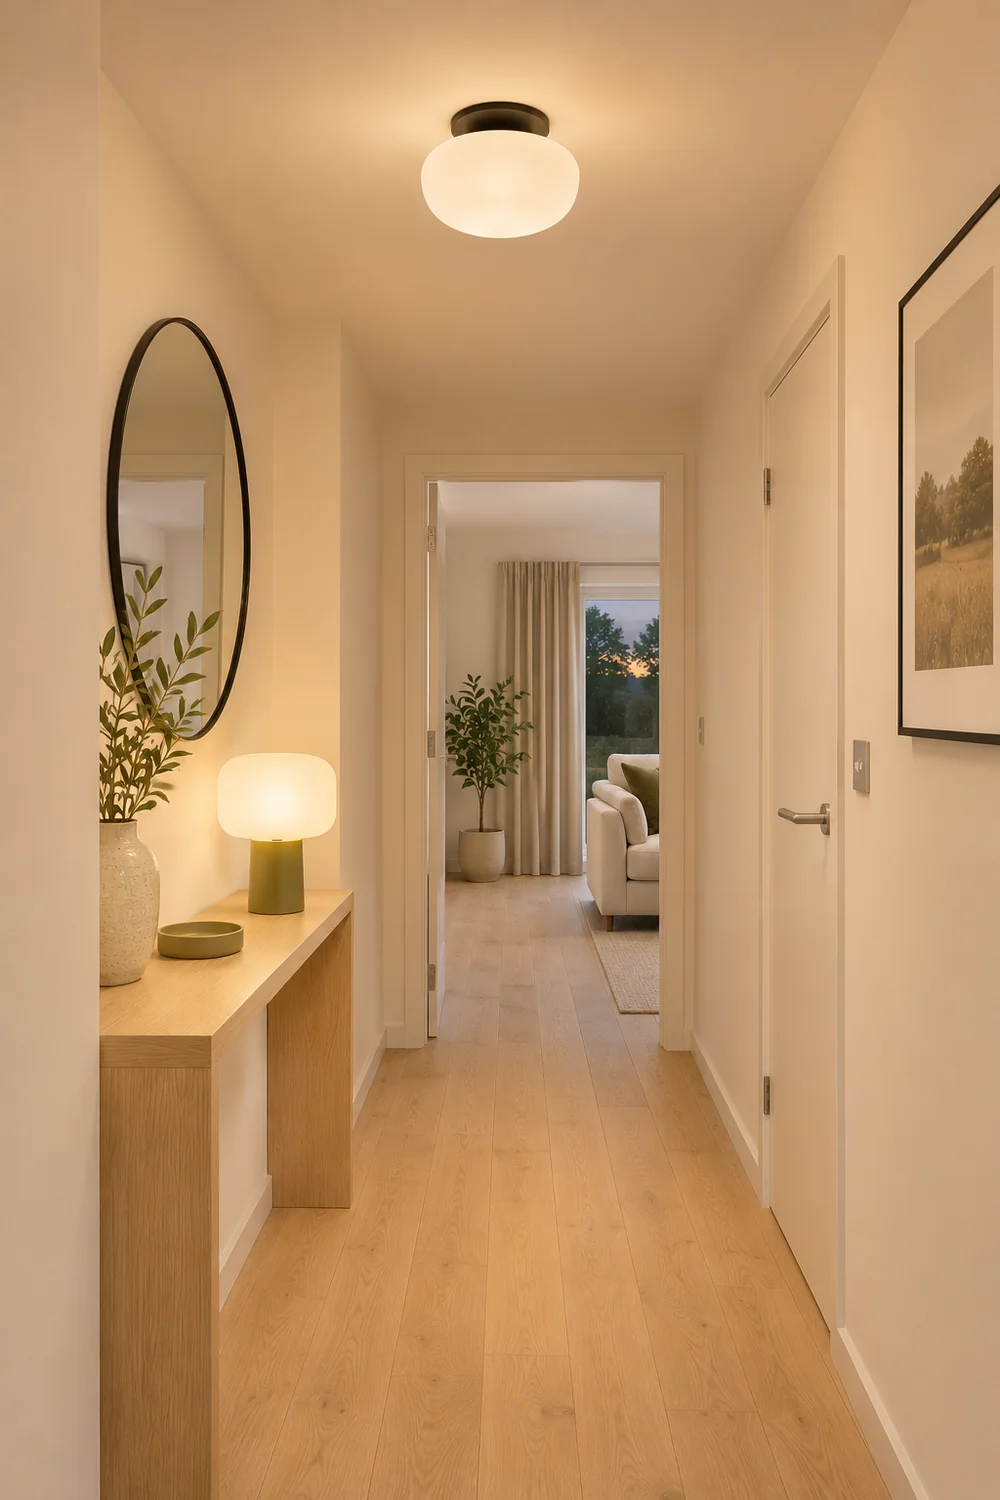
Make a paper outline at the size of the base and shade. I would set it on the console and check where the widest part ends, including the space your hand needs to reach its switch. Put your keys down where they usually go. If the lamp and the key tray fight for the same few centimetres, try a smaller base or another existing surface. Pay attention to the underside as well as the top. A flexible cord or low hanging switch can end up in the way even on a shallow console that looks clear.
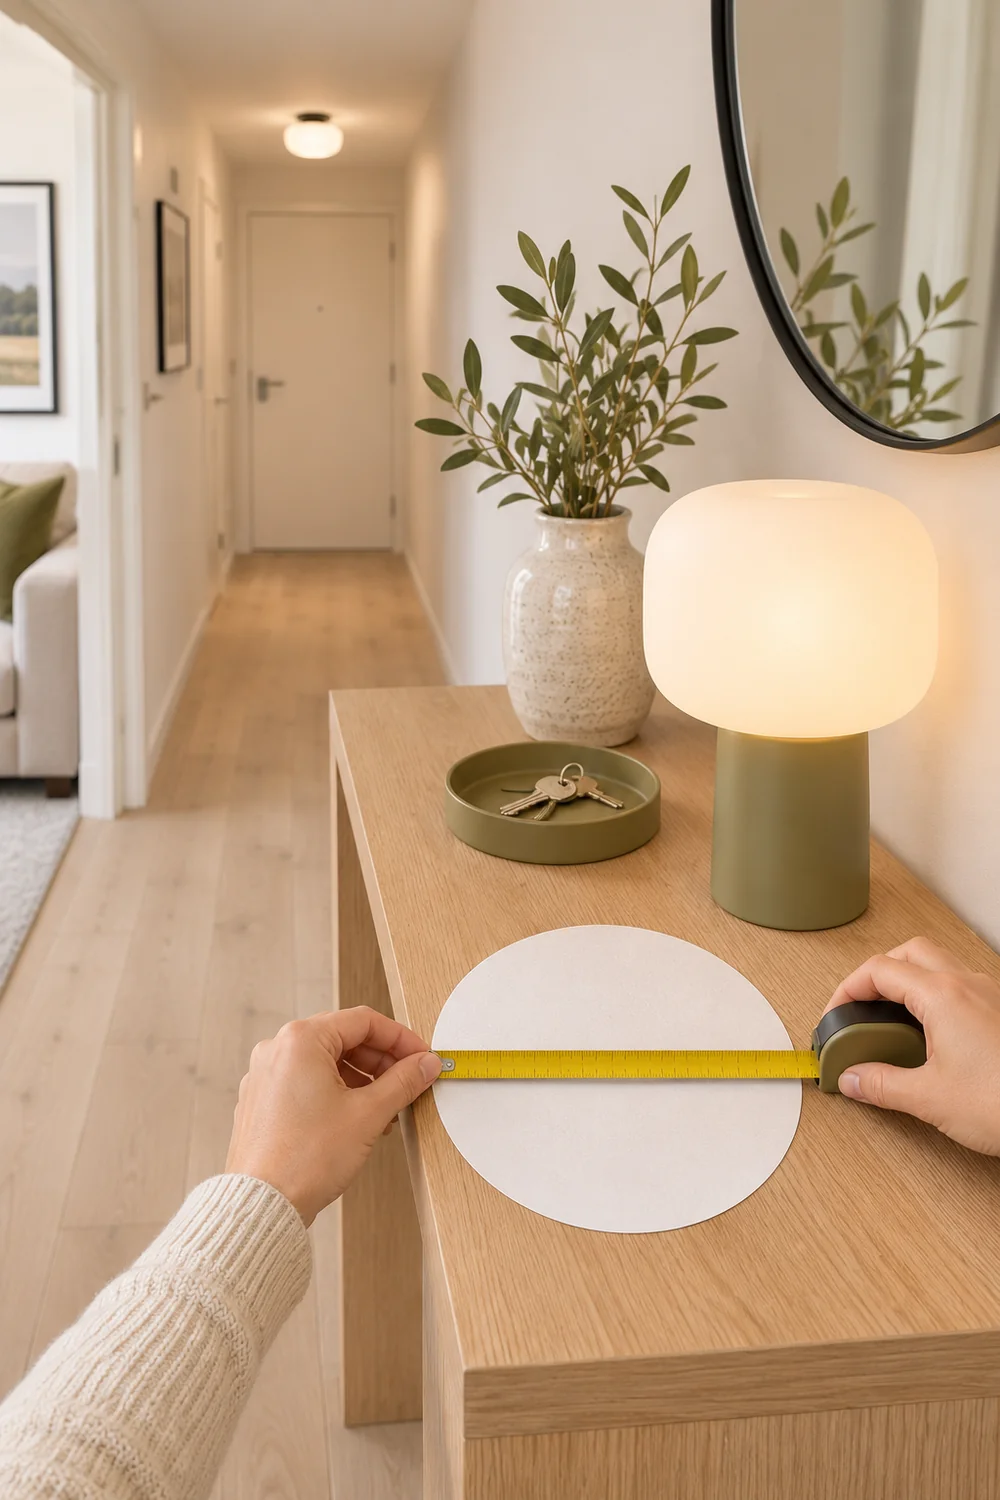
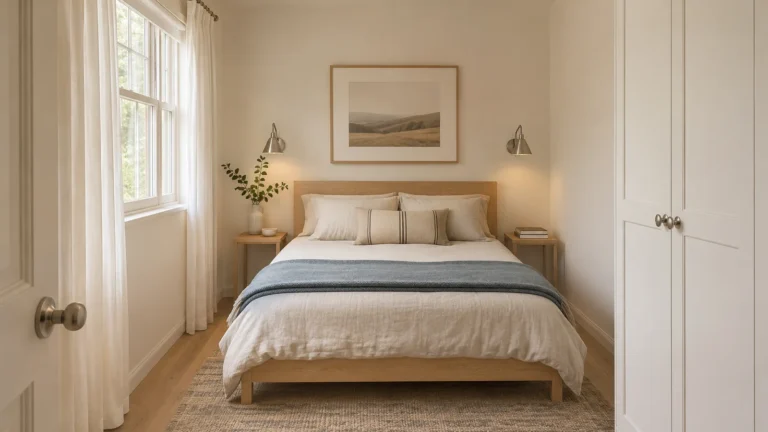
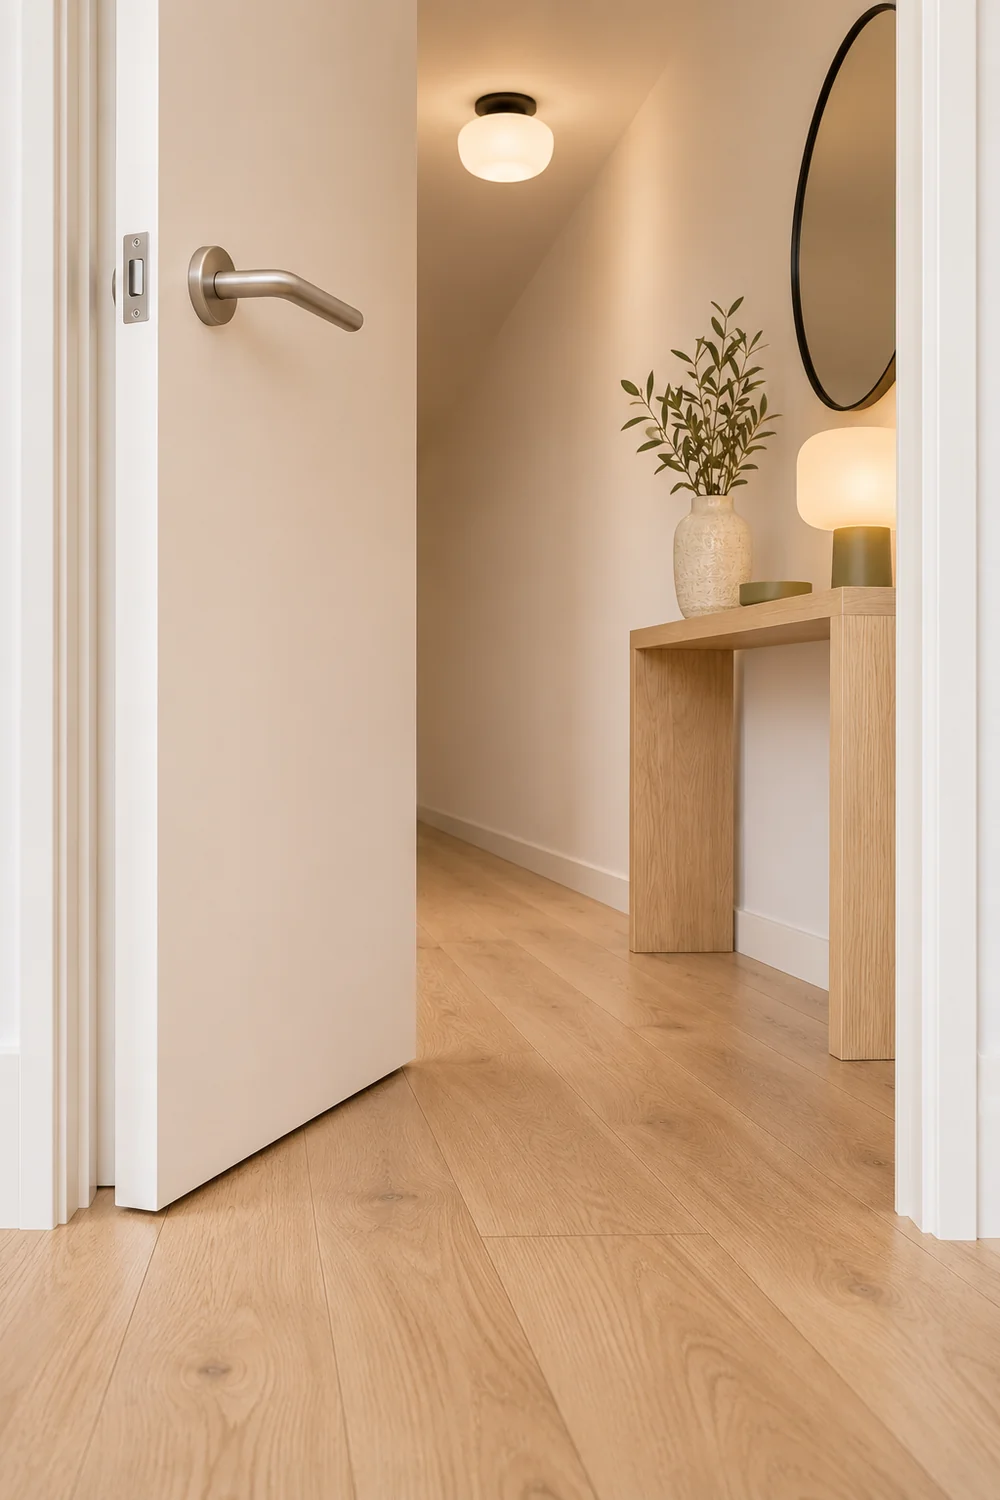
Use the door in its ordinary range while the template is in place. Open the nearby cupboard or living room door too. Then walk past carrying what you normally bring home. A good footprint leaves the route clear and feels secure when someone brushes past the console. Compare the proportions in the small hallway guide against your actual passage. Keep the lamp within the useful furniture footprint instead of adding a floor stand on the way through.
Check the size at the scale of your hall rather than matching the width of the lamp in a photograph to the width of your console. Include a handle, shade rim or connector in the outline. Sit the outline far enough from the edge for the lamp to stand securely on a flat surface. A wide shade can brush a coat even when the base has room. When the console fails this check, take the small footprint requirement with you to the next candidate.
For any wall option, read the manufacturer’s fitting instructions and check what your tenancy allows. A rechargeable lamp can still need a screw or a specific mount. If the only proposed support is adhesive and you cannot verify it is suitable for both the product and the surface, move on to a securely supported placed option. If there is no usable support at the dark point, try aiming light from a stable position nearby and recheck the result. Keep exit routes clear and leave shared building lighting to the building manager.
Before committing to the rechargeable option, decide where it would charge. I would choose a convenient dry spot with the appropriate charging equipment specified by the manufacturer. Check whether you can remove or reach the light easily and put it back in its intended position without moving other things. If you expect to charge it at a desk, walk through that routine once with a similar object. A position that is awkward to service can turn a simple task into something you will put off.
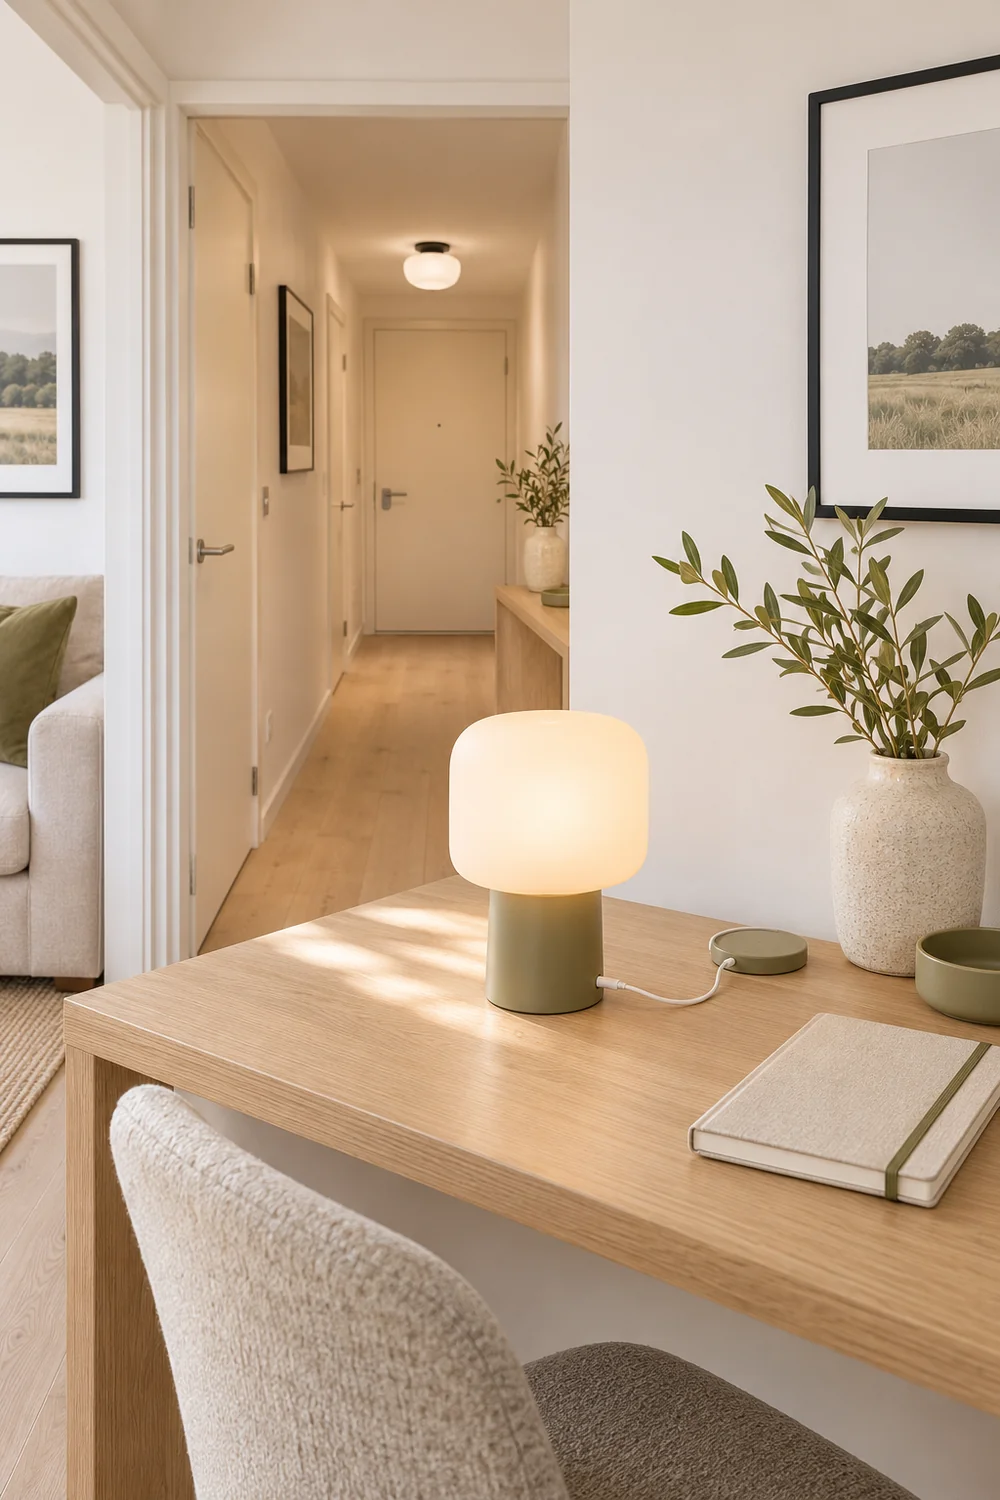
For a plug in lamp, sit the plug and cord where you can see and reach them. Reject any placement that runs the lead across the passage or under the runner. Keep the controls somewhere you can reach from the bright side of the hallway. The renter friendly wall decor guide has useful checks on cord routes and movable living room lights if the two spaces share a socket decision.
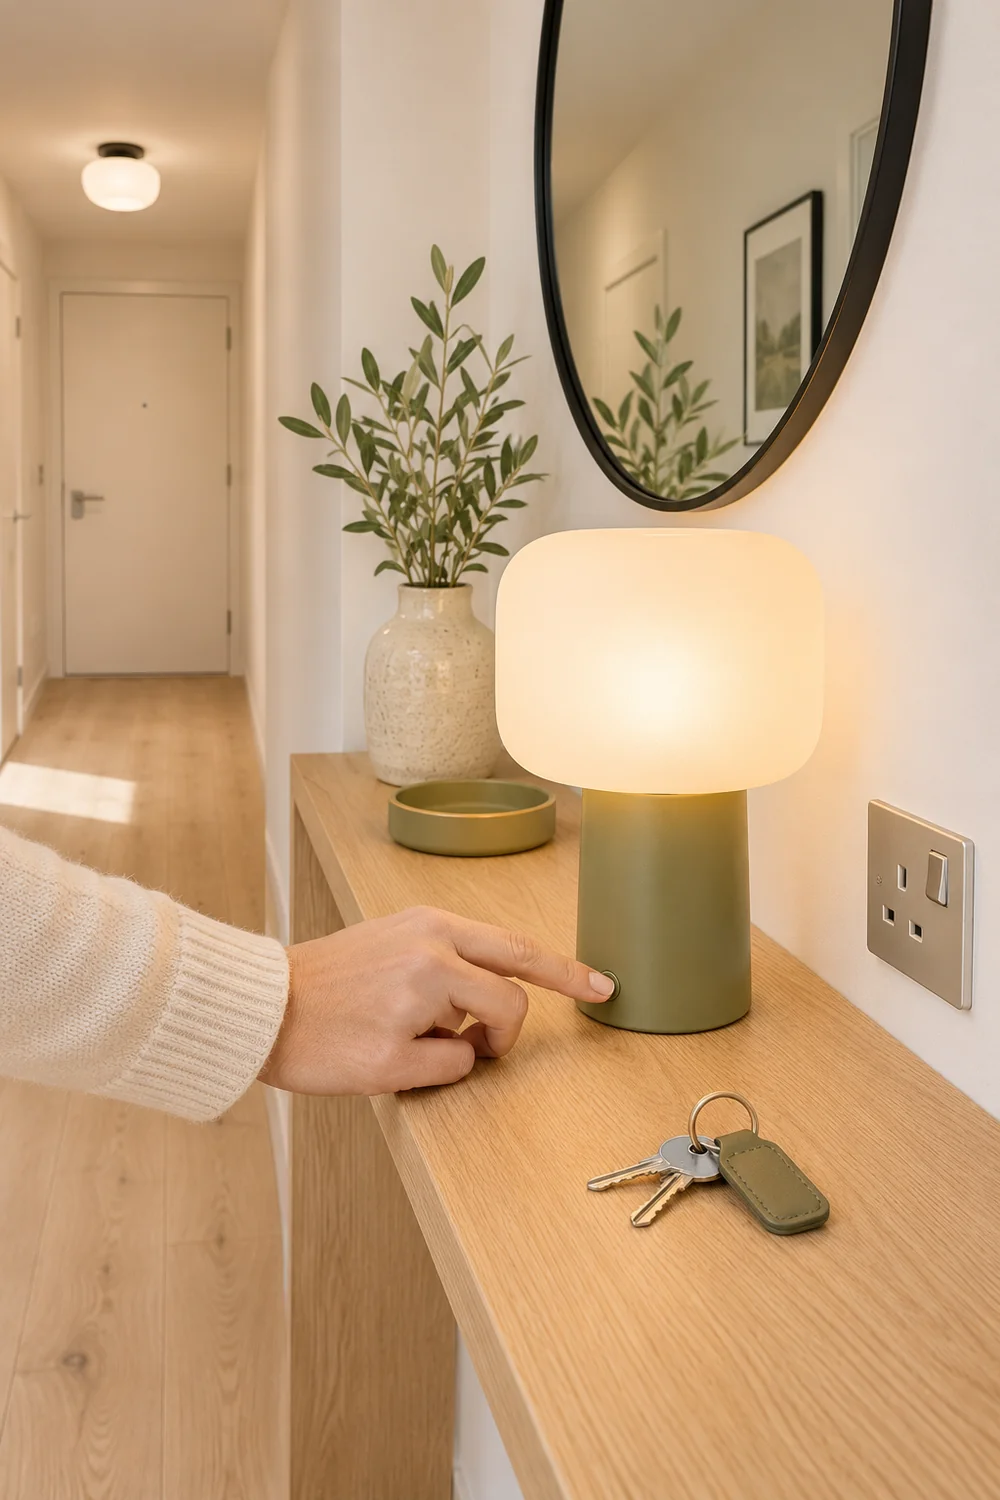
If you choose a sensor, test it from the entrance while the door is moving, then approach it from inside the flat with the adjoining room lit. Confirm that you can see the threshold by the time you need it. A short timer may work for passing through and feel frustrating when you stop to find a key. If the control gives you a choice, use the setting that actually suits your arrival and use the manufacturer’s instructions to check how it affects expected runtime.
This is the short list I would keep for the worked example. For the console, a stable shaded model within the existing top is the simplest option to try on the available socket. For the front door, a light with no trail across the hall makes more sense if it has suitable support and you can reach it to charge it. I would cross out any option that needs a loose cable in the walking route or a support you cannot use.
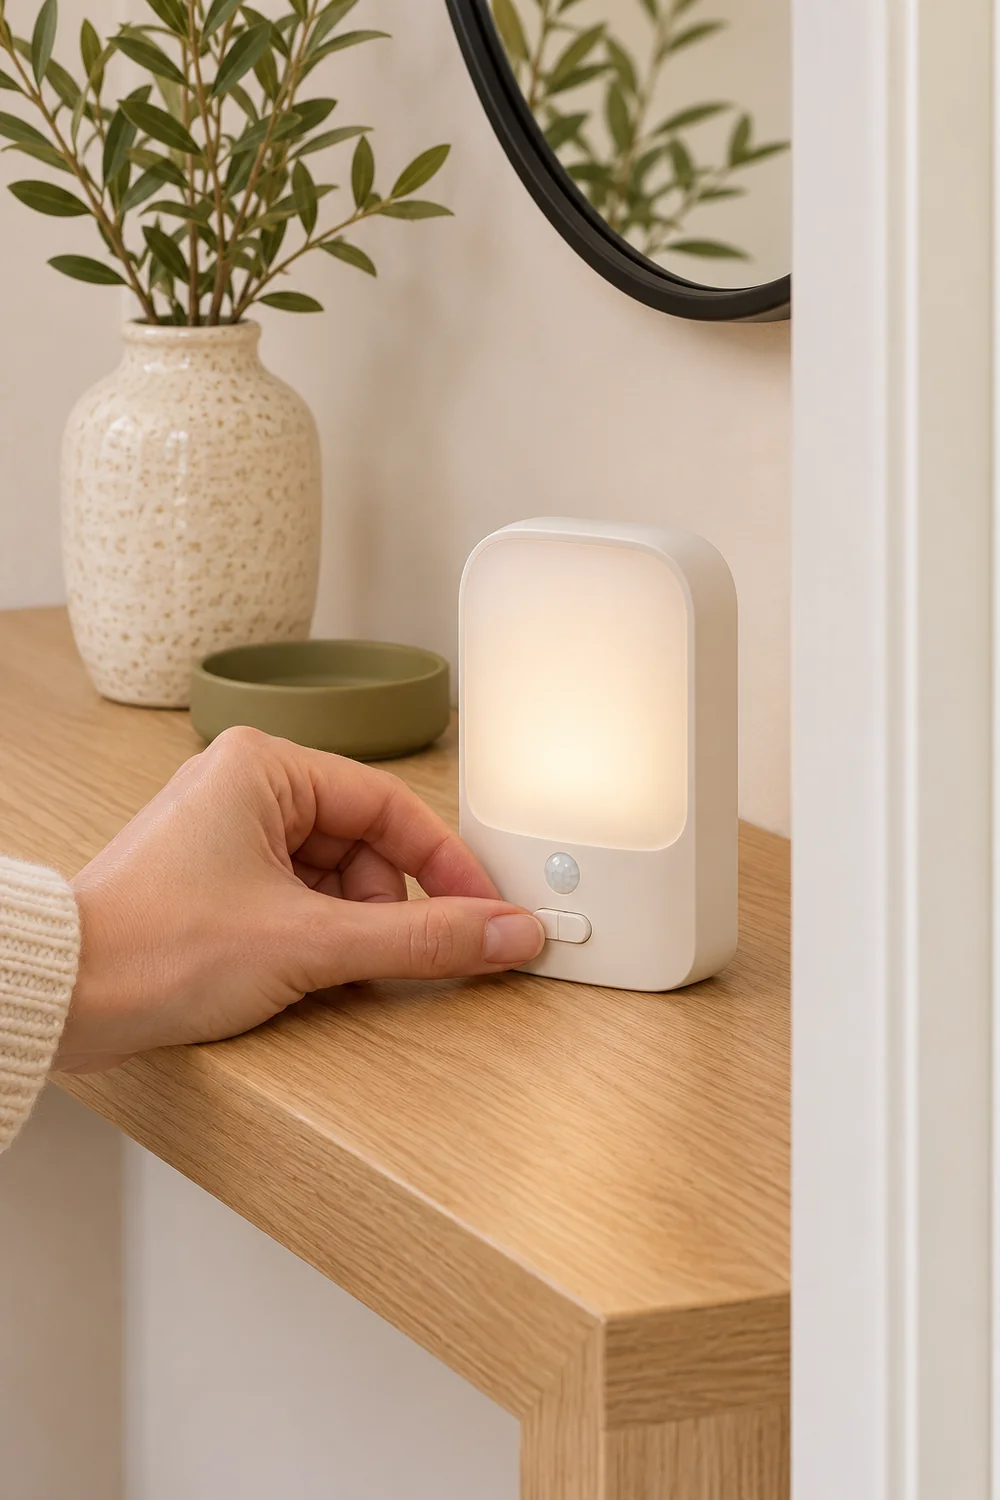
Turn on the lights you intend to use and walk the route in both directions. At the entrance, check that the latch and first floor edge are legible with the front door partly open. At the living room end, look at the floor beyond the console and check whether you can see the edge of the next opening. Repeat with the adjoining room lit and with it off. Keep your original working ceiling light available during the comparison.
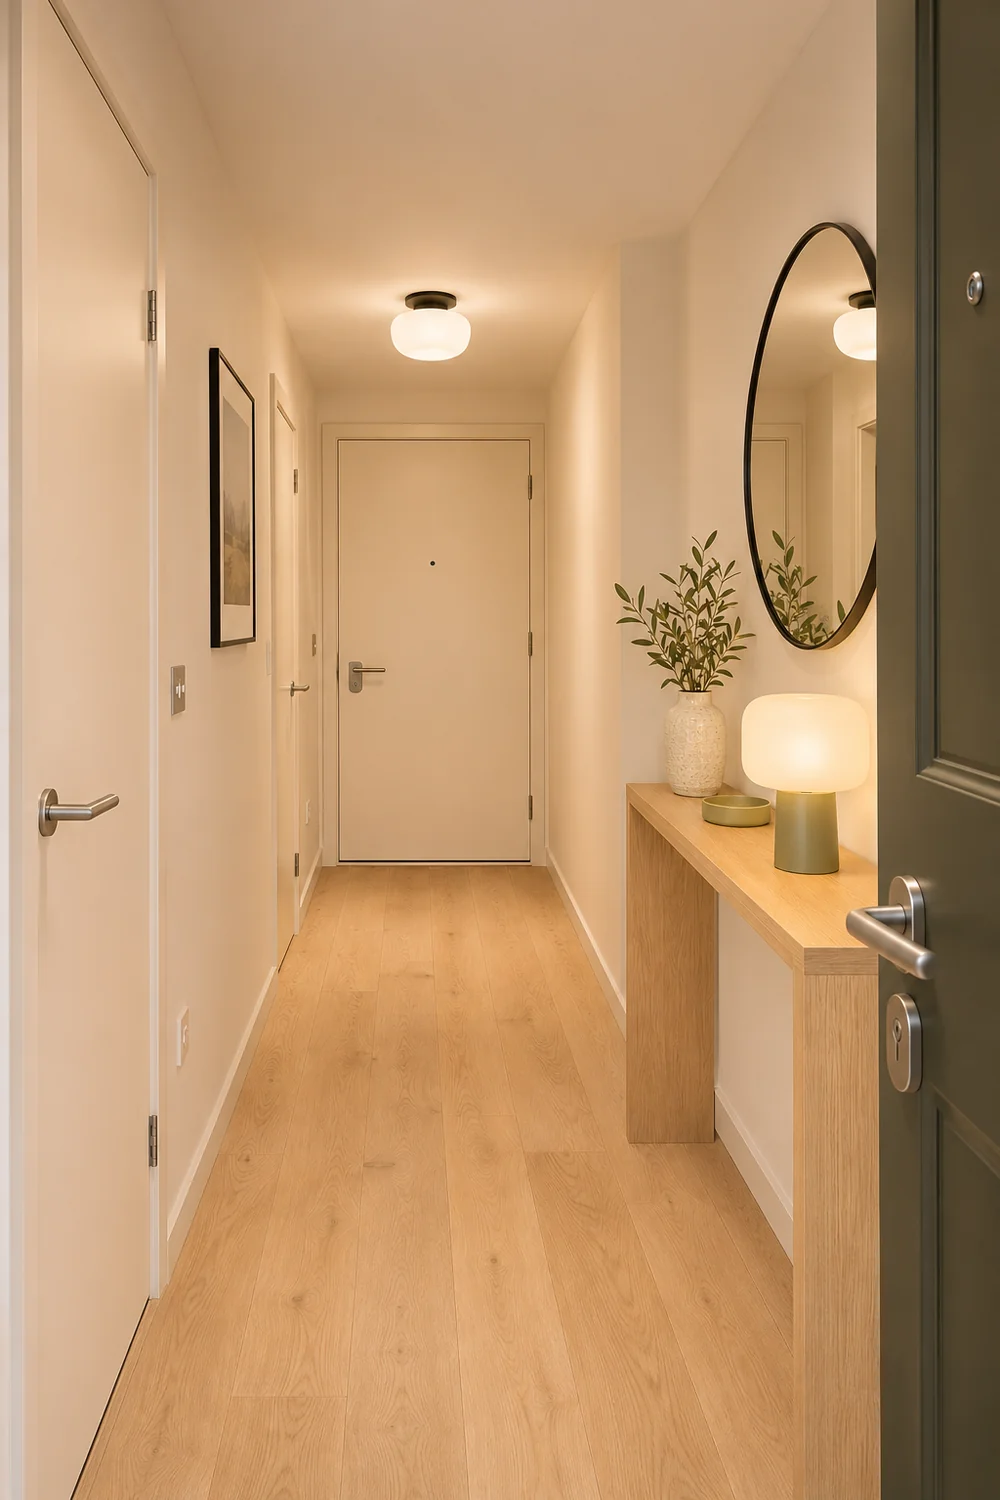
Pause at the view you see most often. If the light makes a bright point in a mirror or catches your eye directly, adjust the angle or try a more diffusing shade. After the adjustment, check the latch and the floor again. A softer view needs enough light to serve the original purpose. The small neutral hallway examples are useful for comparing a glow that spreads across surfaces with a single bright point on a console.
Keep one spot and setting constant during the comparison. Change the angle or the source, then check the same latch and threshold from the same position. That makes it easier to tell whether the change helped. I would ask someone else in the flat to do their usual walk as well. One person may look down for a key while another looks forward with a bag, so both views matter.
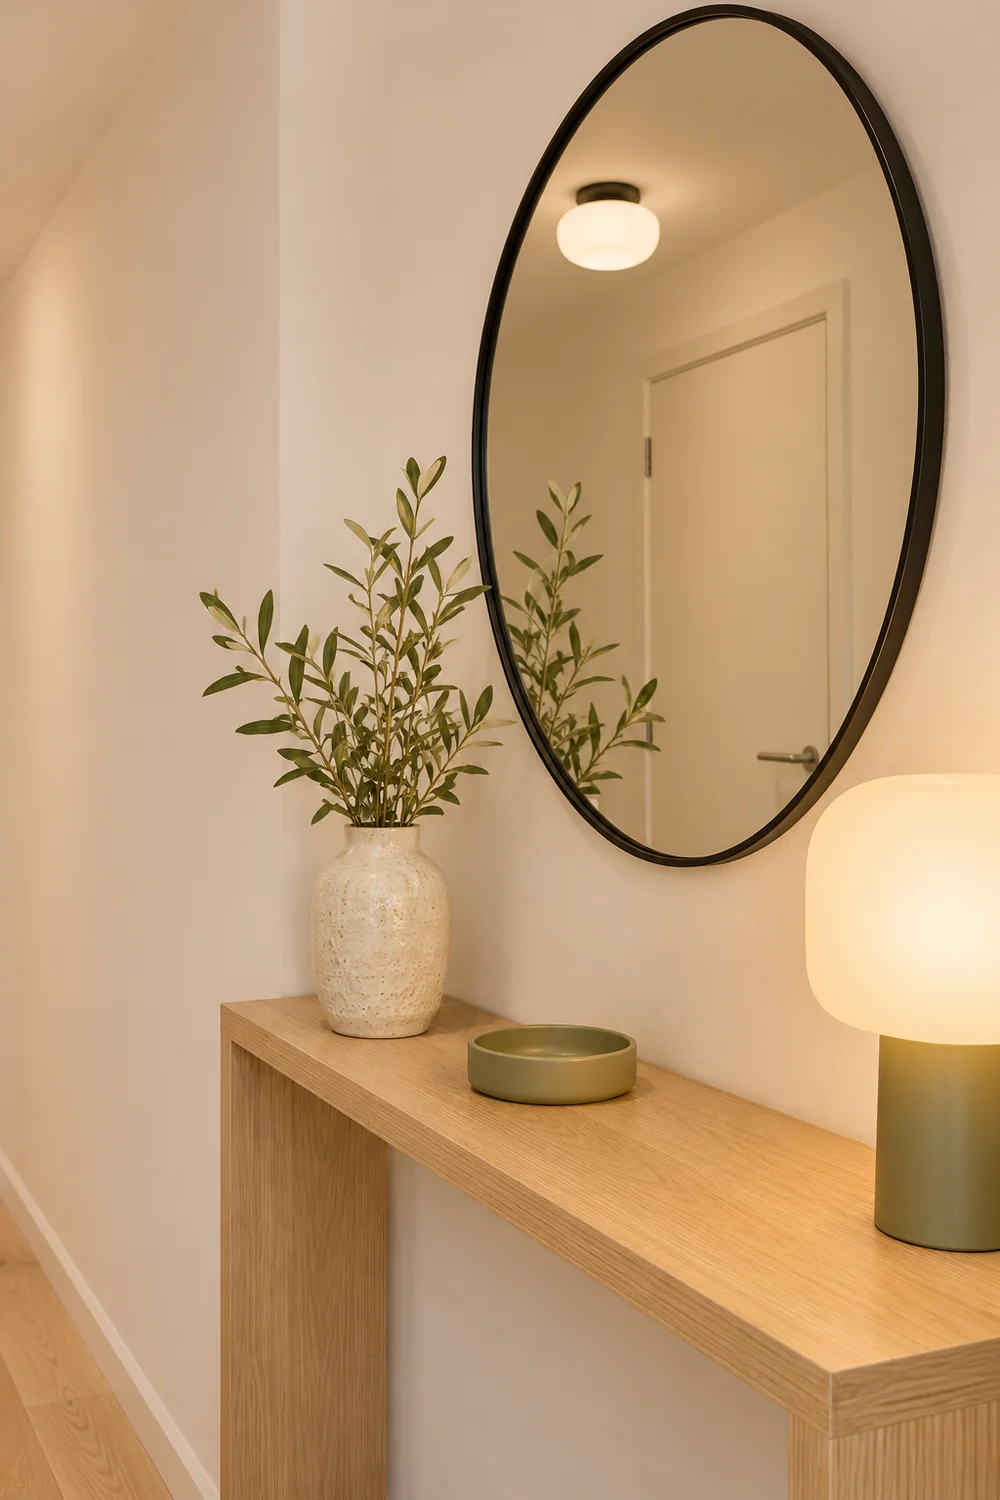
I would record one observable result for each tested setting. For example, the console lamp lets you see the edge of a frame from the living room, while the placed light near the front makes the latch easier to see from the doorway. If one fitting improves both, start with that one. If a battery light is noticeably weaker after a few evenings of normal use, check how long you leave it on before deciding whether its runtime is enough.
Write down where you will charge the light and how you will notice it needs charging. Begin with the maker’s instructions and adjust the routine after a few typical evenings. If the threshold light is hard to reach to switch or remove, try the most useful supported position you can reach comfortably. Keep its cable and charging equipment in the charging spot so they do not migrate into the hallway.
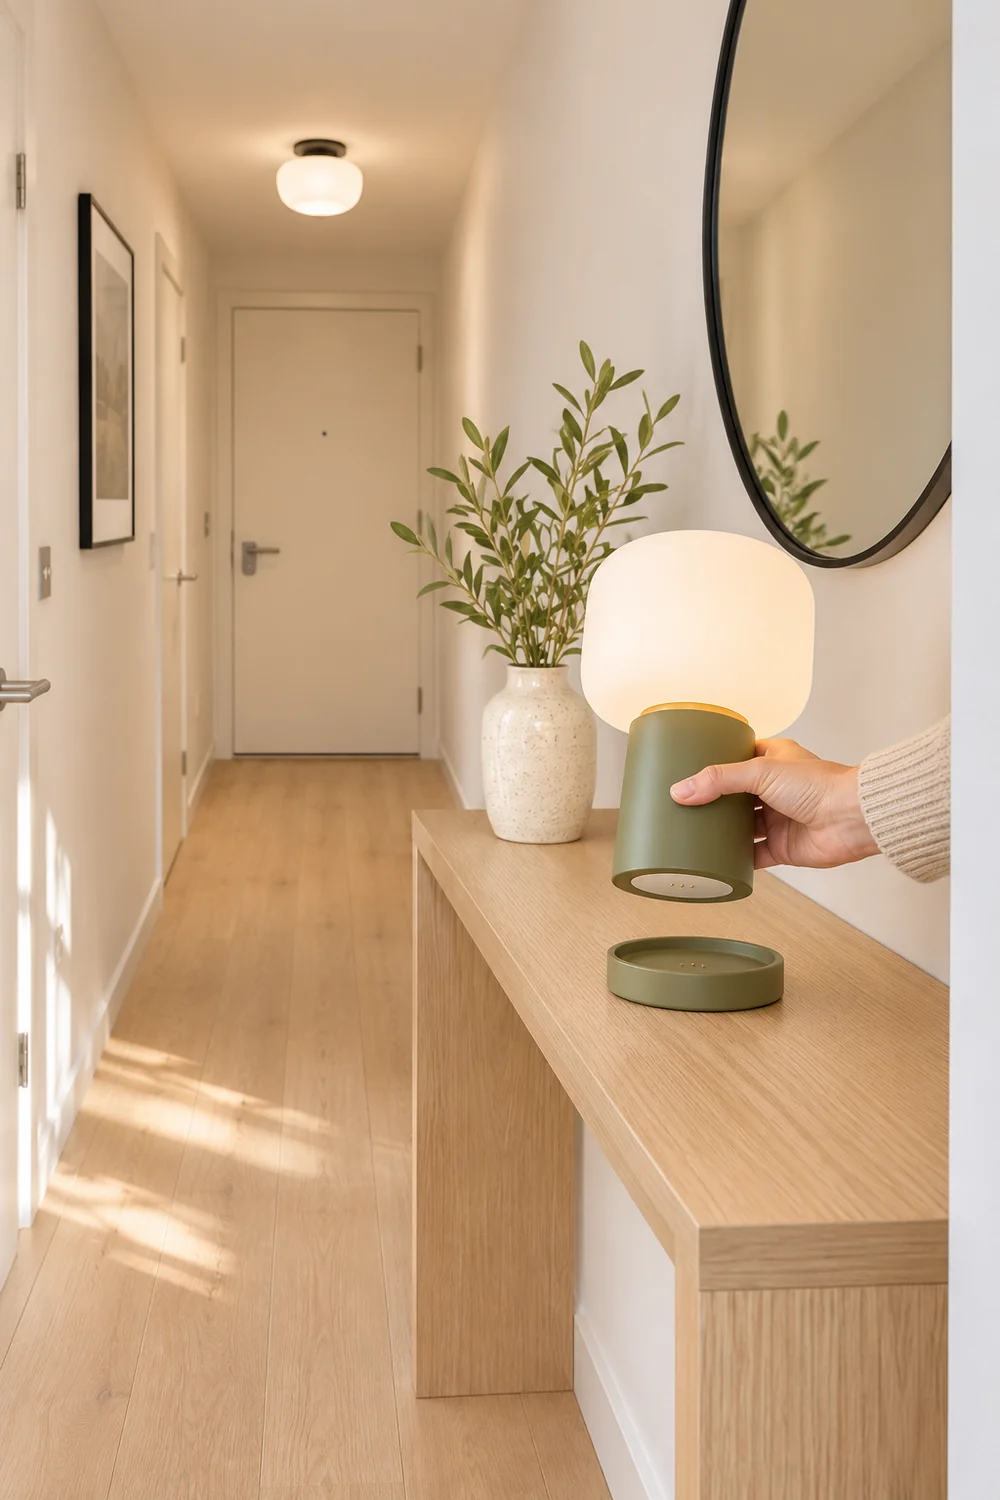
Changes in furniture, a door usually left open or a different route to the living room can make a good placement less useful. When that happens, use the dark hallway lighting plan to mark the changed route and try the position again. Check from both ends and save the new note. If the hardware has become unreliable or damaged, stop using it and follow the maker’s guidance.
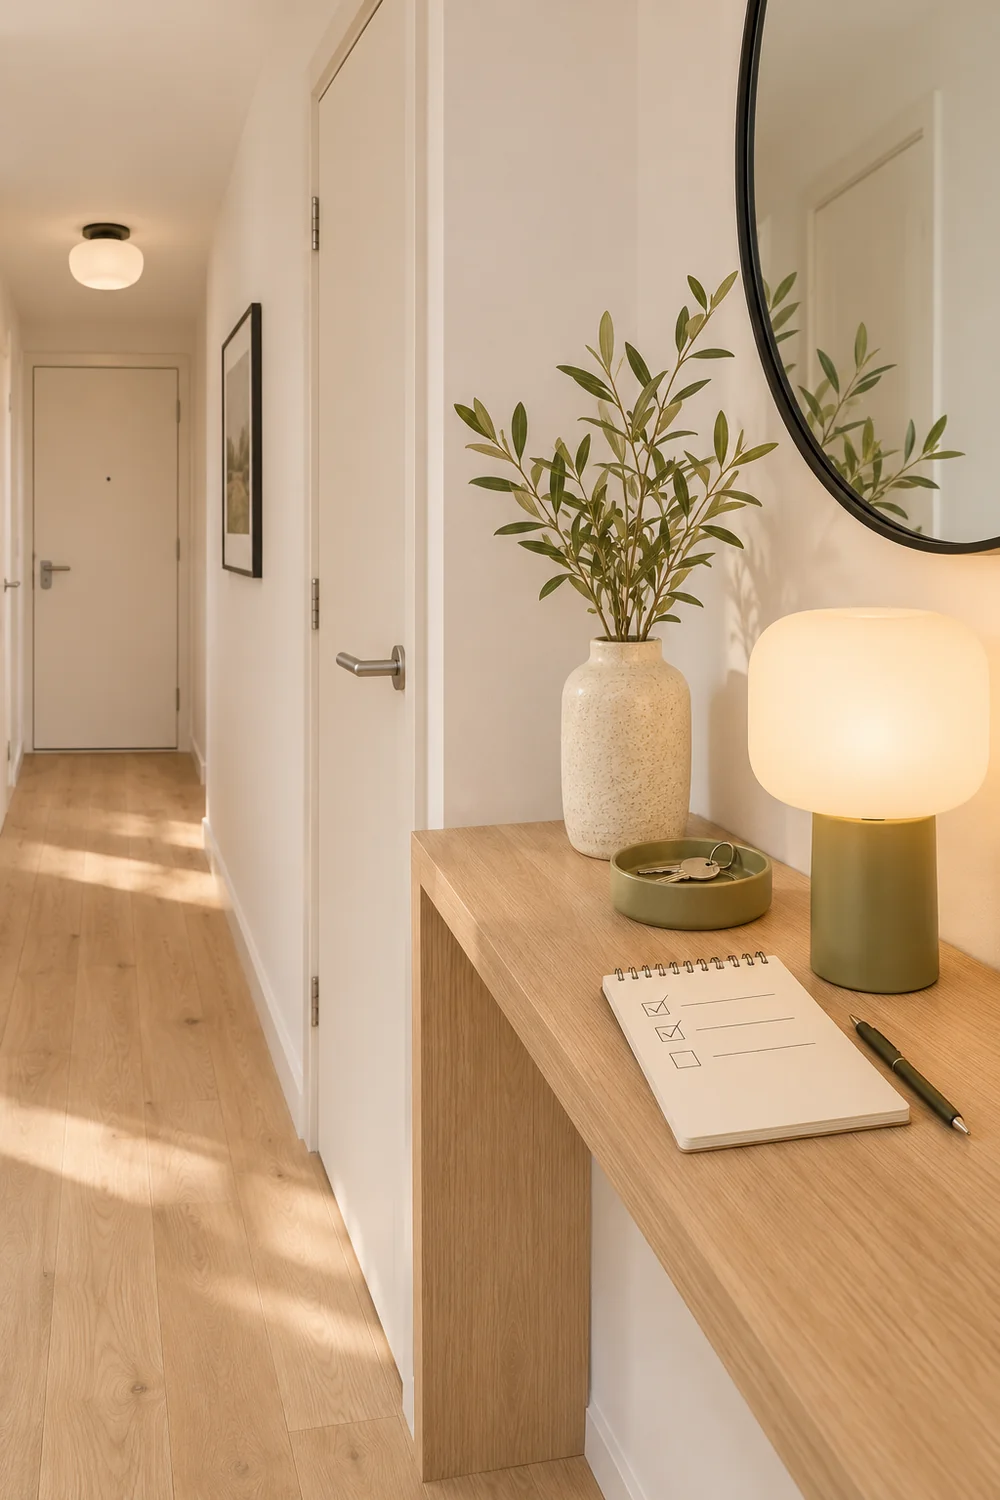
I would settle on the smallest setup that passes the walk from the front door and the walk back again. In a hall with a usable socket and a recess, one lamp may do most of the work. Where the first steps are still hard to see and a suitable place exists, a second removable light can cover that specific spot. Leave yourself a note about the result that matters most, whether that is finding the latch, seeing the floor edge or reaching the switch. Keep the same check for the next time you rearrange the hall. It is a better test of fit than the way the lamp looks at midday.